KIA PICANTO 2006 Owners Manual
Manufacturer: KIA, Model Year: 2006, Model line: PICANTO, Model: KIA PICANTO 2006Pages: 281, PDF Size: 9.89 MB
Page 241 of 281
Maintenance
28
7
1 23456789
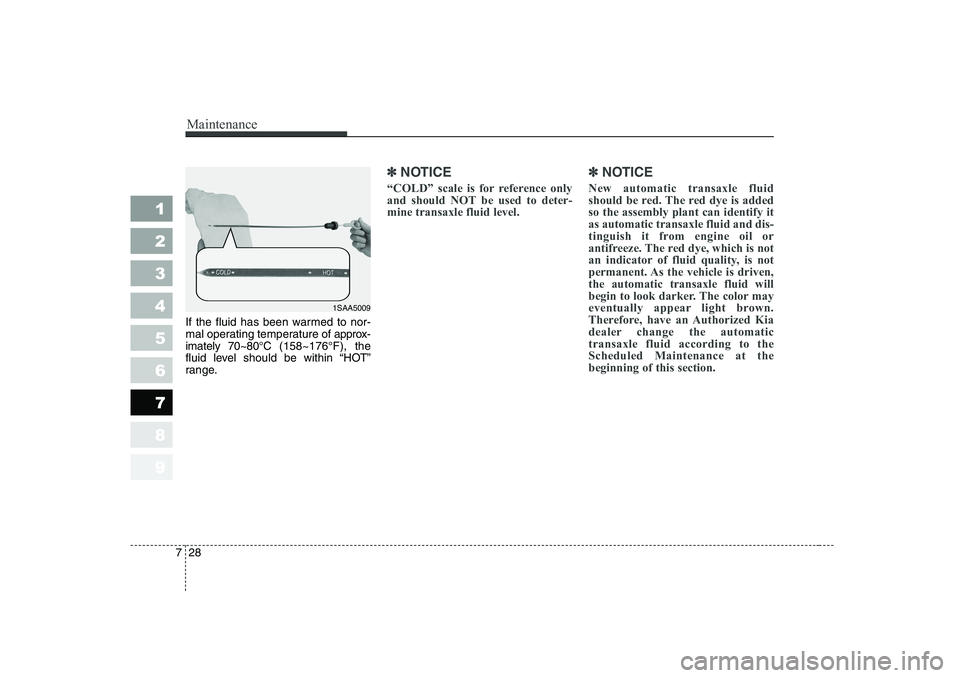
If the fluid has been warmed to nor-
mal operating temperature of approx-
imately 70~80°C (158~176°F), the
fluid level should be within “HOT”
range.
✽✽ NOTICE
“COLD” scale is for reference only
and should NOT be used to deter-mine transaxle fluid level. ✽✽
NOTICE
New automatic transaxle fluid
should be red. The red dye is addedso the assembly plant can identify itas automatic transaxle fluid and dis-
tinguish it from engine oil or
antifreeze. The red dye, which is not
an indicator of fluid quality, is not
permanent. As the vehicle is driven,the automatic transaxle fluid will
begin to look darker. The color may
eventually appear light brown.
Therefore, have an Authorized Kia
dealer change the automatictransaxle fluid according to theScheduled Maintenance at thebeginning of this section.
1SAA5009
Page 242 of 281
729
Maintenance
Changing the automatic transaxle fluid
1. Raise and suitably support thevehicle.
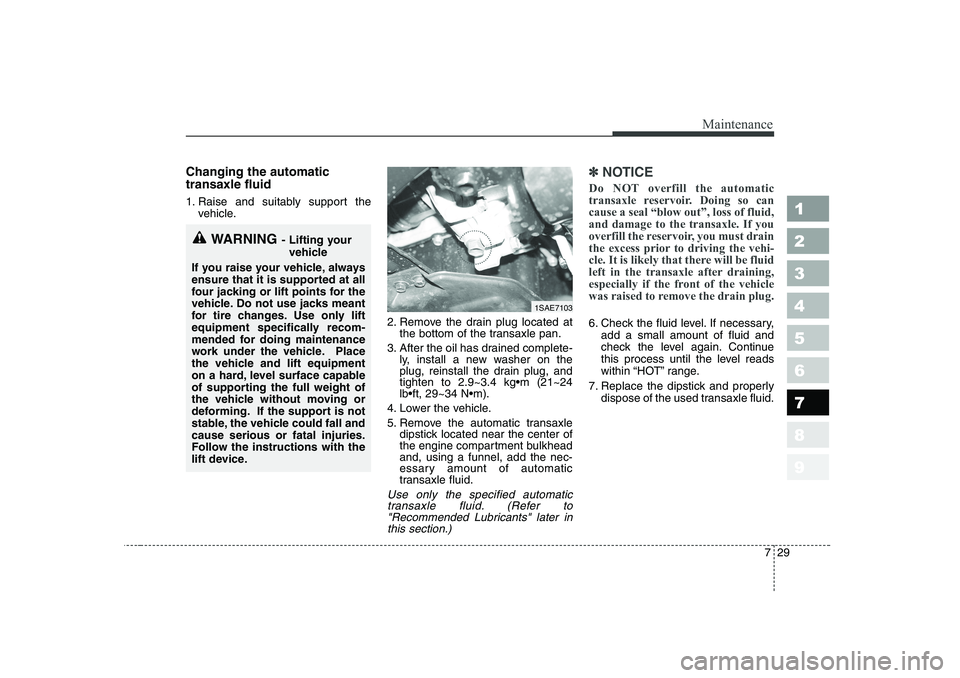
2. Remove the drain plug located atthe bottom of the transaxle pan.
3. After the oil has drained complete- ly, install a new washer on the
plug, reinstall the drain plug, andtighten to 2.9~3.4 kgm (21~24lbft, 29~34 Nm).
4. Lower the vehicle.
5. Remove the automatic transaxle dipstick located near the center of
the engine compartment bulkheadand, using a funnel, add the nec-
essary amount of automatic
transaxle fluid.
Use only the specified automatic
transaxle fluid. (Refer to"Recommended Lubricants" later inthis section.)
✽✽ NOTICE
Do NOT overfill the automatic
transaxle reservoir. Doing so cancause a seal “blow out”, loss of fluid,and damage to the transaxle. If you
overfill the reservoir, you must drain
the excess prior to driving the vehi-
cle. It is likely that there will be fluid
left in the transaxle after draining,
especially if the front of the vehicle
was raised to remove the drain plug.
6. Check the fluid level. If necessary, add a small amount of fluid and
check the level again. Continue
this process until the level reads
within “HOT” range.
7. Replace the dipstick and properly dispose of the used transaxle fluid.
1 23456789
WARNING - Lifting your
vehicle
If you raise your vehicle, always
ensure that it is supported at all
four jacking or lift points for the
vehicle. Do not use jacks meant
for tire changes. Use only lift
equipment specifically recom-
mended for doing maintenance
work under the vehicle. Place
the vehicle and lift equipment
on a hard, level surface capable
of supporting the full weight of
the vehicle without moving or
deforming. If the support is not
stable, the vehicle could fall andcause serious or fatal injuries.
Follow the instructions with the
lift device.
1SAE7103
Page 243 of 281
Maintenance
30
7
1 23456789
LUBRICANTS AND FLUIDS
Checking the washer fluid
level
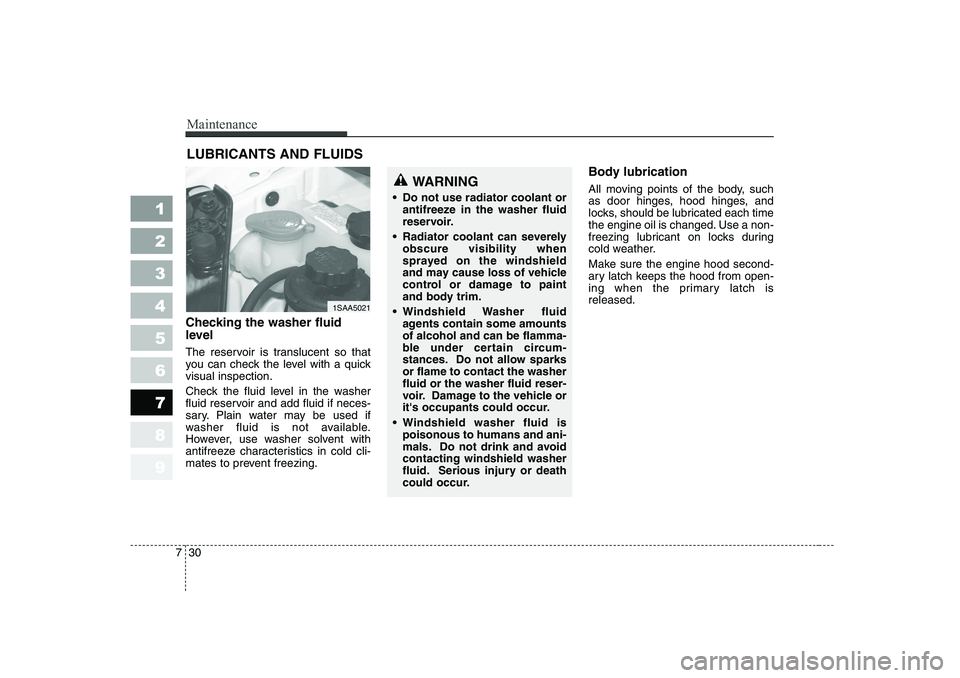
The reservoir is translucent so that
you can check the level with a quickvisual inspection.
Check the fluid level in the washer
fluid reservoir and add fluid if neces-
sary. Plain water may be used if
washer fluid is not available.
However, use washer solvent with
antifreeze characteristics in cold cli-
mates to prevent freezing. Body lubrication
All moving points of the body, such
as door hinges, hood hinges, and
locks, should be lubricated each time
the engine oil is changed. Use a non-
freezing lubricant on locks during
cold weather.
Make sure the engine hood second-
ary latch keeps the hood from open-
ing when the primary latch isreleased.
1SAA5021
WARNING
Do not use radiator coolant or antifreeze in the washer fluid
reservoir.
Radiator coolant can severely obscure visibility when
sprayed on the windshield
and may cause loss of vehicle
control or damage to paint
and body trim.
Windshield Washer fluid agents contain some amountsof alcohol and can be flamma-
ble under certain circum-
stances. Do not allow sparksor flame to contact the washerfluid or the washer fluid reser-
voir. Damage to the vehicle or
it's occupants could occur.
Windshield washer fluid is poisonous to humans and ani-
mals. Do not drink and avoidcontacting windshield washer
fluid. Serious injury or death
could occur.
Page 244 of 281
731
Maintenance
1 23456789
FUEL FILTER (FOR DIESEL)
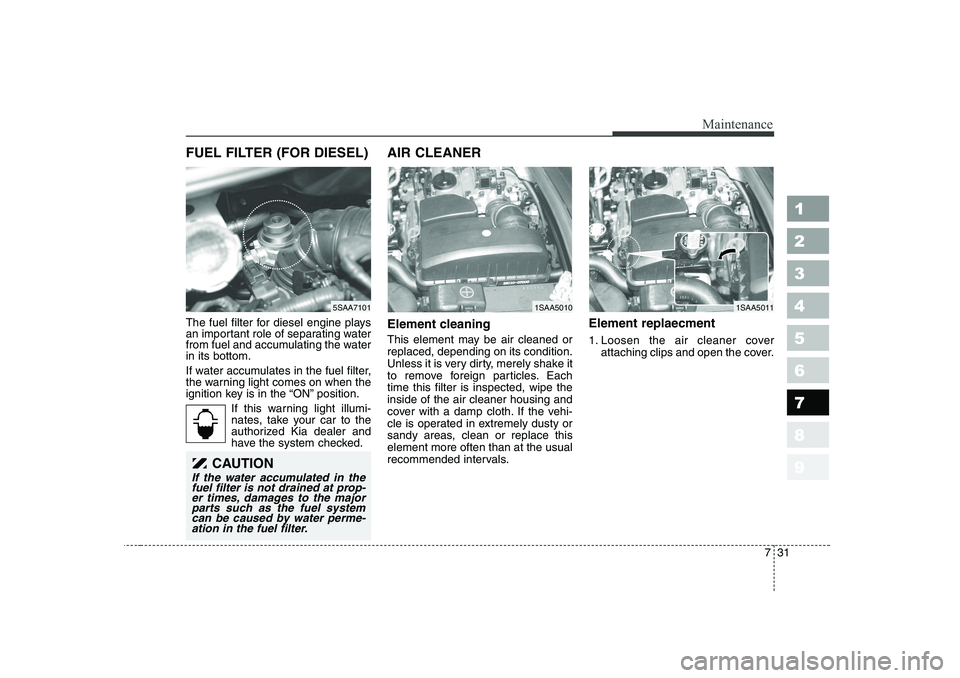
The fuel filter for diesel engine plays
an important role of separating water
from fuel and accumulating the waterin its bottom.
If water accumulates in the fuel filter,
the warning light comes on when the
ignition key is in the “ON” position.If this warning light illumi-
nates, take your car to the
authorized Kia dealer and
have the system checked. AIR CLEANER
Element cleaning
This element may be air cleaned or replaced, depending on its condition.
Unless it is very dirty, merely shake it
to remove foreign particles. Eachtime this filter is inspected, wipe theinside of the air cleaner housing and
cover with a damp cloth. If the vehi-
cle is operated in extremely dusty or
sandy areas, clean or replace thiselement more often than at the usual
recommended intervals.
Element replaecment
1. Loosen the air cleaner cover
attaching clips and open the cover.
1SAA50105SAA71011SAA5011
CAUTION
If the water accumulated in thefuel filter is not drained at prop-er times, damages to the major parts such as the fuel systemcan be caused by water perme-ation in the fuel filter.
Page 245 of 281
Maintenance
32
7
1 23456789
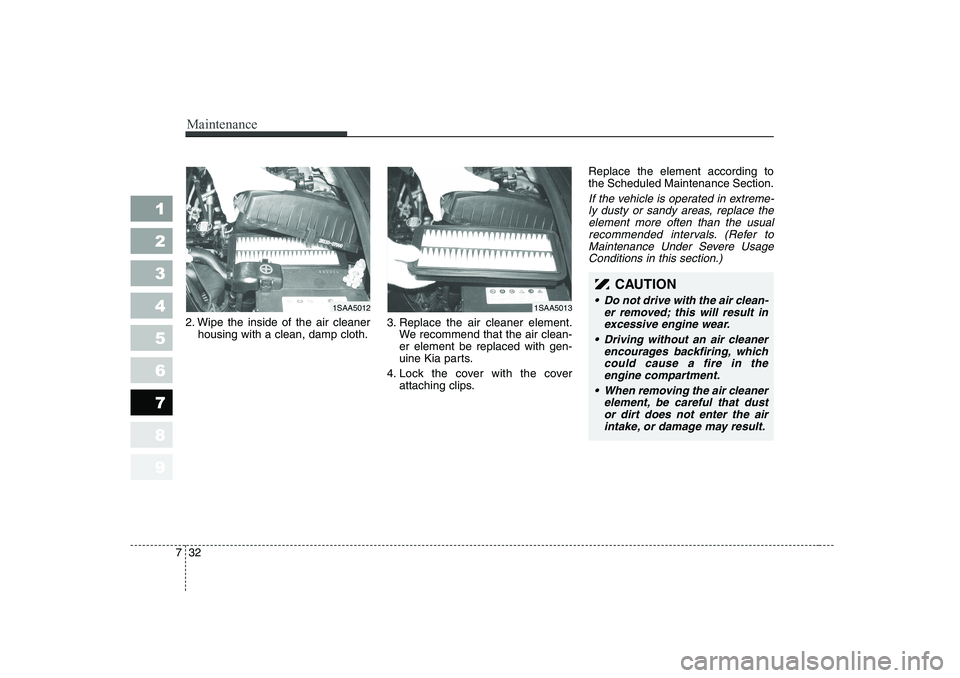
2. Wipe the inside of the air cleaner
housing with a clean, damp cloth. 3. Replace the air cleaner element.
We recommend that the air clean- er element be replaced with gen-
uine Kia parts.
4. Lock the cover with the cover attaching clips. Replace the element according tothe Scheduled Maintenance Section.
If the vehicle is operated in extreme-
ly dusty or sandy areas, replace theelement more often than the usualrecommended intervals. (Refer to Maintenance Under Severe UsageConditions in this section.)
1SAA5013
CAUTION
Do not drive with the air clean- er removed; this will result inexcessive engine wear.
Driving without an air cleaner encourages backfiring, whichcould cause a fire in theengine compartment.
When removing the air cleaner element, be careful that dustor dirt does not enter the air intake, or damage may result.1SAA5012
Page 246 of 281
733
Maintenance
1 23456789
CLIMATE CONTROL AIR FILTER (IF EQUIPPED)
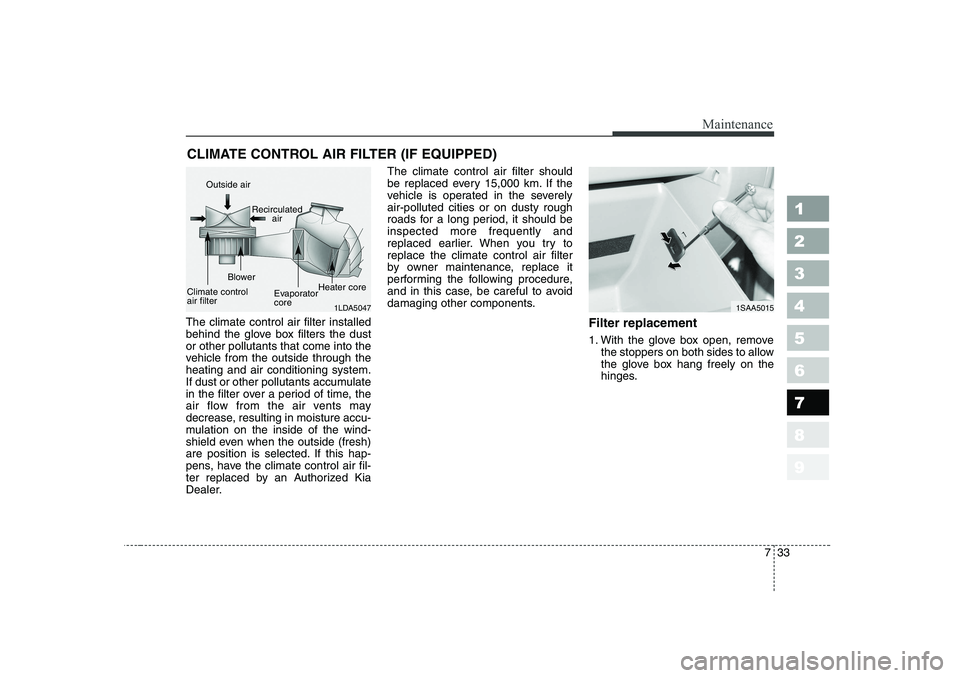
The climate control air filter installed
behind the glove box filters the dustor other pollutants that come into the
vehicle from the outside through theheating and air conditioning system.
If dust or other pollutants accumulate
in the filter over a period of time, the
air flow from the air vents may
decrease, resulting in moisture accu-
mulation on the inside of the wind-
shield even when the outside (fresh)
are position is selected. If this hap-
pens, have the climate control air fil-
ter replaced by an Authorized Kia
Dealer. The climate control air filter should
be replaced every 15,000 km. If the
vehicle is operated in the severelyair-polluted cities or on dusty rough
roads for a long period, it should beinspected more frequently and
replaced earlier. When you try toreplace the climate control air filter
by owner maintenance, replace it
performing the following procedure,
and in this case, be careful to avoid
damaging other components.
Filter replacement
1. With the glove box open, removethe stoppers on both sides to allow
the glove box hang freely on the
hinges.
1LDA5047
Outside air
Recirculatedair
Climate control air filter Blower
EvaporatorcoreHeater core1SAA5015
Page 247 of 281
Maintenance
34
7
1 23456789
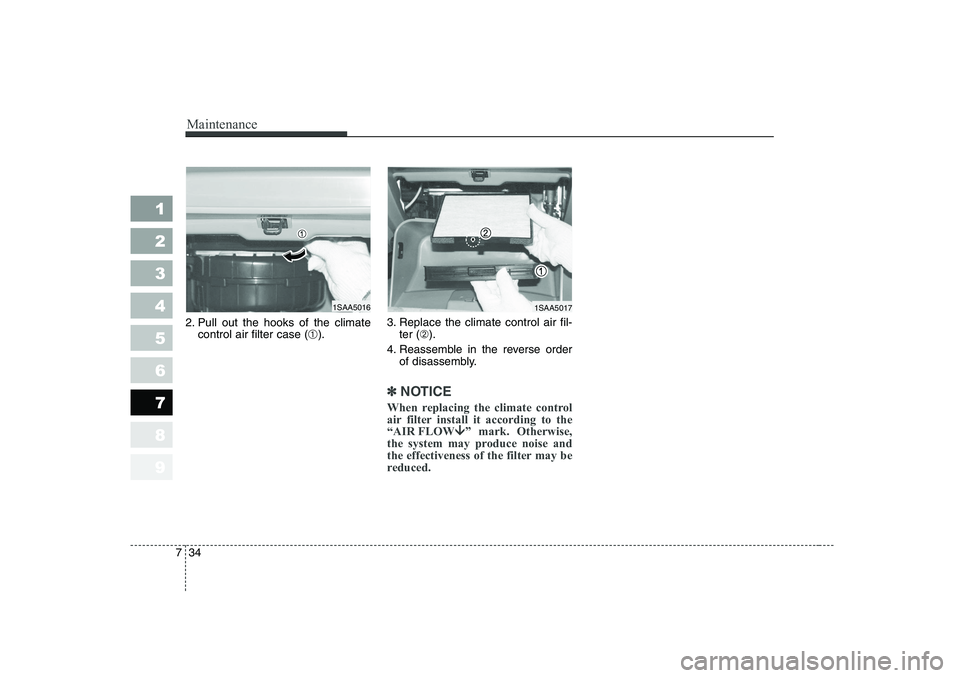
2. Pull out the hooks of the climate
control air filter case ( ➀). 3. Replace the climate control air fil-
ter ( ➁).
4. Reassemble in the reverse order of disassembly.
✽✽ NOTICE
When replacing the climate control
air filter install it according to the
“AIR FLOW
�È ” mark. Otherwise,
the system may produce noise and
the effectiveness of the filter may be
reduced.
1SAA50161SAA5017
Page 248 of 281
735
Maintenance
1 23456789
WIPER BLADES
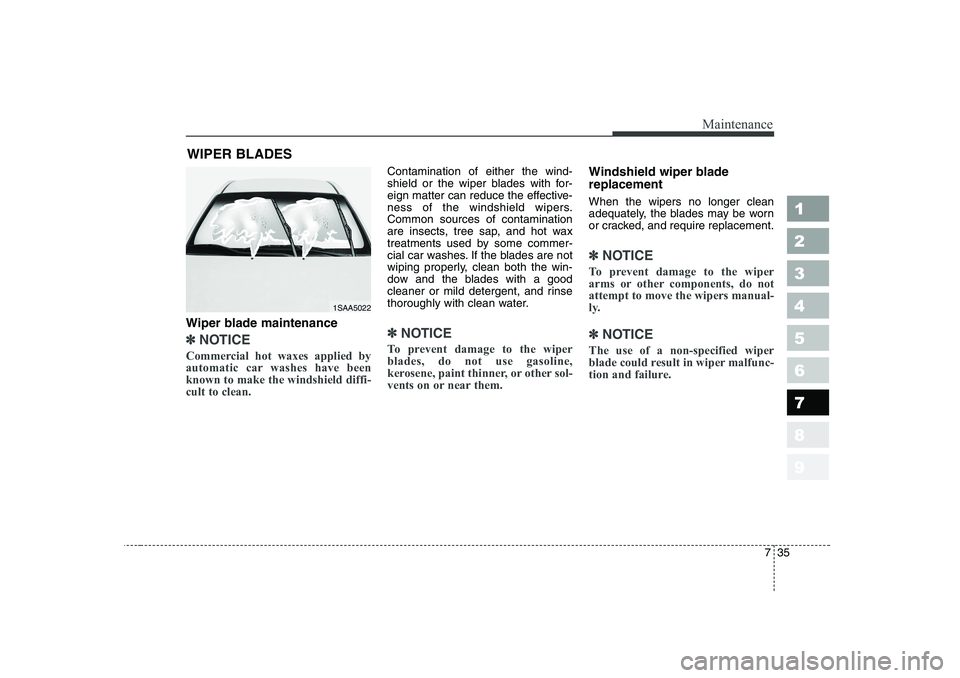
Wiper blade maintenance
✽✽ NOTICE
Commercial hot waxes applied by
automatic car washes have beenknown to make the windshield diffi-cult to clean.
Contamination of either the wind-
shield or the wiper blades with for-
eign matter can reduce the effective-
ness of the windshield wipers.Common sources of contamination
are insects, tree sap, and hot wax
treatments used by some commer-
cial car washes. If the blades are not
wiping properly, clean both the win-
dow and the blades with a good
cleaner or mild detergent, and rinse
thoroughly with clean water.
✽✽ NOTICE
To prevent damage to the wiper blades, do not use gasoline,
kerosene, paint thinner, or other sol-
vents on or near them.
Windshield wiper blade replacement When the wipers no longer clean
adequately, the blades may be worn
or cracked, and require replacement.
✽✽ NOTICE
To prevent damage to the wiper
arms or other components, do notattempt to move the wipers manual-
ly.
✽
✽ NOTICE
The use of a non-specified wiper
blade could result in wiper malfunc-
tion and failure.
1SAA5022
Page 249 of 281
Maintenance
36
7
1 23456789
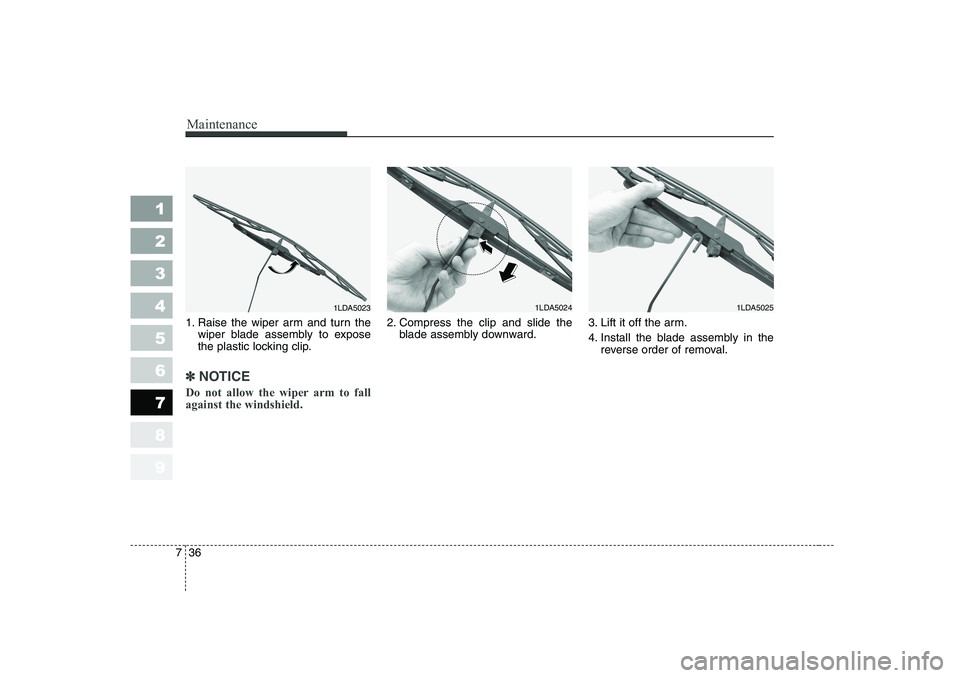
1. Raise the wiper arm and turn the
wiper blade assembly to expose
the plastic locking clip.
✽✽ NOTICE
Do not allow the wiper arm to fall against the windshield.
2. Compress the clip and slide the blade assembly downward. 3. Lift it off the arm.
4. Install the blade assembly in the
reverse order of removal.
1LDA50231LDA50241LDA5025
Page 250 of 281
737
Maintenance
1 23456789
BATTERY
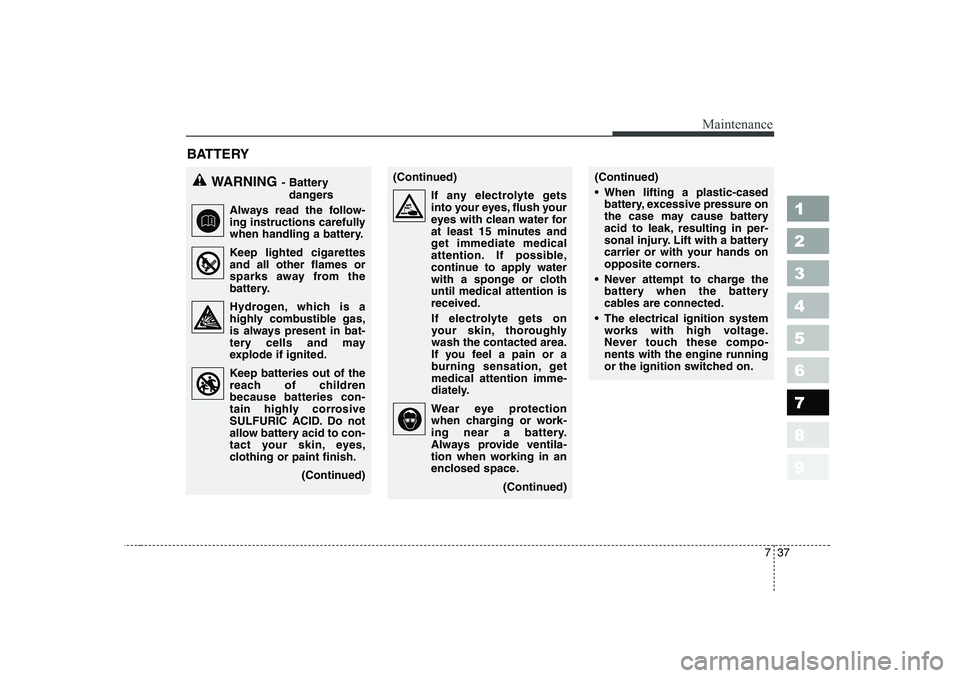
WARNING- Battery
dangers
Always read the follow-
ing instructions carefully
when handling a battery.
Keep lighted cigarettes and all other flames or
sparks away from the
battery.
Hydrogen, which is a highly combustible gas,
is always present in bat-
tery cells and may
explode if ignited.
Keep batteries out of the reach of children because batteries con-
tain highly corrosive
SULFURIC ACID. Do not
allow battery acid to con-
tact your skin, eyes,
clothing or paint finish.
(Continued)(Continued)If any electrolyte getsinto your eyes, flush your
eyes with clean water for
at least 15 minutes and
get immediate medical
attention. If possible,
continue to apply water
with a sponge or clothuntil medical attention isreceived.
If electrolyte gets on
your skin, thoroughlywash the contacted area.
If you feel a pain or a
burning sensation, getmedical attention imme-
diately.
Wear eye protection when charging or work-
ing near a battery.
Always provide ventila-
tion when working in an
enclosed space.
(Continued)(Continued)
When lifting a plastic-casedbattery, excessive pressure on
the case may cause battery
acid to leak, resulting in per-
sonal injury. Lift with a battery
carrier or with your hands on
opposite corners.
Never attempt to charge the battery when the battery
cables are connected.
The electrical ignition system works with high voltage.
Never touch these compo-nents with the engine running
or the ignition switched on.