KIA PICANTO 2008 Owners Manual
Manufacturer: KIA, Model Year: 2008, Model line: PICANTO, Model: KIA PICANTO 2008Pages: 335, PDF Size: 12.98 MB
Page 91 of 335
Features of your vehicle
20
4
D130200ASA
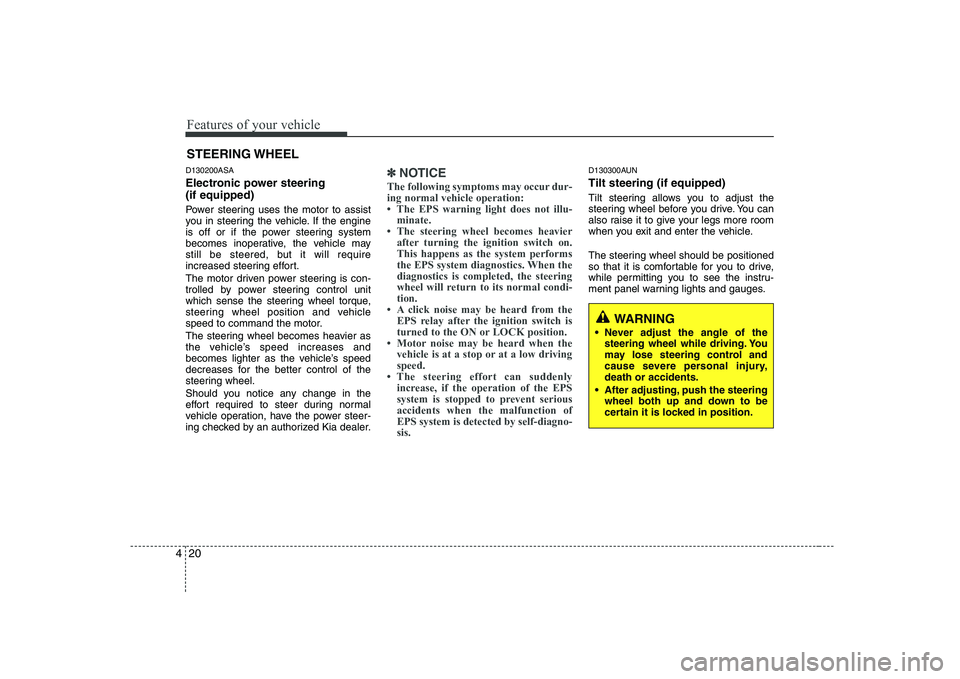
Electronic power steering (if equipped)
Power steering uses the motor to assist
you in steering the vehicle. If the engine
is off or if the power steering system
becomes inoperative, the vehicle may
still be steered, but it will require
increased steering effort.
The motor driven power steering is con-
trolled by power steering control unit
which sense the steering wheel torque,
steering wheel position and vehicle
speed to command the motor.
The steering wheel becomes heavier as
the vehicle’s speed increases and
becomes lighter as the vehicle’s speed
decreases for the better control of the
steering wheel.
Should you notice any change in the
effort required to steer during normal
vehicle operation, have the power steer-
ing checked by an authorized Kia dealer.✽✽
NOTICE
The following symptoms may occur dur- ing normal vehicle operation:
Page 92 of 335
421
Features of your vehicle
D130301AEN
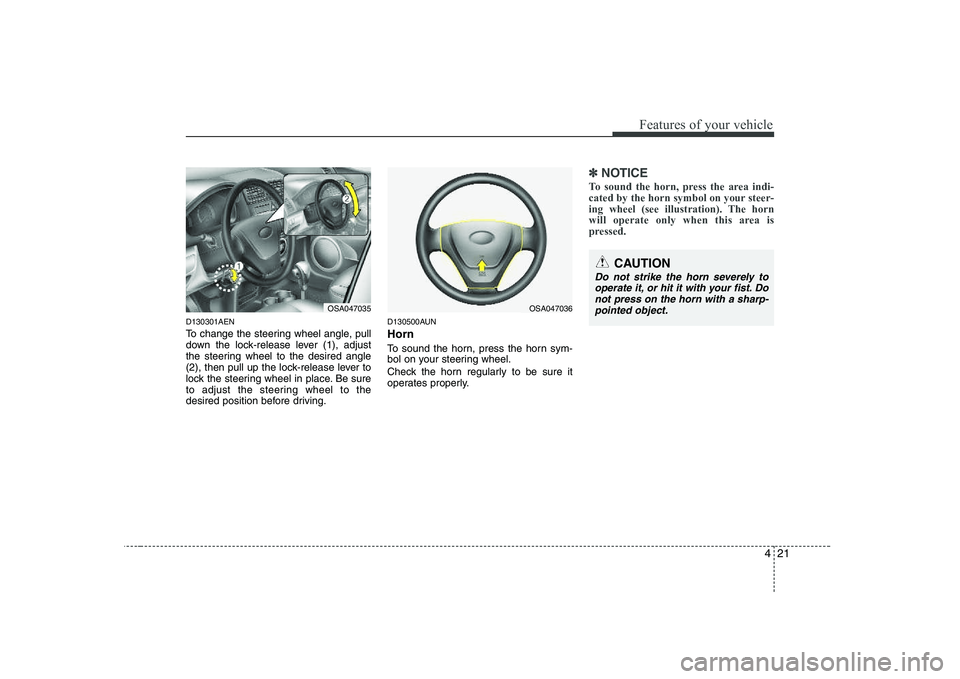
To change the steering wheel angle, pull
down the lock-release lever (1), adjust
the steering wheel to the desired angle
(2), then pull up the lock-release lever to
lock the steering wheel in place. Be sure
to adjust the steering wheel to the
desired position before driving.D130500AUN Horn
To sound the horn, press the horn sym-
bol on your steering wheel.
Check the horn regularly to be sure it
operates properly.
✽✽
NOTICE
To sound the horn, press the area indi-
cated by the horn symbol on your steer-
ing wheel (see illustration). The horn
will operate only when this area is
pressed.
OSA047035
CAUTION
Do not strike the horn severely to operate it, or hit it with your fist. Donot press on the horn with a sharp- pointed object.
OSA047036
Page 93 of 335
Features of your vehicle
22
4
D140100ASA
Inside rearview mirror
Adjust the rearview mirror so that the
center view through the rear window is
seen. Make this adjustment before you
start driving.
D140101ASA
Day/night rearview mirror
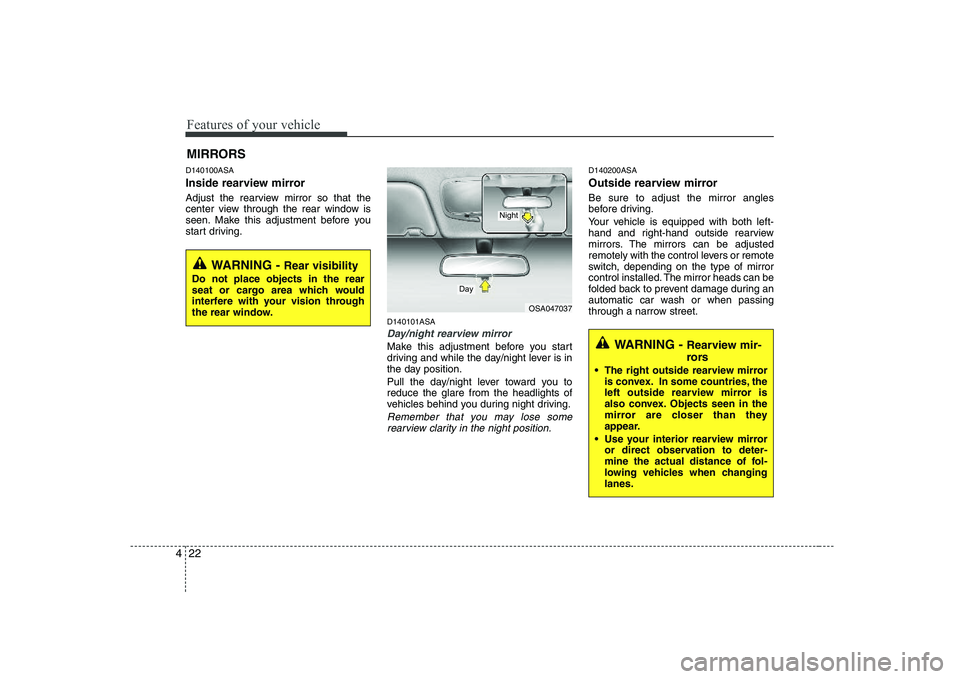
Make this adjustment before you start
driving and while the day/night lever is in
the day position.
Pull the day/night lever toward you to reduce the glare from the headlights of
vehicles behind you during night driving.
Remember that you may lose somerearview clarity in the night position.
D140200ASA
Outside rearview mirror Be sure to adjust the mirror angles
before driving.
Your vehicle is equipped with both left-
hand and right-hand outside rearview
mirrors. The mirrors can be adjusted
remotely with the control levers or remote
switch, depending on the type of mirror
control installed. The mirror heads can be
folded back to prevent damage during an
automatic car wash or when passing
through a narrow street.
MIRRORS
WARNING -
Rear visibility
Do not place objects in the rear
seat or cargo area which would
interfere with your vision through
the rear window.
OSA047037
Day
Night
WARNING - Rearview mir-
rors
The right outside rearview mirror is convex. In some countries, the
left outside rearview mirror is
also convex. Objects seen in the
mirror are closer than they
appear.
Use your interior rearview mirror or direct observation to deter-
mine the actual distance of fol-
lowing vehicles when changinglanes.
Page 94 of 335
423
Features of your vehicle
D140201APA
Adjusting the outside rearview mirror
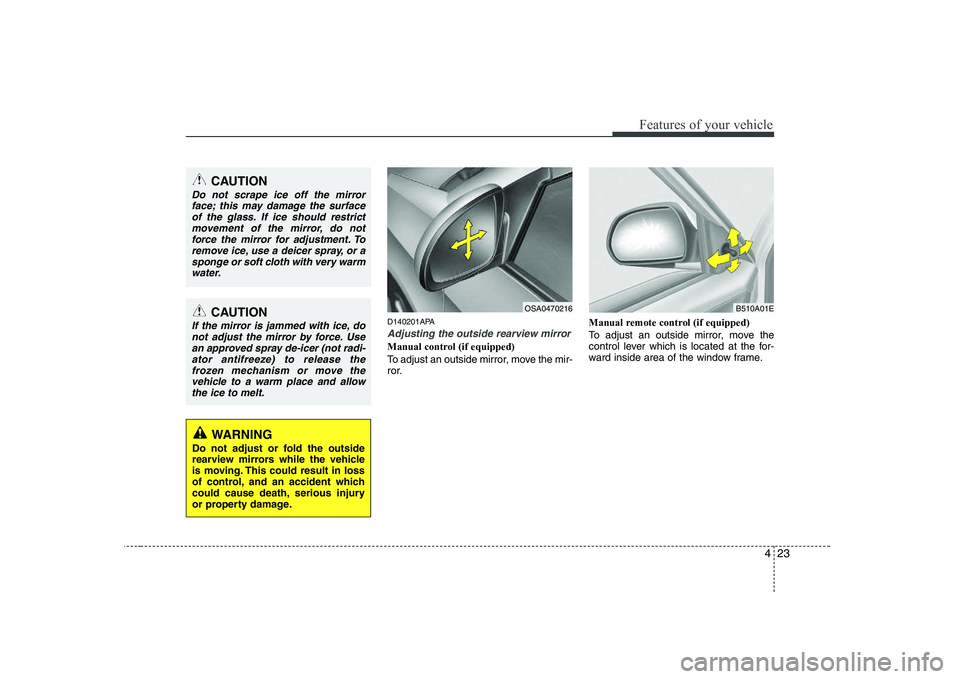
Manual control (if equipped)
To adjust an outside mirror, move the mir-
ror.Manual remote control (if equipped)
To adjust an outside mirror, move the
control lever which is located at the for-
ward inside area of the window frame.
CAUTION
Do not scrape ice off the mirror
face; this may damage the surface of the glass. If ice should restrictmovement of the mirror, do not
force the mirror for adjustment. Toremove ice, use a deicer spray, or asponge or soft cloth with very warmwater.
CAUTION
If the mirror is jammed with ice, do not adjust the mirror by force. Usean approved spray de-icer (not radi-
ator antifreeze) to release the frozen mechanism or move thevehicle to a warm place and allowthe ice to melt.
WARNING
Do not adjust or fold the outside
rearview mirrors while the vehicle
is moving. This could result in loss
of control, and an accident which
could cause death, serious injury
or property damage.
OSA0470216B510A01E
Page 95 of 335
Features of your vehicle
24
4
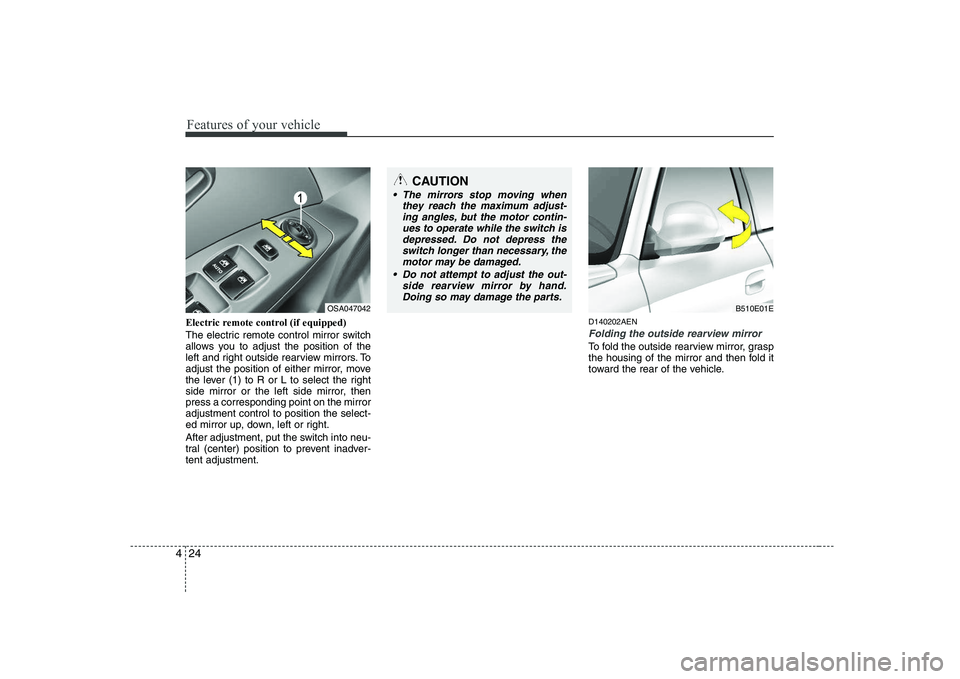
Electric remote control (if equipped)
The electric remote control mirror switch
allows you to adjust the position of the
left and right outside rearview mirrors. To
adjust the position of either mirror, move
the lever (1) to R or L to select the right
side mirror or the left side mirror, thenpress a corresponding point on the mirroradjustment control to position the select-
ed mirror up, down, left or right.
After adjustment, put the switch into neu-
tral (center) position to prevent inadver-tent adjustment. D140202AEN
Folding the outside rearview mirror
To fold the outside rearview mirror, grasp
the housing of the mirror and then fold it
toward the rear of the vehicle.
OSA047042
CAUTION
The mirrors stop moving when
they reach the maximum adjust-ing angles, but the motor contin-ues to operate while the switch is
depressed. Do not depress the switch longer than necessary, themotor may be damaged.
Do not attempt to adjust the out- side rearview mirror by hand.
Doing so may damage the parts.
B510E01E
Page 96 of 335
425
Features of your vehicle
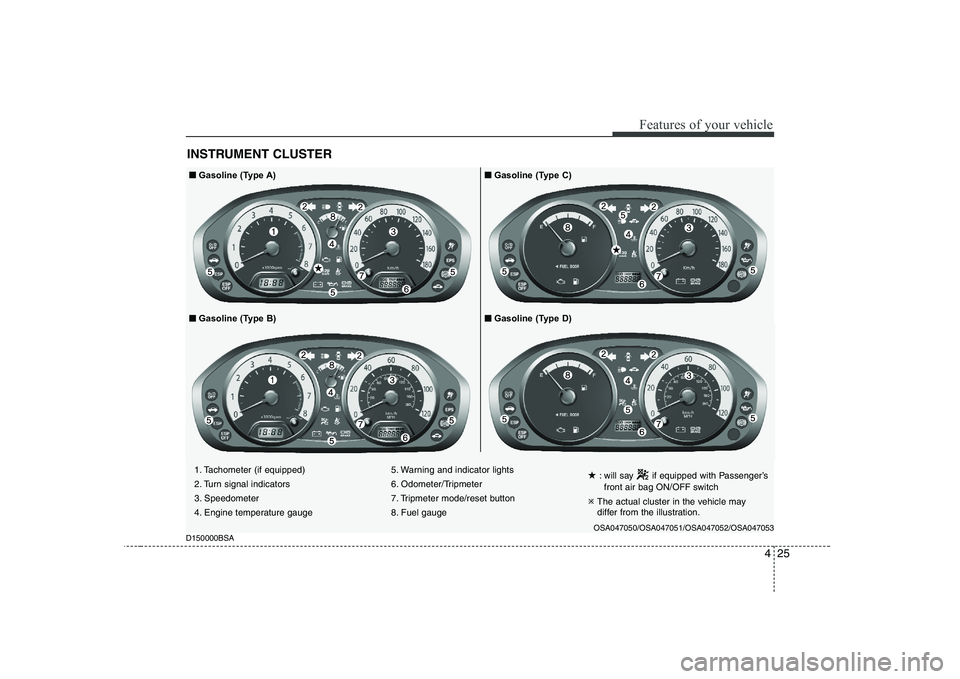
INSTRUMENT CLUSTER
■■Gasoline (Type A)■■Gasoline (Type C)
■
■ Gasoline (Type D)
■■
Gasoline (Type B)
★
★
1. Tachometer (if equipped)
2. Turn signal indicators
3. Speedometer
4. Engine temperature gauge 5. Warning and indicator lights
6. Odometer/Tripmeter
7. Tripmeter mode/reset button
8. Fuel gauge
★
: will say if equipped with Passenger’s
front air bag ON/OFF switch
�Ú The actual cluster in the vehicle may
differ from the illustration.
OSA047050/OSA047051/OSA047052/OSA047053
D150000BSA
Page 97 of 335
Features of your vehicle
26
4
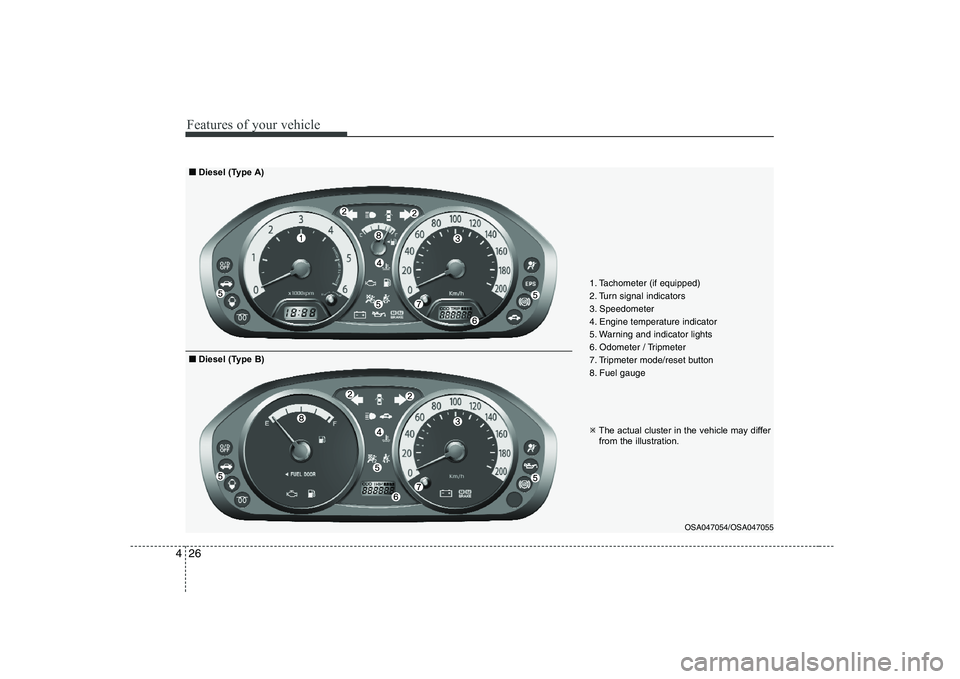
1. Tachometer (if equipped)
2. Turn signal indicators
3. Speedometer
4. Engine temperature indicator
5. Warning and indicator lights
6. Odometer / Tripmeter
7. Tripmeter mode/reset button
8. Fuel gauge
OSA047054/OSA047055
■■Diesel (Type A)
�ÚThe actual cluster in the vehicle may differ
from the illustration.
■
■
Diesel (Type B)
Page 98 of 335
427
Features of your vehicle
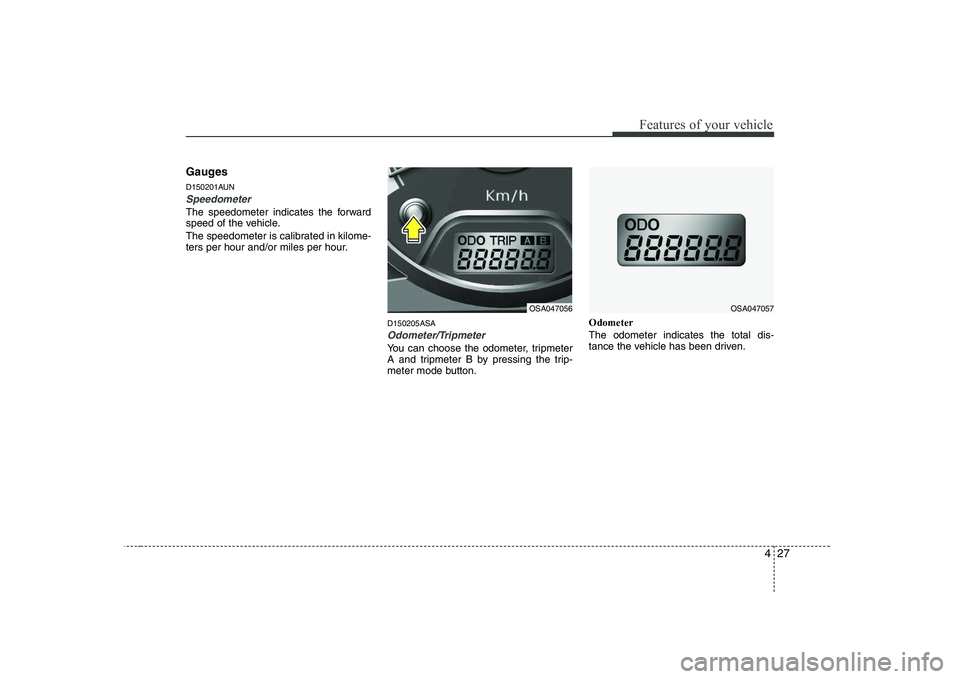
Gauges
D150201AUN
Speedometer
The speedometer indicates the forward
speed of the vehicle.
The speedometer is calibrated in kilome-
ters per hour and/or miles per hour.D150205ASA
Odometer/Tripmeter
You can choose the odometer, tripmeter
A and tripmeter B by pressing the trip-
meter mode button.Odometer The odometer indicates the total dis-
tance the vehicle has been driven.
OSA047056OSA047057
Page 99 of 335
Features of your vehicle
28
4
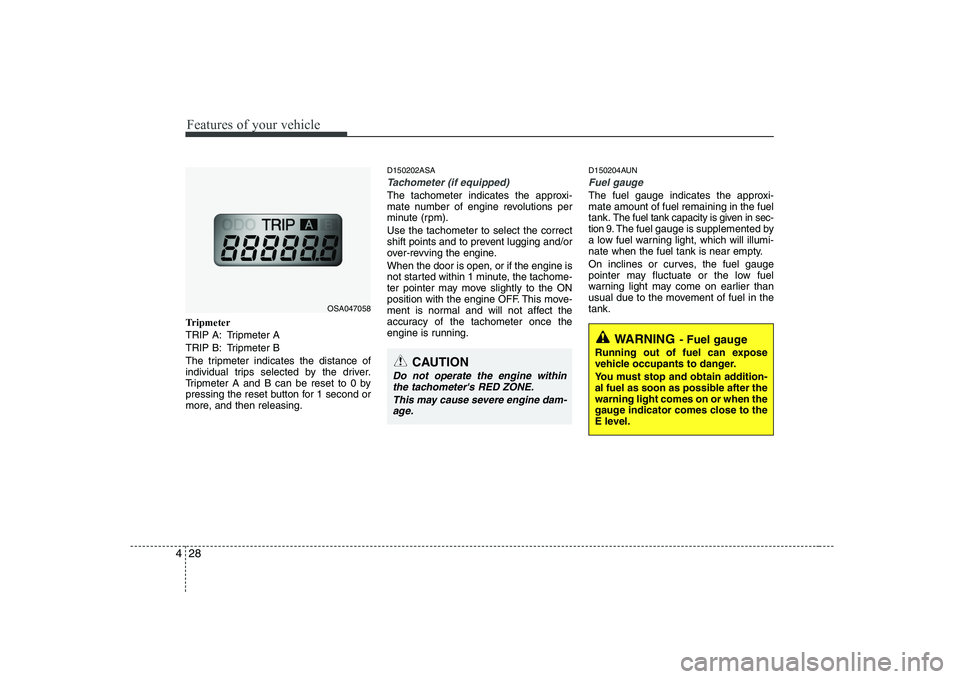
Tripmeter
TRIP A: Tripmeter A
TRIP B: Tripmeter B
The tripmeter indicates the distance of
individual trips selected by the driver.
Tripmeter A and B can be reset to 0 by
pressing the reset button for 1 second or
more, and then releasing. D150202ASA
Tachometer (if equipped)
The tachometer indicates the approxi-
mate number of engine revolutions per
minute (rpm). Use the tachometer to select the correct
shift points and to prevent lugging and/or
over-revving the engine. When the door is open, or if the engine is
not started within 1 minute, the tachome-
ter pointer may move slightly to the ON
position with the engine OFF. This move-
ment is normal and will not affect the
accuracy of the tachometer once the
engine is running.
D150204AUN
Fuel gauge
The fuel gauge indicates the approxi- mate amount of fuel remaining in the fueltank.
The fuel tank capacity is given in sec-
tion 9.The fuel gauge is supplemented by
a low fuel warning light, which will illumi-
nate when the fuel tank is near empty.
On inclines or curves, the fuel gauge
pointer may fluctuate or the low fuel
warning light may come on earlier than
usual due to the movement of fuel in thetank.
CAUTION
Do not operate the engine within
the tachometer's RED ZONE.
This may cause severe engine dam-age.
OSA047058
WARNING - Fuel gauge
Running out of fuel can expose
vehicle occupants to danger.
You must stop and obtain addition-
al fuel as soon as possible after thewarning light comes on or when the
gauge indicator comes close to the
E level.
Page 100 of 335
429
Features of your vehicle
D150300AUN
Warnings and indicators
All warning lights are checked by turning
the ignition switch ON (do not start the
engine). Any light that does not illuminate
should be checked by an authorized KIA
dealer.
After starting the engine, check to make
sure that all warning lights are off. If anyare still on, this indicates a situation that
needs attention. When releasing the
parking brake, the brake system warning
light should go off. The fuel warning light
will stay on if the fuel level is low.D150301ASA
Engine temperature
indicator
The indicator shows the temperature of the engine coolant when the ignition
switch is ON. The red indicator illuminates if the tem-
perature of the engine coolant is above117±3°C (240±5.5°F).
Do not continue driving with an overheat-
ed engine. If your vehicle overheats, refer
to “Overheating” in the Index.
✽✽ NOTICE
If the red engine temperature indicator illuminates, it indicates overheating thatmay damage the engine.
D150302AUN
Air bag warning light (if equipped)
This warning light will illuminate for
approximately 6 seconds each time you
turn the ignition switch to the ON posi-tion. This light also comes on when the
Supplemental Restraint System (SRS) is
not working properly. If the air bag warn-
ing light does not come on, or continu-
ously remains on after operating for
about 6 seconds when you turned the
ignition switch to the ON position or start-
ed the engine, or if it comes on while
driving, have the SRS inspected by an
authorized KIA dealer.
Red