ESP KIA Rio 2007 2.G User Guide
[x] Cancel search | Manufacturer: KIA, Model Year: 2007, Model line: Rio, Model: KIA Rio 2007 2.GPages: 221, PDF Size: 2.65 MB
Page 76 of 221
367
Knowing your vehicle
✽
✽NOTICE• Make sure to refuel with unleaded
fuel only.
• Check to make sure the fuel filler cap is securely closed after refueling. A
loose fuel filler cap may cause the
“Check fuel filler cap ( )” light in
the instrument panel to illuminate
unnecessarily.
• If the fuel filler cap requires replace- ment, use only a genuine Kia cap or
the equivalent specified for your vehi-
cle. An incorrect fuel filler cap can
result in a serious malfunction of the
fuel system or emission control sys-
tem.
• Do not spill fuel on the exterior sur- faces of the vehicle. Any type of fuel
spilled on painted surfaces may dam-
age the paint.
(Continued)
DO NOT use matches or a lighter
and DO NOT SMOKE or leave a lit
cigarette in your vehicle while at a
gas station especially during
refueling. Automotive fuel is high-
ly flammable and can, when ignit-
ed, result in fire.
If a fire breaks out during refuel- ing, leave the vicinity of the vehi-
cle, and immediately contact the
manager of the gas station and
then contact the local fire depart-
ment or 911.
(Continued)
Static electricity discharge from
the container can ignite fuel
vapors causing a fire. Once refu-
eling has begun, contact with the
vehicle should be maintained
until the filling is complete.
Use only portable plastic fuel
containers designed to carry and
store gasoline.
Do not use cellular phones while refueling. Electric current and/or
electronic interference from cellu-
lar phones can potentially ignite
fuel vapors causing a fire.
When refueling, always shut the engine off. Sparks produced by
electrical components related to
the engine can ignite fuel vapors
causing a fire. Once refueling is
complete, check to make sure the
filler cap and filler door are
securely closed, before starting
the engine.
(Continued)
Page 78 of 221
369
Knowing your vehicle
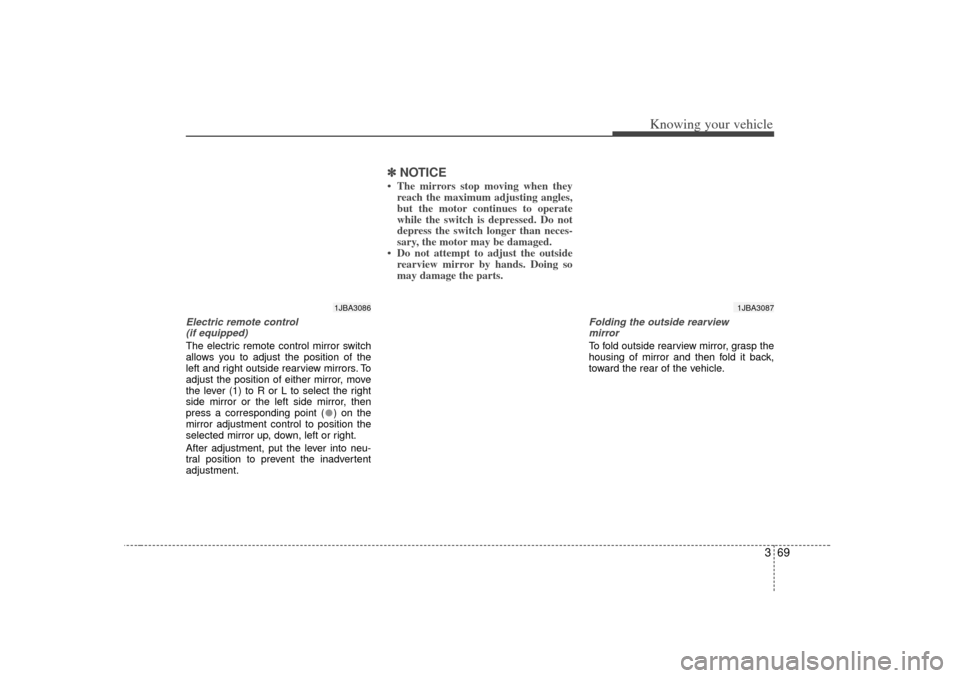
Electric remote control (if equipped)The electric remote control mirror switch
allows you to adjust the position of the
left and right outside rearview mirrors. To
adjust the position of either mirror, move
the lever (1) to R or L to select the right
side mirror or the left side mirror, then
press a corresponding point ( ) on the
mirror adjustment control to position the
selected mirror up, down, left or right.
After adjustment, put the lever into neu-
tral position to prevent the inadvertent
adjustment.
✽ ✽ NOTICE• The mirrors stop moving when they
reach the maximum adjusting angles,
but the motor continues to operate
while the switch is depressed. Do not
depress the switch longer than neces-
sary, the motor may be damaged.
• Do not attempt to adjust the outside rearview mirror by hands. Doing so
may damage the parts.
Folding the outside rearview
mirrorTo fold outside rearview mirror, grasp the
housing of mirror and then fold it back,
toward the rear of the vehicle.
1JBA3086
1JBA3087
Page 80 of 221
371
Knowing your vehicle
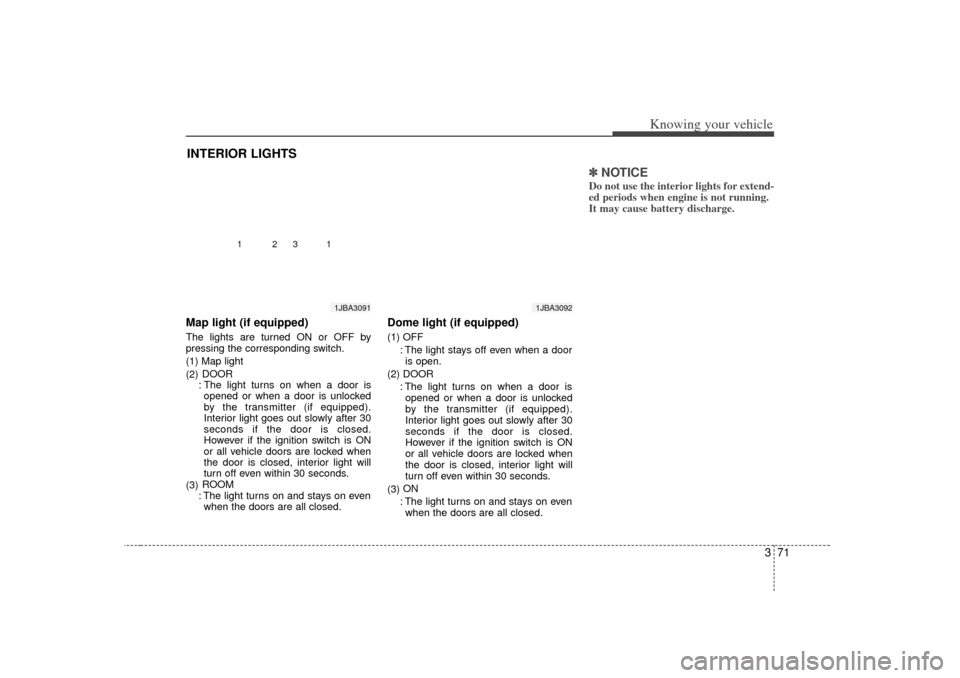
Map light (if equipped)The lights are turned ON or OFF by
pressing the corresponding switch.
(1) Map light
(2)DOOR
: The light turns on when a door is opened or when a door is unlocked
by the transmitter (if equipped).
Interior light goes out slowly after 30
seconds if the door is closed.
However if the ignition switch is ON
or all vehicle doors are locked when
the door is closed, interior light will
turn off even within 30 seconds.
(3) ROOM
: The light turns on and stays on even when the doors are all closed.
Dome light (if equipped)(1) OFF
: The light stays off even when a dooris open.
(2) DOOR : The light turns on when a door isopened or when a door is unlocked
by the transmitter (if equipped).
Interior light goes out slowly after 30
seconds if the door is closed.
However if the ignition switch is ON
or all vehicle doors are locked when
the door is closed, interior light will
turn off even within 30 seconds.
(3) ON
: The light turns on and stays on even when the doors are all closed.
✽ ✽ NOTICEDo not use the interior lights for extend-
ed periods when engine is not running.
It may cause battery discharge.
INTERIOR LIGHTS
1JBA3092
1JBA3091
1
1
2
3
Page 88 of 221
379
Knowing your vehicle
3. Insert the emergency handle (providedwith the vehicle) and turn the handle
clockwise to open or counterclockwise
to close.
Resetting the sunroofWhenever the vehicle battery is discon-
nected or discharged, or you use the
emergency handle to operate the sun-
roof, you have to reset your sunroof sys-
tem as follows:
1. Turn the ignition key to the ON posi-tion.
2. Set the sunroof to the maximum TILT- UP position using the corresponding
sunroof switch.
3. Then, release it.
4. Press and hold the TILT UP button once again until the sunroof has
returned to the original position of TILT
UP after it is raised a little higher than
the maximum TILT UP position. This
may take several seconds.
When this is complete, the sunroof system is reset.
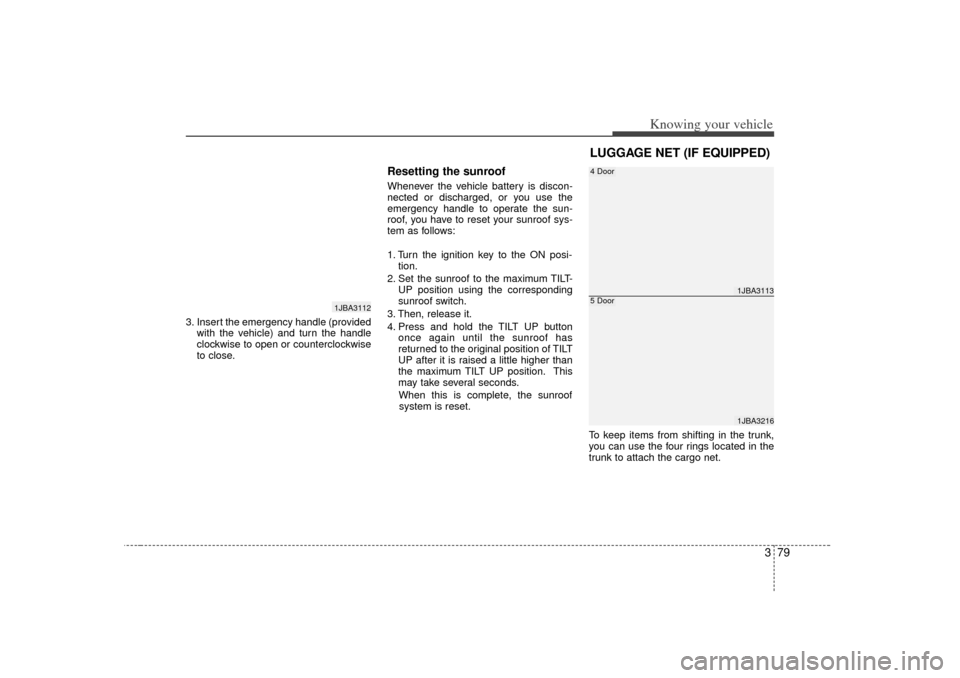
To keep items from shifting in the trunk,
you can use the four rings located in the
trunk to attach the cargo net.
1JBA3112
1JBA31131JBA3216
4 Door5 DoorLUGGAGE NET (IF EQUIPPED)
Page 95 of 221
Knowing your vehicle86
34. AUTO SEEK Select Button
(Automatic Channel Selection)Press the AUTO SEEK select button.
When the side is pressed, the unit
will automatically tune to the next higher
frequency and when the side is
pressed, it will automatically tune to the
next lower frequency.5. SCAN ButtonWhen you Press the button, frequency is
changed and the next channel is
received automatically.
To stay on a station, press the SCAN but-
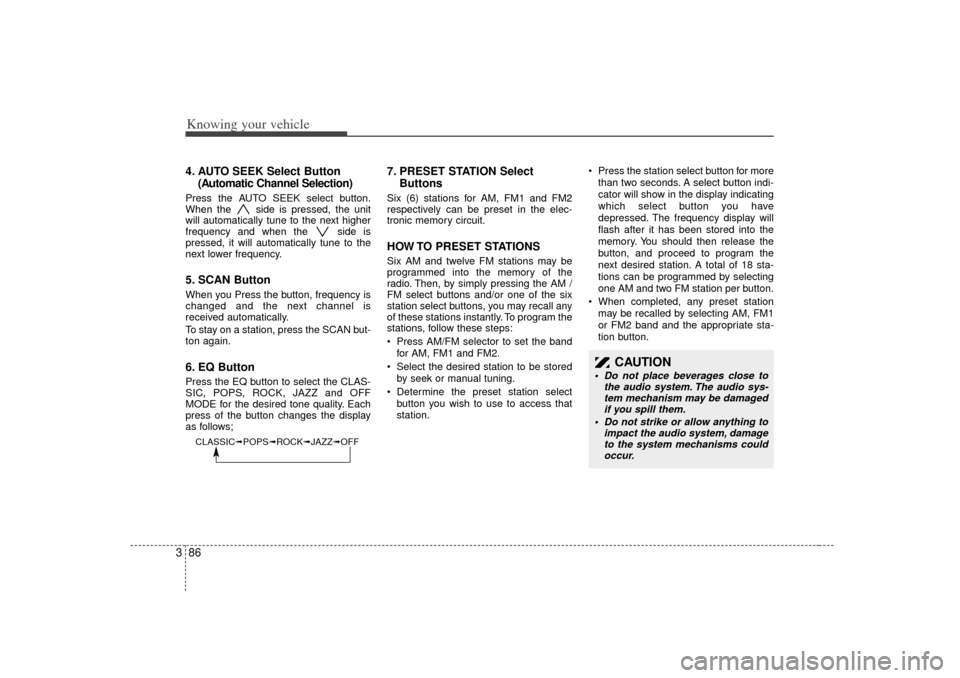
ton again.6. EQ ButtonPress the EQ button to select the CLAS-
SIC, POPS, ROCK, JAZZ and OFF
MODE for the desired tone quality. Each
press of the button changes the display
as follows;
7. PRESET STATION SelectButtonsSix (6) stations for AM, FM1 and FM2
respectively can be preset in the elec-
tronic memory circuit.HOW TO PRESET STATIONSSix AM and twelve FM stations may be
programmed into the memory of the
radio. Then, by simply pressing the AM /
FM select buttons and/or one of the six
station select buttons, you may recall any
of these stations instantly. To program the
stations, follow these steps:
Press AM/FM selector to set the band
for AM, FM1 and FM2.
Select the desired station to be stored
by seek or manual tuning.
Determine the preset station select
button you wish to use to access that
station.
Press the station select button for more
than two seconds. A select button indi-
cator will show in the display indicating
which select button you have
depressed. The frequency display will
flash after it has been stored into the
memory. You should then release the
button, and proceed to program the
next desired station. A total of 18 sta-
tions can be programmed by selecting
one AM and two FM station per button.
When completed, any preset station
may be recalled by selecting AM, FM1
or FM2 band and the appropriate sta-
tion button.
CAUTION
Do not place beverages close to
the audio system. The audio sys-tem mechanism may be damagedif you spill them.
Do not strike or allow anything to impact the audio system, damageto the system mechanisms could occur.
CLASSIC➟ POPS➟ROCK➟ JAZZ➟OFF
Page 101 of 221
Knowing your vehicle92
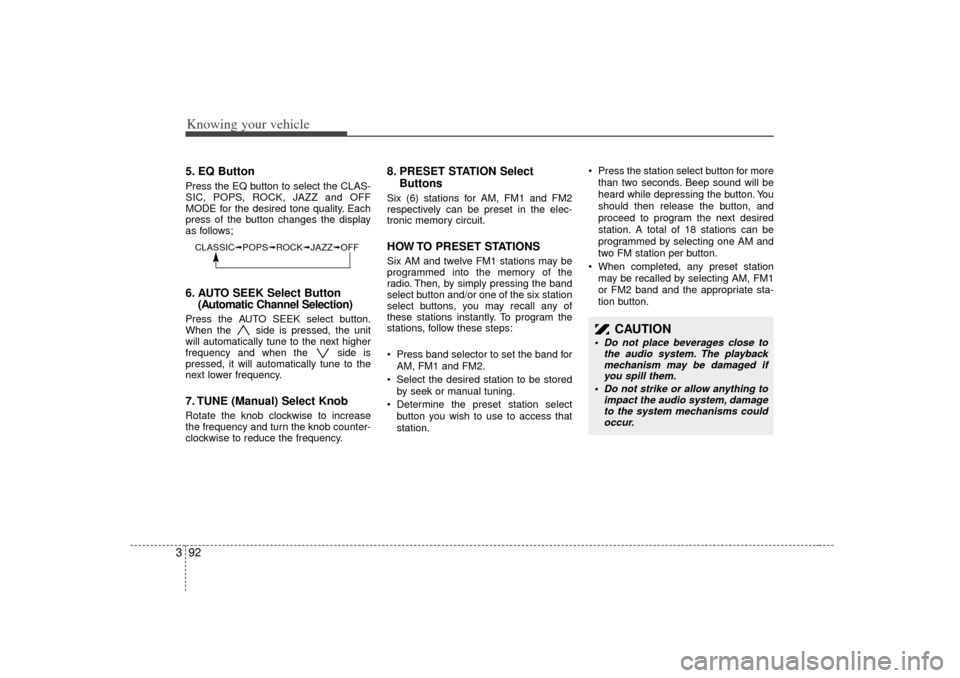
35. EQ ButtonPress the EQ button to select the CLAS-
SIC, POPS, ROCK, JAZZ and OFF
MODE for the desired tone quality. Each
press of the button changes the display
as follows;6. AUTO SEEK Select Button
(Automatic Channel Selection)Press the AUTO SEEK select button.
When the side is pressed, the unit
will automatically tune to the next higher
frequency and when the side is
pressed, it will automatically tune to the
next lower frequency.7. TUNE (Manual) Select KnobRotate the knob clockwise to increase
the frequency and turn the knob counter-
clockwise to reduce the frequency.
8. PRESET STATION Select
ButtonsSix (6) stations for AM, FM1 and FM2
respectively can be preset in the elec-
tronic memory circuit.HOW TO PRESET STATIONSSix AM and twelve FM1 stations may be
programmed into the memory of the
radio. Then, by simply pressing the band
select button and/or one of the six station
select buttons, you may recall any of
these stations instantly. To program the
stations, follow these steps:
Press band selector to set the band for
AM, FM1 and FM2.
Select the desired station to be stored
by seek or manual tuning.
Determine the preset station select
button you wish to use to access that
station.
Press the station select button for more
than two seconds. Beep sound will be
heard while depressing the button. You
should then release the button, and
proceed to program the next desired
station. A total of 18 stations can be
programmed by selecting one AM and
two FM station per button.
When completed, any preset station
may be recalled by selecting AM, FM1
or FM2 band and the appropriate sta-
tion button.
CAUTION
Do not place beverages close to
the audio system. The playbackmechanism may be damaged if you spill them.
Do not strike or allow anything to impact the audio system, damageto the system mechanisms could occur.
CLASSIC➟ POPS➟ROCK➟ JAZZ➟OFF
Page 115 of 221
47
Driving your vehicle
(Continued)
• Do not shift from N (Neutral) or P(Park) into D (Drive), or R (Reverse)
when the engine is above idle speed.Transaxle rangesP (Park)This position locks the transaxle and pre-
vents the front wheels from rotating.
Always come to a complete stop before
shifting into this position.
✽ ✽ NOTICEThe transaxle may be damaged if you
shift into P (Park) while the vehicle is in
motion.
R (Reverse)Use this position to drive the vehicle
backward.✽ ✽NOTICEAlways come to a complete stop before
shifting into or out of R (Reverse); you
may damage the transaxle if you shift
into R while the vehicle is in motion.N (Neutral)With the gearshift in the N position, the
wheels and transaxle are not locked. The
vehicle will roll freely even on the slight-
est incline unless the parking brake or
service brakes are applied.D (Drive)This is the normal forward driving posi-
tion. The transaxle will automatically shift
through a 4-gear sequence, providing the
best fuel economy and power.
For extra power when passing another
vehicle or climbing grades, depress the
accelerator fully, at which time the
transaxle will automatically downshift to
the next lower gear.
(Continued)
Before leaving the driver’s seat,
always make sure the shift lever
is in the P (Park) position. Set the
parking brake fully, shut the
engine off and take the key with
you. Unexpected and sudden
vehicle movement can occur if
you do not follow these precau-
tions in the order specified.
Never leave a child unattended in a vehicle.
WARNING
Shifting into P (Park) while thevehicle is in motion will cause the
drive wheels to lock which will
cause you to lose control of the
vehicle.
Do not use the P (Park) position in place of the parking brake.
Always make sure the shift lever
is latched in the P (Park) position
so that it cannot be moved unless
the lock release button is pushed
in, AND set the parking brake fully.
(Continued)
Page 120 of 221
Driving your vehicle12
4Parking on curbed streets When parking your vehicle on an uphill
grade, park as close to the curb as
possible and turn the front wheels
away from the curb so that the front
wheels will contact the curb if the vehi-
cle moves backward.
When parking your vehicle on a down- hill grade, park as close to the curb as
possible and turn the front wheels
toward the curb so that the front
wheels will contact the curb if the vehi-
cle moves forward.
Anti-lock brake system (ABS)
(if equipped)
The ABS continuously senses the speed
of the wheels. If the wheels are going to
lock, the ABS repeatedly modulates the
hydraulic brake pressure to the wheels.
When you apply your brakes under con-
ditions which may lock the wheels, you
may hear a “tik-tik’’ sound from the
brakes, or feel a corresponding sensation
in the brake pedal. This is normal and it
means your ABS is active.
In order to obtain the maximum benefit
from your ABS in an emergency situation,
do not attempt to modulate your brake
pressure and do not try to pump your
brakes. Press your brake pedal as hard
as possible or as hard as the situation
warrants and allow the ABS to control the
force being delivered to the brakes.
Even with the anti-lock brake system,your vehicle still requires sufficient
stopping distance. Always maintain a
safe distance from the vehicle in front
of you.
Always slow down when cornering. The anti-lock brake system cannot pre-
vent accidents resulting from exces-
sive speeds.
On loose or uneven road surfaces, operation of the anti-lock brake system
may result in a longer stopping dis-
tance than for vehicles equipped with a
conventional brake system.
WARNING
- ABS Brakes
Your ABS is not a substitute for
good driving judgement. You can
still have an accident. In fact, your
ABS will probably not be able to
prevent an accident in the following
driving conditions:
Dangerous driving, such asneglecting safety precautions,
speeding, or driving too close to
the vehicle in front of you.
Driving at high speed in situa- tions providing considerably less
traction, such as wet conditions
where hydroplaning could occur.
Driving too fast on poor road sur- faces. The ABS is designed to
improve maximum braking effec-
tiveness on typical highways and
roads in good condition. On poor
road surfaces, the ABS may actu-
ally reduce braking effectiveness.
Page 134 of 221
Driving your vehicle26
4Daytime running light
(if equipped)Daytime Running Lights (DRL) can
make it easier for others to see the front
of your vehicle during the day. DRL can
be helpful in many different driving condi-
tions, and it is especially helpful after
dawn and before sunset.
The DRL system will make your high-
beam headlights turn OFF when:
1. The head light switch is ON.
2. The parking brake engaged.
3. Engine stops.
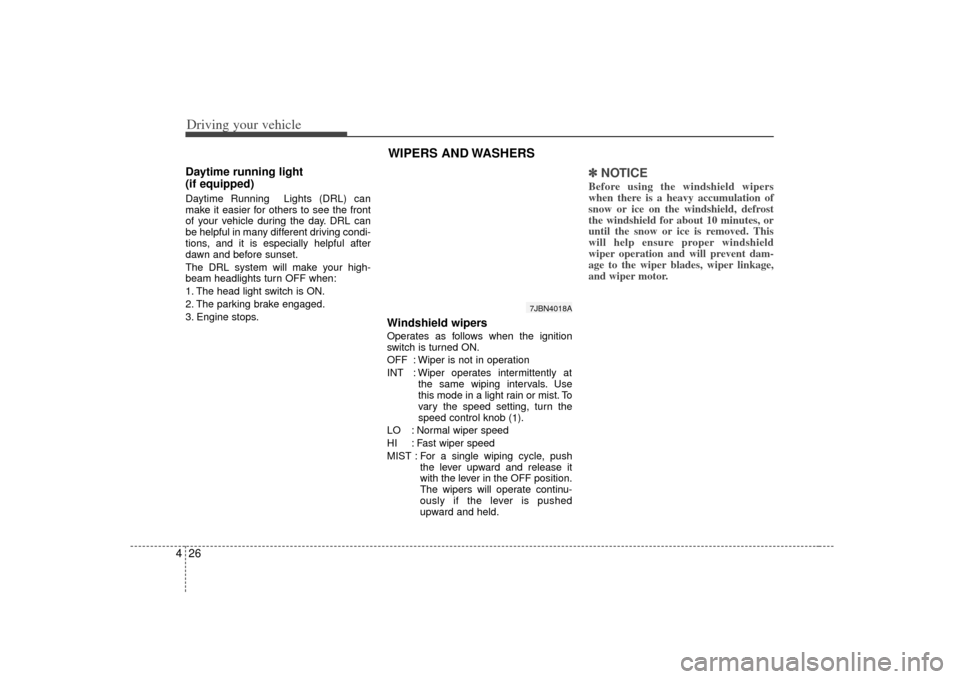
Windshield wipers Operates as follows when the ignition
switch is turned ON.
OFF : Wiper is not in operation
INT : Wiper operates intermittently at
the same wiping intervals. Use
this mode in a light rain or mist. To
vary the speed setting, turn the
speed control knob ( 1).
LO : Normal wiper speed
HI : Fast wiper speed
MIST : For a single wiping cycle, push the lever upward and release it
with the lever in the OFF position.
The wipers will operate continu-
ously if the lever is pushed
upward and held.
✽ ✽NOTICEBefore using the windshield wipers
when there is a heavy accumulation of
snow or ice on the windshield, defrost
the windshield for about 10 minutes, or
until the snow or ice is removed. This
will help ensure proper windshield
wiper operation and will prevent dam-
age to the wiper blades, wiper linkage,
and wiper motor.
WIPERS AND WASHERS
7JBN4018A
Page 145 of 221
437
Driving your vehicle
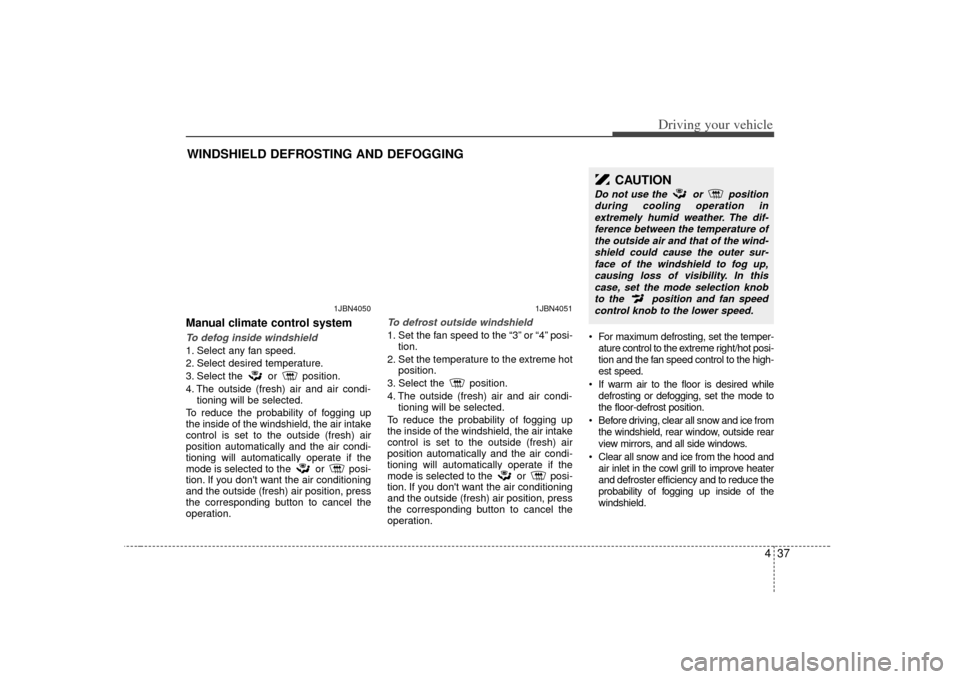
Manual climate control systemTo defog inside windshield 1. Select any fan speed.
2. Select desired temperature.
3. Select the or position.
4. The outside (fresh) air and air condi-tioning will be selected.
To reduce the probability of fogging up
the inside of the windshield, the air intake
control is set to the outside (fresh) air
position automatically and the air condi-
tioning will automatically operate if the
mode is selected to the or posi-
tion. If you don't want the air conditioning
and the outside (fresh) air position, press
the corresponding button to cancel the
operation.
To defrost outside windshield 1. Set the fan speed to the “3” or “4” posi- tion.
2. Set the temperature to the extreme hot position.
3. Select the position.
4. The outside (fresh) air and air condi- tioning will be selected.
To reduce the probability of fogging up
the inside of the windshield, the air intake
control is set to the outside (fresh) air
position automatically and the air condi-
tioning will automatically operate if the
mode is selected to the or posi-
tion. If you don't want the air conditioning
and the outside (fresh) air position, press
the corresponding button to cancel the
operation. For maximum defrosting, set the temper-
ature control to the extreme right/hot posi-
tion and the fan speed control to the high-
est speed.
If warm air to the floor is desired while defrosting or defogging, set the mode to
the floor-defrost position.
Before driving, clear all snow and ice from the windshield, rear window, outside rear
view mirrors, and all side windows.
Clear all snow and ice from the hood and air inlet in the cowl grill to improve heater
and defroster efficiency and to reduce the
probability of fogging up inside of the
windshield.
WINDSHIELD DEFROSTING AND DEFOGGING
1JBN4050
1JBN4051
CAUTION
Do not use the or position
during cooling operation inextremely humid weather. The dif-ference between the temperature ofthe outside air and that of the wind-shield could cause the outer sur-face of the windshield to fog up,causing loss of visibility. In thiscase, set the mode selection knobto the position and fan speedcontrol knob to the lower speed.