indicator KIA Rio 2009 2.G User Guide
[x] Cancel search | Manufacturer: KIA, Model Year: 2009, Model line: Rio, Model: KIA Rio 2009 2.GPages: 219, PDF Size: 2.47 MB
Page 126 of 219
Driving your vehicle20
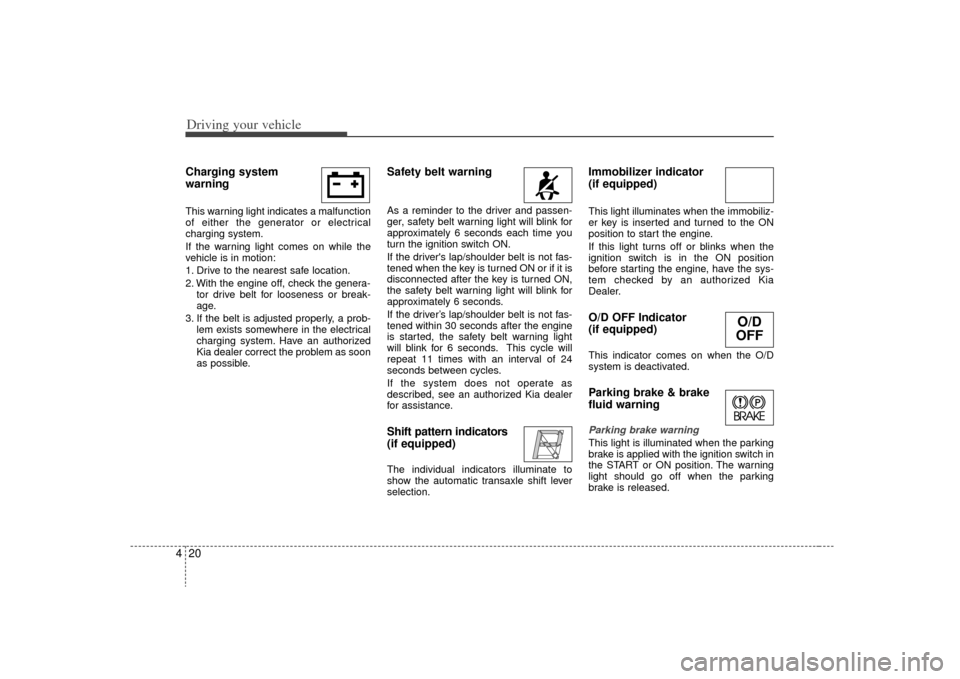
4Charging system
warning This warning light indicates a malfunction
of either the generator or electrical
charging system.
If the warning light comes on while the
vehicle is in motion:
1. Drive to the nearest safe location.
2. With the engine off, check the genera-
tor drive belt for looseness or break-
age.
3. If the belt is adjusted properly, a prob- lem exists somewhere in the electrical
charging system. Have an authorized
Kia dealer correct the problem as soon
as possible.
Safety belt warning As a reminder to the driver and passen-
ger, safety belt warning light will blink for
approximately 6 seconds each time you
turn the ignition switch ON.
If the driver's lap/shoulder belt is not fas-
tened when the key is turned ON or if it is
disconnected after the key is turned ON,
the safety belt warning light will blink for
approximately 6 seconds.
If the driver’s lap/shoulder belt is not fas-
tened within 30 seconds after the engine
is started, the safety belt warning light
will blink for 6 seconds. This cycle will
repeat 11 times with an interval of 24
seconds between cycles.
If the system does not operate as
described, see an authorized Kia dealer
for assistance.Shift pattern indicators
(if equipped)The individual indicators illuminate to
show the automatic transaxle shift lever
selection.
Immobilizer indicator
(if equipped)This light illuminates when the immobiliz-
er key is inserted and turned to the ON
position to start the engine.
If this light turns off or blinks when the
ignition switch is in the ON position
before starting the engine, have the sys-
tem checked by an authorized Kia
Dealer.O/D OFF Indicator
(if equipped)This indicator comes on when the O/D
system is deactivated.Parking brake & brake
fluid warning Parking brake warning This light is illuminated when the parking
brake is applied with the ignition switch in
the START or ON position. The warning
light should go off when the parking
brake is released.
O/D
OFF
Page 127 of 219
421
Driving your vehicle
Low brake fluid level warningIf the warning light remains on, it may
indicate that the brake fluid level in the
reservoir is low.
If the warning light remains on:
1. Drive carefully to the nearest safelocation and stop your vehicle.
2. With the engine stopped, check the brake fluid level immediately and add
fluid as required. Then check all brake
components for fluid leaks.
3. Do not drive the vehicle if leaks are found, the warning light remains on or
the brakes do not operate properly.
Have it towed to any authorized Kia
dealer for a brake system inspection
and necessary repairs.
To check bulb operation, check whether
the parking brake and brake fluid warning
light illuminates when the ignition switch
is in the ON position.
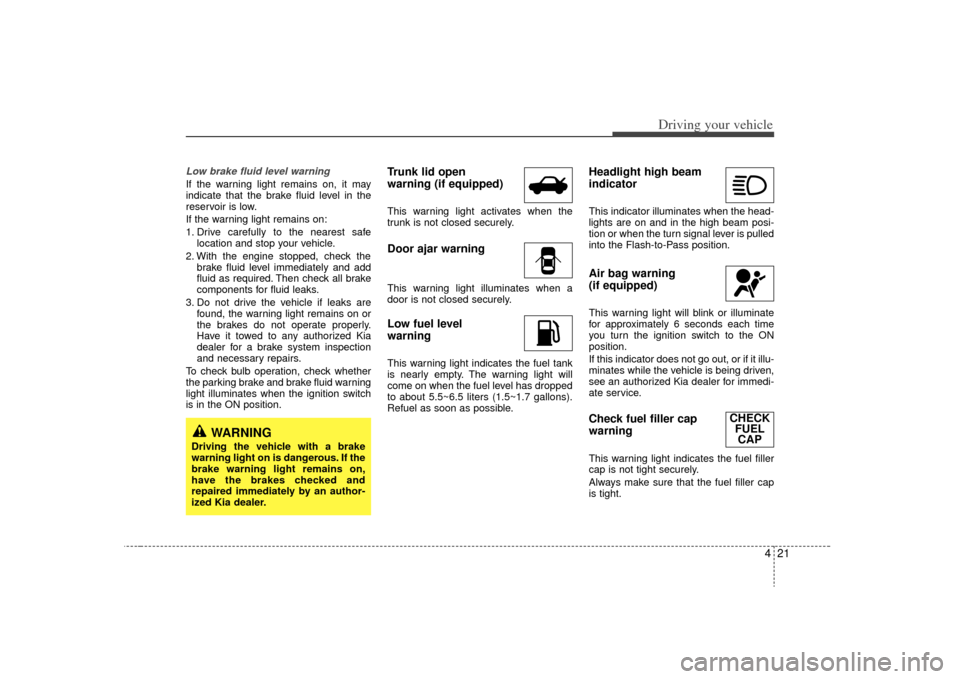
Trunk lid open
warning (if equipped)This warning light activates when the
trunk is not closed securely.Door ajar warningThis warning light illuminates when a
door is not closed securely.Low fuel level
warningThis warning light indicates the fuel tank
is nearly empty. The warning light will
come on when the fuel level has dropped
to about 5.5~6.5 liters (1.5~1.7 gallons).
Refuel as soon as possible.
Headlight high beam
indicator This indicator illuminates when the head-
lights are on and in the high beam posi-
tion or when the turn signal lever is pulled
into the Flash-to-Pass position.Air bag warning
(if equipped) This warning light will blink or illuminate
for approximately 6 seconds each time
you turn the ignition switch to the ON
position.
If this indicator does not go out, or if it illu-
minates while the vehicle is being driven,
see an authorized Kia dealer for immedi-
ate service.Check fuel filler cap
warning This warning light indicates the fuel filler
cap is not tight securely.
Always make sure that the fuel filler cap
is tight.
WARNING
Driving the vehicle with a brake
warning light on is dangerous. If the
brake warning light remains on,
have the brakes checked and
repaired immediately by an author-
ized Kia dealer.
CHECK FUELCAP
Page 128 of 219
Driving your vehicle22
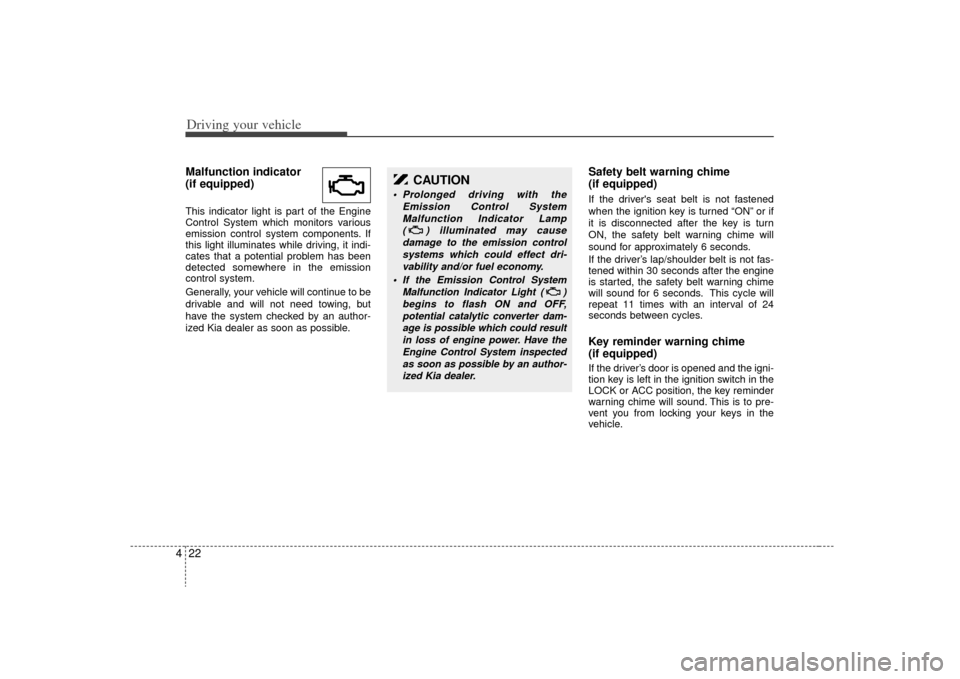
4Malfunction indicator
(if equipped)This indicator light is part of the Engine
Control System which monitors various
emission control system components. If
this light illuminates while driving, it indi-
cates that a potential problem has been
detected somewhere in the emission
control system.
Generally, your vehicle will continue to be
drivable and will not need towing, but
have the system checked by an author-
ized Kia dealer as soon as possible.
Safety belt warning chime
(if equipped)If the driver's seat belt is not fastened
when the ignition key is turned “ON” or if
it is disconnected after the key is turn
ON, the safety belt warning chime will
sound for approximately 6 seconds.
If the driver’s lap/shoulder belt is not fas-
tened within 30 seconds after the engine
is started, the safety belt warning chime
will sound for 6 seconds. This cycle will
repeat 11 times with an interval of 24
seconds between cycles.Key reminder warning chime
(if equipped)If the driver’s door is opened and the igni-
tion key is left in the ignition switch in the
LOCK or ACC position, the key reminder
warning chime will sound. This is to pre-
vent you from locking your keys in the
vehicle.
CAUTION
Prolonged driving with the
Emission Control SystemMalfunction Indicator Lamp ( ) illuminated may causedamage to the emission controlsystems which could effect dri-vability and/or fuel economy.
If the
Emission
Control System
Malfunction Indicator Light ( ) begins to flash ON and OFF,potential catalytic converter dam-age is possible which could resultin loss of engine power. Have theEngine Control System inspectedas soon as possible by an author-ized Kia dealer.
Page 130 of 219
Driving your vehicle24
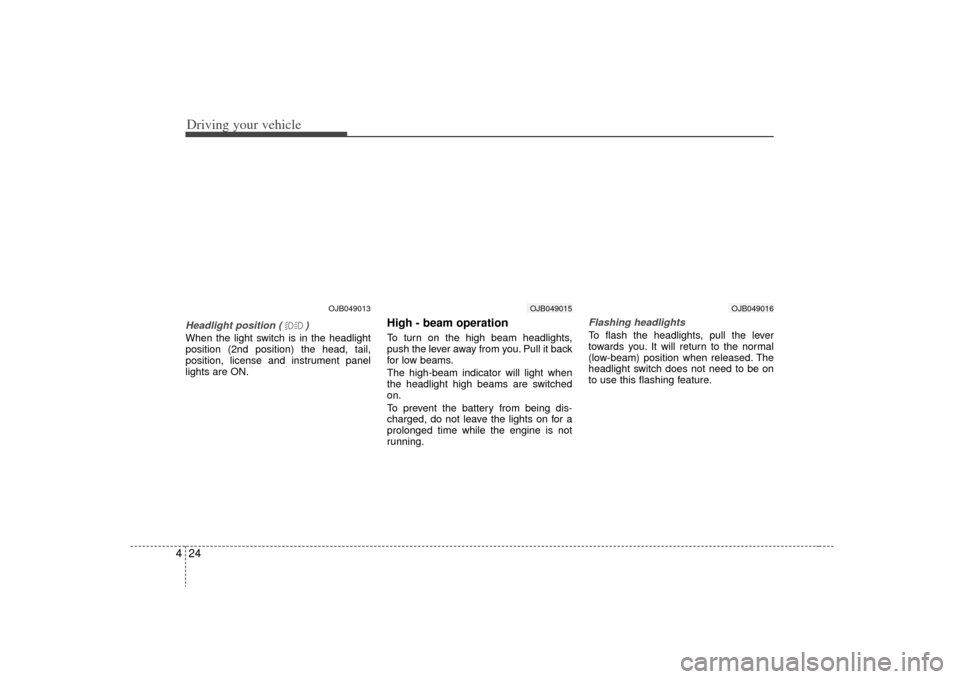
4Headlight position ( )When the light switch is in the headlight
position (2nd position) the head, tail,
position, license and instrument panel
lights are ON.
High - beam operation To turn on the high beam headlights,
push the lever away from you. Pull it back
for low beams.
The high-beam indicator will light when
the headlight high beams are switched
on.
To prevent the battery from being dis-
charged, do not leave the lights on for a
prolonged time while the engine is not
running.
Flashing headlights To flash the headlights, pull the lever
towards you. It will return to the normal
(low-beam) position when released. The
headlight switch does not need to be on
to use this flashing feature.
OJB049016
OJB049013
OJB049015
Page 131 of 219
425
Driving your vehicle
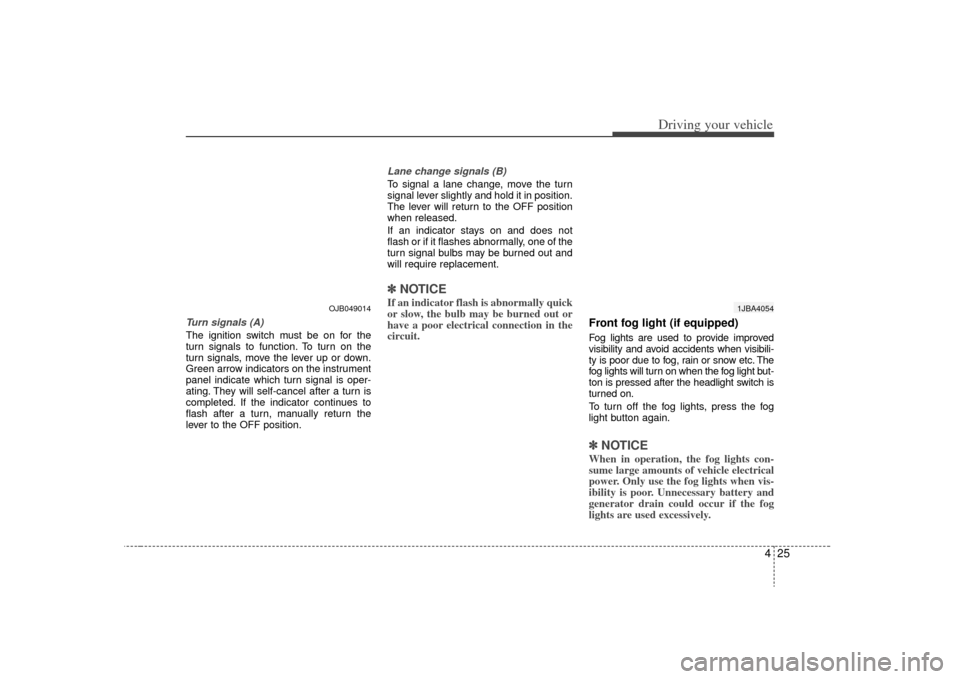
Turn signals (A)The ignition switch must be on for the
turn signals to function. To turn on the
turn signals, move the lever up or down.
Green arrow indicators on the instrument
panel indicate which turn signal is oper-
ating. They will self-cancel after a turn is
completed. If the indicator continues to
flash after a turn, manually return the
lever to the OFF position.
Lane change signals (B)To signal a lane change, move the turn
signal lever slightly and hold it in position.
The lever will return to the OFF position
when released.
If an indicator stays on and does not
flash or if it flashes abnormally, one of the
turn signal bulbs may be burned out and
will require replacement.✽ ✽NOTICEIf an indicator flash is abnormally quick
or slow, the bulb may be burned out or
have a poor electrical connection in the
circuit.
Front fog light (if equipped) Fog lights are used to provide improved
visibility and avoid accidents when visibili-
ty is poor due to fog, rain or snow etc. The
fog lights will turn on when the fog light but-
ton is pressed after the headlight switch is
turned on.
To turn off the fog lights, press the fog
light button again.✽ ✽NOTICEWhen in operation, the fog lights con-
sume large amounts of vehicle electrical
power. Only use the fog lights when vis-
ibility is poor. Unnecessary battery and
generator drain could occur if the fog
lights are used excessively.
1JBA4054
OJB049014
Page 135 of 219
429
Driving your vehicle
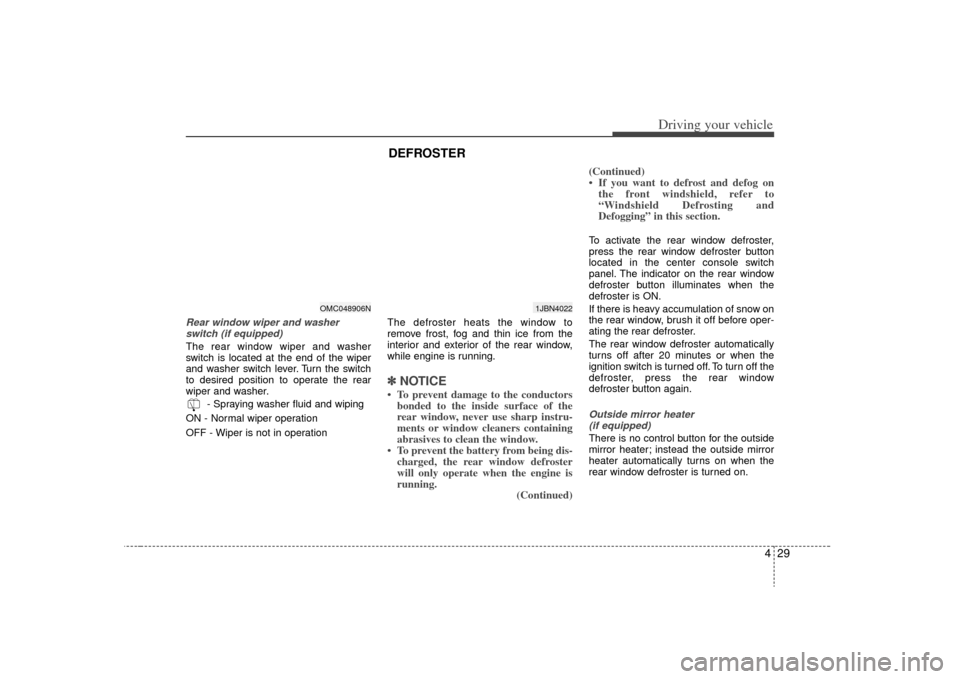
Rear window wiper and washerswitch (if equipped)The rear window wiper and washer
switch is located at the end of the wiper
and washer switch lever. Turn the switch
to desired position to operate the rear
wiper and washer.
- Spraying washer fluid and wiping
ON - Normal wiper operation
OFF - Wiper is not in operation The defroster heats the window to
remove frost, fog and thin ice from the
interior and exterior of the rear window,
while engine is running.
✽ ✽
NOTICE• To prevent damage to the conductors
bonded to the inside surface of the
rear window, never use sharp instru-
ments or window cleaners containing
abrasives to clean the window.
• To prevent the battery from being dis- charged, the rear window defroster
will only operate when the engine is
running. (Continued)(Continued)
• If you want to defrost and defog on
the front windshield, refer to
“Windshield Defrosting and
Defogging” in this section.
To activate the rear window defroster,
press the rear window defroster button
located in the center console switch
panel. The indicator on the rear window
defroster button illuminates when the
defroster is ON.
If there is heavy accumulation of snow on
the rear window, brush it off before oper-
ating the rear defroster.
The rear window defroster automatically
turns off after 20 minutes or when the
ignition switch is turned off. To turn off the
defroster, press the rear window
defroster button again.Outside mirror heater
(if equipped)There is no control button for the outside
mirror heater; instead the outside mirror
heater automatically turns on when the
rear window defroster is turned on.
OMC048906N
DEFROSTER
1JBN4022
Page 140 of 219
Driving your vehicle34
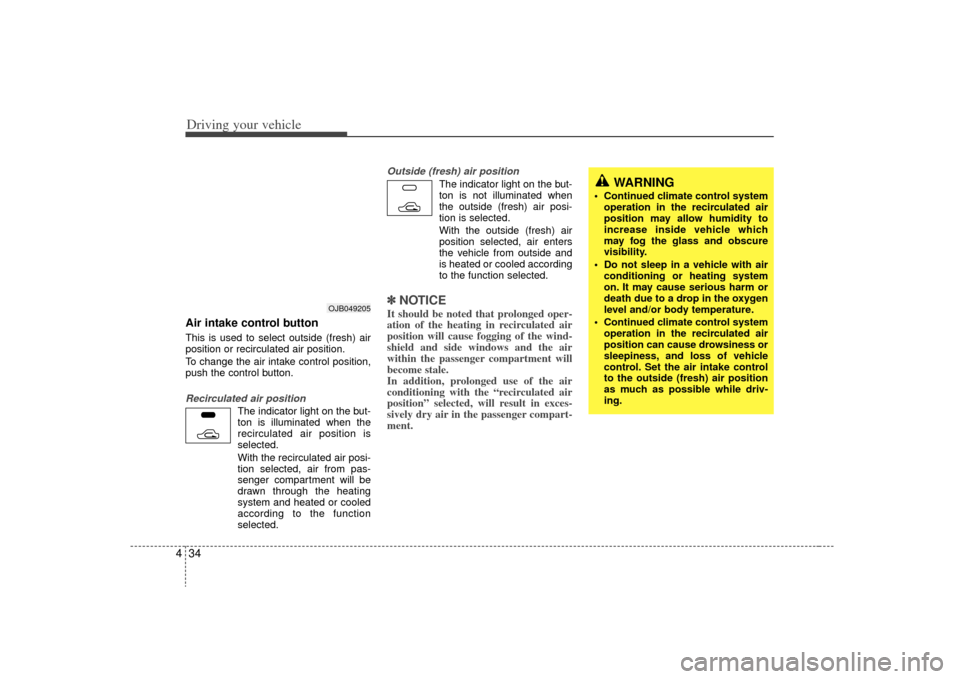
4Air intake control button This is used to select outside (fresh) air
position or recirculated air position.
To change the air intake control position,
push the control button.Recirculated air position
The indicator light on the but-
ton is illuminated when the
recirculated air position is
selected.
With the recirculated air posi-
tion selected, air from pas-
senger compartment will be
drawn through the heating
system and heated or cooled
according to the function
selected.
Outside (fresh) air position
The indicator light on the but-
ton is not illuminated when
the outside (fresh) air posi-
tion is selected.
With the outside (fresh) air
position selected, air enters
the vehicle from outside and
is heated or cooled according
to the function selected.
✽ ✽
NOTICEIt should be noted that prolonged oper-
ation of the heating in recirculated air
position will cause fogging of the wind-
shield and side windows and the air
within the passenger compartment will
become stale.
In addition, prolonged use of the air
conditioning with the “recirculated air
position” selected, will result in exces-
sively dry air in the passenger compart-
ment.
WARNING
Continued climate control system
operation in the recirculated air
position may allow humidity to
increase inside vehicle which
may fog the glass and obscure
visibility.
Do not sleep in a vehicle with air conditioning or heating system
on. It may cause serious harm or
death due to a drop in the oxygen
level and/or body temperature.
Continued climate control system operation in the recirculated air
position can cause drowsiness or
sleepiness, and loss of vehicle
control. Set the air intake control
to the outside (fresh) air position
as much as possible while driv-
ing.
OJB049205
Page 141 of 219
435
Driving your vehicle
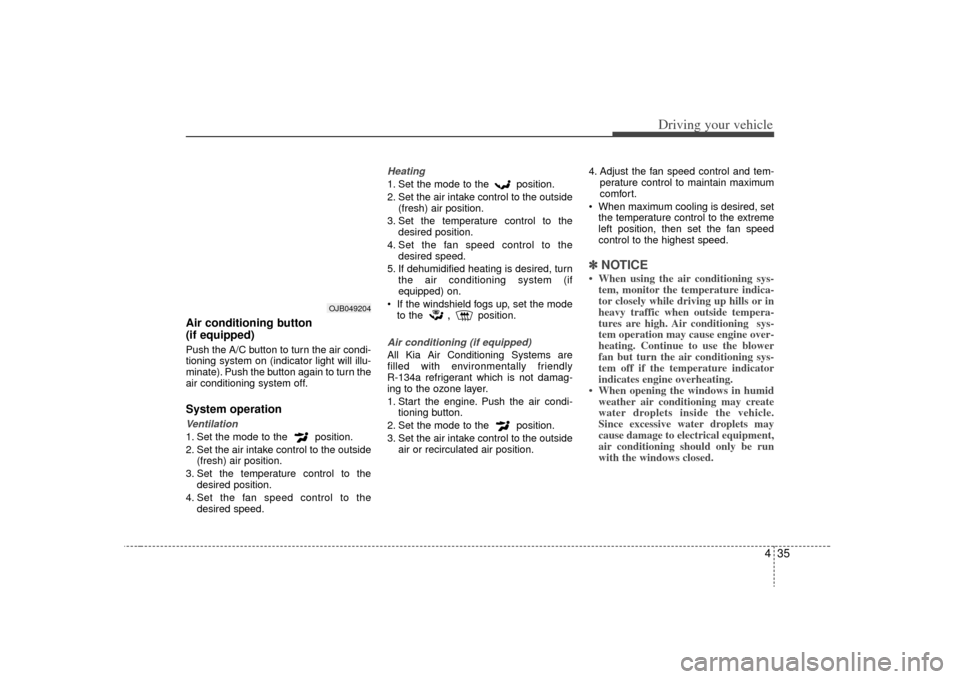
Air conditioning button
(if equipped) Push the A/C button to turn the air condi-
tioning system on (indicator light will illu-
minate). Push the button again to turn the
air conditioning system off.System operationVentilation1. Set the mode to the position.
2. Set the air intake control to the outside(fresh) air position.
3. Set the temperature control to the desired position.
4. Set the fan speed control to the desired speed.
Heating1. Set the mode to the position.
2. Set the air intake control to the outside(fresh) air position.
3. Set the temperature control to the desired position.
4. Set the fan speed control to the desired speed.
5. If dehumidified heating is desired, turn the air conditioning system (if
equipped) on.
If the windshield fogs up, set the mode to the
,
position.
Air conditioning (if equipped) All Kia Air Conditioning Systems are
filled with environmentally friendly
R-134a refrigerant which is not damag-
ing to the ozone layer.
1. Start the engine. Push the air condi- tioning button.
2. Set the mode to the position.
3. Set the air intake control to the outside air or recirculated air position. 4. Adjust the fan speed control and tem-
perature control to maintain maximum
comfort.
When maximum cooling is desired, set the temperature control to the extreme
left position, then set the fan speed
control to the highest speed.
✽ ✽ NOTICE• When using the air conditioning sys-
tem, monitor the temperature indica-
tor closely while driving up hills or in
heavy traffic when outside tempera-
tures are high. Air conditioning sys-
tem operation may cause engine over-
heating. Continue to use the blower
fan but turn the air conditioning sys-
tem off if the temperature indicator
indicates engine overheating.
• When opening the windows in humid weather air conditioning may create
water droplets inside the vehicle.
Since excessive water droplets may
cause damage to electrical equipment,
air conditioning should only be run
with the windows closed.
OJB049204
Page 143 of 219
437
Driving your vehicle
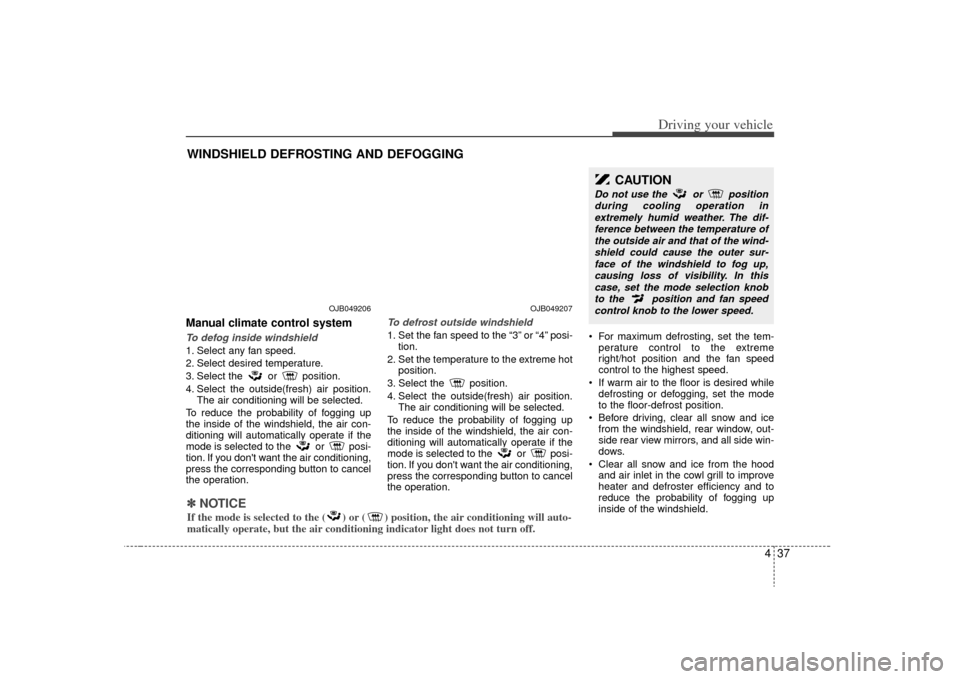
Manual climate control systemTo defog inside windshield 1. Select any fan speed.
2. Select desired temperature.
3. Select the or position.
4. Select the outside(fresh) air position.The air conditioning will be selected.
To reduce the probability of fogging up
the inside of the windshield, the air con-
ditioning will automatically operate if the
mode is selected to the or posi-
tion. If you don't want the air conditioning,
press the corresponding button to cancel
the operation.
To defrost outside windshield 1. Set the fan speed to the “3” or “4” posi- tion.
2. Set the temperature to the extreme hot position.
3. Select the position.
4. Select the outside(fresh) air position. The air conditioning will be selected.
To reduce the probability of fogging up
the inside of the windshield, the air con-
ditioning will automatically operate if the
mode is selected to the or posi-
tion. If you don't want the air conditioning,
press the corresponding button to cancel
the operation. For maximum defrosting, set the tem-
perature control to the extreme
right/hot position and the fan speed
control to the highest speed.
If warm air to the floor is desired while defrosting or defogging, set the mode
to the floor-defrost position.
Before driving, clear all snow and ice from the windshield, rear window, out-
side rear view mirrors, and all side win-
dows.
Clear all snow and ice from the hood and air inlet in the cowl grill to improve
heater and defroster efficiency and to
reduce the probability of fogging up
inside of the windshield.
WINDSHIELD DEFROSTING AND DEFOGGING
CAUTION
Do not use the or position
during cooling operation inextremely humid weather. The dif-ference between the temperature ofthe outside air and that of the wind-shield could cause the outer sur-face of the windshield to fog up,causing loss of visibility. In thiscase, set the mode selection knobto the position and fan speedcontrol knob to the lower speed.
OJB049206
OJB049207
✽
✽ NOTICEIf the mode is selected to the ( ) or ( ) position, the air conditioning will auto-
matically operate, but the air conditioning indicator light does not turn off.
Page 192 of 219
Maintenance16
7✽
✽
NOTICE“COLD” scale is for reference only and
should NOT be used to determine
transaxle fluid level.New automatic transaxle fluid should
be red. The red dye is added so the
assembly plant can identify it as auto-
matic transaxle fluid and distinguish it
from engine oil or antifreeze. The red
dye, which is not an indicator of fluid
quality, is not permanent. As the vehi-
cle is driven, the automatic transaxle
fluid will begin to look darker. The
color may eventually appear light
brown.✽ ✽NOTICEHave an Authorized Kia dealer inspect
or change the automatic transaxle fluid
according to the Scheduled
Maintenance at the beginning of this
section.
Checking the washer fluid level The reservoir is translucent so that you
can check the level with a quick visual
inspection.
Check the fluid level in the washer fluid
reservoir and add fluid if necessary. Plain
water may be used if washer fluid is not
available. However, use washer solvent
with antifreeze characteristics in cold cli-
mates to prevent freezing.LUBRICANTS AND FLUIDS
WARNING
- Coolant
Do not use radiator coolant or
antifreeze in the washer fluid
reservoir.
Radiator coolant can severely obscure visibility when sprayed
on the windshield and may cause
loss of vehicle control or damage
to paint and body trim.
Windshield washer fluid agents contain some amounts of alcohol
and can be flammable under cer-
tain circumstances. Do not allow
sparks or flame to contact the
washer fluid or the washer fluid
reservoir. Damage to the vehicle
or it's occupants could occur.
Windshield washer fluid is poi- sonous to humans and animals.
Do not drink and avoid contacting
windshield washer fluid. Serious
injury or death could occur.
1JBA7008