indicator KIA Rio 2009 2.G Owner's Manual
[x] Cancel search | Manufacturer: KIA, Model Year: 2009, Model line: Rio, Model: KIA Rio 2009 2.GPages: 219, PDF Size: 2.47 MB
Page 16 of 219
37
Knowing your vehicle
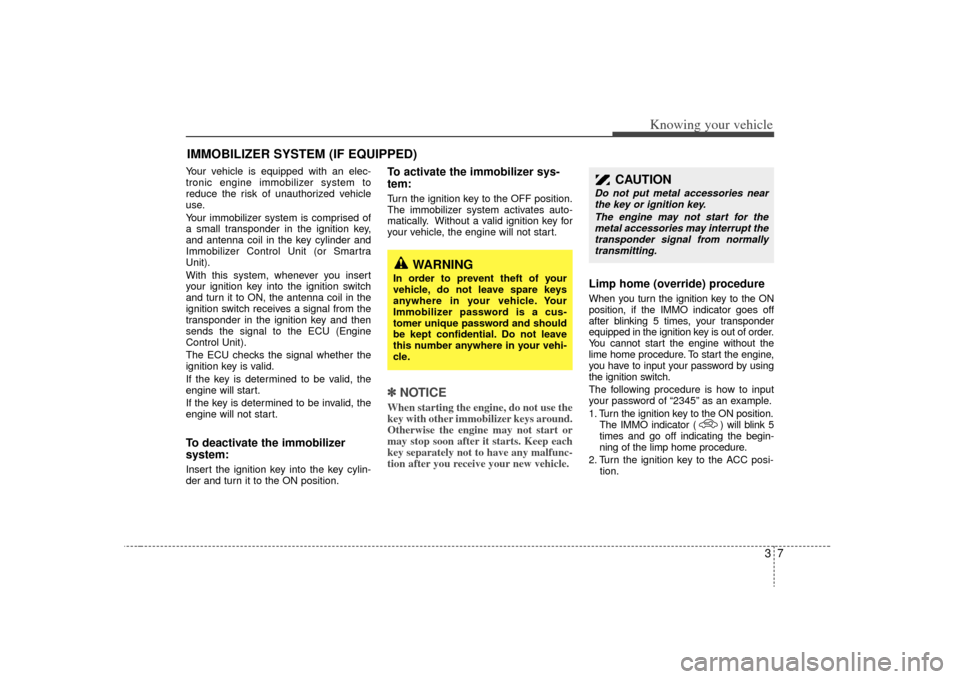
Your vehicle is equipped with an elec-
tronic engine immobilizer system to
reduce the risk of unauthorized vehicle
use.
Your immobilizer system is comprised of
a small transponder in the ignition key,
and antenna coil in the key cylinder and
Immobilizer Control Unit (or Smartra
Unit).
With this system, whenever you insert
your ignition key into the ignition switch
and turn it to ON, the antenna coil in the
ignition switch receives a signal from the
transponder in the ignition key and then
sends the signal to the ECU (Engine
Control Unit).
The ECU checks the signal whether the
ignition key is valid.
If the key is determined to be valid, the
engine will start.
If the key is determined to be invalid, the
engine will not start.To deactivate the immobilizer
system:Insert the ignition key into the key cylin-
der and turn it to the ON position.
To activate the immobilizer sys-
tem:Turn the ignition key to the OFF position.
The immobilizer system activates auto-
matically. Without a valid ignition key for
your vehicle, the engine will not start.✽ ✽NOTICEWhen starting the engine, do not use the
key with other immobilizer keys around.
Otherwise the engine may not start or
may stop soon after it starts. Keep each
key separately not to have any malfunc-
tion after you receive your new vehicle.
Limp home (override) procedureWhen you turn the ignition key to the ON
position, if the IMMO indicator goes off
after blinking 5 times, your transponder
equipped in the ignition key is out of order.
You cannot start the engine without the
lime home procedure. To start the engine,
you have to input your password by using
the ignition switch.
The following procedure is how to input
your password of “2345” as an example.
1. Turn the ignition key to the ON position.
The IMMO indicator ( ) will blink 5
times and go off indicating the begin-
ning of the limp home procedure.
2. Turn the ignition key to the ACC posi- tion.
IMMOBILIZER SYSTEM (IF EQUIPPED)
CAUTION
Do not put metal accessories nearthe key or ignition key.
The engine may not start for themetal accessories may interrupt thetransponder signal from normally transmitting.
WARNING
In order to prevent theft of your
vehicle, do not leave spare keys
anywhere in your vehicle. Your
Immobilizer password is a cus-
tomer unique password and should
be kept confidential. Do not leave
this number anywhere in your vehi-
cle.
Page 54 of 219

345
Knowing your vehicle
Child seat lower anchorsSome child seat manufacturers make
child restraint seats that are labeled as
LATCH or LATCH-compatible child
restraint system. LATCH stands for
"Lower Anchors and Tethers for
Children". These seats include two rigid
or webbing mounted attachments that
connect to two LATCH anchors at specif-
ic seating positions in your vehicle. This
type of child restraint seat eliminates the
need to use seat belts to attach the child
seat in the rear seats.Child restraint symbols are located on
the left and right rear seat backs to indi-
cate the position of the lower anchors for
child restraints.
WARNING
- Child restraint
check
Check that the child restraint sys-
tem is secured by pushing and
pulling it in different directions.
Incorrectly fitted child restraints
may swing, twist, tip or come away
causing death or injury.
WARNING
- Child restraintanchorage
Child restraint anchorages are
designed to withstand only those
loads imposed by correctly fitted
child restraints. Under no circum-
stances are they to be used for
adult seat belts or harnesses or
for attaching other items or
equipment to the vehicle.
The tether strap may not work properly if attached somewhere
other than the correct tether
anchor.
1JBA3157
1JBN3053
Lower AnchorLower Anchor
Position Indicator
Page 69 of 219
Knowing your vehicle60
3
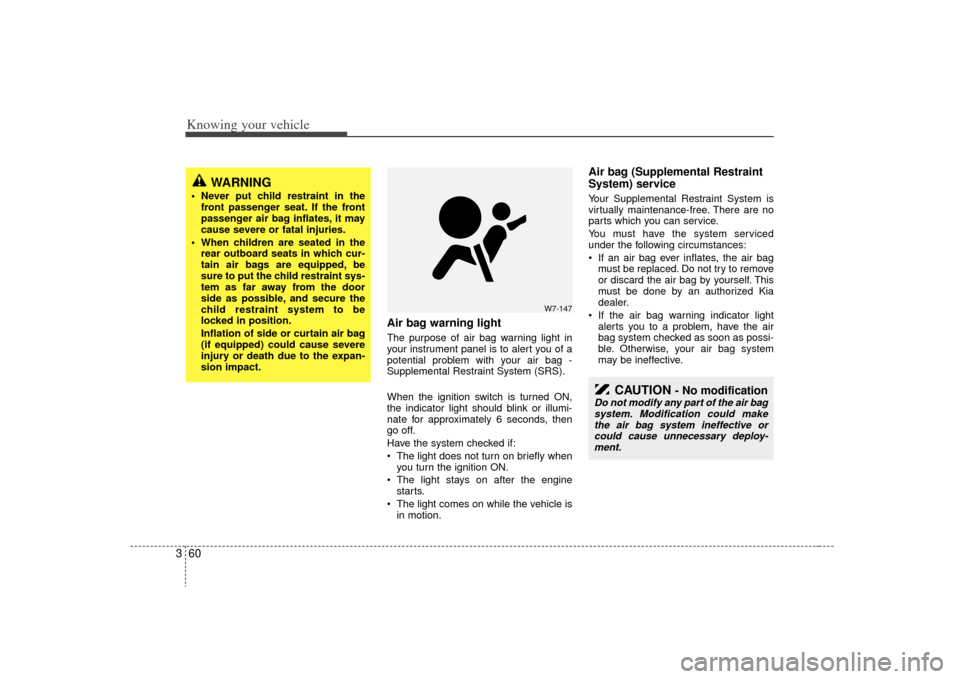
Air bag warning lightThe purpose of air bag warning light in
your instrument panel is to alert you of a
potential problem with your air bag -
Supplemental Restraint System (SRS).
When the ignition switch is turned ON,
the indicator light should blink or illumi-
nate for approximately 6 seconds, then
go off.
Have the system checked if:
The light does not turn on briefly when
you turn the ignition ON.
The light stays on after the engine starts.
The light comes on while the vehicle is in motion.
Air bag (Supplemental Restraint
System) service Your Supplemental Restraint System is
virtually maintenance-free. There are no
parts which you can service.
You must have the system serviced
under the following circumstances:
If an air bag ever inflates, the air bagmust be replaced. Do not try to remove
or discard the air bag by yourself. This
must be done by an authorized Kia
dealer.
If the air bag warning indicator light alerts you to a problem, have the air
bag system checked as soon as possi-
ble. Otherwise, your air bag system
may be ineffective.
WARNING
Never put child restraint in thefront passenger seat. If the front
passenger air bag inflates, it may
cause severe or fatal injuries.
When children are seated in the rear outboard seats in which cur-
tain air bags are equipped, be
sure to put the child restraint sys-
tem as far away from the door
side as possible, and secure the
child restraint system to be
locked in position.
Inflation of side or curtain air bag
(if equipped) could cause severe
injury or death due to the expan-
sion impact.
CAUTION
- No modification
Do not modify any part of the air bagsystem. Modification could makethe air bag system ineffective or could cause unnecessary deploy-ment.
W7-147
Page 97 of 219
Knowing your vehicle88
3
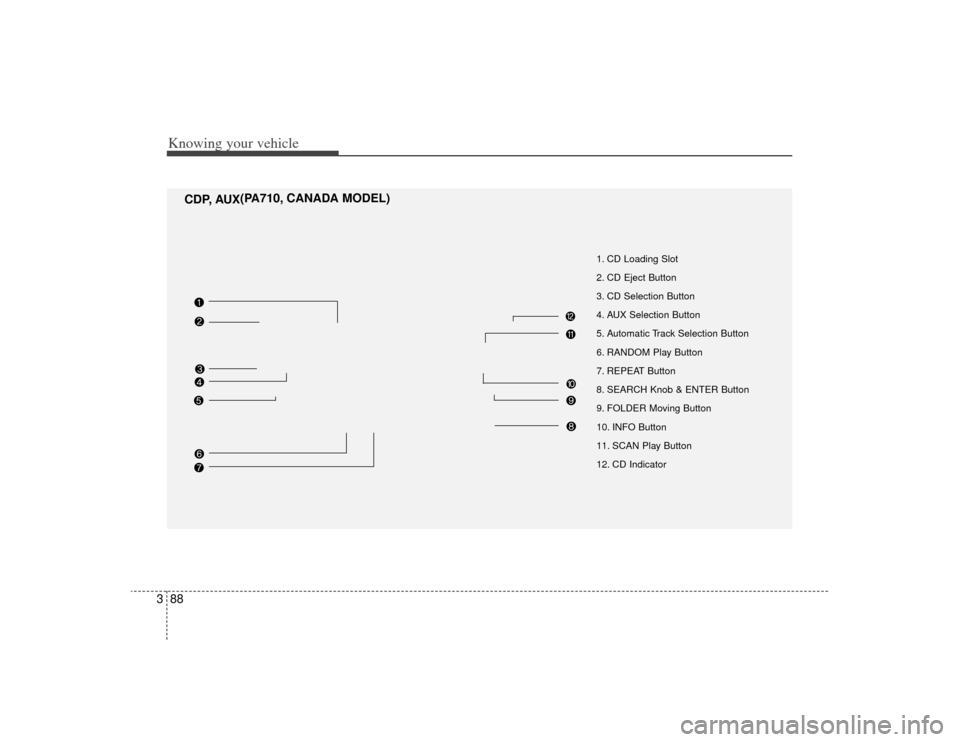
1. CD Loading Slot
2. CD Eject Button
3. CD Selection Button
4. AUX Selection Button
5. Automatic Track Selection Button
6. RANDOM Play Button
7. REPEAT Button
8. SEARCH Knob & ENTER Button
9. FOLDER Moving Button
10. INFO Button
11. SCAN Play Button
12. CD Indicator
CDP, AUX (PA710, CANADA MODEL)
Page 99 of 219

Knowing your vehicle90
311. SCAN Play ButtonPlays first 10 seconds of each song in
the DISC. To cancel the mode, press the
key once again.12. CD Indicator When car ignition switch is ACC or ON
and if the CD is loaded, this indicator is
lighted. If the CD is ejected the light is
turned off.
Page 107 of 219
4
Ignition switch / 4-2
Starting the engine / 4-3
Manual transaxle / 4-4
Automatic transaxle / 4-6
Brake system / 4-9
Steering wheel / 4-14
Instrument cluster / 4-16
Gauges / 4-17
Warnings and indicators / 4-19
Lighting / 4-23
Wipers and washers / 4-26
Defroster / 4-29
Hazard warning flasher / 4-30
Climate control system / 4-30
Windshield defrosting and defogging / 4-37
Driving your vehicle
Page 114 of 219
Driving your vehicle842 (Second Gear)Use 2 (Second Gear) for more power
when climbing hills and for increased
braking when going down hills. This posi-
tion also helps reduce wheel spin on slip-
pery surfaces. When the shift lever is
placed in 2 (Second Gear), the transaxle
will automatically shift from first to sec-
ond gear.L (Low)Move the shift lever to this position in
hard pulling situations and for climbing
steep grades.
O/D (Over Drive) system
(if equipped)Pressing the O/D system button cancels
and engages the overdrive system.
When the O/D system is cancelled, the
O/D OFF indicator illuminates and the
transaxle gear range is limited to 1st
through 3rd. The transaxle will not shift to
4th gear until the O/D system button is
pressed again to release the switch.
When driving down a sloping road with
the transaxle in O/D (4th), you can
decrease the vehicle speed without using
the brakes by pressing the O/D button.
When the ignition is switched OFF, O/D
OFF mode is automatically cancelled.
O/D OFF Indicator ( ) This indicator light illuminates in the
instrument panel when the O/D mode is
cancelled.Moving up a steep grade from a
standing startTo move up a steep grade from a stand-
ing start, depress the brake pedal, shift
the shift lever to D (Drive). Select the
appropriate gear depending on load
weight and steepness of the grade, and
release the parking brake. Depress the
accelerator gradually while releasing the
service brakes.
O/D
OFF
CAUTION
Do not exceed the recommended
maximum speeds in 2 (SecondGear) or L (Low). Operating the vehicle at speeds above the maxi-mum recommended, for 2 (SecondGear) or L (Low) may cause exces-sive heat to develop which could result in damage to or failure of theautomatic transaxle.
OJB046004
Page 116 of 219
Driving your vehicle10
4Disc brakes wear indicator Your vehicle has disc brakes.
When your brake pads are worn and it's
time for new pads, you will hear a high-
pitched warning sound from your front
brakes or rear brakes (if equipped). You
may hear this sound come and go or it
may occur whenever you depress the
brake pedal.
Please remember that some driving
conditions or climates may cause a
brake squeal when you first apply (or
lightly apply) the brakes. This is nor-
mal and does not indicate a problem
with your brakes.
✽ ✽
NOTICETo avoid costly brake repairs, do not
continue to drive with worn brake pads.
Parking brake Applying the parking brakeTo engage the parking brake, first apply
the foot brake and then without pressing
the release button in, pull the parking
brake lever up as far as possible. In addi-
tion it is recommended that when parking
the vehicle on a gradient, the shift lever
should be positioned in the appropriate
low gear on manual transaxle vehicles or
in the P (Park) position on automatic
transaxle vehicles.
(Continued)
Wet brakes may result in the vehi-
cle not slowing down at the usual
rate and pulling to one side when
the brakes are applied. After
going through water, apply the
brakes lightly to regain smooth
braking performance.
WARNING
- Brake wear
This brake wear warning sound
means your vehicle needs service.
If you ignore this audible warning,
you will eventually lose braking per-
formance, which could lead to a
serious accident.
CAUTION
Always replace brake pads as com-plete front or rear axle sets to ensure smooth brake performance.
CAUTION
Driving with the parking brakeapplied will cause excessive brakepad (or lining) and brake rotor wear.
1JBA4005
Page 122 of 219
Driving your vehicle16
4INSTRUMENT CLUSTER
OJB049106C
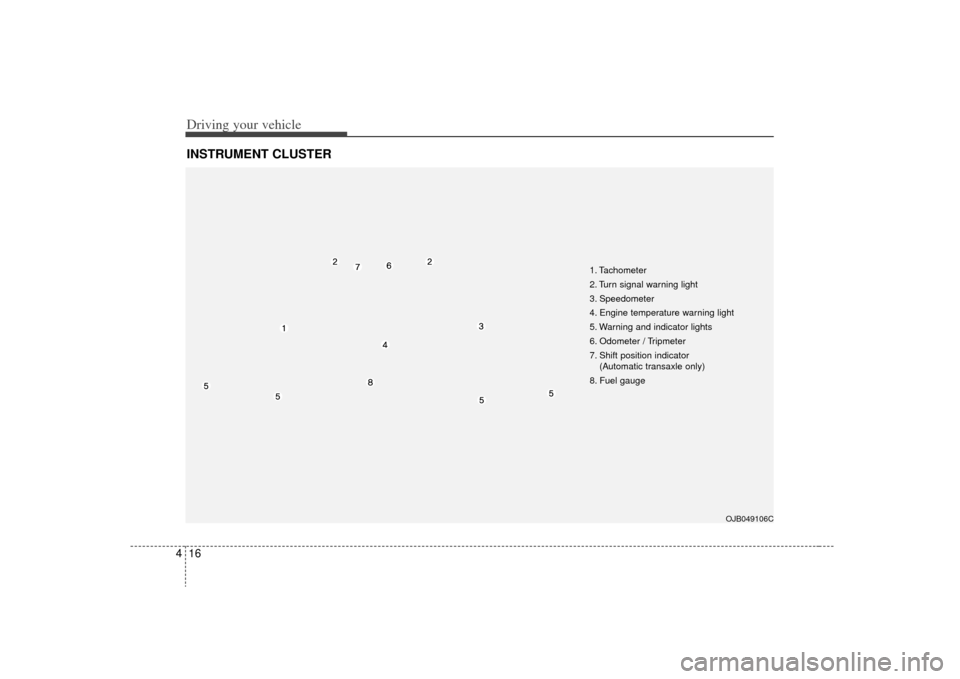
1. Tachometer
2. Turn signal warning light
3. Speedometer
4. Engine temperature warning light
5. Warning and indicator lights
6. Odometer / Tripmeter
7. Shift position indicator
(Automatic transaxle only)
8. Fuel gauge
Page 124 of 219
Driving your vehicle18
4Fuel gaugeThe fuel gauge indicates the approxi-
mate amount of fuel remaining in the fuel
tank.
Fuel tank capacity - 45 liters
(11.9 gallons)
The fuel gauge is supplemented by a low
fuel warning light, which will illuminate
when the fuel level has dropped to about
5.5~6.5 liters (1.5~1.7 gallons).
Instrument panel illumination
(if equipped)When the vehicle’s parking lights or head-
lights are on, rotate the illumination con-
trol knob to adjust the instrument panel
illumination intensity.
Warning lights / audible indicators Checking operation All warning lights are checked by turning
the ignition switch ON (do not start the
engine). Any light that does not illuminate
should be checked by an authorized Kia
dealer.
After starting the engine, check to make
sure that all warning lights are off. If any
are still on, this indicates a situation that
needs attention. When releasing the
parking brake, the brake system warning
light should go off. The fuel warning light
will stay on if the fuel level is low.Anti-lock brake system
(ABS) warning light (if
equipped) This light illuminates if the key is turned
to ON and goes off in approximately 3
seconds if the system is operating nor-
mally.
If the light stays on, you may have a
problem with your ABS. Contact an
authorized Kia dealer as soon as possi-
ble.
1JBN4055
WARNING -
Fuel gauge
Running out of fuel can expose
vehicle occupants to danger, both
in vehicle operation and by stop-
ping in high neighborhoods.
You must stop and obtain addition-
al fuel as soon as possible after the
warning light comes on or when the
gauge indicator comes close to the
E level.
WARNINGS AND INDICATORS
ABS
CAUTION
Avoid driving with a very low fuel level. If you run out of fuel, it couldcase the engine to misfire and result in excessive loading of thecatalytic converter.