maintenance schedule KIA RIO 2017 Owner's Guide
[x] Cancel search | Manufacturer: KIA, Model Year: 2017, Model line: RIO, Model: KIA RIO 2017Pages: 449, PDF Size: 14.88 MB
Page 364 of 449
Maintenance
28
7
NORMAL MAINTENANCE SCHEDULE
No check, No service required
❑ Automatic transaxle fluid (if equipped)
Page 367 of 449
731
Maintenance
EXPLANATION OF SCHEDULED MAINTENANCE ITEMS
Engine oil and filter
The engine oil and filter should be
changed at the intervals specified in the
maintenance schedule. If the vehicle is
being driven in severe conditions, more
frequent oil and filter changes are
required.
Drive belts
Inspect all drive belts for evidence of
cuts, cracks, excessive wear or oil satu-
ration and replace if necessary. Drive
belts should be checked periodically for
proper tension and adjusted as neces-
sary.
Fuel filter (cartridge)
A clogged filter can limit the speed at
which the vehicle may be driven, damage
the emission system and cause multiple
issues such as hard starting. If an exces-
sive amount of foreign matter accumu-
lates in the fuel tank, the filter may
require replacement more frequently.
After installing a new filter, run the engine
for several minutes, and check for leaks
at the connections. Fuel filters should be
installed by an authorized Kia dealer.
Fuel filter (for gasoline)
Kia gasoline vehicle is equipped a life-
time fuel filter that integrated with the fuel
tank. Regular maintenance or replace-
ment is not needed but depends on fuel
quality. If there are some important safe-
ty matters like fuel flow restriction, surg-
ing, loss of power, hard starting problem
etc, fuel filter inspection or replace is
needed.
The fuel filter be Inspected or replaced
by an authorized Kia dealer.
Fuel lines, fuel hoses and con-
nections
Check the fuel lines, fuel hoses and con-
nections for leakage and damage. Have
an authorized Kia dealer replace any
damaged or leaking parts immediately.
Vapor hose and fuel filler cap
The vapor hose and fuel filler cap should
be inspected at those intervals specified
in the maintenance schedule. Make sure
that a new vapor hose or fuel filler cap is
correctly replaced.
Vacuum crankcase ventilation
hoses (if equipped)
Inspect the surface of hoses for evidence
of heat and/or mechanical damage. Hard
and brittle rubber, cracking, tears, cuts,
abrasions, and excessive swelling indi-
cate deterioration. Particular attention
should be paid to examine those hose
surfaces nearest to high heat sources,
such as the exhaust manifold.
Inspect the hose routing to assure that
the hoses do not come in contact with
any heat source, sharp edges or moving
component which might cause heat dam-
age or mechanical wear. Inspect all hose
connections, such as clamps and cou-
plings, to make sure they are secure, and
that no leaks are present. Hoses should
be replaced immediately if there is any
evidence of deterioration or damage.
Page 368 of 449
Maintenance
32
7
Air cleaner filter
A Genuine Kia air cleaner filter is recom-
mended when the filter is replaced.
Spark plugs
Make sure to install new spark plugs of
the correct heat range.
Valve clearance (if equipped)
Inspect for excessive valve noise and/or
engine vibration and adjust if necessary.
An authorized Kia dealer should perform
the operation.
Cooling system
Check the cooling system components,
such as the radiator, coolant reservoir,
hoses and connections for leakage and
damage. Replace any damaged parts.
Coolant
The coolant should be changed at the
intervals specified in the maintenance
schedule.
Manual transaxle fluid
(if equipped)
Inspect the manual transaxle fluid
according to the maintenance schedule.
Automatic transaxle fluid
(if equipped)
Automatic transaxle fluid should not be
checked under normal usage conditions.
But in severe conditions, the fluid should
be changed at an authorized Kia dealer
in accordance to the scheduled mainte-
nance at the beginning of this chapter.
✽ ✽
NOTICE
Automatic transaxle fluid color is basi-
cally red.
As the vehicle is driven, the automatic
transaxle fluid will begin to look darker.
This is a normal condition and you
should not judge the need to replace the
fluid based upon the changed color.
Brake hoses and lines
Visually check for proper installation,
chafing, cracks, deterioration and any
leakage. Replace any deteriorated or
damaged parts immediately.
Brake/Clutch (if equipped) fluid
Check the brake fluid level in the brake
fluid reservoir. The level should be
between “MIN” and “MAX” marks on the
side of the reservoir. Use only hydraulic
brake fluid conforming to DOT 3 or DOT
4 specification.
Parking brake
Inspect the parking brake system includ-
ing the parking brake lever and cables.
CAUTION - Specified fluid
The use of a non-specified fluid
could result in transaxle malfunc-tion and failure.
Use only specified automatictransaxle fluid. (Refer to“Recommended lubricants andcapacities” in section 8.)
Page 371 of 449
735
Maintenance
Changing the engine oil and filter
Have engine oil and filter changed by an
authorized Kia dealer according to the
Maintenance Schedule at the beginning
of this section.
WARNING
Used engine oil may cause irrita-
tion or cancer of the skin if left in
contact with the skin for prolonged
periods of time. Used engine oil
contains chemicals that have
caused cancer in laboratory ani-
mals. Always protect your skin by
washing your hands thoroughly
with soap and warm water as soon
as possible after handling used oil.
Page 374 of 449
Maintenance
38
7
Changing the coolant
Have the coolant changed by an author-
ized Kia dealer according to the
Maintenance Schedule at the beginning
of this section.
Put a thick cloth or fabric around the radi-
ator cap before refilling the coolant in
order to prevent the coolant from over-
flowing into engine parts such as the
alternator.
Page 376 of 449
Maintenance
40
7
It is recommended that the automatic
transaxle fluid should be checked by an
authorized Kia dealer.
In severe conditions, the fluid should be
changed at an authorized Kia dealer in
accordance to the scheduled mainte-
nance at the beginning of this chapter.
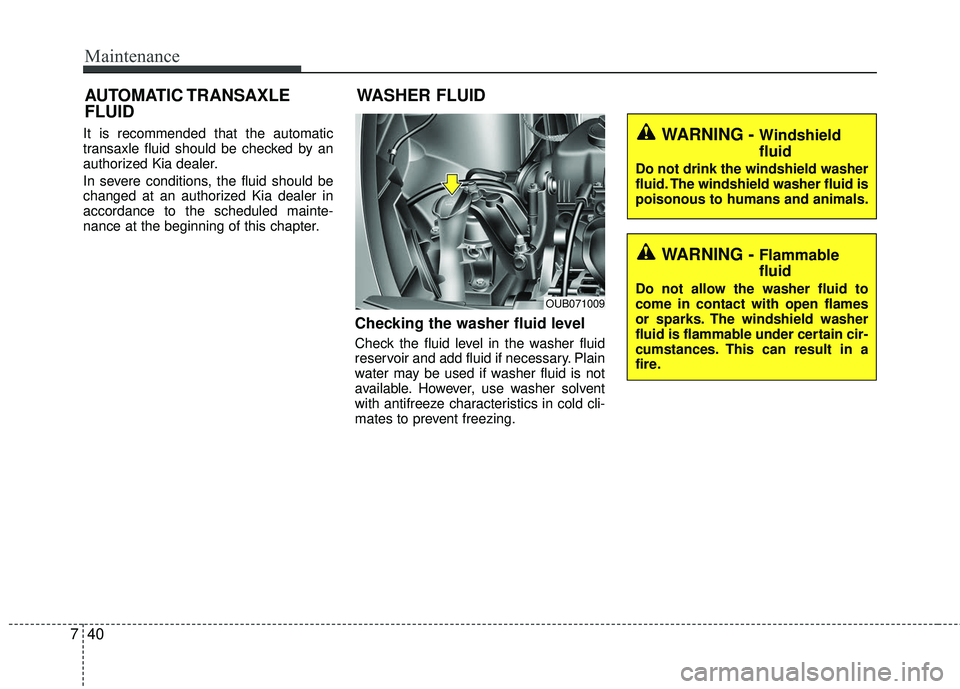
Checking the washer fluid level
Check the fluid level in the washer fluid
reservoir and add fluid if necessary. Plain
water may be used if washer fluid is not
available. However, use washer solvent
with antifreeze characteristics in cold cli-
mates to prevent freezing.
WARNING - Windshield
fluid
Do not drink the windshield washer
fluid. The windshield washer fluid is
poisonous to humans and animals.
WARNING - Flammable
fluid
Do not allow the washer fluid to
come in contact with open flames
or sparks. The windshield washer
fluid is flammable under certain cir-
cumstances. This can result in a
fire.
WASHER FLUID
AUTOMATIC TRANSAXLE
FLUID
OUB071009
Page 377 of 449
741
Maintenance
PARKING BRAKE
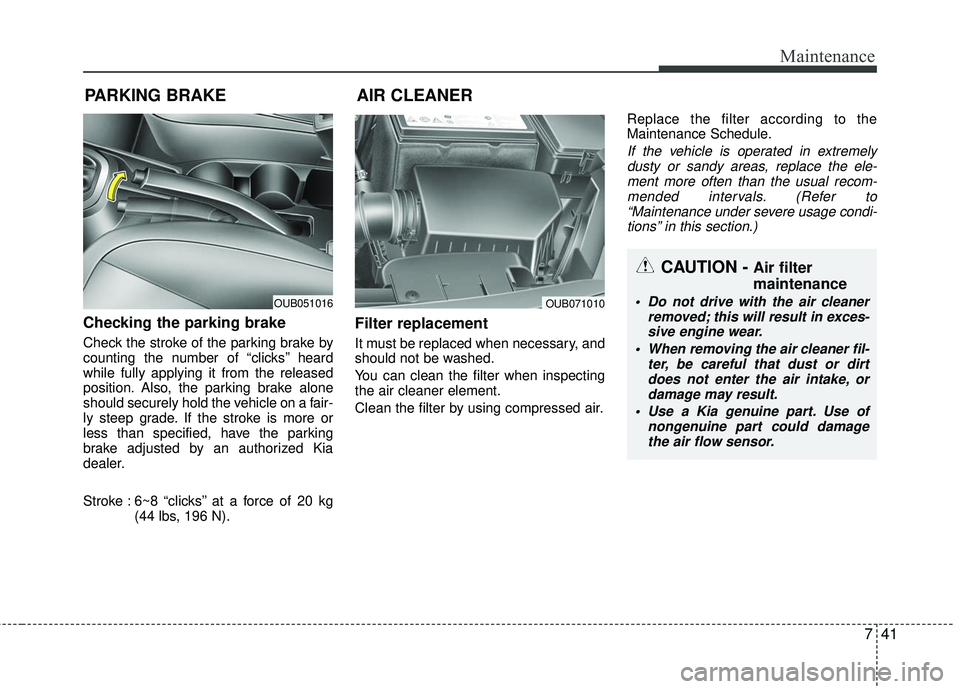
Checking the parking brake
Check the stroke of the parking brake by
counting the number of “clicks’’ heard
while fully applying it from the released
position. Also, the parking brake alone
should securely hold the vehicle on a fair-
ly steep grade. If the stroke is more or
less than specified, have the parking
brake adjusted by an authorized Kia
dealer.
Stroke : 6~8 “clicks’’ at a force of 20 kg (44 lbs, 196 N).
Filter replacement
It must be replaced when necessary, and
should not be washed.
You can clean the filter when inspecting
the air cleaner element.
Clean the filter by using compressed air. Replace the filter according to the
Maintenance Schedule.
If the vehicle is operated in extremely
dusty or sandy areas, replace the ele- ment more often than the usual recom-mended intervals. (Refer to“Maintenance under severe usage condi- tions” in this section.)
AIR CLEANER
OUB051016OUB071010
CAUTION - Air filter
maintenance
Do not drive with the air cleaner removed; this will result in exces-sive engine wear.
When removing the air cleaner fil- ter, be careful that dust or dirtdoes not enter the air intake, or damage may result.
Use a Kia genuine part. Use of nongenuine part could damagethe air flow sensor.
Page 378 of 449
Maintenance
42
7
Filter inspection
The climate control air filter should be
replaced according to the Maintenance
Schedule. If the vehicle is operated in
severely air-polluted cities or on dusty
rough roads for a long period, it should
be inspected more frequently and
replaced earlier. When you replace the
climate control air filter, replace it per-
forming the following procedure, and be
careful to avoid damaging other compo-
nents.
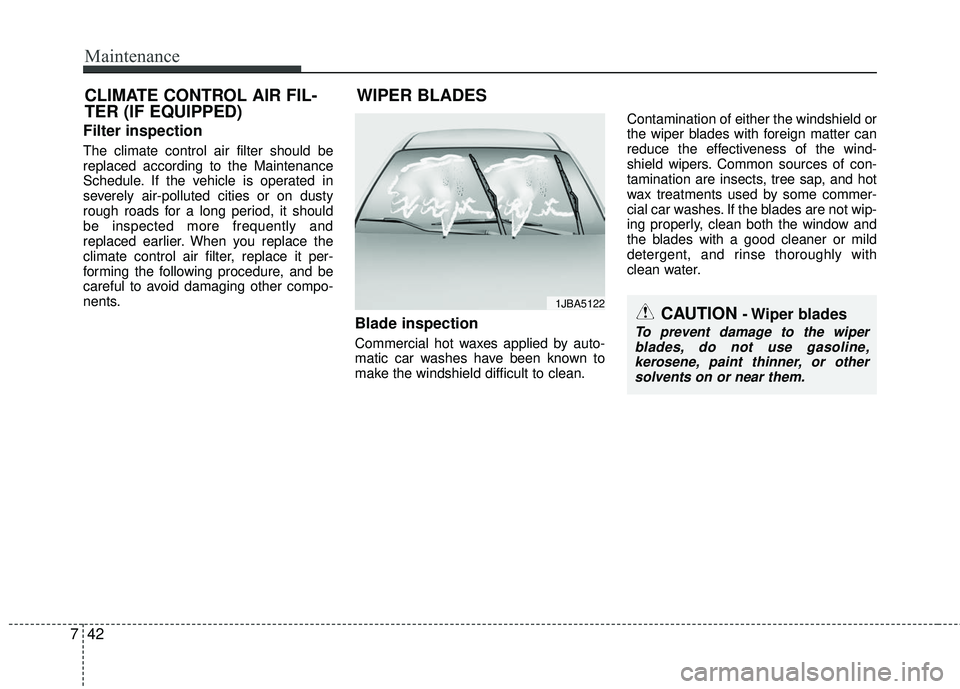
Blade inspection
Commercial hot waxes applied by auto-
matic car washes have been known to
make the windshield difficult to clean. Contamination of either the windshield or
the wiper blades with foreign matter can
reduce the effectiveness of the wind-
shield wipers. Common sources of con-
tamination are insects, tree sap, and hot
wax treatments used by some commer-
cial car washes. If the blades are not wip-
ing properly, clean both the window and
the blades with a good cleaner or mild
detergent, and rinse thoroughly with
clean water.
CLIMATE CONTROL AIR FIL-
TER (IF EQUIPPED)
WIPER BLADES
1JBA5122CAUTION - Wiper blades
To prevent damage to the wiper
blades, do not use gasoline,kerosene, paint thinner, or other solvents on or near them.
Page 428 of 449

Maintenance
92
7
EMISSION CONTROL SYSTEM
The emission control system of your
vehicle is covered by a written limited
warranty. Please see the warranty infor-
mation contained in the Warranty &
Consumer Information manual in your
vehicle.
Your vehicle is equipped with an emis-
sion control system to meet all applicable
emission regulations.
There are three emission control sys-
tems, as follows.
(1) Crankcase emission control system
(2) Evaporative emission control system
(3) Exhaust emission control system
In order to assure the proper function of
the emission control systems, it is rec-
ommended that you have your vehicle
inspected and maintained by an author-
ized Kia dealer in accordance with the
maintenance schedule in this manual. Caution for the Inspection and
Maintenance Test (With Electronic
Stability Control (ESC) system)
To prevent the vehicle from misfir-
ing during dynamometer testing,
turn the Electronic Stability Control
(ESC) system off by pressing the
ESC switch.
After dynamometer testing is com- pleted, turn the ESC system back on
by pressing the ESC switch again.1. Crankcase emission control system
The positive crankcase ventilation sys-
tem is employed to prevent air pollution
caused by blow-by gases being emitted
from the crankcase. This system supplies
fresh filtered air to the crankcase through
the air intake hose. Inside the crankcase,
the fresh air mixes with blow-by gases,
which then pass through the PCV valve
into the induction system.
2. Evaporative emission control(including ORVR: Onboard
Refueling Vapor Recovery)
system
The Evaporative Emission Control
System is designed to prevent fuel
vapors from escaping into the atmos-
phere.
(The ORVR system is designed to allow
the vapors from the fuel tank to be
loaded into a canister while refueling at
the gas station, preventing the escape of
fuel vapors into the atmosphere.)
Page 444 of 449
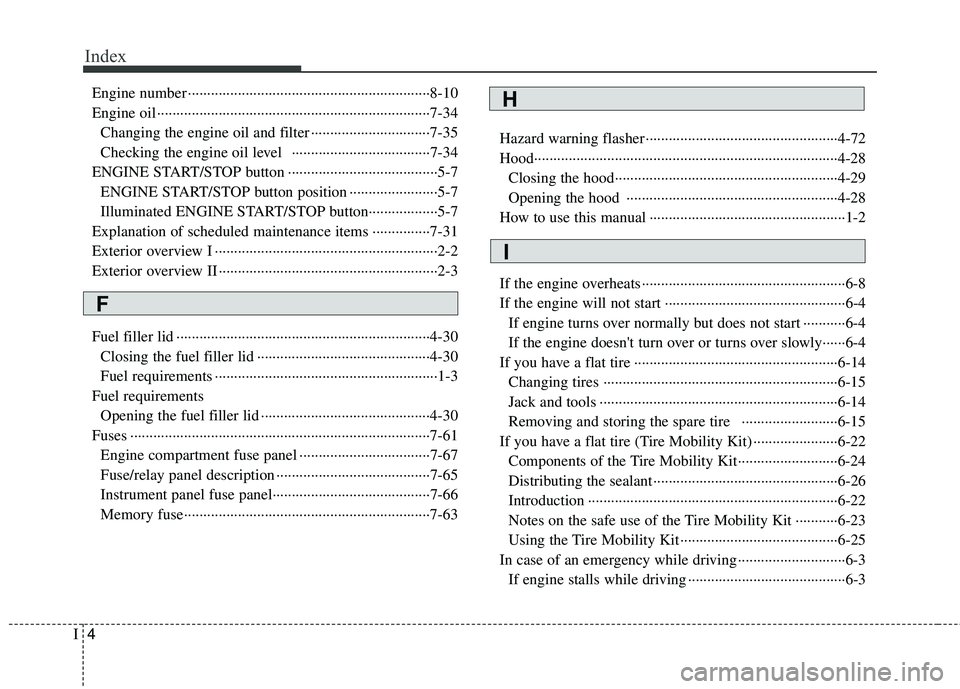
Index
4I
Engine number ··················\
··················\
··················\
·········8-10
Engine oil ··················\
··················\
··················\
·················7-34\
Changing the engine oil and filter ··················\
·············7-35
Checking the engine oil level ··················\
··················\
7-34
ENGINE START/STOP button ··················\
··················\
···5-7 ENGINE START/STOP button position ··················\
·····5-7
Illuminated ENGINE START/STOP button·················\
·5-7
Explanation of scheduled maintenance items ···············7-31
Exterior overview I ··················\
··················\
··················\
····2-2
Exterior overview II ··················\
··················\
··················\
···2-3
Fuel filler lid ··················\
··················\
··················\
············4-30 Closing the fuel filler lid ··················\
··················\
·········4-30
Fuel requirements ··················\
··················\
··················\
····1-3
Fuel requirements Opening the fuel filler lid ··················\
··················\
········4-30
Fuses ··················\
··················\
··················\
··················\
······7-61 Engine compartment fuse panel ··················\
················7-67
Fuse/relay panel description ··················\
··················\
····7-65
Instrument panel fuse panel··················\
··················\
·····7-66
Memory fuse··················\
··················\
··················\
··········7-63 Hazard warning flasher ··················\
··················\
··············4-72
Hood··················\
··················\
··················\
··················\
·······4-28
Closing the hood··················\
··················\
··················\
····4-29
Opening the hood ··················\
··················\
··················\
·4-28
How to use this manual ··················\
··················\
···············1-2
If the engine overheats··················\
··················\
·················6-8
If the engine will not start ··················\
··················\
···········6-4 If engine turns over normally but does not start ···········6-4
If the engine doesn't turn over or turns over slowly······6-4
If you have a flat tire ··················\
··················\
·················6-14\
Changing tires ···············\
··················\
··················\
··········6-15
Jack and tools ··················\
··················\
··················\
········6-14
Removing and storing the spare tire ··················\
·······6-15
If you have a flat tire (Tire Mobility Kit) ··················\
····6-22 Components of the Tire Mobility Kit··················\
········6-24
Distributing the sealant ··················\
··················\
············6-26
Introduction ··················\
··················\
··················\
···········6-22
Notes on the safe use of the Tire Mobility Kit ···········6-23
Using the Tire Mobility Kit ··················\
··················\
·····6-25
In case of an emergency while driving ··················\
··········6-3 If engine stalls while driving ··················\
··················\
·····6-3H
F
I