display KIA Rondo 2007 2.G Owner's Manual
[x] Cancel search | Manufacturer: KIA, Model Year: 2007, Model line: Rondo, Model: KIA Rondo 2007 2.GPages: 343, PDF Size: 3.61 MB
Page 117 of 343
Features of your vehicle38
4Tripmeter
TRIP A: Tripmeter A
TRIP B: Tripmeter B
The tripmeter indicates the distance of
individual trips selected by the driver.
Tripmeter A or B can be reset to 0 by
pressing the TRIP button for 1 second or
more, and then releasing. Tripmeter A or B can be selected by
pressing the TRIP button for less than 1
second.
D150206AUN-EETrip computer (if equipped)The trip computer is a microcomputer-
controlled driver information system that
displays information related to driving,
including odometer, tripmeter, driving
time, average speed, average fuel con-
sumption and distance to empty on the
display when the ignition switch is in the
ON position. All stored driving informa-
tion (except odometer) is reset if the bat-
tery is disconnected.
OUN026208L
OUN026209
OUN026209
Page 118 of 343
439
Features of your vehicle
The odometer is always displayed until
the display is turned off.
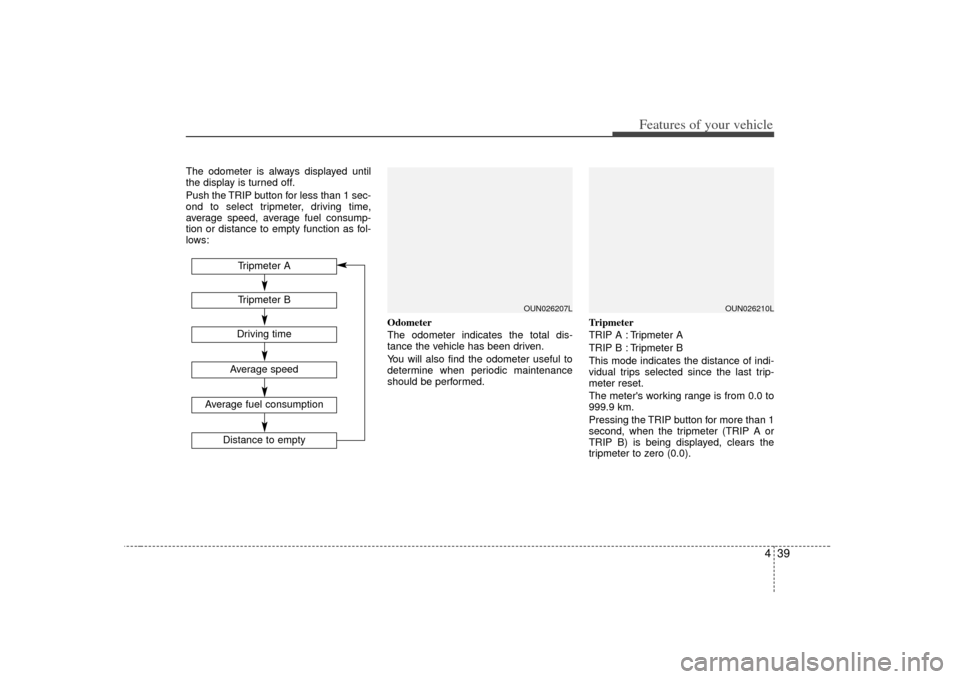
Push the TRIP button for less than 1 sec-
ond to select tripmeter, driving time,
average speed, average fuel consump-
tion or distance to empty function as fol-
lows:Odometer
The odometer indicates the total dis-
tance the vehicle has been driven.
You will also find the odometer useful to
determine when periodic maintenance
should be performed.Tripmeter
TRIP A : Tripmeter A
TRIP B : Tripmeter B
This mode indicates the distance of indi-
vidual trips selected since the last trip-
meter reset.
The meter's working range is from 0.0 to
999.9 km.
Pressing the TRIP button for more than 1
second, when the tripmeter (TRIP A or
TRIP B) is being displayed, clears the
tripmeter to zero (0.0).
OUN026207L
Tripmeter BAverage speed
Average fuel consumption
Distance to empty
Tripmeter ADriving time
OUN026210L
Page 119 of 343
Features of your vehicle40
4Driving time
This mode indicates the total time trav-
eled since the last driving time reset.
Even if the vehicle is not in motion, the
driving time keeps going while the engine
is running.
The meter’s working range is from
0:00~99:59.
Pressing the TRIP button for more than 1
second, when the driving time is being
displayed, clears the driving time to zero
(0:00). Average speed
This mode calculates the average speed
of the vehicle since the last average
speed reset.
Even if the vehicle is not in motion, the
average speed keeps going while the
engine is running.
Pressing the TRIP button for more than 1
second, when the average speed is
being displayed, clears the average
speed to zero (----).
Average fuel consumption
This mode calculates the average fuel
consumption from the total fuel used and
the distance since the last average con-
sumption reset. The total fuel used is cal-
culated from the fuel consumption input.
For an accurate calculation, drive more
than 50 m.
Pressing the TRIP button for more than 1
second, when the average fuel consump-
tion is being displayed, clears the aver-
age fuel consumption to zero (----).
OUN026212C
OUN026211L
OUN026214C
Page 120 of 343
441
Features of your vehicle
Distance to empty
This mode indicates the estimated dis-
tance to empty based on the current fuel
in the fuel tank and the amount of fuel
delivered to the engine.
When the remaining distance is below 50
km, “----” will be displayed and the dis-
tance to empty indicator will blink.
The meter’s working range is from 50 to
999 km.
✽ ✽NOTICE• If the vehicle is not on level ground or
the battery power has been interrupt-
ed, the “Distance to empty” function
may not operate correctly.
The trip computer may not register
additional fuel if less than 6 liters (1.6
gallons) of fuel are added to the vehi-
cle.
• The fuel consumption and distance to empty values may vary significantly
based on driving conditions, driving
habits, and condition of the vehicle.
• The distance to empty value is an esti- mate of the available driving distance.
This value may differ from the actual
driving distance available.
D150300AUNWarnings and indicatorsAll warning lights are checked by turning
the ignition switch ON (do not start the
engine). Any light that does not illuminate
should be checked by an authorized KIA
dealer.
After starting the engine, check to make
sure that all warning lights are off. If any
are still on, this indicates a situation that
needs attention. When releasing the
parking brake, the brake system warning
light should go off. The fuel warning light
will stay on if the fuel level is low.
OUN026213C
Page 124 of 343
445
Features of your vehicle
Your vehicle is equipped with dual-diago-
nal braking systems. This means you still
have braking on two wheels even if one
of the dual systems should fail. With only
one of the dual systems working, more
than normal pedal travel and greater
pedal pressure are required to stop the
car. Also, the car will not stop in as short
a distance with only a portion of the
brake system working. If the brakes fail
while you are driving, shift to a lower gear
for additional engine braking and stop the
car as soon as it is safe to do so.
To check bulb operation, check whether
the parking brake and brake fluid warning
light illuminates when the ignition switch
is in the ON position.
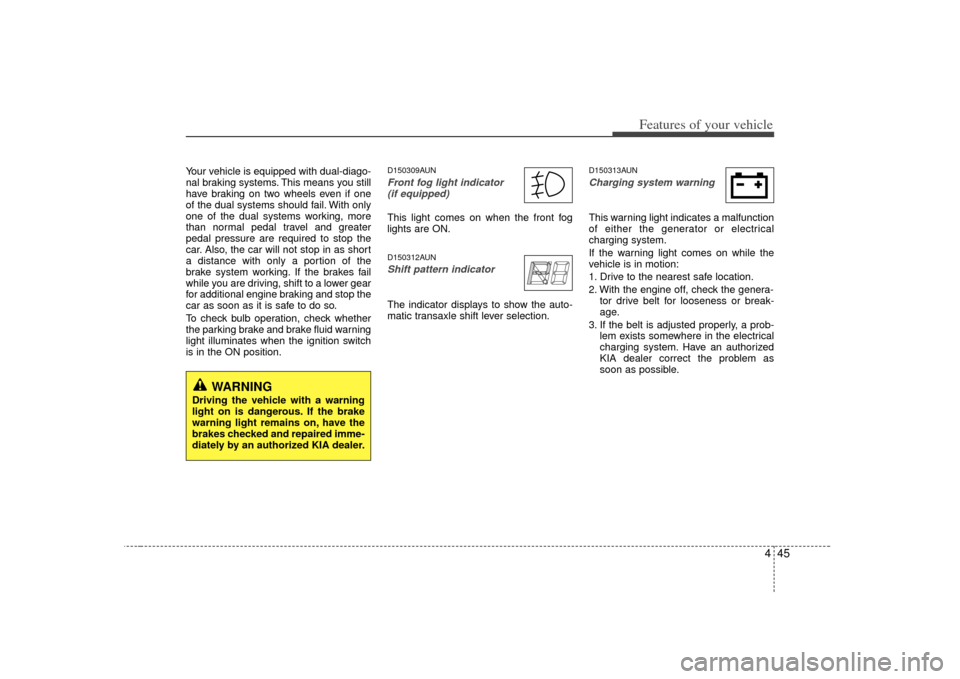
D150309AUNFront fog light indicator (if equipped) This light comes on when the front fog
lights are ON.D150312AUNShift pattern indicator The indicator displays to show the auto-
matic transaxle shift lever selection.
D150313AUNCharging system warning This warning light indicates a malfunction
of either the generator or electrical
charging system.
If the warning light comes on while the
vehicle is in motion:
1. Drive to the nearest safe location.
2. With the engine off, check the genera- tor drive belt for looseness or break-
age.
3. If the belt is adjusted properly, a prob- lem exists somewhere in the electrical
charging system. Have an authorized
KIA dealer correct the problem as
soon as possible.
WARNING
Driving the vehicle with a warning
light on is dangerous. If the brake
warning light remains on, have the
brakes checked and repaired imme-
diately by an authorized KIA dealer.
Page 149 of 343
Features of your vehicle70
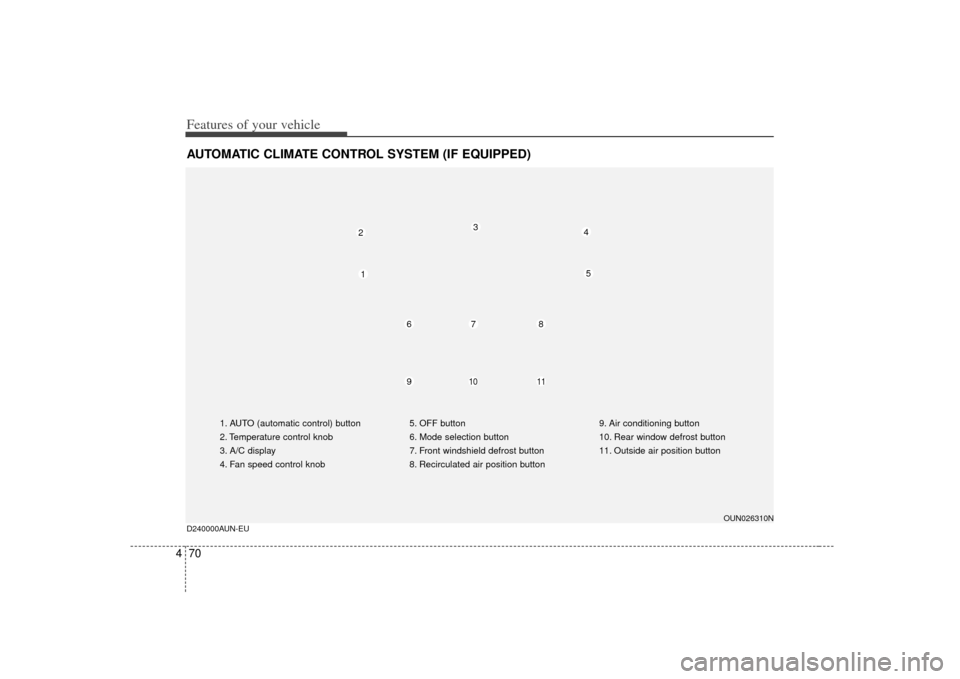
4AUTOMATIC CLIMATE CONTROL SYSTEM (IF EQUIPPED)
1. AUTO (automatic control) button
2. Temperature control knob
3. A/C display
4. Fan speed control knob 5. OFF button
6. Mode selection button
7. Front windshield defrost button
8. Recirculated air position button9. Air conditioning button
10. Rear window defrost button
11. Outside air position button
OUN026310N
3
2
4
1
6
7
8
9
10
11
5
D240000AUN-EU
Page 150 of 343
471
Features of your vehicle
D240100AUNAutomatic heating and air condi-
tioningThe automatic climate control system is
controlled by simply setting the desired
temperature.
The Full Automatic Temperature Control
(FATC) system automatically controls the
heating and cooling system as follows;
1. Push the AUTO button. It is indicatedby AUTO on the display. The modes,
fan speeds, air intake and air-condi-
tioning will be controlled automatically
by temperature setting. 2. Turn the TEMP knob to set the desired
temperature.
If the temperature is set to the lowest
setting (Lo), the air conditioning sys-
tem will operate continuously.
3. To turn the automatic operation off, press any button or turn any knob
except the temperature control knob. If
you press the mode selection button,
air conditioning button, defrost button
or air intake control button, or turn the
fan speed knob, the selected function
will be controlled manually while other
functions operate automatically.
Regardless of the temperature setting,
when using automatic operation, the air
conditioning system can automatically
turn on to decrease the humidity inside
the vehicle, even if the temperature is set
to warm.
✽ ✽ NOTICENever place anything over the sensor
located on the instrument panel to
ensure better control of the heating and
cooling system.
OUN026312
OUN026311
Page 153 of 343
Features of your vehicle74
4Temperature conversion
If the battery has been discharged or
disconnected, the temperature mode dis-
play will reset to Fahrenheit.
This is a normal condition. You can switch
the temperature mode between
Fahrenheit to Centigrade as follows;
While depressing the AUTO button,
depress the OFF button for 3 seconds or
more. The display will change from
Fahrenheit to Centigrade, or from
Centigrade to Fahrenheit.
D240203AUN-EUAir intake controlThis is used to select outside (fresh) air
position or recirculated air position.
To change the air intake control position,
push the control button. Recirculated air position
The indicator light on the
button illuminates when the
recirculated air position is
selected.
With the recirculated air position selected, air from
the passenger compart-
ment will be drawn through
the heating system and
heated or cooled according
to the function selected.
Outside (fresh) air position The indicator light on the
button illuminates when the
outside (fresh) air position is
selected.
With the outside (fresh) air
position selected, air enters
the vehicle from outside and
is heated or cooled accord-
ing to the function selected.
OUN026316L
Page 158 of 343
479
Features of your vehicle
D250300AUN-EUDefogging logicTo reduce the probability of fogging up
the inside of the windshield, the air intake
is controlled automatically according to
certain conditions such as or
position. To cancel or return the defog-
ging logic, do the following.
D250301AUNManual climate control system1. Turn the ignition switch to the ON posi-tion.
2. Turn the mode selection knob to the defrost position ( ).
3. Push the air intake control button ( ) at least 5 times within 3 sec-
onds.
The indicator light in the air intake control
button will blink 3 times with 0.5 second
of interval. It indicates that the defogging
logic is canceled or returned to the pro-
grammed status.
If the battery has been discharged or dis-
connected, it resets to the defog logic
status.
D250302AUNAutomatic climate control system1. Turn the ignition switch to the ON posi- tion.
2. Select the defrost position pressing defrost button ( ).
3. While holding the air conditioning but- ton (A/C) pressed, press the air intake
control button ( ) at least 5 times
within 3 seconds.
The A/C display blinks 3 times with 0.5
second of interval. It indicates that the
defogging logic is canceled or returned to
the programmed status.
If the battery has been discharged or
disconnected, it resets to the defog logic
status.
OUN026327N
OUN026328
Page 166 of 343
487
Features of your vehicle
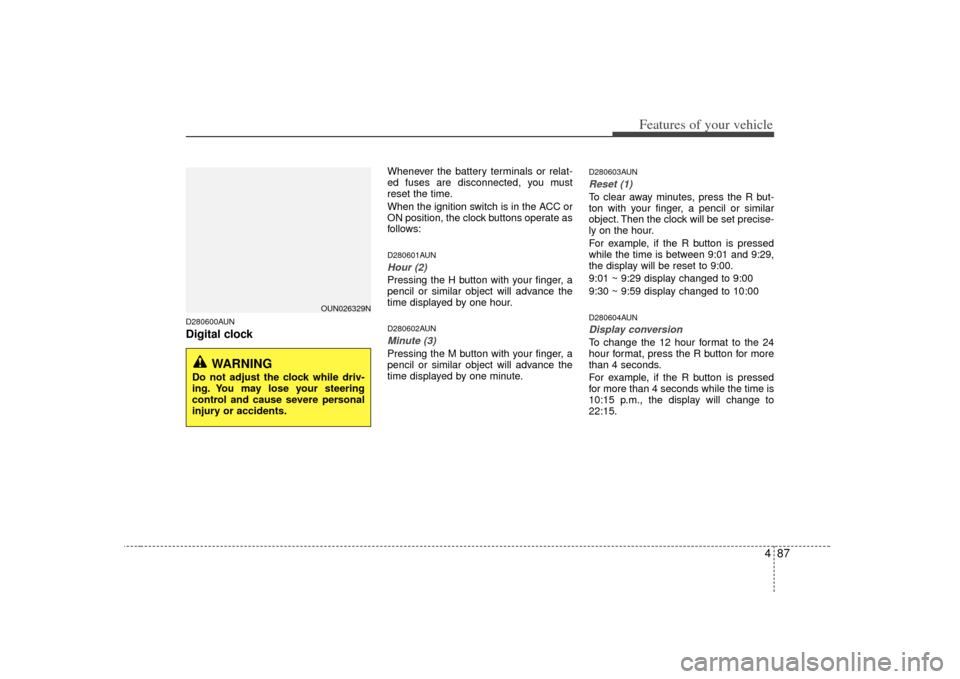
D280600AUNDigital clock
Whenever the battery terminals or relat-
ed fuses are disconnected, you must
reset the time.
When the ignition switch is in the ACC or
ON position, the clock buttons operate as
follows:D280601AUNHour (2)Pressing the H button with your finger, a
pencil or similar object will advance the
time displayed by one hour.D280602AUNMinute (3)Pressing the M button with your finger, a
pencil or similar object will advance the
time displayed by one minute.
D280603AUNReset (1)To clear away minutes, press the R but-
ton with your finger, a pencil or similar
object. Then the clock will be set precise-
ly on the hour.
For example, if the R button is pressed
while the time is between 9:01 and 9:29,
the display will be reset to 9:00.
9:01 ~ 9:29 display changed to 9:00
9:30 ~ 9:59 display changed to 10:00D280604AUNDisplay conversionTo change the 12 hour format to the 24
hour format, press the R button for more
than 4 seconds.
For example, if the R button is pressed
for more than 4 seconds while the time is
10:15 p.m., the display will change to
22:15.
WARNING
Do not adjust the clock while driv-
ing. You may lose your steering
control and cause severe personal
injury or accidents.
OUN026329N