reset button KIA Rondo 2007 2.G Owner's Manual
[x] Cancel search | Manufacturer: KIA, Model Year: 2007, Model line: Rondo, Model: KIA Rondo 2007 2.GPages: 343, PDF Size: 3.61 MB
Page 107 of 343
Features of your vehicle28
42. Insert the emergency handle (provided
with the vehicle) and turn the handle
clockwise to open or counterclockwise
to close.
D110500AUNResetting the sunroofWhenever the vehicle battery is discon-
nected or discharged, or you use the
emergency handle to operate the sun-
roof, you must reset your sunroof system
as follows:
1. Turn the ignition switch to the ON position.
2. According to the position of the sun- roof, do the following.
1) in case the sunroof has closedcompletely or been tilted:
Press the tilt button until the sun-
roof tilts completely upward.
2) in case the sunroof has slide- opened:
Press and hold the close button
(for more than 5 seconds) until the
sunroof closes completely. Press
the tilt button until the sunroof tilts
completely upward.
3. Release the tilt button.
4. Press and hold the tilt button (for more than 10 seconds) until the sun-
roof has returned to the original posi-
tion of tilt after it is raised a little high-
er than the maximum tilt position.
Then, release the button. 5. Press and hold the tilt button (for
more than 5 seconds) until the sun-
roof is operated as follows;
TILT DOWN → SLIDE OPEN →
SLIDE CLOSE
Then, release the button.
When this is complete, the sunroof sys-
tem is reset.
OUN026030
Page 117 of 343
Features of your vehicle38
4Tripmeter
TRIP A: Tripmeter A
TRIP B: Tripmeter B
The tripmeter indicates the distance of
individual trips selected by the driver.
Tripmeter A or B can be reset to 0 by
pressing the TRIP button for 1 second or
more, and then releasing. Tripmeter A or B can be selected by
pressing the TRIP button for less than 1
second.
D150206AUN-EETrip computer (if equipped)The trip computer is a microcomputer-
controlled driver information system that
displays information related to driving,
including odometer, tripmeter, driving
time, average speed, average fuel con-
sumption and distance to empty on the
display when the ignition switch is in the
ON position. All stored driving informa-
tion (except odometer) is reset if the bat-
tery is disconnected.
OUN026208L
OUN026209
OUN026209
Page 118 of 343
439
Features of your vehicle
The odometer is always displayed until
the display is turned off.
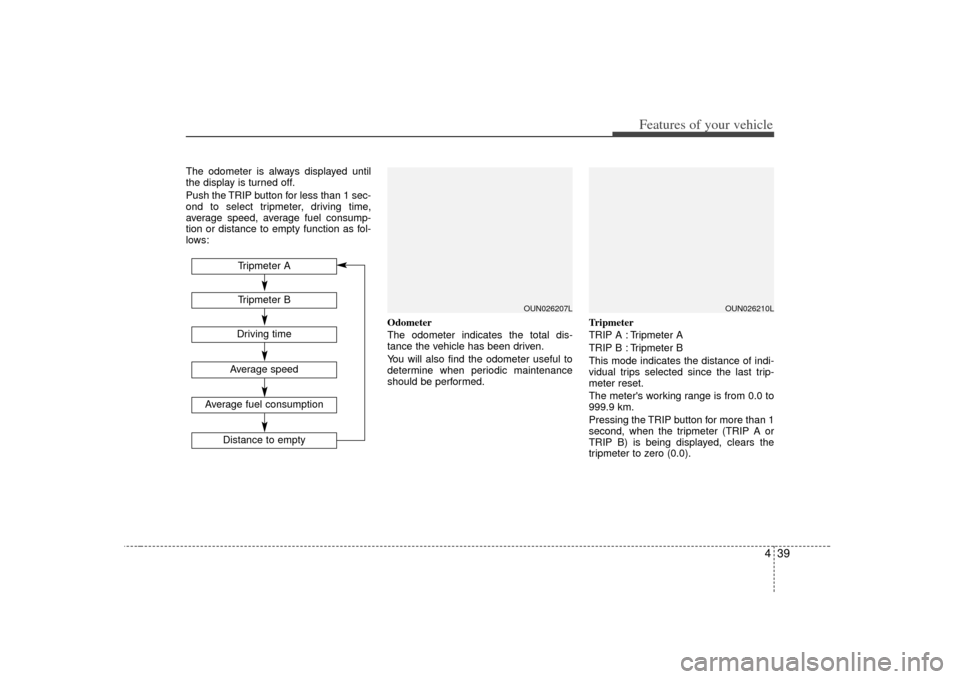
Push the TRIP button for less than 1 sec-
ond to select tripmeter, driving time,
average speed, average fuel consump-
tion or distance to empty function as fol-
lows:Odometer
The odometer indicates the total dis-
tance the vehicle has been driven.
You will also find the odometer useful to
determine when periodic maintenance
should be performed.Tripmeter
TRIP A : Tripmeter A
TRIP B : Tripmeter B
This mode indicates the distance of indi-
vidual trips selected since the last trip-
meter reset.
The meter's working range is from 0.0 to
999.9 km.
Pressing the TRIP button for more than 1
second, when the tripmeter (TRIP A or
TRIP B) is being displayed, clears the
tripmeter to zero (0.0).
OUN026207L
Tripmeter BAverage speed
Average fuel consumption
Distance to empty
Tripmeter ADriving time
OUN026210L
Page 119 of 343
Features of your vehicle40
4Driving time
This mode indicates the total time trav-
eled since the last driving time reset.
Even if the vehicle is not in motion, the
driving time keeps going while the engine
is running.
The meter’s working range is from
0:00~99:59.
Pressing the TRIP button for more than 1
second, when the driving time is being
displayed, clears the driving time to zero
(0:00). Average speed
This mode calculates the average speed
of the vehicle since the last average
speed reset.
Even if the vehicle is not in motion, the
average speed keeps going while the
engine is running.
Pressing the TRIP button for more than 1
second, when the average speed is
being displayed, clears the average
speed to zero (----).
Average fuel consumption
This mode calculates the average fuel
consumption from the total fuel used and
the distance since the last average con-
sumption reset. The total fuel used is cal-
culated from the fuel consumption input.
For an accurate calculation, drive more
than 50 m.
Pressing the TRIP button for more than 1
second, when the average fuel consump-
tion is being displayed, clears the aver-
age fuel consumption to zero (----).
OUN026212C
OUN026211L
OUN026214C
Page 153 of 343
Features of your vehicle74
4Temperature conversion
If the battery has been discharged or
disconnected, the temperature mode dis-
play will reset to Fahrenheit.
This is a normal condition. You can switch
the temperature mode between
Fahrenheit to Centigrade as follows;
While depressing the AUTO button,
depress the OFF button for 3 seconds or
more. The display will change from
Fahrenheit to Centigrade, or from
Centigrade to Fahrenheit.
D240203AUN-EUAir intake controlThis is used to select outside (fresh) air
position or recirculated air position.
To change the air intake control position,
push the control button. Recirculated air position
The indicator light on the
button illuminates when the
recirculated air position is
selected.
With the recirculated air position selected, air from
the passenger compart-
ment will be drawn through
the heating system and
heated or cooled according
to the function selected.
Outside (fresh) air position The indicator light on the
button illuminates when the
outside (fresh) air position is
selected.
With the outside (fresh) air
position selected, air enters
the vehicle from outside and
is heated or cooled accord-
ing to the function selected.
OUN026316L
Page 158 of 343
479
Features of your vehicle
D250300AUN-EUDefogging logicTo reduce the probability of fogging up
the inside of the windshield, the air intake
is controlled automatically according to
certain conditions such as or
position. To cancel or return the defog-
ging logic, do the following.
D250301AUNManual climate control system1. Turn the ignition switch to the ON posi-tion.
2. Turn the mode selection knob to the defrost position ( ).
3. Push the air intake control button ( ) at least 5 times within 3 sec-
onds.
The indicator light in the air intake control
button will blink 3 times with 0.5 second
of interval. It indicates that the defogging
logic is canceled or returned to the pro-
grammed status.
If the battery has been discharged or dis-
connected, it resets to the defog logic
status.
D250302AUNAutomatic climate control system1. Turn the ignition switch to the ON posi- tion.
2. Select the defrost position pressing defrost button ( ).
3. While holding the air conditioning but- ton (A/C) pressed, press the air intake
control button ( ) at least 5 times
within 3 seconds.
The A/C display blinks 3 times with 0.5
second of interval. It indicates that the
defogging logic is canceled or returned to
the programmed status.
If the battery has been discharged or
disconnected, it resets to the defog logic
status.
OUN026327N
OUN026328
Page 166 of 343
487
Features of your vehicle
D280600AUNDigital clock
Whenever the battery terminals or relat-
ed fuses are disconnected, you must
reset the time.
When the ignition switch is in the ACC or
ON position, the clock buttons operate as
follows:D280601AUNHour (2)Pressing the H button with your finger, a
pencil or similar object will advance the
time displayed by one hour.D280602AUNMinute (3)Pressing the M button with your finger, a
pencil or similar object will advance the
time displayed by one minute.
D280603AUNReset (1)To clear away minutes, press the R but-
ton with your finger, a pencil or similar
object. Then the clock will be set precise-
ly on the hour.
For example, if the R button is pressed
while the time is between 9:01 and 9:29,
the display will be reset to 9:00.
9:01 ~ 9:29 display changed to 9:00
9:30 ~ 9:59 display changed to 10:00D280604AUNDisplay conversionTo change the 12 hour format to the 24
hour format, press the R button for more
than 4 seconds.
For example, if the R button is pressed
for more than 4 seconds while the time is
10:15 p.m., the display will change to
22:15.
WARNING
Do not adjust the clock while driv-
ing. You may lose your steering
control and cause severe personal
injury or accidents.
OUN026329N
Page 172 of 343
493
Features of your vehicle
MODE (1)Press the button to select Radio, Tape (if
equipped) or CD (compact disc).VOLUME (VOL
▲/▼) (3)
• Press the up button (▲) to increasevolume.
Press the down button (▼) to decrease volume.SEEK/PRESET (
▲/▼) (2)
If the SEEK button is pressed for 0.8
second or more, it will work as follows in
each mode.
RADIO mode
It will function as the AUTO SEEK select
button.
TAPE mode
It will function as the FF/REW button.
CDP mode
It will function as the FF/REW button.
CDC mode
It will function as the DISC UP/DOWN
button. If the SEEK button is pressed for less
than 0.8 second, it will work as follows in
each mode.
RADIO mode
It will function as the PRESET STATION
select buttons.
TAPE mode
It will function as the AUTO MUSIC
Search (AMS) button.
CDP mode
It will function as the TRACK UP/DOWN
button.
CDC mode
It will function as the TRACK UP/DOWN
button.
Detailed information for audio control
buttons is described in the following
pages in this section.
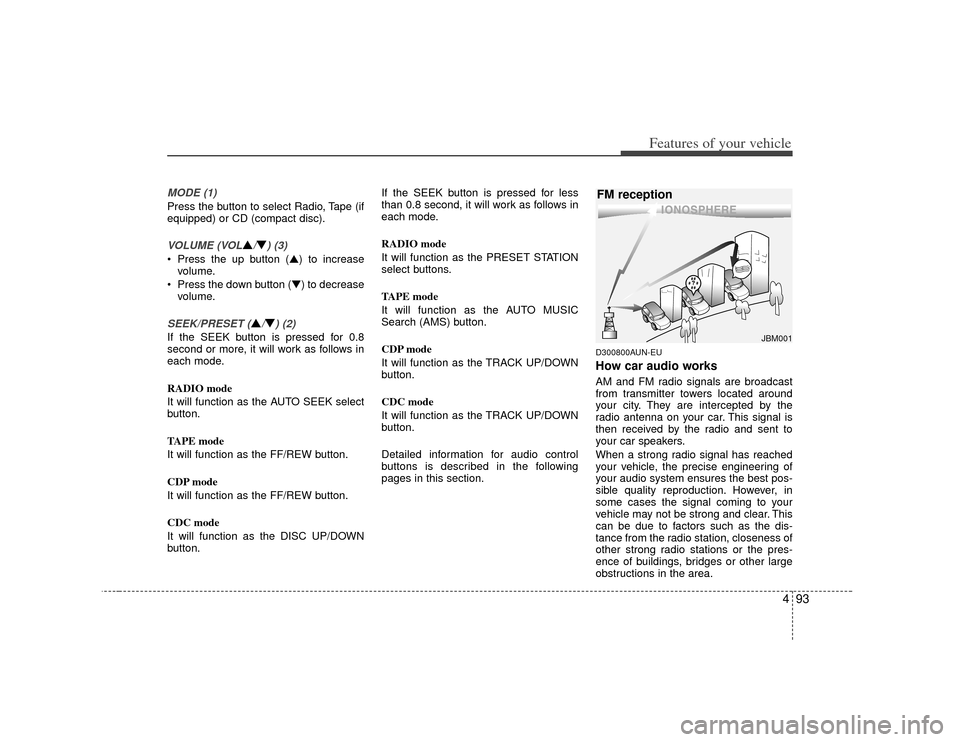
D300800AUN-EUHow car audio worksAM and FM radio signals are broadcast
from transmitter towers located around
your city. They are intercepted by the
radio antenna on your car. This signal is
then received by the radio and sent to
your car speakers.
When a strong radio signal has reached
your vehicle, the precise engineering of
your audio system ensures the best pos-
sible quality reproduction. However, in
some cases the signal coming to your
vehicle may not be strong and clear. This
can be due to factors such as the dis-
tance from the radio station, closeness of
other strong radio stations or the pres-
ence of buildings, bridges or other large
obstructions in the area.
¢¢¢
JBM001
FM reception
Page 176 of 343
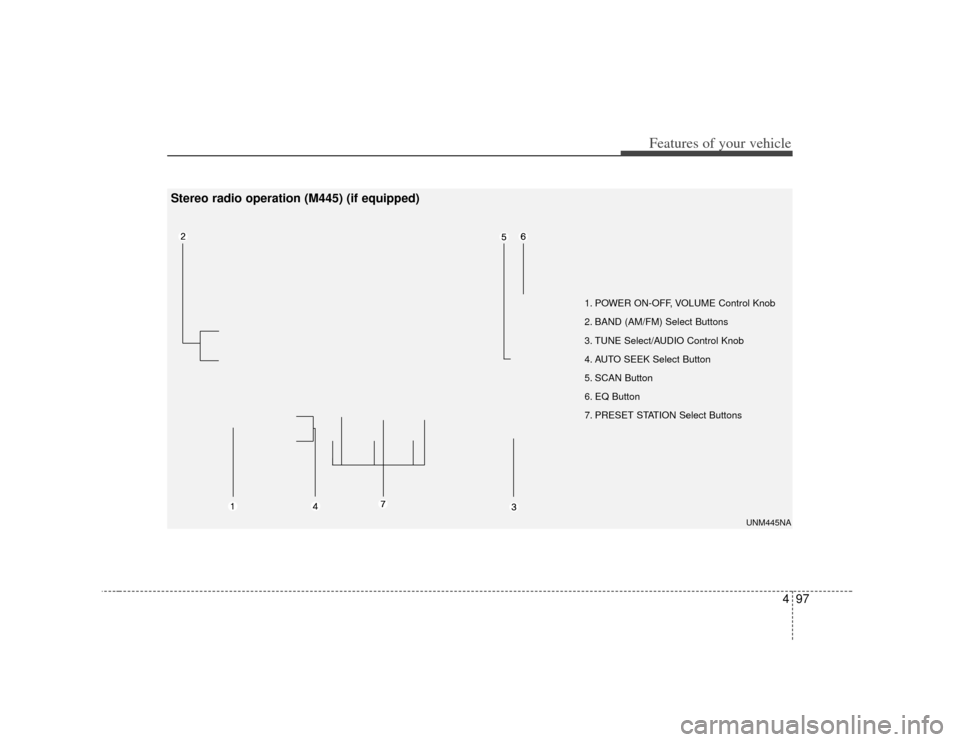
497
Features of your vehicle
1. POWER ON-OFF, VOLUME Control Knob
2. BAND (AM/FM) Select Buttons
3. TUNE Select/AUDIO Control Knob
4. AUTO SEEK Select Button
5. SCAN Button
6. EQ Button
7. PRESET STATION Select Buttons
UNM445NA
Stereo radio operation (M445) (if equipped)
Page 178 of 343
499
Features of your vehicle
4. AUTO SEEK Select Button(Automatic Channel Selection)Press the AUTO SEEK select button.
When the side is pressed, the unit
will automatically tune to the next higher
frequency station and when the side
is pressed, it will automatically tune to
the next lower frequency station.5. SCAN ButtonWhen you press the button, frequency
goes up to the next stations continuously
with staying for 5 seconds each. To stop
scanning and stay on a station, press the
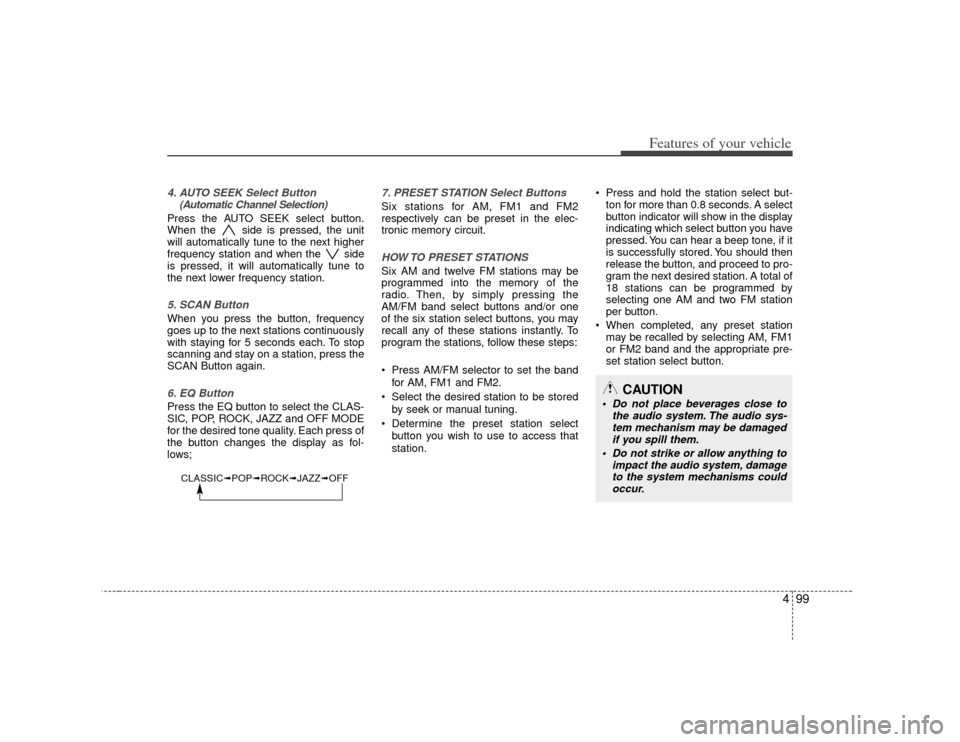
SCAN Button again.6. EQ ButtonPress the EQ button to select the CLAS-
SIC, POP, ROCK, JAZZ and OFF MODE
for the desired tone quality. Each press of
the button changes the display as fol-
lows;
7. PRESET STATION Select ButtonsSix stations for AM, FM1 and FM2
respectively can be preset in the elec-
tronic memory circuit.HOW TO PRESET STATIONSSix AM and twelve FM stations may be
programmed into the memory of the
radio. Then, by simply pressing the
AM/FM band select buttons and/or one
of the six station select buttons, you may
recall any of these stations instantly. To
program the stations, follow these steps:
Press AM/FM selector to set the band
for AM, FM1 and FM2.
Select the desired station to be stored by seek or manual tuning.
Determine the preset station select button you wish to use to access that
station. Press and hold the station select but-
ton for more than 0.8 seconds. A select
button indicator will show in the display
indicating which select button you have
pressed. You can hear a beep tone, if it
is successfully stored. You should then
release the button, and proceed to pro-
gram the next desired station. A total of
18 stations can be programmed by
selecting one AM and two FM station
per button.
When completed, any preset station may be recalled by selecting AM, FM1
or FM2 band and the appropriate pre-
set station select button.
CAUTION
Do not place beverages close to the audio system. The audio sys-tem mechanism may be damagedif you spill them.
Do not strike or allow anything to impact the audio system, damageto the system mechanisms couldoccur.
CLASSIC➟ POP➟ROCK➟ JAZZ➟OFF