valve KIA Rondo 2014 3.G Owner's Manual
[x] Cancel search | Manufacturer: KIA, Model Year: 2014, Model line: Rondo, Model: KIA Rondo 2014 3.GPages: 517, PDF Size: 13.98 MB
Page 396 of 517
What to do in an emergency
12
6
Changing a tire with TPMS
If you have a flat tire, the Low Tire
Pressure telltale will come on. Have
the flat tire repaired by an authorized
Kia dealer as soon as possible or
replace the flat tire with the spare
tire.
Each wheel is equipped with a tire
pressure sensor mounted inside the
tire behind the valve stem. You must
use TPMS specific wheels. It is rec-
ommended that you always have
your tires serviced by an authorized
Kia dealer. Even if you replace the low pressure
tire with the spare tire, the Low Tire
Pressure telltale will remain on until
the low pressure tire is repaired and
placed on the vehicle.
After you replace the low pressure
tire with the spare tire, the TPMS
malfunction indicator may illuminate
after a few minutes because the
TPMS sensor mounted on the spare
wheel is not initiated.
Once the low pressure tire is reinflat-
ed to the recommended pressure
and installed on the vehicle or the
TPMS sensor mounted on the
replaced spare wheel is initiated by
an authorized Kia dealer, the TPMS
malfunction indicator and the low tire
pressure telltale will extinguish within
a few minutes of driving.
If the indicator is not extinguished
after a few minutes of driving, please
visit an authorized Kia dealer.CAUTION
If an original mounted tire is
replaced with the spare tire, theTPMS sensor on the replacedspare wheel should be initiatedand the TPMS sensor on theoriginal mounted wheel shouldbe deactivated. If the TPMS sen-sor on the original mountedwheel located in the spare tirecarrier still activates, the tirepressure monitoring systemmay not operate properly. Havethe tire with TPMS serviced orreplaced by an authorized Kiadealer.
CAUTION
NEVER use a puncture-repair-ing agent to repair and/or inflatea low pressure tire. The tiresealant can damage the tirepressure sensor. If used, youwill have to replace the tire pres-sure sensor.
Page 401 of 517
617
What to do in an emergency
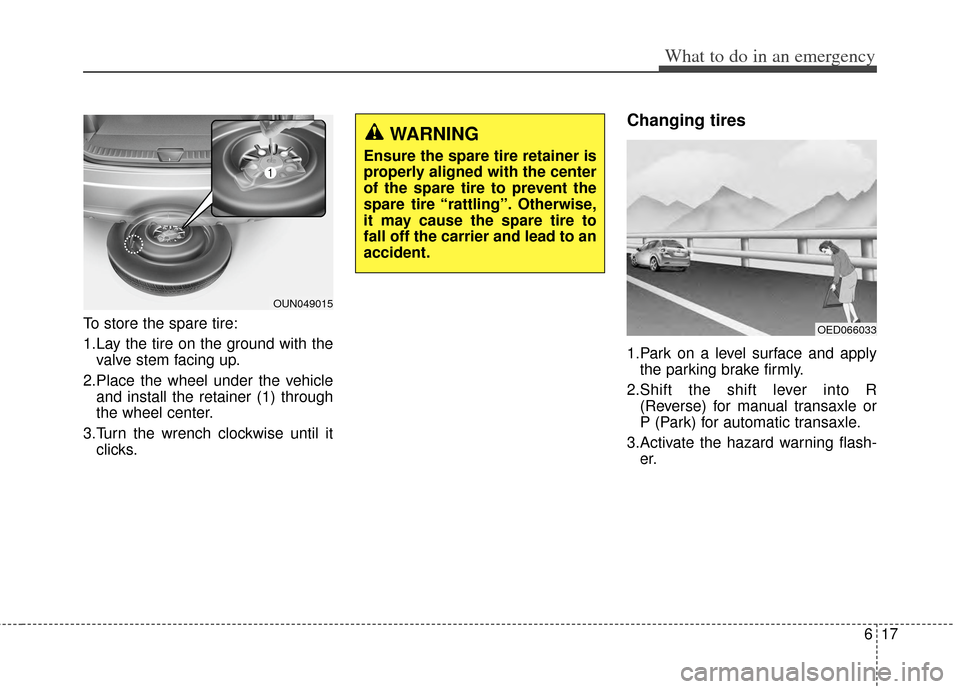
To store the spare tire:
1.Lay the tire on the ground with thevalve stem facing up.
2.Place the wheel under the vehicle and install the retainer (1) through
the wheel center.
3.Turn the wrench clockwise until it clicks.
Changing tires
1.Park on a level surface and applythe parking brake firmly.
2.Shift the shift lever into R (Reverse) for manual transaxle or
P (Park) for automatic transaxle.
3.Activate the hazard warning flash- er.
OUN049015
WARNING
Ensure the spare tire retainer is
properly aligned with the center
of the spare tire to prevent the
spare tire “rattling”. Otherwise,
it may cause the spare tire to
fall off the carrier and lead to an
accident.
OED066033
Page 405 of 517
621
What to do in an emergency
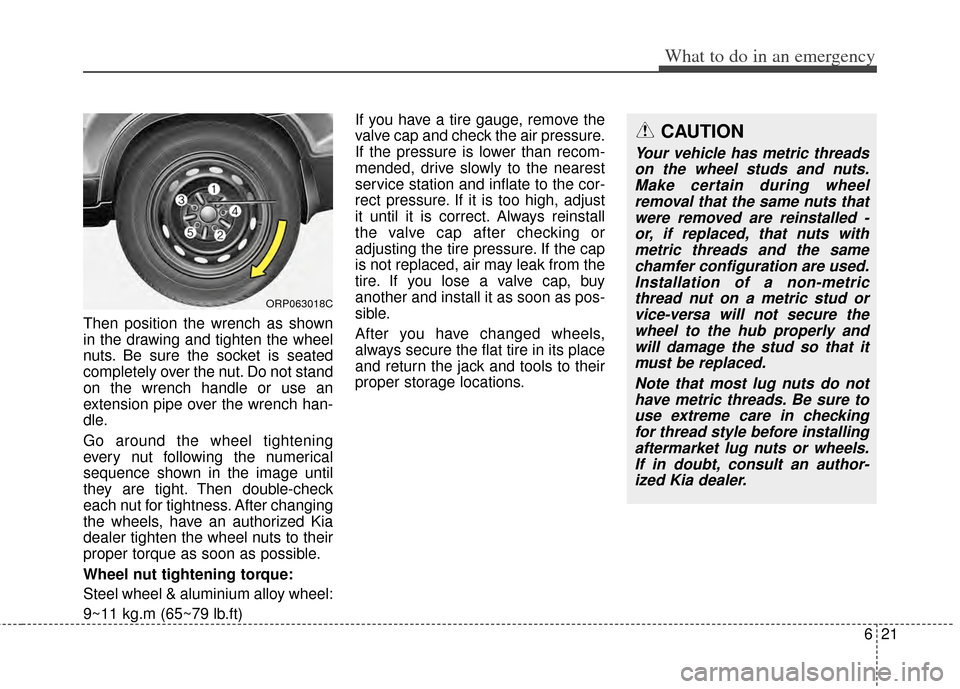
Then position the wrench as shown
in the drawing and tighten the wheel
nuts. Be sure the socket is seated
completely over the nut. Do not stand
on the wrench handle or use an
extension pipe over the wrench han-
dle.
Go around the wheel tightening
every nut following the numerical
sequence shown in the image until
they are tight. Then double-check
each nut for tightness. After changing
the wheels, have an authorized Kia
dealer tighten the wheel nuts to their
proper torque as soon as possible.
Wheel nut tightening torque:
Steel wheel & aluminium alloy wheel:
9~11 kg.m (65~79 lb.ft)If you have a tire gauge, remove the
valve cap and check the air pressure.
If the pressure is lower than recom-
mended, drive slowly to the nearest
service station and inflate to the cor-
rect pressure. If it is too high, adjust
it until it is correct. Always reinstall
the valve cap after checking or
adjusting the tire pressure. If the cap
is not replaced, air may leak from the
tire. If you lose a valve cap, buy
another and install it as soon as pos-
sible.
After you have changed wheels,
always secure the flat tire in its place
and return the jack and tools to their
proper storage locations.
ORP063018C
CAUTION
Your vehicle has metric threads
on the wheel studs and nuts.Make certain during wheelremoval that the same nuts thatwere removed are reinstalled -or, if replaced, that nuts withmetric threads and the samechamfer configuration are used.Installation of a non-metricthread nut on a metric stud orvice-versa will not secure thewheel to the hub properly andwill damage the stud so that itmust be replaced.
Note that most lug nuts do nothave metric threads. Be sure touse extreme care in checkingfor thread style before installingaftermarket lug nuts or wheels.If in doubt, consult an author-ized Kia dealer.
Page 459 of 517
747
Maintenance
CAUTION
Underinflation also results inexcessive wear, poor handlingand reduced fuel economy.Wheel deformation also ispossible. Keep your tire pres-sures at the proper levels. If atire frequently needs refilling,have it checked by an author-ized Kia dealer.
Overinflation produces a harsh ride, excessive wear atthe center of the tire tread, anda greater possibility of dam-age from road hazards.
WARNING- Tire Inflation
Overinflation or underinflation
can reduce tire life, adversely
affect vehicle handling, and
lead to sudden tire failure. This
could result in loss of vehicle
control and potential injury.
CAUTION - Tire pressure
Always observe the following:
Check tire pressure when the tires are cold. (After vehiclehas been parked for at leastthree hours or hasn't beendriven more than 1.6 km (onemile) since startup.)
Check the pressure of your spare tire each time you checkthe pressure of other tires.
Never overload your vehicle. Be careful not to overload avehicle luggage rack if yourvehicle is equipped with one.
Worn, old tires can cause acci- dents. If your tread is badlyworn, or if your tires havebeen damaged, replace them.
CAUTION
Warm tires normally exceed recommended cold tire pres-sures by 28 to 41 kPa (4 to 6psi ). Do not release air fromwarm tires to adjust the pres-sure or the tires will be under-inflated.
Be sure to reinstall the tire inflation valve caps. Withoutthe valve cap, dirt or moisturecould get into the valve coreand cause air leakage. If avalve cap is missing, install anew one as soon as possible.
Page 460 of 517
Maintenance
48
7
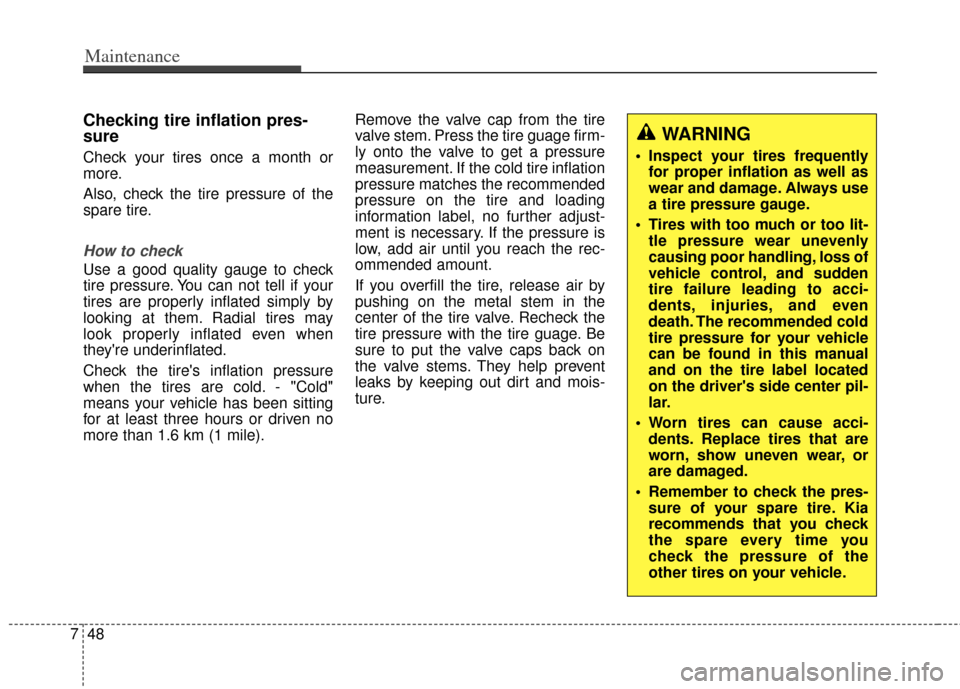
Checking tire inflation pres-
sure
Check your tires once a month or
more.
Also, check the tire pressure of the
spare tire.
How to check
Use a good quality gauge to check
tire pressure. You can not tell if your
tires are properly inflated simply by
looking at them. Radial tires may
look properly inflated even when
they're underinflated.
Check the tire's inflation pressure
when the tires are cold. - "Cold"
means your vehicle has been sitting
for at least three hours or driven no
more than 1.6 km (1 mile). Remove the valve cap from the tire
valve stem. Press the tire guage firm-
ly onto the valve to get a pressure
measurement. If the cold tire inflation
pressure matches the recommended
pressure on the tire and loading
information label, no further adjust-
ment is necessary. If the pressure is
low, add air until you reach the rec-
ommended amount.
If you overfill the tire, release air by
pushing on the metal stem in the
center of the tire valve. Recheck the
tire pressure with the tire guage. Be
sure to put the valve caps back on
the valve stems. They help prevent
leaks by keeping out dirt and mois-
ture.
WARNING
Inspect your tires frequently
for proper inflation as well as
wear and damage. Always use
a tire pressure gauge.
Tires with too much or too lit- tle pressure wear unevenly
causing poor handling, loss of
vehicle control, and sudden
tire failure leading to acci-
dents, injuries, and even
death. The recommended cold
tire pressure for your vehicle
can be found in this manual
and on the tire label located
on the driver's side center pil-
lar.
Worn tires can cause acci- dents. Replace tires that are
worn, show uneven wear, or
are damaged.
Remember to check the pres- sure of your spare tire. Kia
recommends that you check
the spare every time you
check the pressure of the
other tires on your vehicle.
Page 486 of 517
Maintenance
74
7
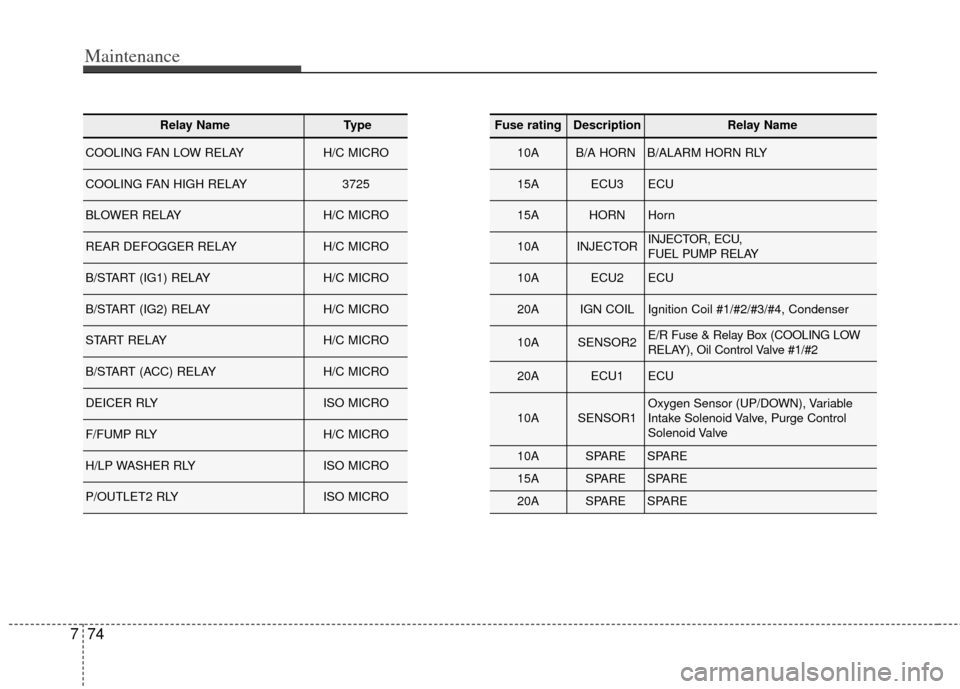
Relay NameType
COOLING FAN LOW RELAYH/C MICRO
COOLING FAN HIGH RELAY3725
BLOWER RELAYH/C MICRO
REAR DEFOGGER RELAYH/C MICRO
B/START (IG1) RELAYH/C MICRO
B/START (IG2) RELAYH/C MICRO
START RELAYH/C MICRO
B/START (ACC) RELAYH/C MICRO
DEICER RLYISO MICRO
F/FUMP RLYH/C MICRO
H/LP WASHER RLYISO MICRO
P/OUTLET2 RLYISO MICRO
Fuse ratingDescriptionRelay Name
10AB/A HORNB/ALARM HORN RLY
15AECU3ECU
15AHORNHorn
10AINJECTORINJECTOR, ECU,
FUEL PUMP RELAY
10AECU2ECU
20AIGN COILIgnition Coil #1/#2/#3/#4, Condenser
10ASENSOR2E/R Fuse & Relay Box (COOLING LOW
RELAY), Oil Control Valve #1/#2
20AECU1ECU
10ASENSOR1Oxygen Sensor (UP/DOWN), Variable
Intake Solenoid Valve, Purge Control
Solenoid Valve
10ASPARESPARE
15ASPARESPARE
20ASPARESPARE
Page 494 of 517
Maintenance
82
7
EMISSION CONTROL SYSTEM
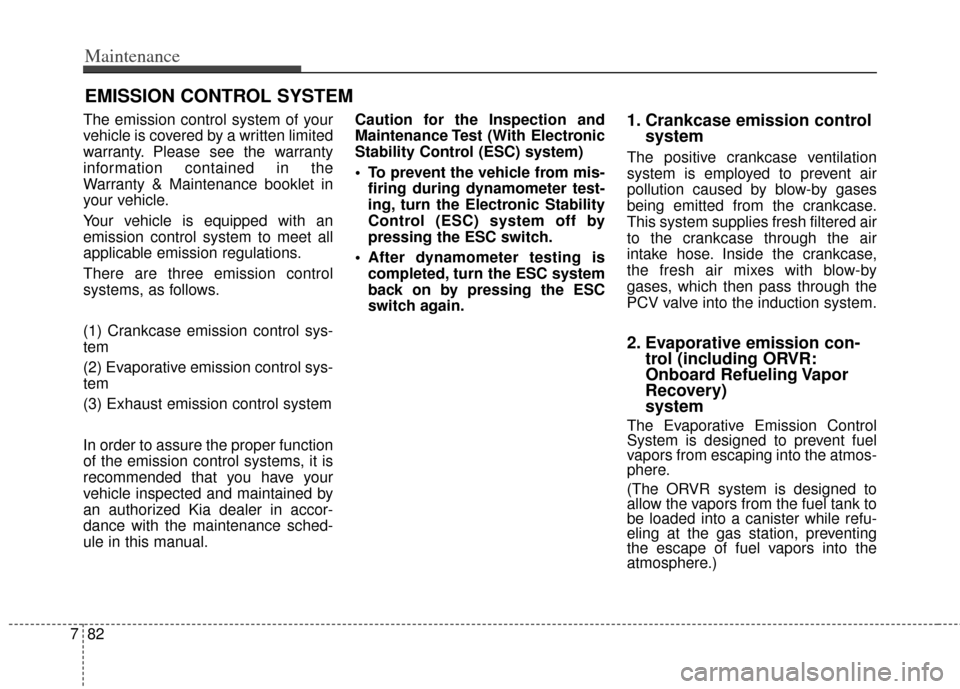
The emission control system of your
vehicle is covered by a written limited
warranty. Please see the warranty
information contained in the
Warranty & Maintenance booklet in
your vehicle.
Your vehicle is equipped with an
emission control system to meet all
applicable emission regulations.
There are three emission control
systems, as follows.
(1) Crankcase emission control sys-
tem
(2) Evaporative emission control sys-
tem
(3) Exhaust emission control system
In order to assure the proper function
of the emission control systems, it is
recommended that you have your
vehicle inspected and maintained by
an authorized Kia dealer in accor-
dance with the maintenance sched-
ule in this manual. Caution for the Inspection and
Maintenance Test (With Electronic
Stability Control (ESC) system)
To prevent the vehicle from mis-
firing during dynamometer test-
ing, turn the Electronic Stability
Control (ESC) system off by
pressing the ESC switch.
After dynamometer testing is completed, turn the ESC system
back on by pressing the ESC
switch again.1. Crankcase emission control system
The positive crankcase ventilation
system is employed to prevent air
pollution caused by blow-by gases
being emitted from the crankcase.
This system supplies fresh filtered air
to the crankcase through the air
intake hose. Inside the crankcase,
the fresh air mixes with blow-by
gases, which then pass through the
PCV valve into the induction system.
2. Evaporative emission con-trol (including ORVR:
Onboard Refueling Vapor
Recovery)
system
The Evaporative Emission Control
System is designed to prevent fuel
vapors from escaping into the atmos-
phere.
(The ORVR system is designed to
allow the vapors from the fuel tank to
be loaded into a canister while refu-
eling at the gas station, preventing
the escape of fuel vapors into the
atmosphere.)
Page 495 of 517
783
Maintenance
Canister
Fuel vapors generated inside the fuel
tank are absorbed and stored in the
onboard canister. When the engine is
running, the fuel vapors absorbed in
the canister are drawn into the surge
tank through the purge control sole-
noid valve.
Purge Control Solenoid Valve(PCSV)
The purge control solenoid valve is
controlled by the Engine Control
Module (ECM); when the engine
coolant temperature is low during
idling, the PCSV closes so that evap-
orated fuel is not taken into the
engine. After the engine warms up
during ordinary driving, the PCSV
opens to introduce evaporated fuel to
the engine.
3. Exhaust emission control system
The Exhaust Emission Control
System is a highly effective system
which controls exhaust emissions
while maintaining good vehicle per-
formance.
Vehicle modifications
This vehicle should not be modified.
Modification of your vehicle could
affect its performance, safety or
durability and may even violate gov-
ernmental safety and emissions reg-
ulations.
In addition, damage or performance
problems resulting from any modifi-
cation may not be covered under
warranty.
If you use unauthorized electronic
devices, it may cause the vehicle to
operate abnormally, wire damage,
battery discharge and fire. For your
safety, do not use unauthorized
electronic devices.
Engine exhaust gas precautions(carbon monoxide)
Carbon monoxide can be present with other exhaust fumes.
Therefore, if you smell exhaust
fumes of any kind inside your vehi-
cle, have it inspected and repaired
immediately. If you ever suspect
exhaust fumes are coming into
your vehicle, drive it only with all
the windows fully open. Have your
vehicle checked and repaired
immediately.
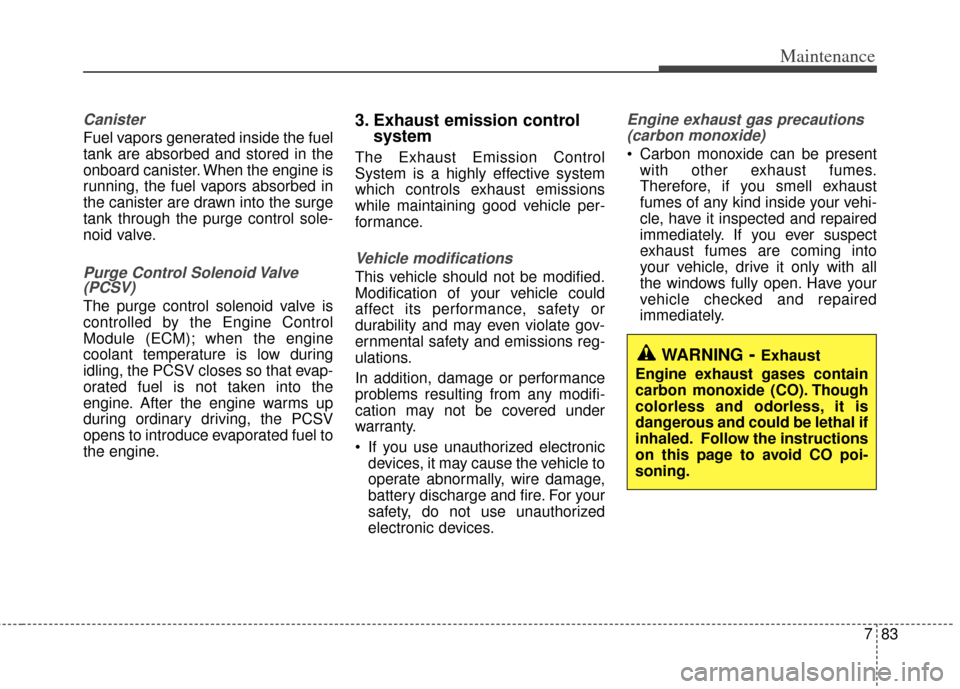
WARNING- Exhaust
Engine exhaust gases contain
carbon monoxide (CO). Though
colorless and odorless, it is
dangerous and could be lethal if
inhaled. Follow the instructions
on this page to avoid CO poi-
soning.