start KIA Rondo 2017 3.G Owner's Guide
[x] Cancel search | Manufacturer: KIA, Model Year: 2017, Model line: Rondo, Model: KIA Rondo 2017 3.GPages: 625, PDF Size: 19.69 MB
Page 144 of 625
447
Features of your vehicle
Resetting the sunroof
Whenever the vehicle battery is dis-
connected or discharged, you must
reset your sunroof system as follows:
1.Start the engine.
2.Close the sunshade and sunroofcompletely if opened.
3.Release the sunroof control lever.
4.Push the sunroof control lever for- ward in the direction of close (about
10 seconds) until the sunshade
open and sunroof glass tilts. Then,
release the lever. 5.Within 3 seconds, push the sunroof
control lever forward in the direc-
tion of close, until the sunroof oper-
ates as follows again:
The sunroof glass slide open →
The sunroof glass slide close →
The sunshade close
Then, release the lever.
When this is complete, the sunroof
system has been reset.
✽ ✽ NOTICE
If you do not reset the sunroof, it
may not work properly.
Page 150 of 625
453
Features of your vehicle
Inside rearview mirror
Adjust the rearview mirror so that the
center view through the rear window
is seen. Make this adjustment before
you start driving.
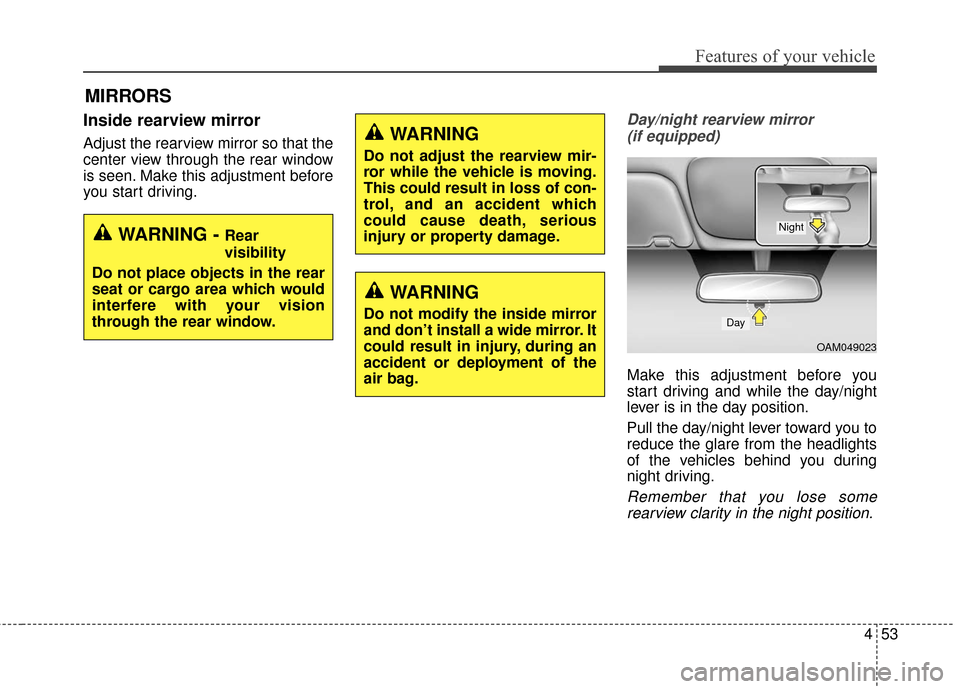
Day/night rearview mirror (if equipped)
Make this adjustment before you
start driving and while the day/night
lever is in the day position.
Pull the day/night lever toward you to
reduce the glare from the headlights
of the vehicles behind you during
night driving.
Remember that you lose somerearview clarity in the night position.
MIRRORS
WARNING - Rear
visibility
Do not place objects in the rear
seat or cargo area which would
interfere with your vision
through the rear window.
WARNING
Do not adjust the rearview mir-
ror while the vehicle is moving.
This could result in loss of con-
trol, and an accident which
could cause death, serious
injury or property damage.
WARNING
Do not modify the inside mirror
and don’t install a wide mirror. It
could result in injury, during an
accident or deployment of the
air bag.
OAM049023
Day
Night
Page 151 of 625
Features of your vehicle
54
4
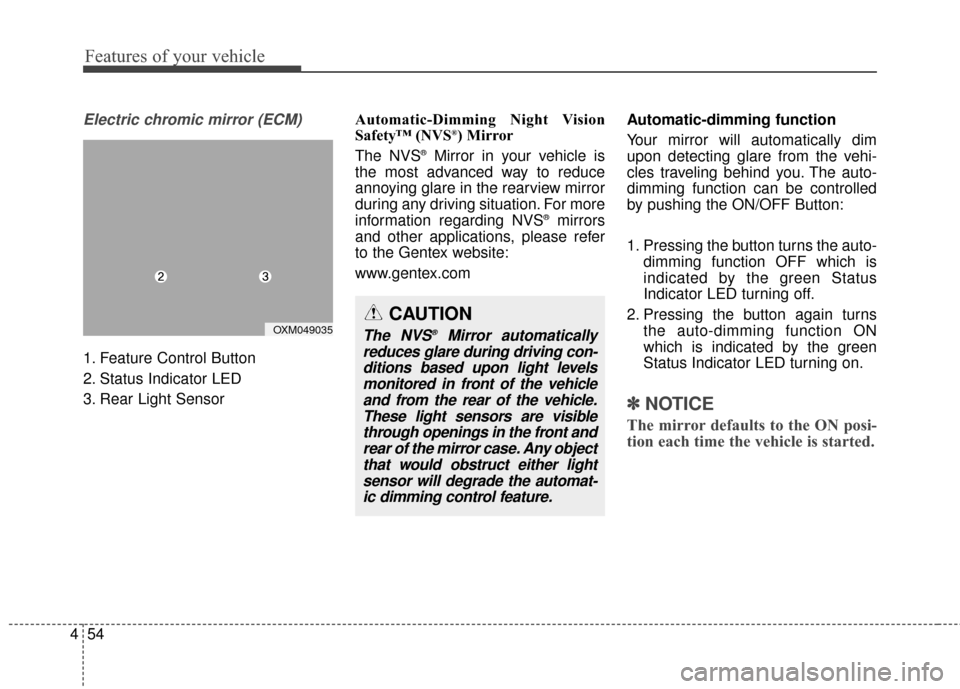
Electric chromic mirror (ECM)
1. Feature Control Button
2. Status Indicator LED
3. Rear Light Sensor Automatic-Dimming Night Vision
Safety™ (NVS
®) Mirror
The NVS®Mirror in your vehicle is
the most advanced way to reduce
annoying glare in the rearview mirror
during any driving situation. For more
information regarding NVS
®mirrors
and other applications, please refer
to the Gentex website:
www.gentex.com Automatic-dimming function
Your mirror will automatically dim
upon detecting glare from the vehi-
cles traveling behind you. The auto-
dimming function can be controlled
by pushing the ON/OFF Button:
1. Pressing the button turns the auto-
dimming function OFF which is
indicated by the green Status
Indicator LED turning off.
2. Pressing the button again turns the auto-dimming function ON
which is indicated by the green
Status Indicator LED turning on.
✽ ✽NOTICE
The mirror defaults to the ON posi-
tion each time the vehicle is started.
CAUTION
The NVS®Mirror automatically
reduces glare during driving con- ditions based upon light levelsmonitored in front of the vehicleand from the rear of the vehicle.These light sensors are visiblethrough openings in the front andrear of the mirror case. Any objectthat would obstruct either lightsensor will degrade the automat-ic dimming control feature.OXM049035
Page 156 of 625
459
Features of your vehicle
Instrument Cluster Control
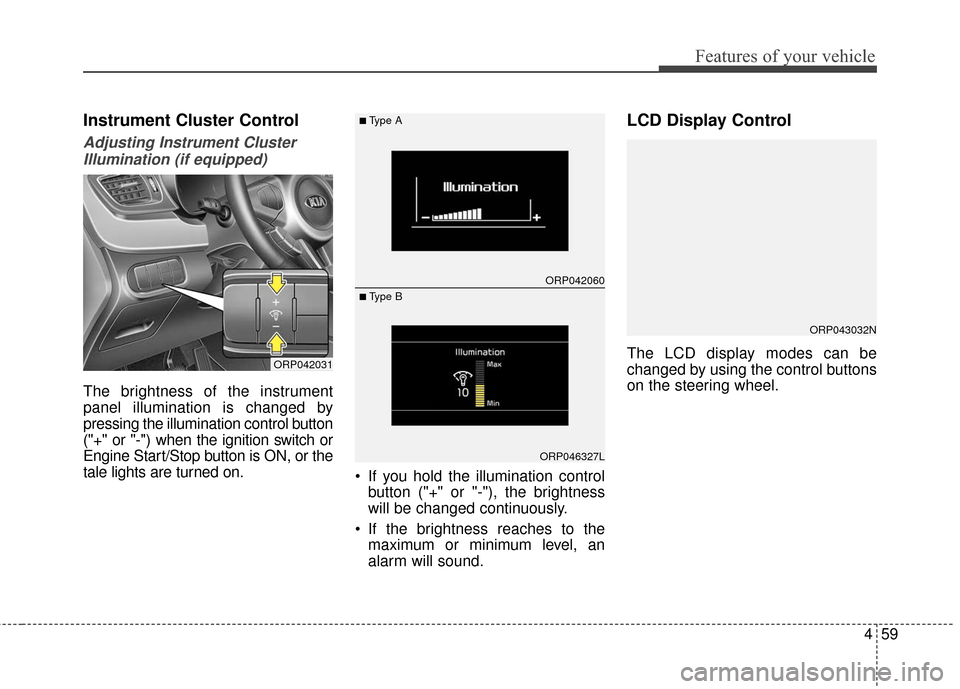
Adjusting Instrument ClusterIllumination (if equipped)
The brightness of the instrument
panel illumination is changed by
pressing the illumination control button
("+" or "-") when the ignition switch or
Engine Start/Stop button is ON, or the
tale lights are turned on. If you hold the illumination control
button ("+" or "-"), the brightness
will be changed continuously.
If the brightness reaches to the maximum or minimum level, an
alarm will sound.
LCD Display Control
The LCD display modes can be
changed by using the control buttons
on the steering wheel.ORP042031
ORP042060
ORP046327L
■Type A
■ Type B
ORP043032N
Page 158 of 625
461
Features of your vehicle
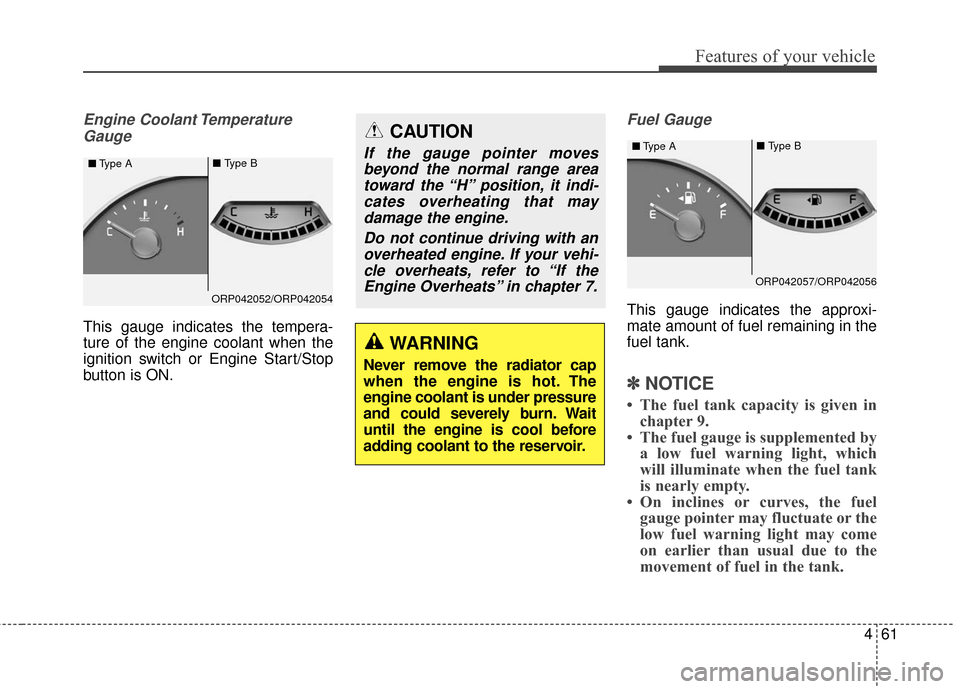
Engine Coolant TemperatureGauge
This gauge indicates the tempera-
ture of the engine coolant when the
ignition switch or Engine Start/Stop
button is ON.
Fuel Gauge
This gauge indicates the approxi-
mate amount of fuel remaining in the
fuel tank.
✽ ✽ NOTICE
• The fuel tank capacity is given in
chapter 9.
• The fuel gauge is supplemented by a low fuel warning light, which
will illuminate when the fuel tank
is nearly empty.
• On inclines or curves, the fuel gauge pointer may fluctuate or the
low fuel warning light may come
on earlier than usual due to the
movement of fuel in the tank.
WARNING
Never remove the radiator cap
when the engine is hot. The
engine coolant is under pressure
and could severely burn. Wait
until the engine is cool before
adding coolant to the reservoir.
CAUTION
If the gauge pointer moves
beyond the normal range areatoward the “H” position, it indi-cates overheating that maydamage the engine.
Do not continue driving with anoverheated engine. If your vehi-cle overheats, refer to “If theEngine Overheats” in chapter 7.■ Type A■ Type B
ORP042057/ORP042056
■Type A■ Type B
ORP042052/ORP042054
Page 162 of 625
465
Features of your vehicle
Service Mode
Service Interval
Service in
It calculates and displays when you
need a scheduled maintenance
service (mileage or days).
If the remaining mileage or time
reaches 1,500 km. (900 mi) or 30
days, "Service in" message is dis-
played for several seconds each time
you set the ignition switch or Engine
Start/Stop Button to the ON position.Service required
If you do not have your vehicle serv-
iced according to the already inputted
service interval, “Service required”
message is displayed for several sec-
onds each time you set the ignition
switch or Engine Start/Stop Button to
the ON position (The mileage and
time changes to "---").
To reset the service interval to the
mileage and days you inputted before:
- Press the RESET button for
more than 1 second. Service in OFF
If the service interval is not set,
“Service in OFF” message is dis-
played on the LCD display.
✽ ✽
NOTICE
If any of the following conditions
occurs, the mileage and days may be
incorrect.
- The battery cable is disconnected.
- The fuse switch is turned off.
- The battery is discharged.
Page 164 of 625
467
Features of your vehicle
Auto Door Unlock (if equipped)
- Off : The auto door unlock opera- tion will be canceled.
- Key Out or Power Off : All doors will be automatically unlocked when
the ignition key is removed from
ignition switch or Engine Start/Stop
Button is set to the OFF position.
- Shift Lever : All doors will be auto- matically unlocked if the automatic
transaxle shift lever is shifted to the
P (Park) position.
- Driver Door Unlock : All doors will be automatically unlocked if the
driver's door is unlocked. Two Press Unlock
- Off : The two press unlock function
will be deactivated. Therefore, all
doors will unlock if the door is
unlocked.
- On : The driver’s door will unlock if the door is unlocked. When the
door is unlocked again within 4
seconds, all doors will unlock.
Horn Feedback (if equipped)
- Off : The Horn feedback operation will be deactivated.
- On : After locking the door by pressing the lock button on the
transmitter, if you press the lock
button again within 4 seconds, the
warning sound will operate once to
indicate that all doors are locked. Lights
Head Lamp Delay (if equipped)
If this item is checked, the headlamp
delay and headlamp welcome func-
tion will be activated.
Welcome Light (if equipped)
If this item is checked, the welcome
light function of the pocket lamp will
be activated.
One Touch Turn Lamp
If this item is checked, the lane change
signals will blink 3, 5 or 7 times when
the turn signal lever is moved slightly.
Page 166 of 625
469
Features of your vehicle
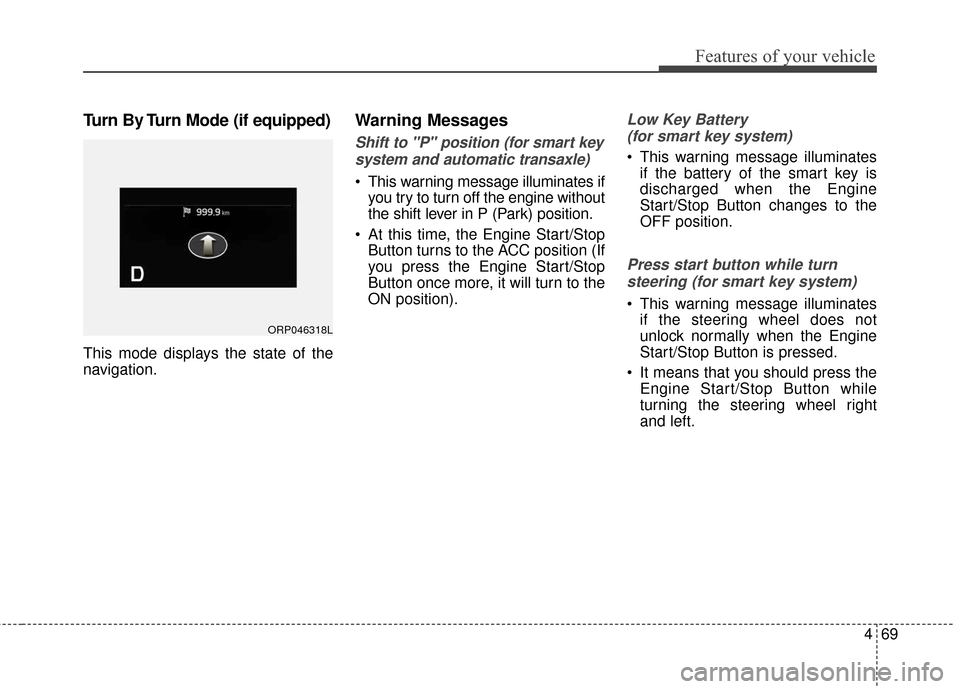
Turn By Turn Mode (if equipped)
This mode displays the state of the
navigation.
Warning Messages
Shift to "P" position (for smart keysystem and automatic transaxle)
This warning message illuminates if you try to turn off the engine without
the shift lever in P (Park) position.
At this time, the Engine Start/Stop Button turns to the ACC position (If
you press the Engine Start/Stop
Button once more, it will turn to the
ON position).
Low Key Battery
(for smart key system)
This warning message illuminates if the battery of the smart key is
discharged when the Engine
Start/Stop Button changes to the
OFF position.
Press start button while turn
steering (for smart key system)
This warning message illuminates if the steering wheel does not
unlock normally when the Engine
Start/Stop Button is pressed.
It means that you should press the Engine Start/Stop Button while
turning the steering wheel right
and left.
ORP046318L
Page 167 of 625
Features of your vehicle
70
4
Steering wheel unlocked
(for smart key system)
This warning message illuminates if the steering wheel does not lock
when the Engine Start/Stop Button
changes to the OFF position.
Check steering wheel lock
system (for smart key system)
This warning message illuminates if the steering wheel does not lock
normally when the Engine
Start/Stop Button changes to the
OFF position.
Press brake pedal to start engine
(for smart key system and auto-matic transaxle)
This warning message illuminates if the Engine Start/Stop Button
changes to the ACC position twice
by pressing the button repeatedly
without depressing the brake pedal.
It means that you should depress the brake pedal to start the engine.
Key not in vehicle
(for smart key system)
This warning message illuminates if the smart key is not in the vehicle
when you press the Engine
Start/Stop Button.
It means that you should always have the smart key with you.
Page 168 of 625
471
Features of your vehicle
Key not detected (for smart key system)
This warning message illuminates if the smart key is not detected
when you press the Engine
Start/Stop Button.
Press start button again
(for smart key system)
This warning message illuminates if you can not operate the Engine
Start/Stop Button when there is a
problem with the Engine Start/Stop
Button system.
It means that you could start the engine by pressing the Engine
Start/ Stop Button once more.
If the warning illuminates each time you press the Engine Start/Stop
Button, have your vehicle inspected
by an authorized Kia dealer.
Press start button with smart key
(for smart key system)
This warning message illuminates if you press the Engine Start/Stop
Button while the warning message
“Key not detected” is illuminating.
At this time, the immobilizer indica- tor light blinks.
Check fuse "BRAKE SWITCH"
(for smart key system and auto-matic transaxle)
This warning message illuminates if the brake switch fuse is discon-
nected.
It means that you should replace the fuse with a new one. If that is
not possible, you can start the
engine by pressing the Engine
Start/Stop Button for 10 seconds in
the ACC position.