seat adjustment KIA SEDONA 2019 Owners Manual
[x] Cancel search | Manufacturer: KIA, Model Year: 2019, Model line: SEDONA, Model: KIA SEDONA 2019Pages: 593, PDF Size: 15.93 MB
Page 21 of 593
35
Safety features of your vehicle
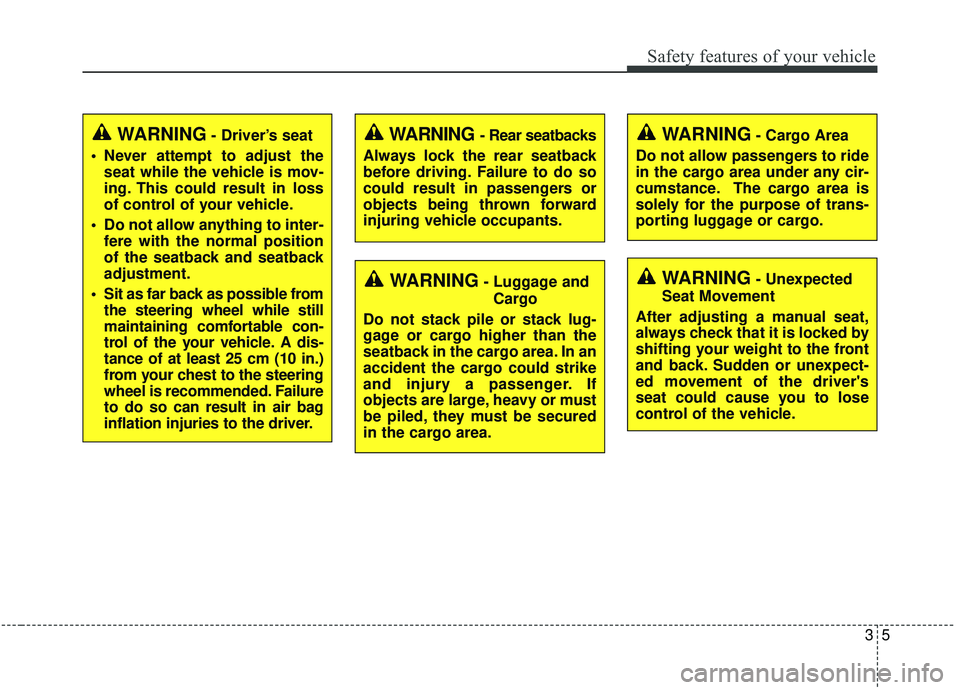
WARNING- Driver’s seat
Never attempt to adjust the seat while the vehicle is mov-
ing. This could result in loss
of control of your vehicle.
Do not allow anything to inter- fere with the normal position
of the seatback and seatback
adjustment.
Sit as far back as possible from the steering wheel while still
maintaining comfortable con-
trol of the your vehicle. A dis-
tance of at least 25 cm (10 in.)
from your chest to the steering
wheel is recommended. Failure
to do so can result in air bag
inflation injuries to the driver.
WARNING- Unexpected
Seat Movement
After adjusting a manual seat,
always check that it is locked by
shifting your weight to the front
and back. Sudden or unexpect-
ed movement of the driver's
seat could cause you to lose
control of the vehicle.
WARNING - Rear seatbacks
Always lock the rear seatback
before driving. Failure to do so
could result in passengers or
objects being thrown forward
injuring vehicle occupants.
WARNING- Luggage and Cargo
Do not stack pile or stack lug-
gage or cargo higher than the
seatback in the cargo area. In an
accident the cargo could strike
and injury a passenger. If
objects are large, heavy or must
be piled, they must be secured
in the cargo area.
WARNING- Cargo Area
Do not allow passengers to ride
in the cargo area under any cir-
cumstance. The cargo area is
solely for the purpose of trans-
porting luggage or cargo.
Page 22 of 593
Safety features of your vehicle
63
Feature of Seat Leather
Leather is made from the outerskin of an animal, which goes
through a special process to be
available for use. Since it is a nat-
ural substance, each part differs in
thickness or density.
Wrinkles may appear as a natural
result of stretching and shrinking
depending on the temperature and
humidity.
The seat is made of stretchable fabric to improve comfort.
The parts contacting the body are curved and the side supporting
area is high which provides driving
comfort and stability.
Wrinkles may appear naturally from usage. It is not a fault of the
product.
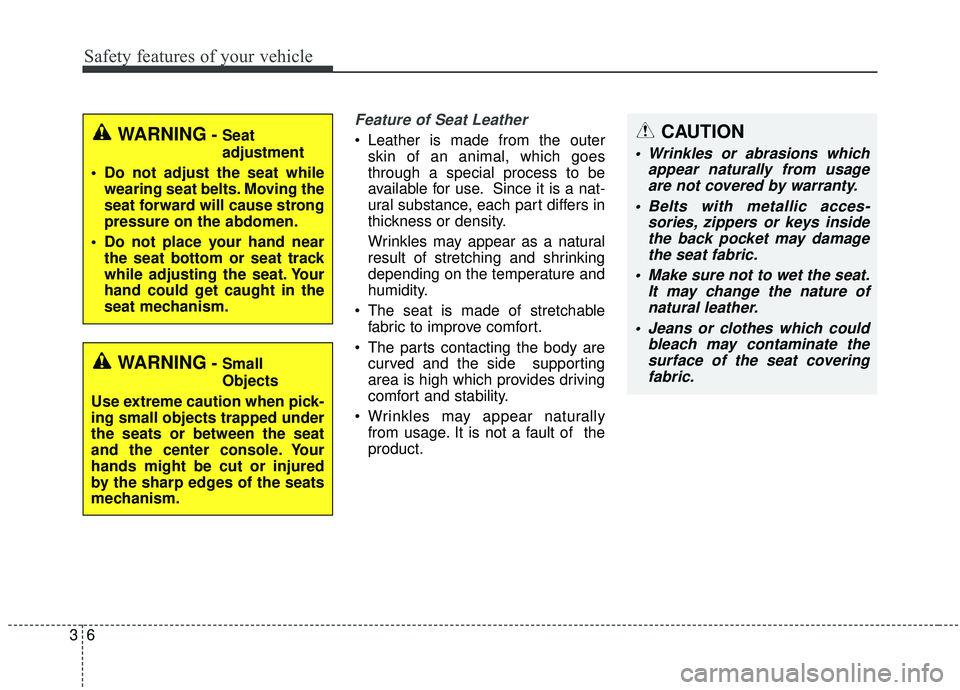
WARNING- Small
Objects
Use extreme caution when pick-
ing small objects trapped under
the seats or between the seat
and the center console. Your
hands might be cut or injured
by the sharp edges of the seats
mechanism.
WARNING- Seat
adjustment
Do not adjust the seat while wearing seat belts. Moving the
seat forward will cause strong
pressure on the abdomen.
Do not place your hand near the seat bottom or seat track
while adjusting the seat. Your
hand could get caught in the
seat mechanism.CAUTION
Wrinkles or abrasions which appear naturally from usageare not covered by warranty.
Belts with metallic acces- sories, zippers or keys insidethe back pocket may damagethe seat fabric.
Make sure not to wet the seat. It may change the nature ofnatural leather.
Jeans or clothes which could bleach may contaminate thesurface of the seat coveringfabric.
Page 23 of 593
37
Safety features of your vehicle
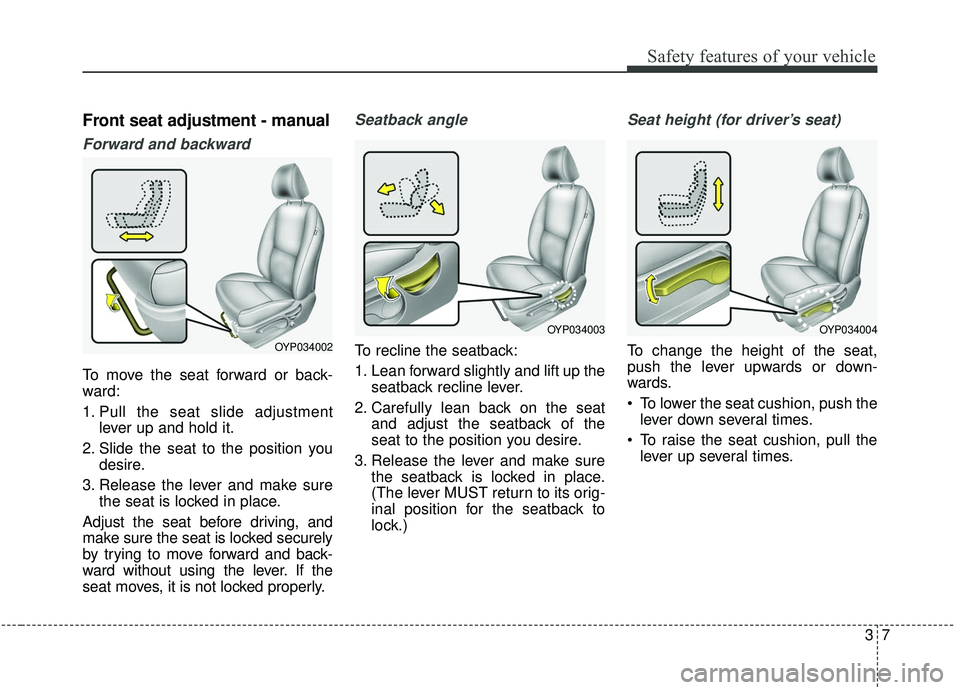
Front seat adjustment - manual
Forward and backward
To move the seat forward or back-
ward:
1. Pull the seat slide adjustmentlever up and hold it.
2. Slide the seat to the position you desire.
3. Release the lever and make sure the seat is locked in place.
Adjust the seat before driving, and
make sure the seat is locked securely
by trying to move forward and back-
ward without using the lever. If the
seat moves, it is not locked properly.
Seatback angle
To recline the seatback:
1. Lean forward slightly and lift up the seatback recline lever.
2. Carefully lean back on the seat and adjust the seatback of the
seat to the position you desire.
3. Release the lever and make sure the seatback is locked in place.
(The lever MUST return to its orig-
inal position for the seatback to
lock.)
Seat height (for driver’s seat)
To change the height of the seat,
push the lever upwards or down-
wards.
To lower the seat cushion, push thelever down several times.
To raise the seat cushion, pull the lever up several times.OYP034002
OYP034004OYP034003
Page 24 of 593
Safety features of your vehicle
83
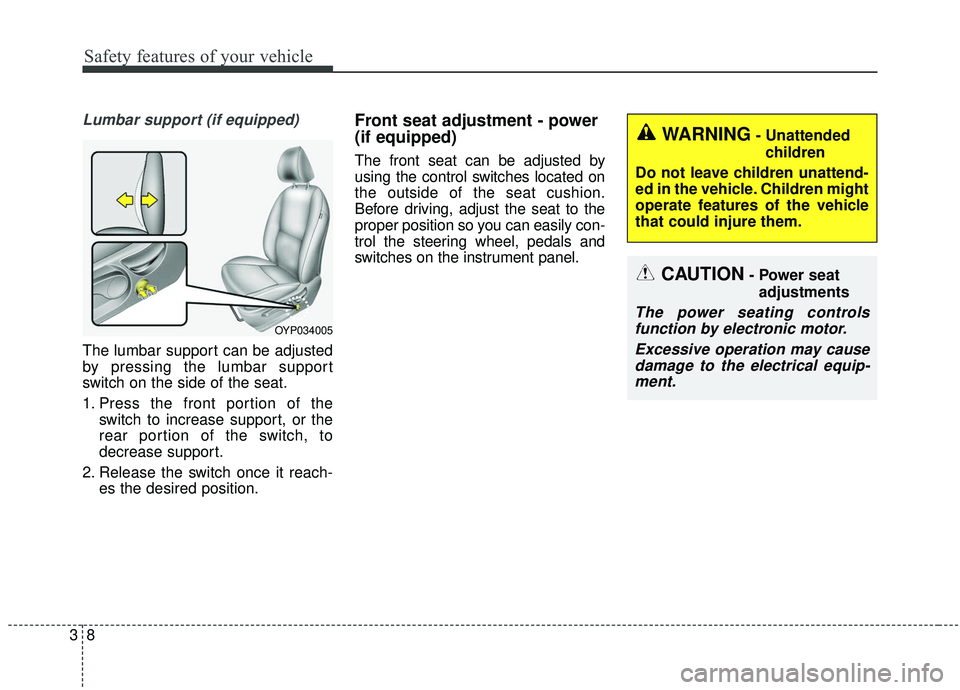
Lumbar support (if equipped)
The lumbar support can be adjusted
by pressing the lumbar support
switch on the side of the seat.
1. Press the front portion of theswitch to increase support, or the
rear portion of the switch, to
decrease support.
2. Release the switch once it reach- es the desired position.
Front seat adjustment - power
(if equipped)
The front seat can be adjusted by
using the control switches located on
the outside of the seat cushion.
Before driving, adjust the seat to the
proper position so you can easily con-
trol the steering wheel, pedals and
switches on the instrument panel.
OYP034005
CAUTION- Power seat
adjustments
The power seating controlsfunction by electronic motor.
Excessive operation may causedamage to the electrical equip-ment.
WARNING- Unattended
children
Do not leave children unattend-
ed in the vehicle. Children might
operate features of the vehicle
that could injure them.
Page 28 of 593
Safety features of your vehicle
12
3
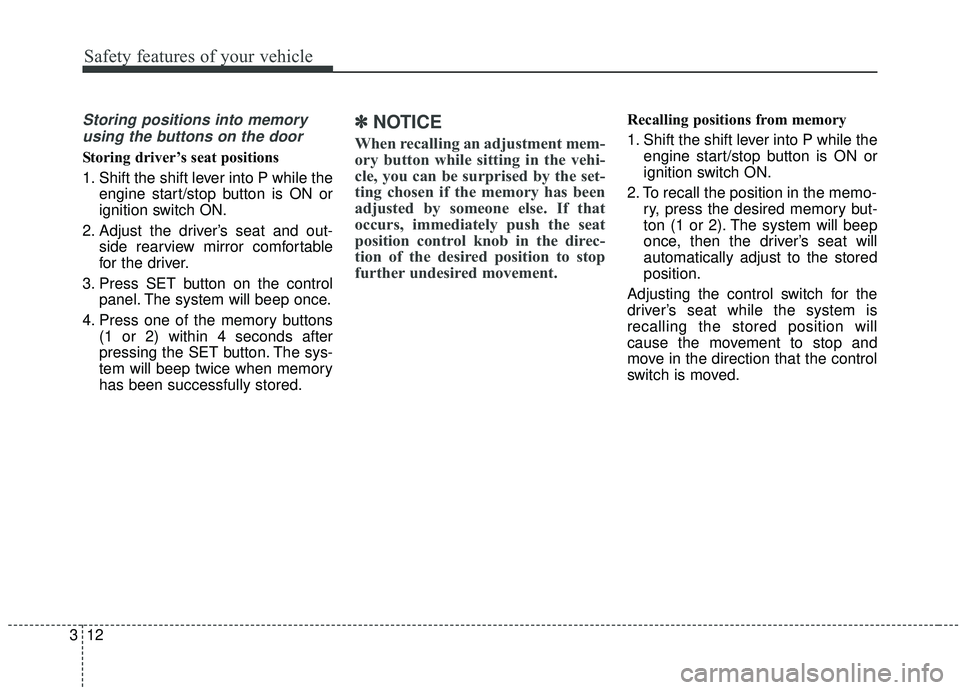
Storing positions into memory
using the buttons on the door
Storing driver’s seat positions
1. Shift the shift lever into P while the engine start/stop button is ON or
ignition switch ON.
2. Adjust the driver’s seat and out- side rearview mirror comfortable
for the driver.
3. Press SET button on the control panel. The system will beep once.
4. Press one of the memory buttons (1 or 2) within 4 seconds after
pressing the SET button. The sys-
tem will beep twice when memory
has been successfully stored.
✽ ✽NOTICE
When recalling an adjustment mem-
ory button while sitting in the vehi-
cle, you can be surprised by the set-
ting chosen if the memory has been
adjusted by someone else. If that
occurs, immediately push the seat
position control knob in the direc-
tion of the desired position to stop
further undesired movement.
Recalling positions from memory
1. Shift the shift lever into P while the
engine start/stop button is ON or
ignition switch ON.
2. To recall the position in the memo- ry, press the desired memory but-
ton (1 or 2). The system will beep
once, then the driver’s seat will
automatically adjust to the stored
position.
Adjusting the control switch for the
driver’s seat while the system is
recalling the stored position will
cause the movement to stop and
move in the direction that the control
switch is moved.
Page 30 of 593
Safety features of your vehicle
14
3
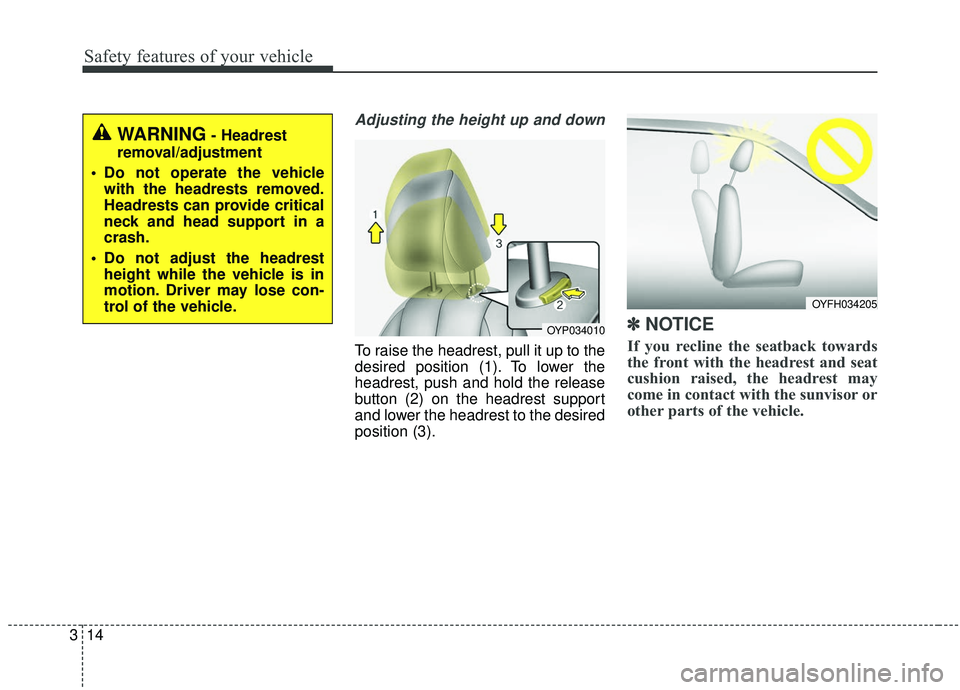
Adjusting the height up and down
To raise the headrest, pull it up to the
desired position (1). To lower the
headrest, push and hold the release
button (2) on the headrest support
and lower the headrest to the desired
position (3).
✽ ✽
NOTICE
If you recline the seatback towards
the front with the headrest and seat
cushion raised, the headrest may
come in contact with the sunvisor or
other parts of the vehicle.
OYP034010
OYFH034205
WARNING- Headrest
removal/adjustment
Do not operate the vehicle with the headrests removed.
Headrests can provide critical
neck and head support in a
crash.
Do not adjust the headrest height while the vehicle is in
motion. Driver may lose con-
trol of the vehicle.
Page 33 of 593
317
Safety features of your vehicle
Rear seat adjustment
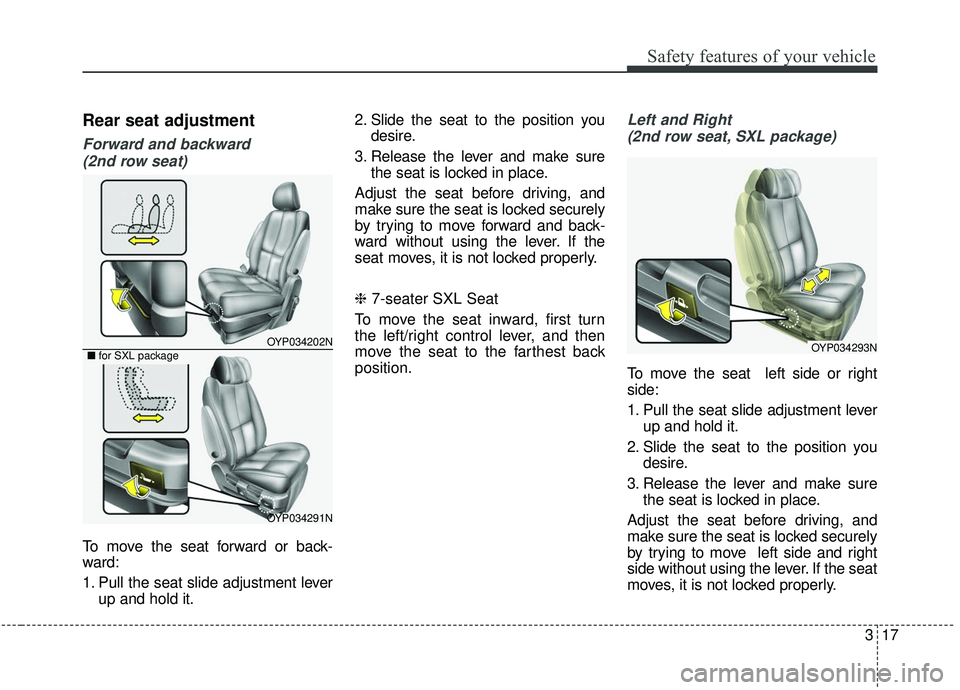
Forward and backward (2nd row seat)
To move the seat forward or back-
ward:
1. Pull the seat slide adjustment lever up and hold it. 2. Slide the seat to the position you
desire.
3. Release the lever and make sure the seat is locked in place.
Adjust the seat before driving, and
make sure the seat is locked securely
by trying to move forward and back-
ward without using the lever. If the
seat moves, it is not locked properly.
❈ 7-seater SXL Seat
To move the seat inward, first turn
the left/right control lever, and then
move the seat to the farthest back
position.
Left and Right (2nd row seat, SXL package)
To move the seat left side or right
side:
1. Pull the seat slide adjustment lever up and hold it.
2. Slide the seat to the position you desire.
3. Release the lever and make sure the seat is locked in place.
Adjust the seat before driving, and
make sure the seat is locked securely
by trying to move left side and right
side without using the lever. If the seat
moves, it is not locked properly.
OYP034202N
OYP034291N
■ for SXL packageOYP034293N
Page 50 of 593

Safety features of your vehicle
34
3
Forward and backward adjustment
(2nd row seat for SXL package)
The headrest may be adjusted for-
ward or backward by pulling the
lower part of the headrest forward or
backward to the desired detent in the
direction of the arrow. Adjust the
headrest so that it properly supports
the head and neck.
Wing-out(2nd row seat for SXL package)
For rear outboard passenger's com-
fort, the ends of the headrest can be
adjusted inward.
OYP034295NOYP034296N
Page 55 of 593
339
Safety features of your vehicle
✽ ✽NOTICE
If you are not able to pull out the
seat belt from the retractor, firmly
pull the belt out and release it. Then
you will be able to pull the belt out
smoothly.
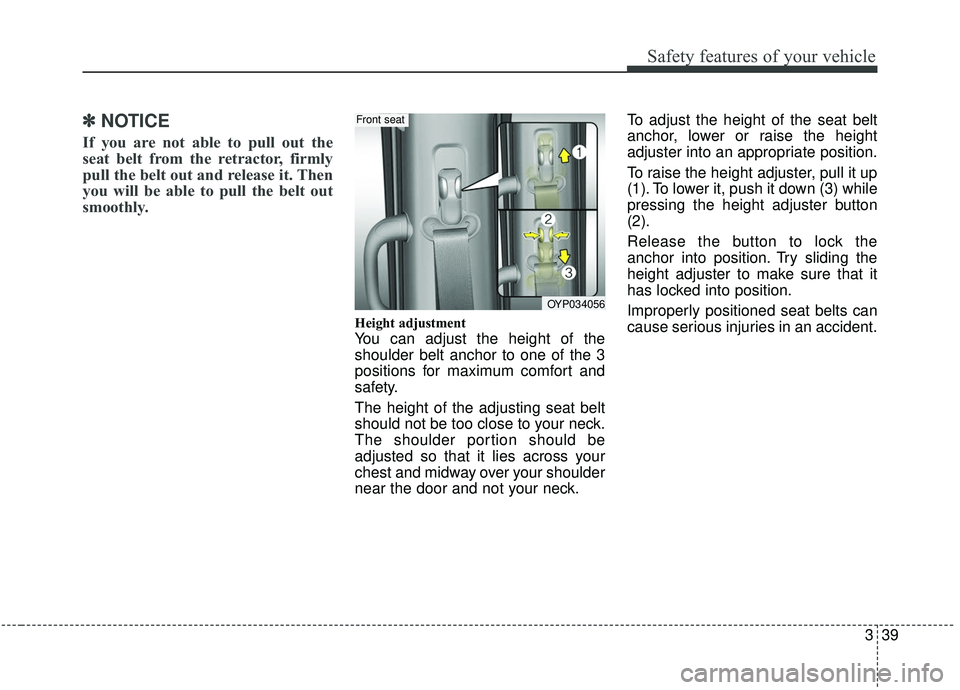
Height adjustment
You can adjust the height of the
shoulder belt anchor to one of the 3
positions for maximum comfort and
safety.
The height of the adjusting seat belt
should not be too close to your neck.
The shoulder portion should be
adjusted so that it lies across your
chest and midway over your shoulder
near the door and not your neck. To adjust the height of the seat belt
anchor, lower or raise the height
adjuster into an appropriate position.
To raise the height adjuster, pull it up
(1). To lower it, push it down (3) while
pressing the height adjuster button
(2).
Release the button to lock the
anchor into position. Try sliding the
height adjuster to make sure that it
has locked into position.
Improperly positioned seat belts can
cause serious injuries in an accident.
OYP034056
Front seat
Page 178 of 593
Features of your vehicle
74
4
MIRRORS
Inside rearview mirror
Adjust the rearview mirror so that the
center view through the rear window
is seen. Make this adjustment before
you start driving.
Do not place objects in the rear seat or
cargo area which would interfere with
your vision through the rear window.
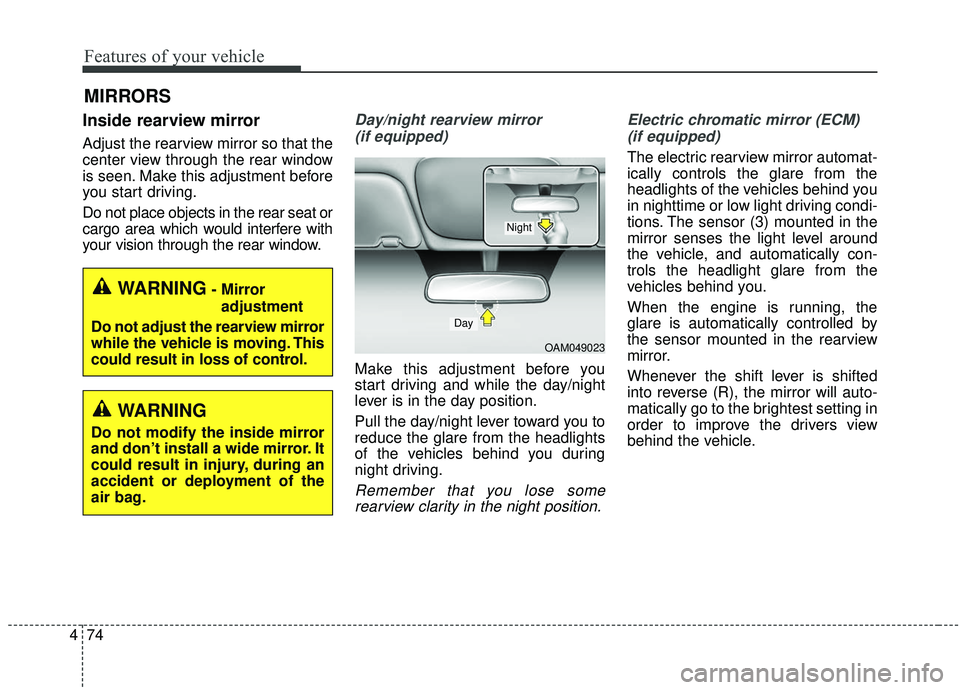
Day/night rearview mirror
(if equipped)
Make this adjustment before you
start driving and while the day/night
lever is in the day position.
Pull the day/night lever toward you to
reduce the glare from the headlights
of the vehicles behind you during
night driving.
Remember that you lose somerearview clarity in the night position. Electric chromatic mirror (ECM)
(if equipped)
The electric rearview mirror automat-
ically controls the glare from the
headlights of the vehicles behind you
in nighttime or low light driving condi-
tions. The sensor (3) mounted in the
mirror senses the light level around
the vehicle, and automatically con-
trols the headlight glare from the
vehicles behind you.
When the engine is running, the
glare is automatically controlled by
the sensor mounted in the rearview
mirror.
Whenever the shift lever is shifted
into reverse (R), the mirror will auto-
matically go to the brightest setting in
order to improve the drivers view
behind the vehicle.
WARNING- Mirror adjustment
Do not adjust the rearview mirror
while the vehicle is moving. This
could result in loss of control.
WARNING
Do not modify the inside mirror
and don’t install a wide mirror. It
could result in injury, during an
accident or deployment of the
air bag.
OAM049023
Day
Night