engine KIA Spectra 2006 2.G User Guide
[x] Cancel search | Manufacturer: KIA, Model Year: 2006, Model line: Spectra, Model: KIA Spectra 2006 2.GPages: 273, PDF Size: 2.83 MB
Page 94 of 273

383
1
2
3
4
5
6
7
8
9
Knowing your vehicle
Opening the hood:1. Pull the release lever on the lowerleft side of the instrument panel to
unlatch the hood. The hood should
pop open slightly. 2. Go to the front of the vehicle, raise
the hood slightly, push the second-
ary latch (
➀) inside of the hood
center and lift (➁) the hood. 3. Lift the hood and hold it open with
the support rod by inserting the
free end of the rod into the slot.
HOOD
1LDA2020
1LDN2021
1LDA2166
CAUTION
Grasp the support rod in the
area wrapped in rubber. The rub-
ber will help prevent you from
being burned by hot metal when
the engine is hot.
LD CAN (ENG) new 3-1~.qxd 7/29/05 10:29 AM Page 83
Page 95 of 273
Knowing your vehicle84
3
1
2
3
4
5
6
7
8
9
Closing the hood1. Before closing the hood, check the
following:
• All filler caps in engine compart- ment must be correctly installed.
Gloves, rags or any other com- bustible material must be
removed from the engine com-
partment.
2. Secure the support rod in its clip.
3. Lower the hood to about 12 inches (30 cm) height and then let it drop
to properly lock in place.
Make sure the hood is properly
locked before driving.
FUEL FILLER LID 1. Stop the engine.
2. To open the fuel filler lid, pull the release lever. 3. Pull the fuel filler lid out to open.
4. To remove the cap, turn the fuel
tank cap counter-clockwise.
5. Refuel as needed.
6. To install the cap, turn it clockwise until it “clicks”. This indicates that
the cap is securely tightened.
7. Close the fuel filler lid and push it lightly and make sure that it is
securely closed.
1LDA2018
1LDA2019
CAUTION
• Before closing the hood, makesure that all engine parts and
tools have been removed from
the engine area and that no
one’s hands are near the hood
opening.
Do not leave gloves, rags or any other combustible materi-
al in the engine compartment.
Doing so may cause a heat-
induced fire.
CAUTION
To avoid injury from sharp
edges, it is recommended that
protective gloves be worn if
there is a need to open the fuel
filler door manually.
LD CAN (ENG) 3-84~.qxd 7/29/05 10:15 AM Page 84
Page 97 of 273
Knowing your vehicle86
3
1
2
3
4
5
6
7
8
9
✽ ✽
NOTICE• Make sure to refuel with gasoline
(unleaded fuel) only for the gaso-
line engine vehicles.
Check to make sure the fuel filler cap is securely closed after refuel-
ing.
If the fuel filler cap requires replacement, use only a genuine
Kia cap or the equivalent specified
for your vehicle. An incorrect fuel
filler cap can result in a serious
malfunction of the fuel system or
emission control system. Correct
replacement caps are available at
authorized Kia dealers.
Do not spill fuel on the exterior surfaces of the vehicle. Any type of
fuel spilled on painted surfaces
may damage the paint.
A loose fuel filler cap may cause the “Check Engine” (Malfunction
Indicator) light in the instrument
panel to illuminate unnecessarily.
If the fuel filler lid will not open in cold weather because the area
around it is frozen, push or lightly
tap the lid.
(Continued)
When refueling always shut
the engine off. Sparks pro-
duced by electrical compo-
nents related to the engine
can ignite fuel vapors causing
a fire. Always insure that the
engine is OFF before and dur-
ing refueling. Once refueling
is complete, check to make
sure the fuel filler cap and
door are securely closed,
before starting the engine.
Do not light any fire around a gas station. DO NOT use
matches or a lighter and DO
NOT SMOKE or leave a lit cig-
arette in your vehicle while at
a gas station especially during
refueling. Automotive fuel is
highly flammable and can,
when ignited, result in explo-
sion by flames.
(Continued)
(Continued)
If a fire breaks out during refu-eling, leave the vicinity of the
vehicle, and immediately con-
tact the manager of the gas
station or contact the police
and local fire department.
Follow any safety instructions
they provide.
LD CAN (ENG) 3-84~.qxd 7/29/05 10:15 AM Page 86
Page 98 of 273
387
1
2
3
4
5
6
7
8
9
Knowing your vehicle
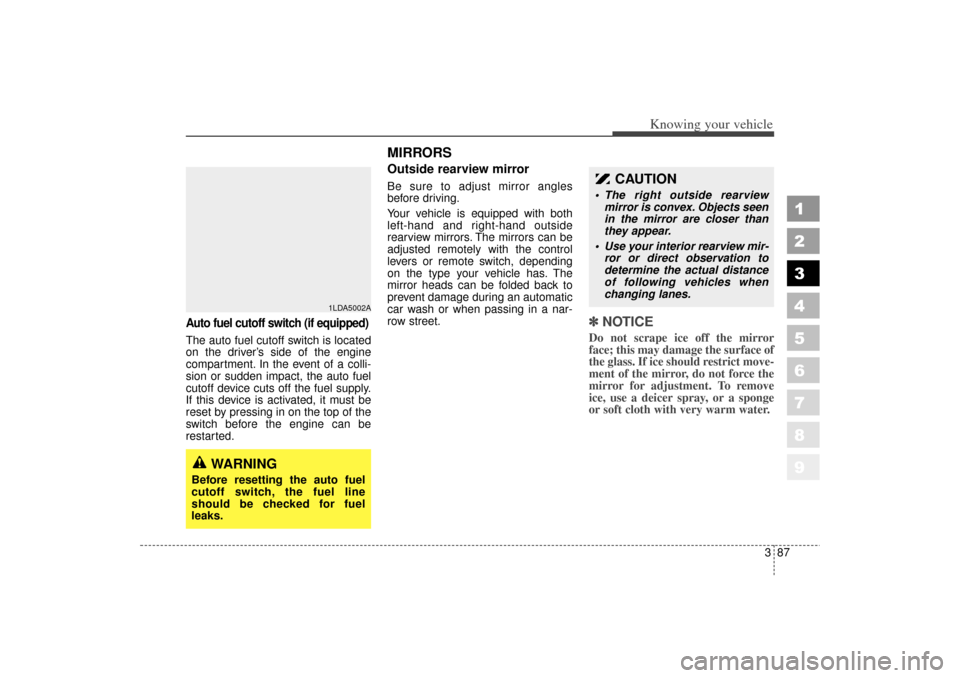
Auto fuel cutoff switch (if equipped)The auto fuel cutoff switch is located
on the driver’s side of the engine
compartment. In the event of a colli-
sion or sudden impact, the auto fuel
cutoff device cuts off the fuel supply.
If this device is activated, it must be
reset by pressing in on the top of the
switch before the engine can be
restarted.
MIRRORS Outside rearview mirror Be sure to adjust mirror angles
before driving.
Your vehicle is equipped with both
left-hand and right-hand outside
rearview mirrors. The mirrors can be
adjusted remotely with the control
levers or remote switch, depending
on the type your vehicle has. The
mirror heads can be folded back to
prevent damage during an automatic
car wash or when passing in a nar-
row street.
✽ ✽NOTICEDo not scrape ice off the mirror
face; this may damage the surface of
the glass. If ice should restrict move-
ment of the mirror, do not force the
mirror for adjustment. To remove
ice, use a deicer spray, or a sponge
or soft cloth with very warm water.
CAUTION
The right outside rearview
mirror is convex. Objects seen
in the mirror are closer than
they appear.
Use your interior rearview mir- ror or direct observation to
determine the actual distance
of following vehicles when
changing lanes.
WARNING
Before resetting the auto fuel
cutoff switch, the fuel line
should be checked for fuel
leaks.
1LDA5002A
LD CAN (ENG) 3-84~.qxd 7/29/05 10:15 AM Page 87
Page 101 of 273
Knowing your vehicle90
3
1
2
3
4
5
6
7
8
9
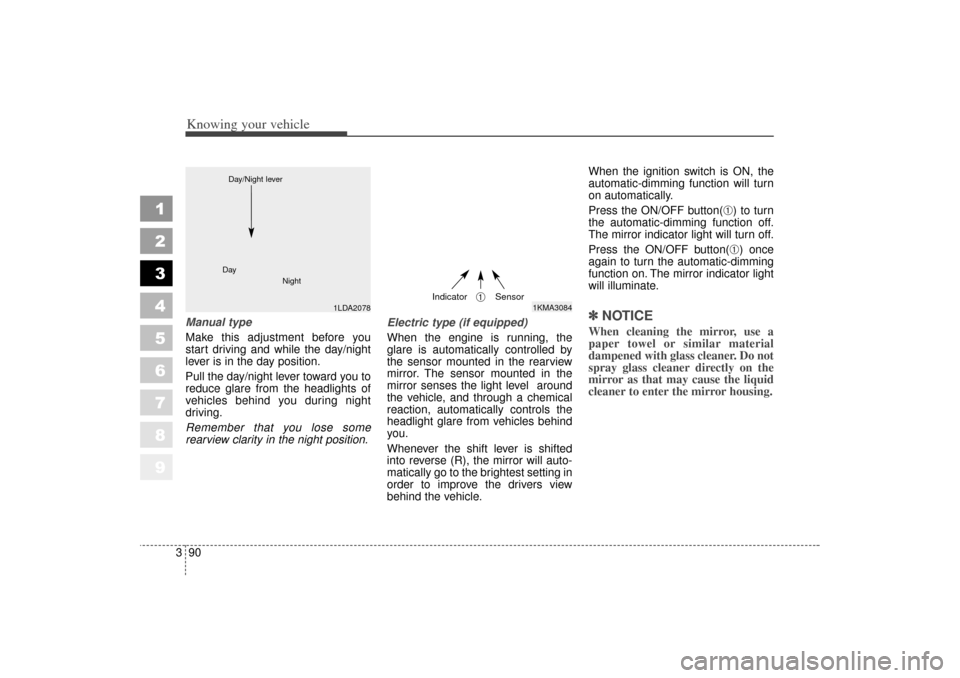
Manual type
Make this adjustment before you
start driving and while the day/night
lever is in the day position.
Pull the day/night lever toward you to
reduce glare from the headlights of
vehicles behind you during night
driving.
Remember that you lose some
rearview clarity in the night position. Electric type (if equipped)
When the engine is running, the
glare is automatically controlled by
the sensor mounted in the rearview
mirror. The sensor mounted in the
mirror senses the light level around
the vehicle, and through a chemical
reaction, automatically controls the
headlight glare from vehicles behind
you.
Whenever the shift lever is shifted
into reverse (R), the mirror will auto-
matically go to the brightest setting in
order to improve the drivers view
behind the vehicle.When the ignition switch is ON, the
automatic-dimming function will turn
on automatically.
Press the ON/OFF button(
➀) to turn
the automatic-dimming function off.
The mirror indicator light will turn off.
Press the ON/OFF button(➀) once
again to turn the automatic-dimming
function on. The mirror indicator light
will illuminate.
✽ ✽ NOTICEWhen cleaning the mirror, use a
paper towel or similar material
dampened with glass cleaner. Do not
spray glass cleaner directly on the
mirror as that may cause the liquid
cleaner to enter the mirror housing.
1LDA2078
Day
Night
Day/Night lever
1KMA3084
➀
Sensor
Indicator
LD CAN (ENG) 3-84~.qxd 7/29/05 10:15 AM Page 90
Page 107 of 273
Knowing your vehicle96
3
1
2
3
4
5
6
7
8
9
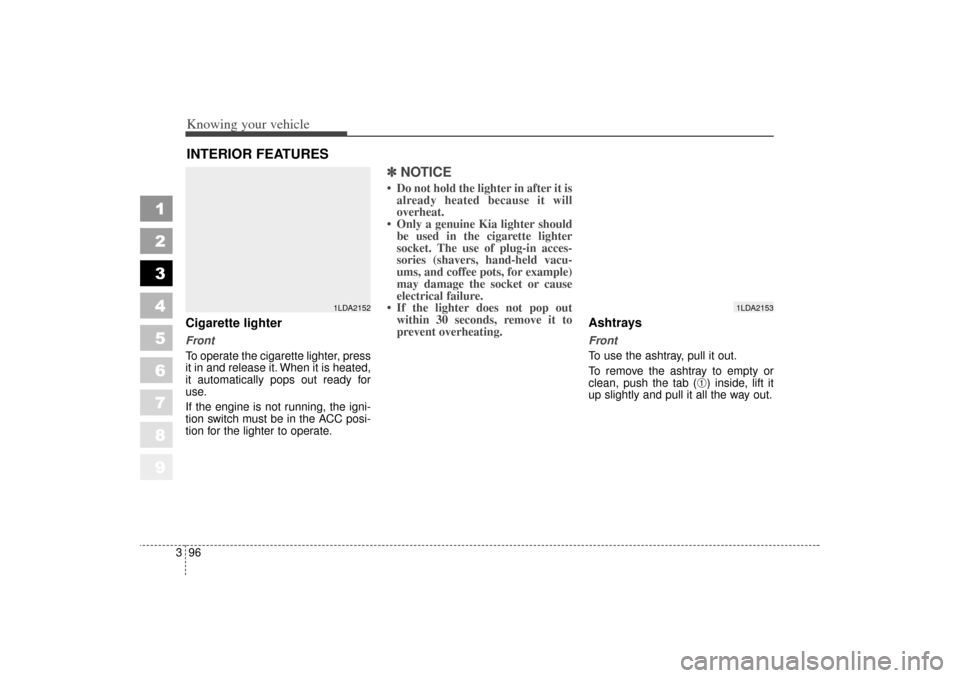
Cigarette lighterFront
To operate the cigarette lighter, press
it in and release it. When it is heated,
it automatically pops out ready for
use.
If the engine is not running, the igni-
tion switch must be in the ACC posi-
tion for the lighter to operate.
✽ ✽
NOTICE Do not hold the lighter in after it is
already heated because it will
overheat.
Only a genuine Kia lighter should be used in the cigarette lighter
socket. The use of plug-in acces-
sories (shavers, hand-held vacu-
ums, and coffee pots, for example)
may damage the socket or cause
electrical failure.
If the lighter does not pop out within 30 seconds, remove it to
prevent overheating.
Ashtrays Front
To use the ashtray, pull it out.
To remove the ashtray to empty or
clean, push the tab (
➀) inside, lift it
up slightly and pull it all the way out.
INTERIOR FEATURES
1LDA2152
1LDA2153
LD CAN (ENG) 3-84~.qxd 7/29/05 10:15 AM Page 96
Page 110 of 273
399
1
2
3
4
5
6
7
8
9
Knowing your vehicle
✽ ✽NOTICEClose the vanity mirror cover
securely and return the sunvisor to
its original position after use. If the
vanity mirror is not closed securely,
the lamp will stay on and could
result in battery discharge and pos-
sible sunvisor damage.
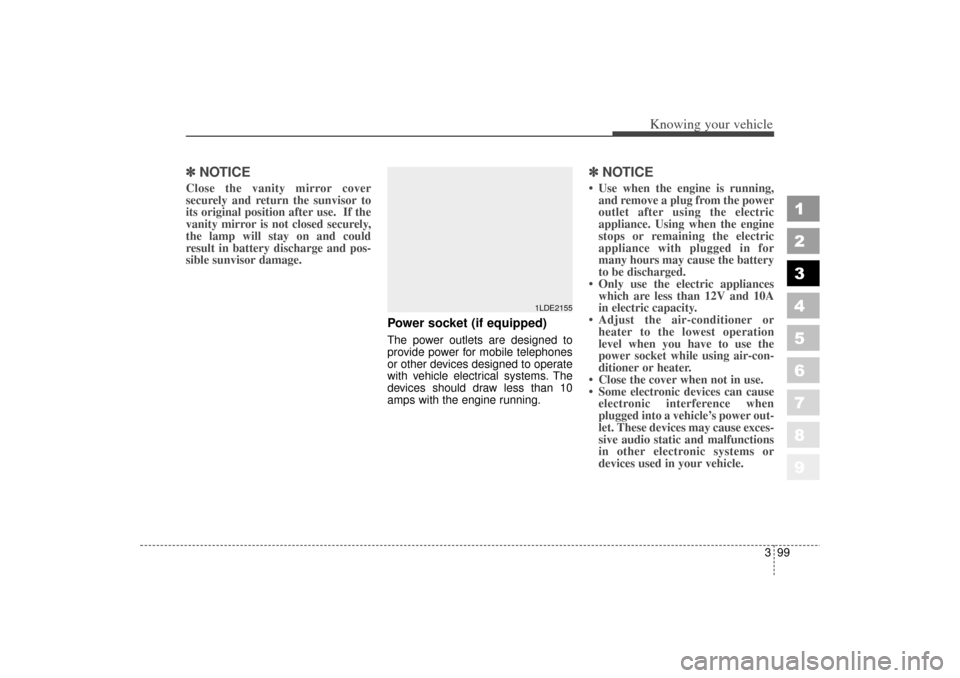
Power socket (if equipped)The power outlets are designed to
provide power for mobile telephones
or other devices designed to operate
with vehicle electrical systems. The
devices should draw less than 10
amps with the engine running.
✽ ✽NOTICE Use when the engine is running,
and remove a plug from the power
outlet after using the electric
appliance. Using when the engine
stops or remaining the electric
appliance with plugged in for
many hours may cause the battery
to be discharged.
Only use the electric appliances which are less than 12V and 10A
in electric capacity.
Adjust the air-conditioner or heater to the lowest operation
level when you have to use the
power socket while using air-con-
ditioner or heater.
Close the cover when not in use.
Some electronic devices can cause electronic interference when
plugged into a vehicle’s power out-
let. These devices may cause exces-
sive audio static and malfunctions
in other electronic systems or
devices used in your vehicle.
1LDE2155
LD CAN (ENG) 3-84~.qxd 7/29/05 10:15 AM Page 99
Page 118 of 273
1
2
3
4
5
6
7
8
9
Ignition switch / 4-2
Starting the engine / 4-4
Manual transaxle / 4-5
Automatic transaxle / 4-6
Brake system / 4-12
Steering wheel / 4-19
Cruise control / 4-22
Traction control system / 4-27
Instrument cluster / 4-30
Gauges / 4-31
Warnings and indicators / 4-33
Lighting / 4-40
Wipers and washers / 4-44
Defroster / 4-47
Hazard warning flasher / 4-48
Manual climate control system / 4-49
Windshield defrosting and defogging / 4-58
Theft-alarm system / 4-60
Driving your vehicle
LD CAN (ENG) 4.qxd 7/29/05 10:16 AM Page 1
Page 119 of 273
Driving your vehicle24
1
2
3
4
5
6
7
8
9
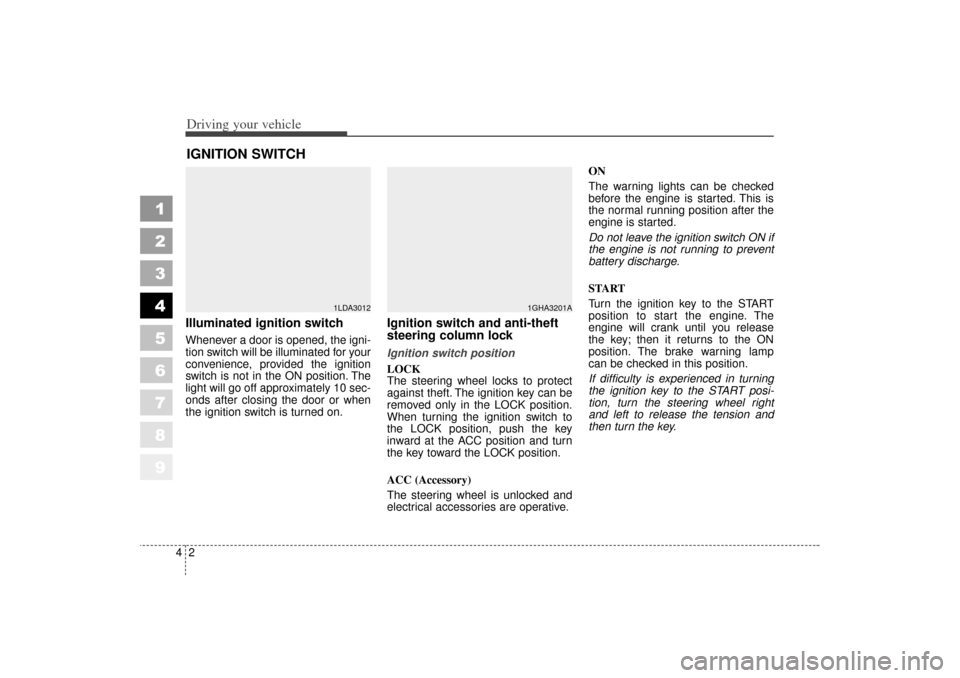
Illuminated ignition switchWhenever a door is opened, the igni-
tion switch will be illuminated for your
convenience, provided the ignition
switch is not in the ON position. The
light will go off approximately 10 sec-
onds after closing the door or when
the ignition switch is turned on.
Ignition switch and anti-theft
steering column lock Ignition switch position
LOCK
The steering wheel locks to protect
against theft. The ignition key can be
removed only in the LOCK position.
When turning the ignition switch to
the LOCK position, push the key
inward at the ACC position and turn
the key toward the LOCK position.
ACC (Accessory)
The steering wheel is unlocked and
electrical accessories are operative.ON
The warning lights can be checked
before the engine is started. This is
the normal running position after the
engine is started.
Do not leave the ignition switch ON if
the engine is not running to prevent
battery discharge.
START
Turn the ignition key to the START
position to start the engine. The
engine will crank until you release
the key; then it returns to the ON
position. The brake warning lamp
can be checked in this position.
If difficulty is experienced in turning
the ignition key to the START posi-
tion, turn the steering wheel right
and left to release the tension and
then turn the key.
IGNITION SWITCH
1LDA3012
1GHA3201A
LD CAN (ENG) 4.qxd 7/29/05 10:16 AM Page 2
Page 120 of 273
43
1
2
3
4
5
6
7
8
9
Driving your vehicle
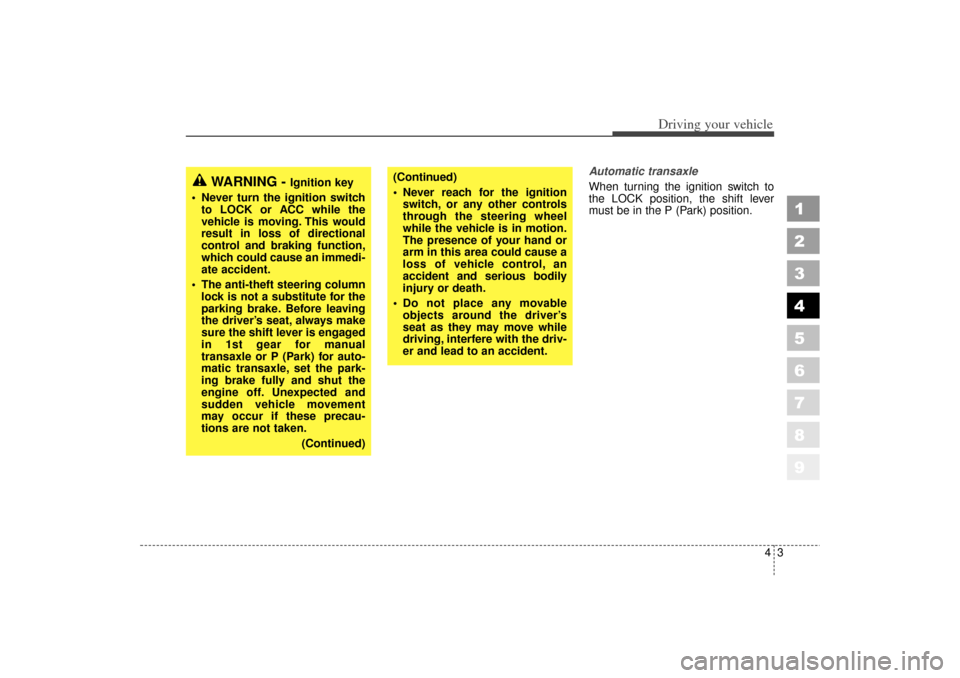
Automatic transaxle
When turning the ignition switch to
the LOCK position, the shift lever
must be in the P (Park) position.
WARNING -
Ignition key
• Never turn the ignition switch to LOCK or ACC while the
vehicle is moving. This would
result in loss of directional
control and braking function,
which could cause an immedi-
ate accident.
The anti-theft steering column lock is not a substitute for the
parking brake. Before leaving
the driver’s seat, always make
sure the shift lever is engaged
in 1st gear for manual
transaxle or P (Park) for auto-
matic transaxle, set the park-
ing brake fully and shut the
engine off. Unexpected and
sudden vehicle movement
may occur if these precau-
tions are not taken.
(Continued)
(Continued)
Never reach for the ignitionswitch, or any other controls
through the steering wheel
while the vehicle is in motion.
The presence of your hand or
arm in this area could cause a
loss of vehicle control, an
accident and serious bodily
injury or death.
Do not place any movable objects around the driver’s
seat as they may move while
driving, interfere with the driv-
er and lead to an accident.
LD CAN (ENG) 4.qxd 7/29/05 10:16 AM Page 3