fuel KIA Sportage 2009 JE_ / 2.G Owner's Manual
[x] Cancel search | Manufacturer: KIA, Model Year: 2009, Model line: Sportage, Model: KIA Sportage 2009 JE_ / 2.GPages: 371, PDF Size: 3.5 MB
Page 8 of 371
Your vehicle at a glance22
1
2
3
4
5
6
7
8
9
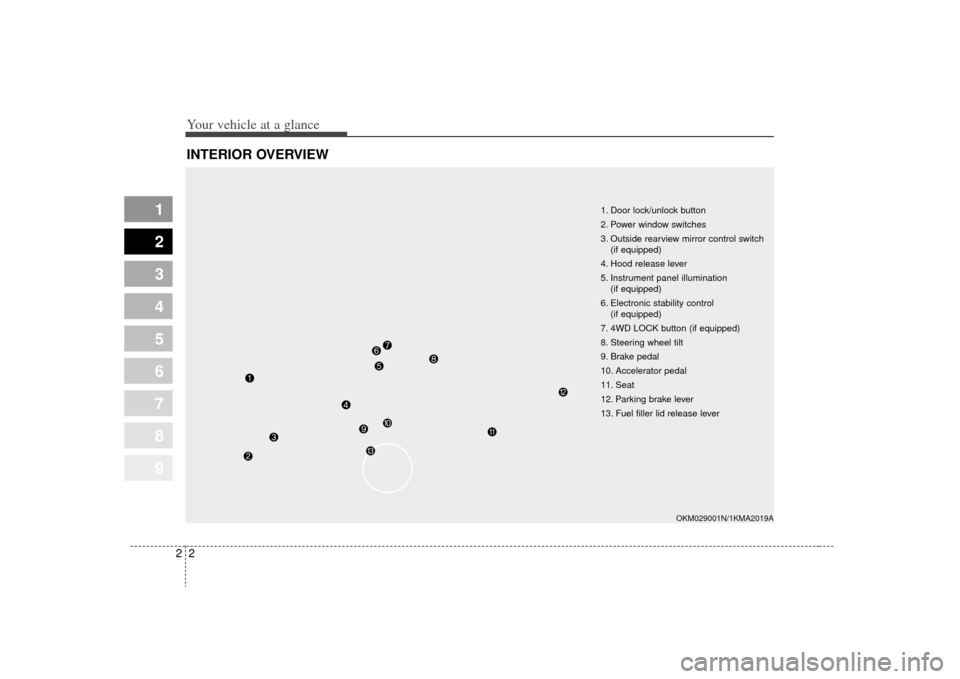
INTERIOR OVERVIEW
1. Door lock/unlock button
2. Power window switches
3. Outside rearview mirror control switch(if equipped)
4. Hood release lever
5. Instrument panel illumination (if equipped)
6. Electronic stability control (if equipped)
7. 4WD LOCK button (if equipped)
8. Steering wheel tilt
9. Brake pedal
10. Accelerator pedal
11. Seat
12. Parking brake lever
13. Fuel filler lid release lever
OKM029001N/1KMA2019A
Page 10 of 371
1
2
3
4
5
6
7
8
9
Keys / 3-2
Remote keyless entry / 3-3
Theft-alarm system / 3-5
Immobilizer system / 3-6
Door locks / 3-9
Window / 3-16
Seat / 3-19
Safety belts / 3-31
Airbags - advanced supplemental restraint system / 3-55
Hood / 3-80
Fuel filler lid / 3-81
Mirrors / 3-84
Interior lights / 3-88
Storage compartment / 3-89
Interior features / 3-92
Sunroof / 3-97
Luggage net / 3-101
Tonneau cover / 3-102
Luggage center box / 3-104
Roof rack / 3-105
Audio system / 3-106
Knowing your vehicle
Page 90 of 371
381
1
2
3
4
5
6
7
8
9
Knowing your vehicle
Closing the hood1. Before closing the hood, check thefollowing:
ment must be correctly installed.
bustible material must be
removed from the engine com-
partment.
2. Secure the support rod in its clip.
3. Lower the hood to about 30 cm (12 inches) height and then let it
drop to properly lock in place.
Make sure the hood is properly
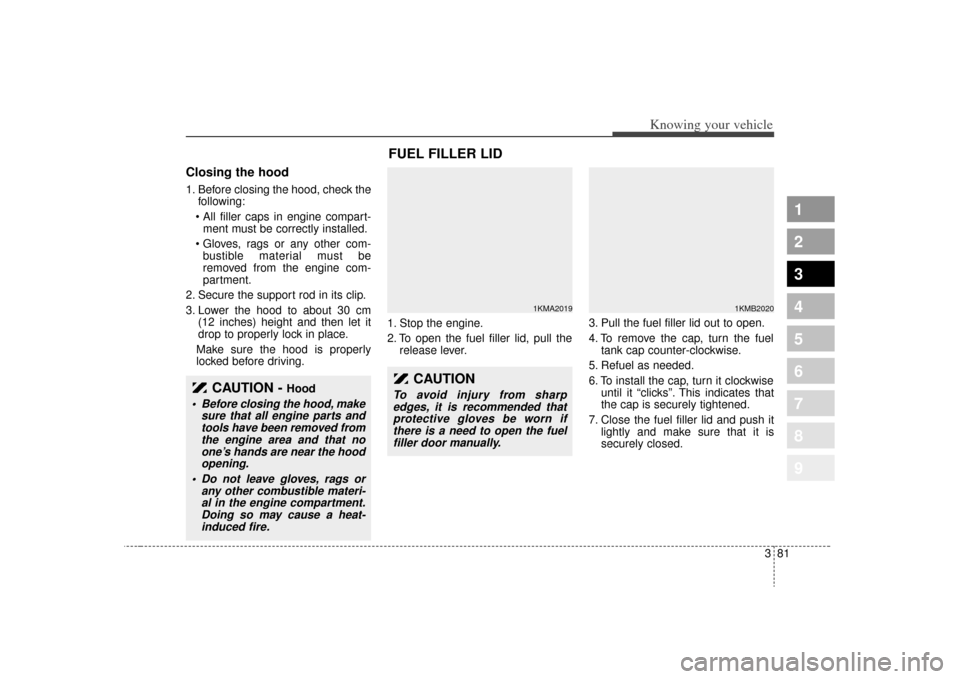
locked before driving. 1. Stop the engine.
2. To open the fuel filler lid, pull the
release lever. 3. Pull the fuel filler lid out to open.
4. To remove the cap, turn the fuel
tank cap counter-clockwise.
5. Refuel as needed.
6. To install the cap, turn it clockwise until it “clicks”. This indicates that
the cap is securely tightened.
7. Close the fuel filler lid and push it lightly and make sure that it is
securely closed.
CAUTION -
Hood
Before closing the hood, makesure that all engine parts andtools have been removed fromthe engine area and that noone’s hands are near the hoodopening.
Do not leave gloves, rags or any other combustible materi-al in the engine compartment.Doing so may cause a heat-induced fire.
FUEL FILLER LID
1KMA2019
1KMB2020
CAUTION
To avoid injury from sharpedges, it is recommended thatprotective gloves be worn ifthere is a need to open the fuelfiller door manually.
Page 91 of 371
Knowing your vehicle82
3
1
2
3
4
5
6
7
8
9
WARNING
- Refueling
If pressurized fuel sprays out, it
can cover your clothes or skin
and thus subject you to the risk
of fire and burns. Always
remove the fuel cap carefully
and slowly. If the cap is venting
fuel or if you hear a hissing
sound, wait until the condition
stops before completely remov-
ing the cap.
WARNING -
Refueling
dangers
Automotive fuels are flammable
materials. When refueling,
please note the following guide-
lines carefully. Failure to follow
these guidelines may result in
severe personal injury, severe
burns or death by fire or explo-
sion.
Before refueling note the loca- tion of the Emergency
Gasoline Shut-Off, if available,
at the gas station facility.
Before touching the fuel noz- zle, you should eliminate
potentially dangerous static
electricity discharge by touch-
ing another metal part of the
vehicle, a safe distance away
from the fuel filler neck, noz-
zle, or other gas source.
(Continued)
(Continued)
Do not get back into a vehicleonce you have begun refuel-
ing since you can generate
static electricity by touching,
rubbing or sliding against any
item or fabric (polyester, satin,
nylon, etc.) capable of produc-
ing static electricity. Static
electricity discharge can
ignite fuel vapors resulting in
rapid burning. If you must re-
enter the vehicle, you should
once again eliminate poten-
tially dangerous static elec-
tricity discharge by touching a
metal part of the vehicle, away
from the fuel filler neck, nozzle
or other gasoline source.
When using a portable fuel container be sure to place the
container on the ground prior
to refueling. Static electricity
discharge from the container
can ignite fuel vapors causing
a fire. Once refueling has
begun, contact with the vehi-
cle should be maintained until
the filling is complete.
(Continued)
Page 92 of 371
383
1
2
3
4
5
6
7
8
9
Knowing your vehicle
✽ ✽NOTICE• Make sure to refuel with unleaded
fuel only.
• Check to make sure the fuel filler cap is securely closed after refuel-
ing. A loose fuel filler cap may
cause the "Check Engine"
(Malfunction Indicator) light in
the instrument panel to illuminate
unnecessarily.
• If the fuel filler cap requires replacement, use only a genuine
Kia cap or the equivalent specified
for your vehicle. An incorrect fuel
filler cap can result in a serious
malfunction of the fuel system or
emission control system.
• Do not spill fuel on the exterior surfaces of the vehicle. Any type of
fuel spilled on painted surfaces
may damage the paint.
(Continued)
Use only portable plastic fuel
containers designed to carry
and store gasoline.
Do not use cellular phones while refueling. Electric cur-
rent and/or electronic interfer-
ence from cellular phones can
potentially ignite fuel vapors
causing a fire.
When refueling, always shut the engine off. Sparks pro-
duced by electrical compo-
nents related to the engine
can ignite fuel vapors causing
a fire. Once refueling is com-
plete, check to make sure the
filler cap and filler door are
securely closed, before start-
ing the engine.
(Continued)
(Continued)
DO NOT use matches or alighter and DO NOT SMOKE or
leave a lit cigarette in your
vehicle while at a gas station
especially during refueling.
Automotive fuel is highly flam-
mable and can, when ignited,
result in fire.
If a fire breaks out during refu- eling, leave the vicinity of the
vehicle, and immediately con-
tact the manager of the gas
station and then contact the
local fire department.
Page 156 of 371
49
Driving your vehicle
1
2
3
4
5
6
7
8
9
R (reverse)Use this position to drive the vehicle
backward.✽ ✽
NOTICEAlways come to a complete stop
before shifting into or out of R
(Reverse); you may damage the
transaxle if you shift into R while
the vehicle is in motion.
N (neutral)The wheels and transaxle are not
locked. The vehicle will roll freely
even on the slightest incline unless
the parking brake or service brakes
are applied.
D (drive)This is the normal forward driving
position. The transaxle will automati-
cally shift through a 4-gear
sequence, providing the best fuel
economy and power.
For extra power when passing anoth-
er vehicle or climbing grades,
depress the accelerator fully, at
which time the transaxle will auto-
matically downshift to the next lower
gear.✽ ✽
NOTICEAlways come to a complete stop
before shifting into D (Drive).
Page 182 of 371
435
Driving your vehicle
1
2
3
4
5
6
7
8
9
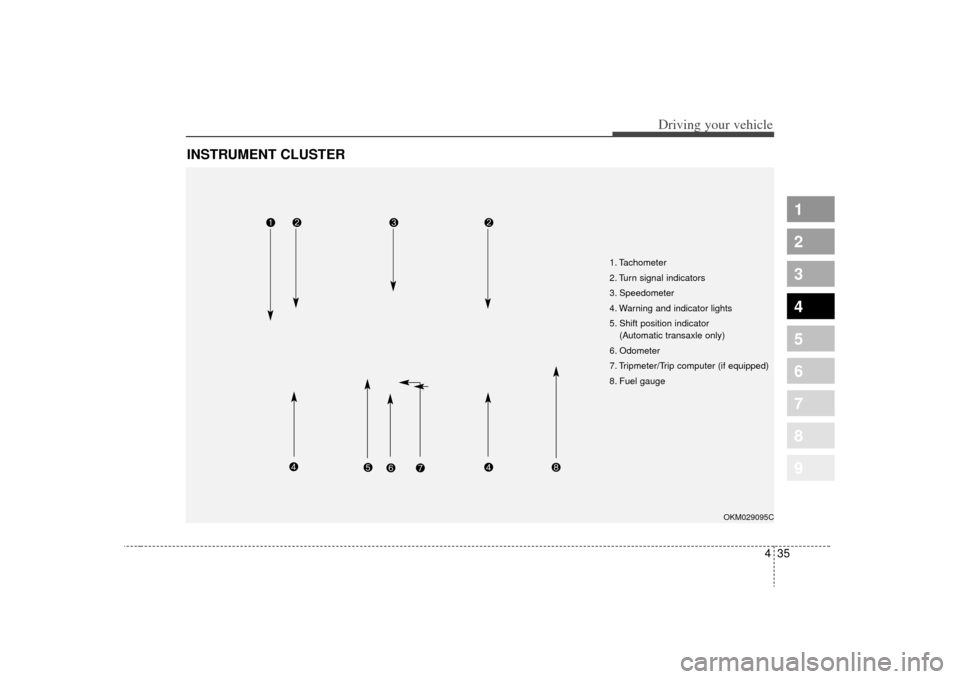
INSTRUMENT CLUSTER
1. Tachometer
2. Turn signal indicators
3. Speedometer
4. Warning and indicator lights
5. Shift position indicator (Automatic transaxle only)
6. Odometer
7. Tripmeter/Trip computer (if equipped)
8. Fuel gauge
OKM029095C
Page 183 of 371
Driving your vehicle36
4
1
2
3
4
5
6
7
8
9
Speedometer The speedometer indicates the for-
ward speed of the vehicle.Tachometer The tachometer indicates the
approximate number of engine revo-
lutions per minute (rpm).
Use the tachometer to select the cor-
rect shift points and to prevent lug-
ging and/or over-revving the engine.
The tachometer pointer may move
slightly when the ignition switch is in
ACC or ON position with the engine
OFF. This movement is normal and
will not affect the accuracy of the
tachometer once the engine is run-
ning.✽ ✽
NOTICEDo not operate the engine within the
tachometer's RED ZONE.
This may cause severe engine dam-
age.
Fuel gaugeThe fuel gauge indicates the approx-
imate amount of fuel remaining in the
fuel tank. The fuel tank capacity is
given in section 8. The fuel gauge is
supplemented by a low fuel warning
light, which will illuminate when the
fuel tank is near empty.
On inclines or curves, the fuel gauge
pointer may fluctuate or the low fuel
warning light may come on earlier
than usual due to the movement of
fuel in the tank.
GAUGES
WARNING
- Fuel gauge
Running out of fuel can expose
vehicle occupants to danger.
You must stop and obtain addi-
tional fuel as soon as possible
after the warning light comes on
or when the gauge indicator
comes close to the E level.
CAUTION
Avoid driving with a very low fuel level. If you run out of fuel,it could case the engine to mis-fire and result in excessive load-ing of the catalytic converter.
Page 185 of 371
Driving your vehicle38
4
1
2
3
4
5
6
7
8
9
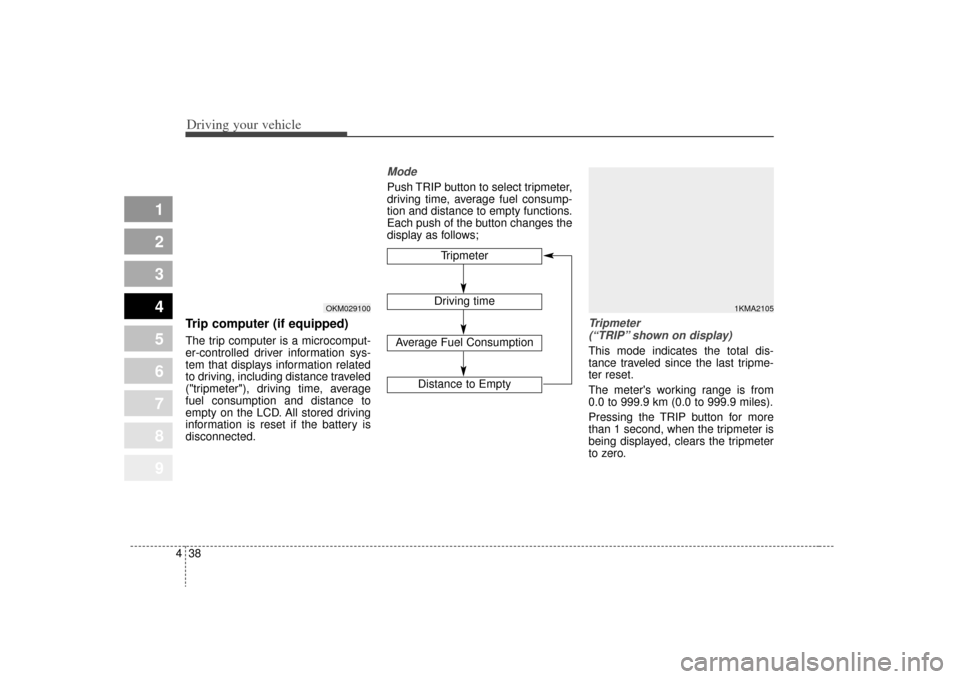
Trip computer (if equipped)The trip computer is a microcomput-
er-controlled driver information sys-
tem that displays information related
to driving, including distance traveled
("tripmeter"), driving time, average
fuel consumption and distance to
empty on the LCD. All stored driving
information is reset if the battery is
disconnected.
ModePush TRIP button to select tripmeter,
driving time, average fuel consump-
tion and distance to empty functions.
Each push of the button changes the
display as follows;
Tripmeter
(“TRIP” shown on display)This mode indicates the total dis-
tance traveled since the last tripme-
ter reset.
The meter's working range is from
0.0 to 999.9 km (0.0 to 999.9 miles).
Pressing the TRIP button for more
than 1 second, when the tripmeter is
being displayed, clears the tripmeter
to zero.
Tripmeter
Driving time
Average Fuel Consumption
Distance to Empty
1KMA2105
OKM029100
Page 186 of 371
439
Driving your vehicle
1
2
3
4
5
6
7
8
9
Driving time (“E/T” shown on display)This mode indicates the total time
traveled since the last driving time
reset.
Even if the vehicle is not in motion,
the driving time keeps going while
the engine is running.
Pressing the TRIP button for more
than 1 second, when the driving time
is being displayed, clears the driving
time to zero.
Average fuel consumption(“AVG.” shown on display)This mode calculates the average
fuel consumption from the total fuel
used and the distance since the last
average consumption reset. The total
fuel used is calculated from the fuel
consumption input. For an accurate
calculation, drive more than 500 m
(0.3 miles).
The meter's working range is from
0.0 to 99.9 l/100 km (0.0 to 99.9
miles per gallon).
Distance to empty (“RANGE”shown on display)This mode indicates the estimated
distance to empty based on the cur-
rent fuel in the fuel tank and the
amount of fuel delivered to the
engine. When the remaining distance
is below 50 km (30 miles), a blinking
“----” symbol will be displayed.
1KMC2107
1KMC2108
1KMC2106