change KIA TELLURIDE 2021 Navigation System Quick Reference Guide
[x] Cancel search | Manufacturer: KIA, Model Year: 2021, Model line: TELLURIDE, Model: KIA TELLURIDE 2021Pages: 300, PDF Size: 10.06 MB
Page 257 of 300
9-77
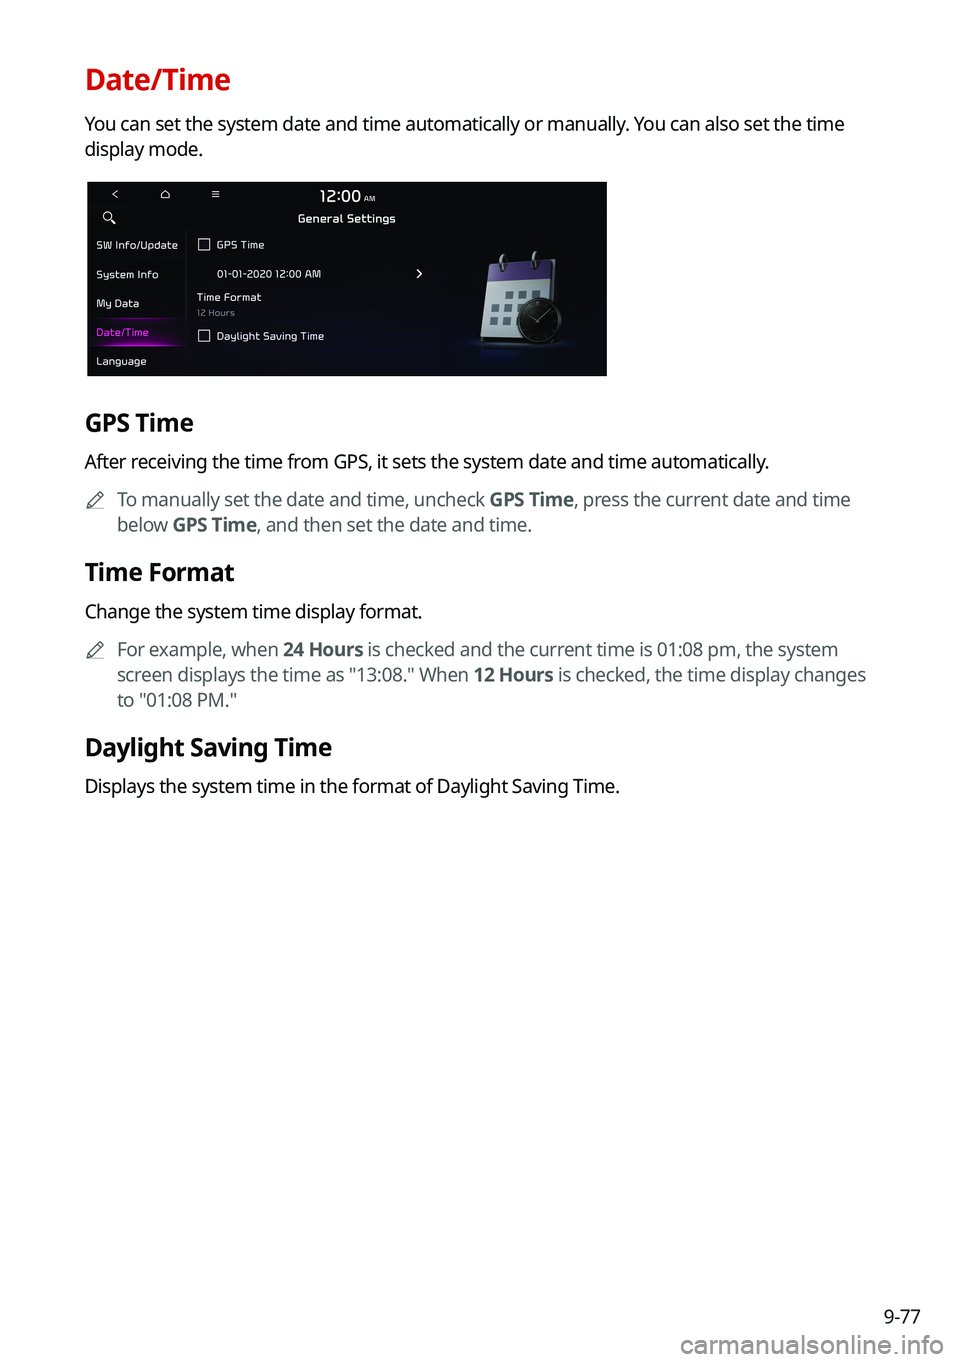
Date/Time
You can set the system date and time automatically or manually. You can also set the time
display mode.
GPS Time
After receiving the time from GPS, it sets the system date and time automatically.0000
A
To manually set the date and time, uncheck GPS Time, press the current date and time
below GPS Time, and then set the date and time.
Time Format
Change the system time display format.
0000
A
For example, when 24 Hours is checked and the current time is 01:08 pm, the system
screen displays the time as "13:08." When 12 Hours is checked, the time display changes
to "01:08 PM."
Daylight Saving Time
Displays the system time in the format of Daylight Saving Time.
Page 258 of 300
9-78
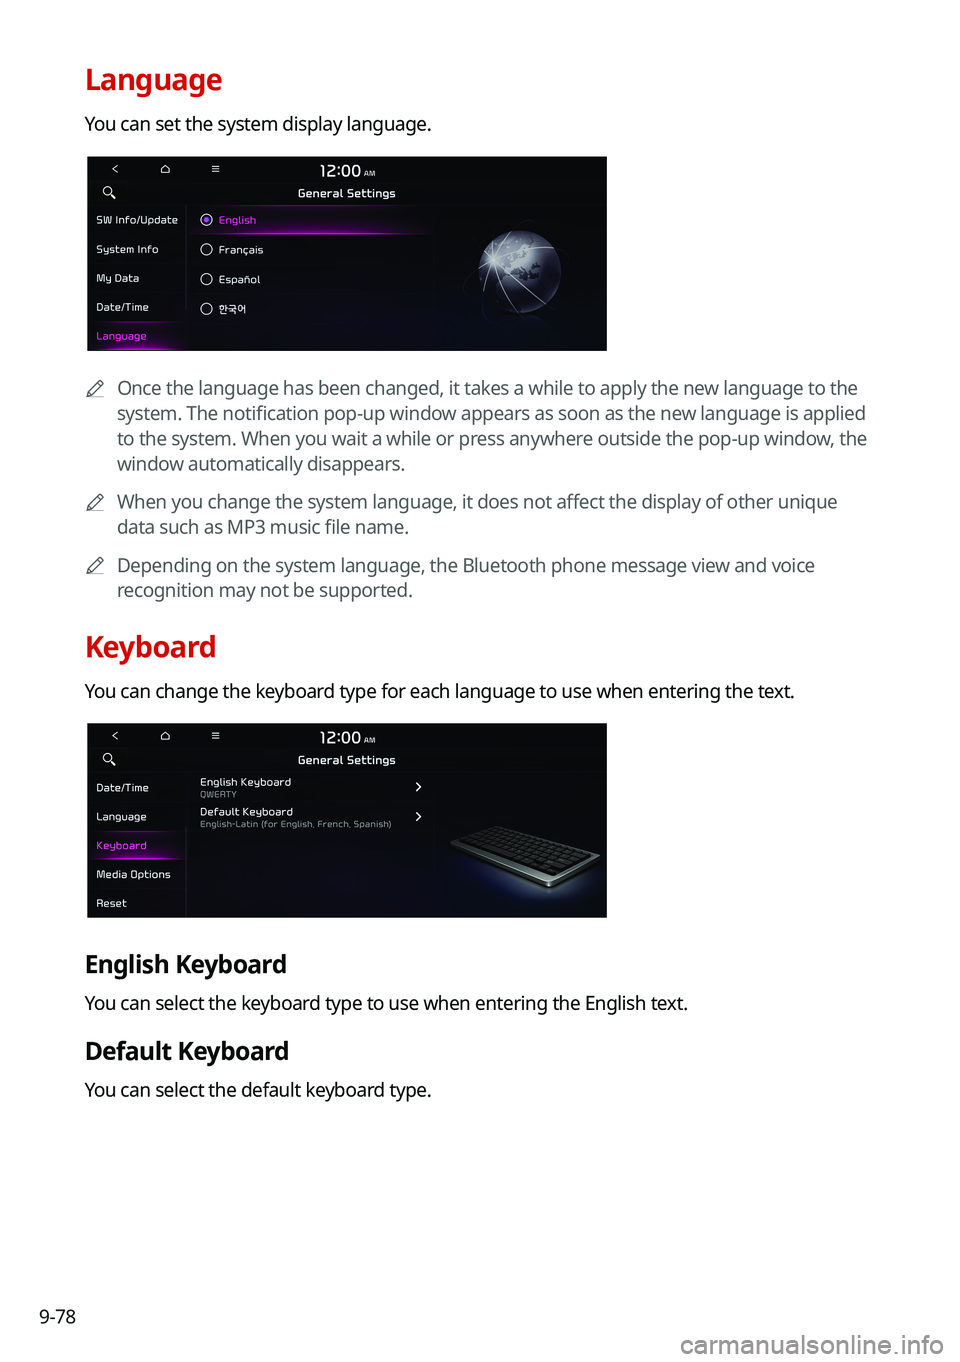
Language
You can set the system display language.
0000
A
Once the language has been changed, it takes a while to apply the new language to the
system. The notification pop-up window appears as soon as the new language is applied
to the system. When you wait a while or press anywhere outside the pop-up window, the
window automatically disappears.
0000
A
When you change the system language, it does not affect the display of other unique
data such as MP3 music file name.
0000
A
Depending on the system language, the Bluetooth phone message view and voice
recognition may not be supported.
Keyboard
You can change the keyboard type for each language to use when entering the text.
English Keyboard
You can select the keyboard type to use when entering the English text.
Default Keyboard
You can select the default keyboard type.
Page 260 of 300
9-80
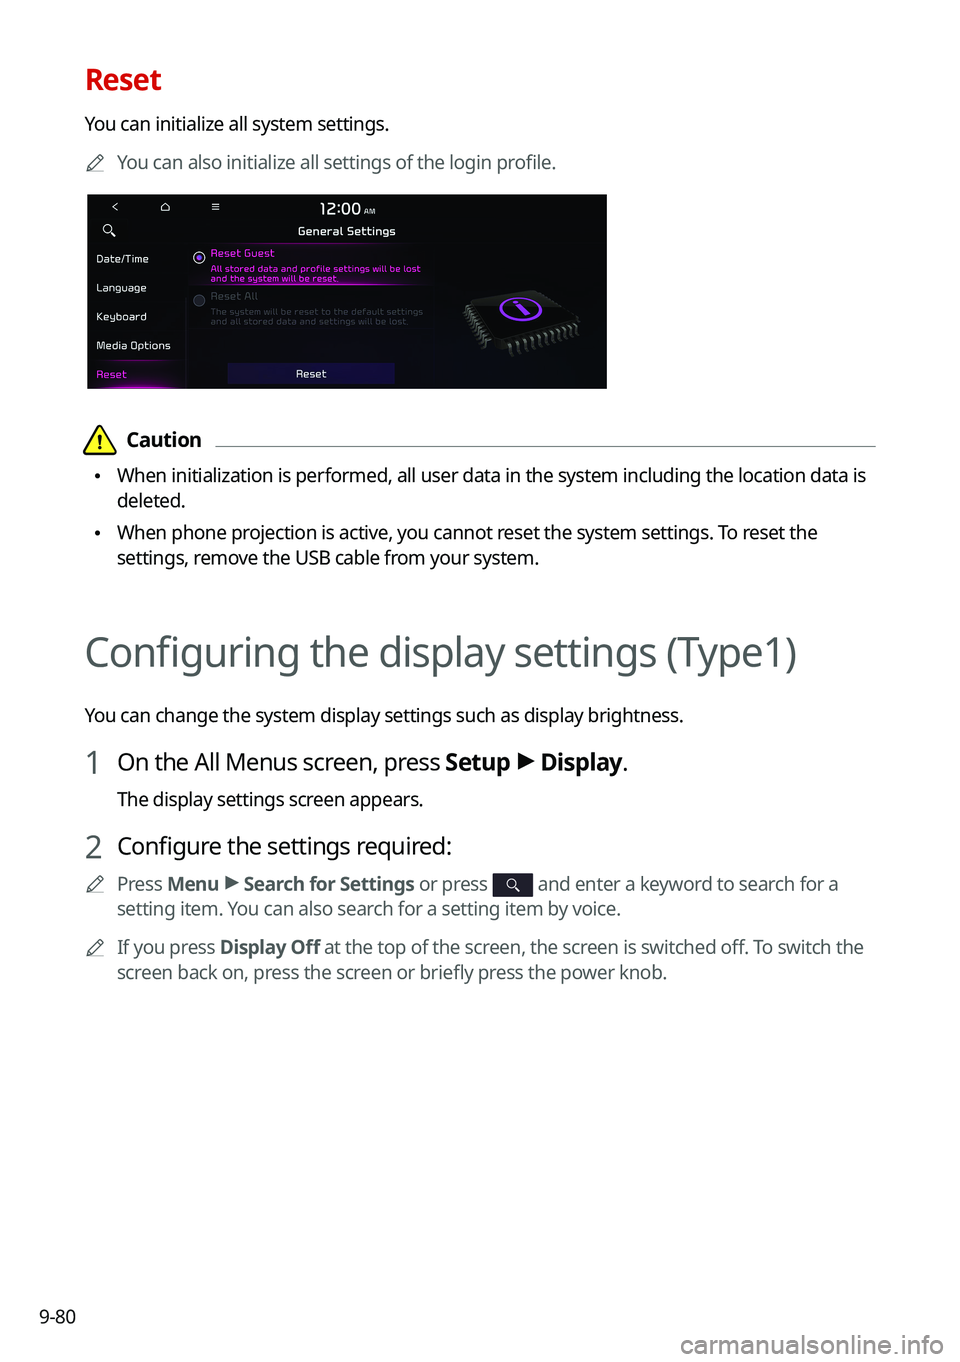
Reset
You can initialize all system settings.0000
A
You can also initialize all settings of the login profile.
\334\334Caution
\225When initialization is performed, all user data in the system including the location data is
deleted.
\225When phone projection is active, you cannot reset the system settings. To reset the
settings, remove the USB cable from your system.
Configuring the display settings (Type1)
You can change the system display settings such as display brightness.
1 On the All Menus screen, press Setup >
Display.
The display settings screen appears.
2 Configure the settings required:
0000
A
Press Menu >
Search for Settings or press and enter a keyword to search for a
setting item. You can also search for a setting item by voice.
0000
A
If you press Display Off at the top of the screen, the screen is switched off. To switch the
screen back on, press the screen or briefly press the power knob.
Page 263 of 300
9-83
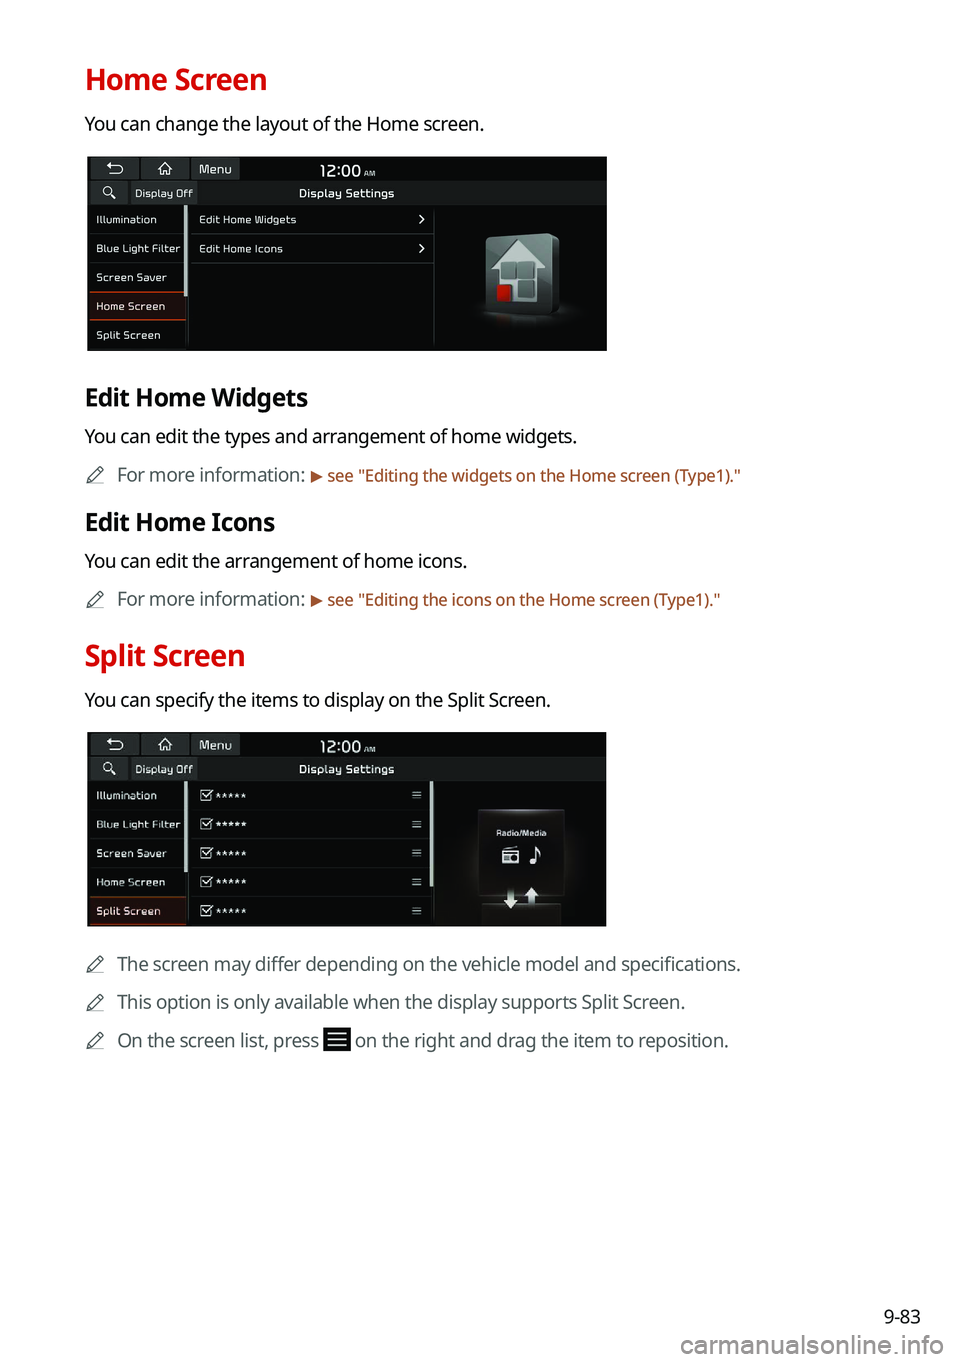
Home Screen
You can change the layout of the Home screen.
Edit Home Widgets
You can edit the types and arrangement of home widgets.0000
A
For more information:
> see "Editing the widgets on the Home screen (Type1)."
Edit Home Icons
You can edit the arrangement of home icons.
0000
A
For more information:
> see "Editing the icons on the Home screen (Type1)."
Split Screen
You can specify the items to display on the Split Screen.
0000A
The screen may differ depending on the vehicle model and specifications.
0000
A
This option is only available when the display supports Split Screen.
0000
A
On the screen list, press
on the right and drag the item to reposition.
Page 264 of 300
9-84
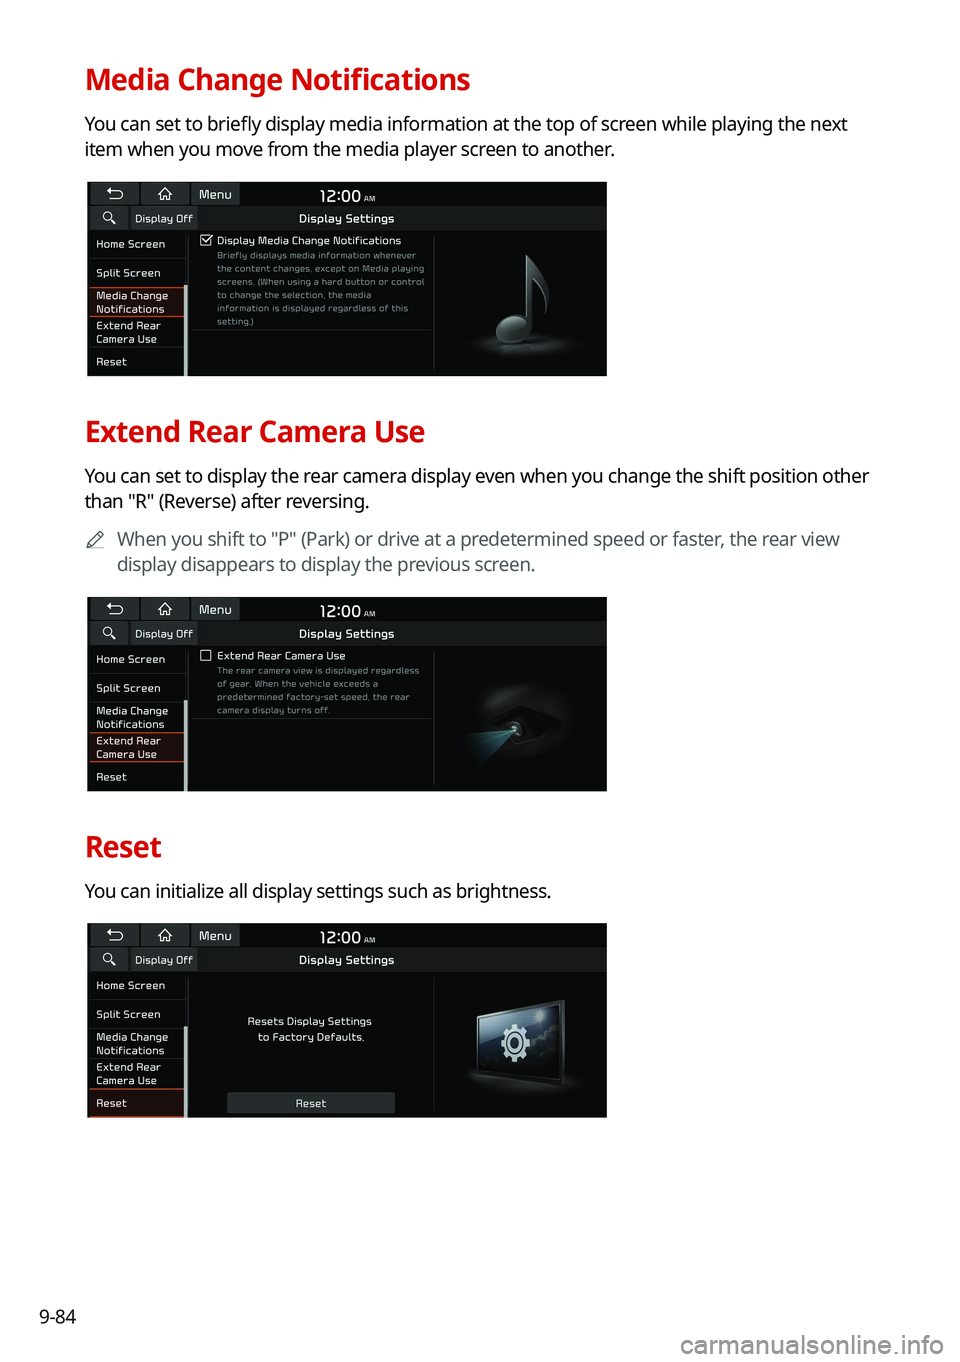
Media Change Notifications
You can set to briefly display media information at the top of screen while playing the next
item when you move from the media player screen to another.
Extend Rear Camera Use
You can set to display the rear camera display even when you change the shift position other
than "R" (Reverse) after reversing.0000
A
When you shift to "P" (Park) or drive at a predetermined speed or faster, the rear view
display disappears to display the previous screen.
Reset
You can initialize all display settings such as brightness.
Page 265 of 300
9-85
Configuring the display settings (Type2)
You can change the system display settings such as display brightness.
1 On the All Menus screen, press Setup >
Display.
The display settings screen appears.
2 Configure the settings required:
0000
A
Press >
Search for Settings or press and enter a keyword to search for a
setting item. You can also search for a setting item by voice.
0000
A
If you press Display Off at the top of the screen, the screen is switched off. To switch the
screen back on, press the screen or briefly press the power knob.
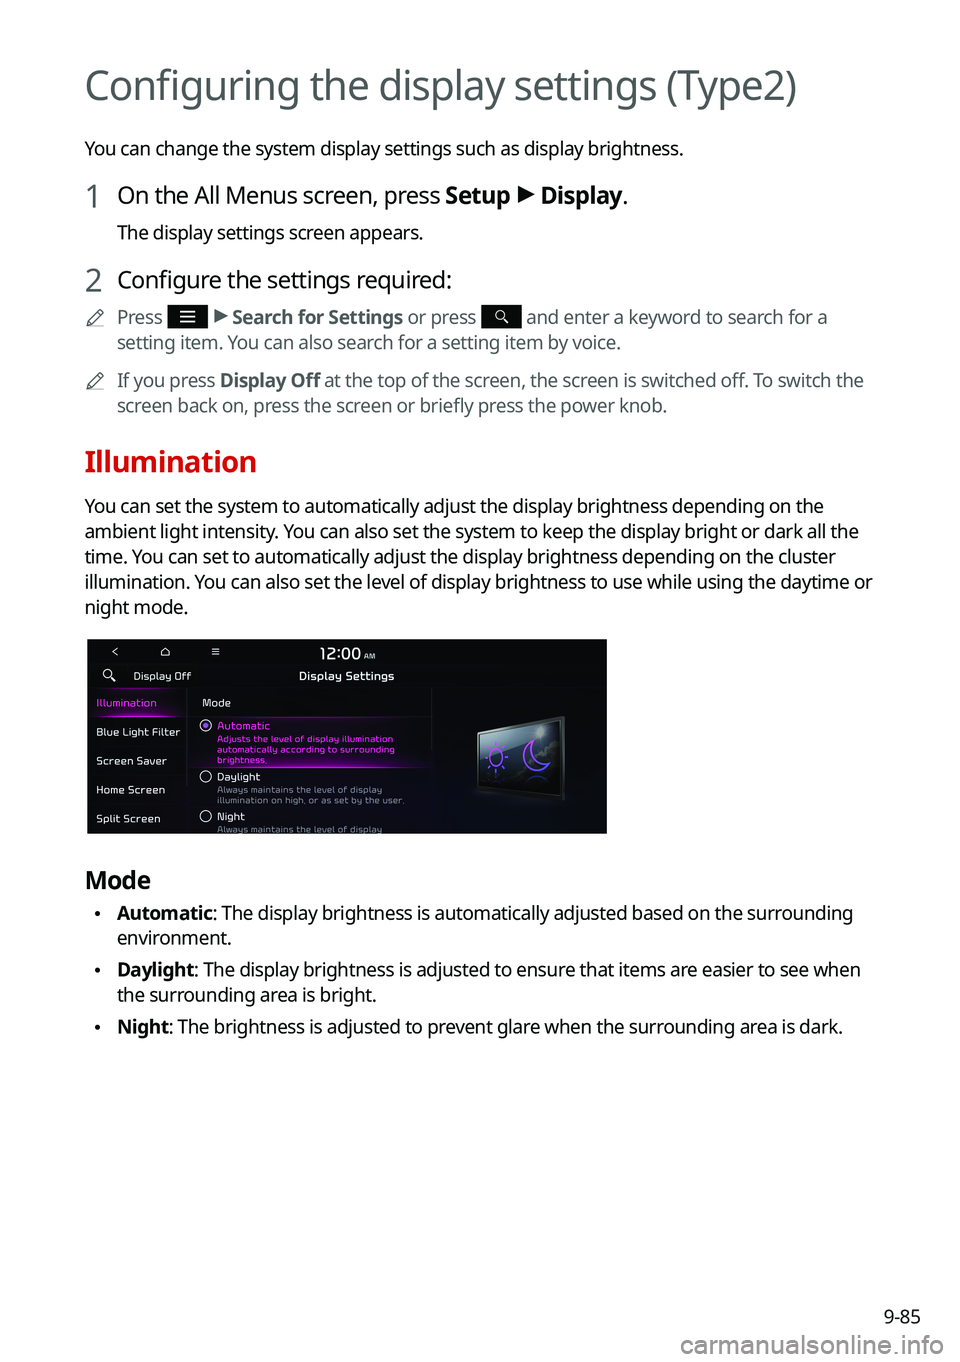
Illumination
You can set the system to automatically adjust the display brightness dep\
ending on the
ambient light intensity. You can also set the system to keep the display bright or dark all the
time. You can set to automatically adjust the display brightness depending on t\
he cluster
illumination. You can also set the level of display brightness to use while using the daytime or
night mode.
Mode
\225Automatic: The display brightness is automatically adjusted based on the surrounding
environment.
\225Daylight: The display brightness is adjusted to ensure that items are easier to see when
the surrounding area is bright.
\225Night: The brightness is adjusted to prevent glare when the surrounding area is dark.
Page 268 of 300
9-88
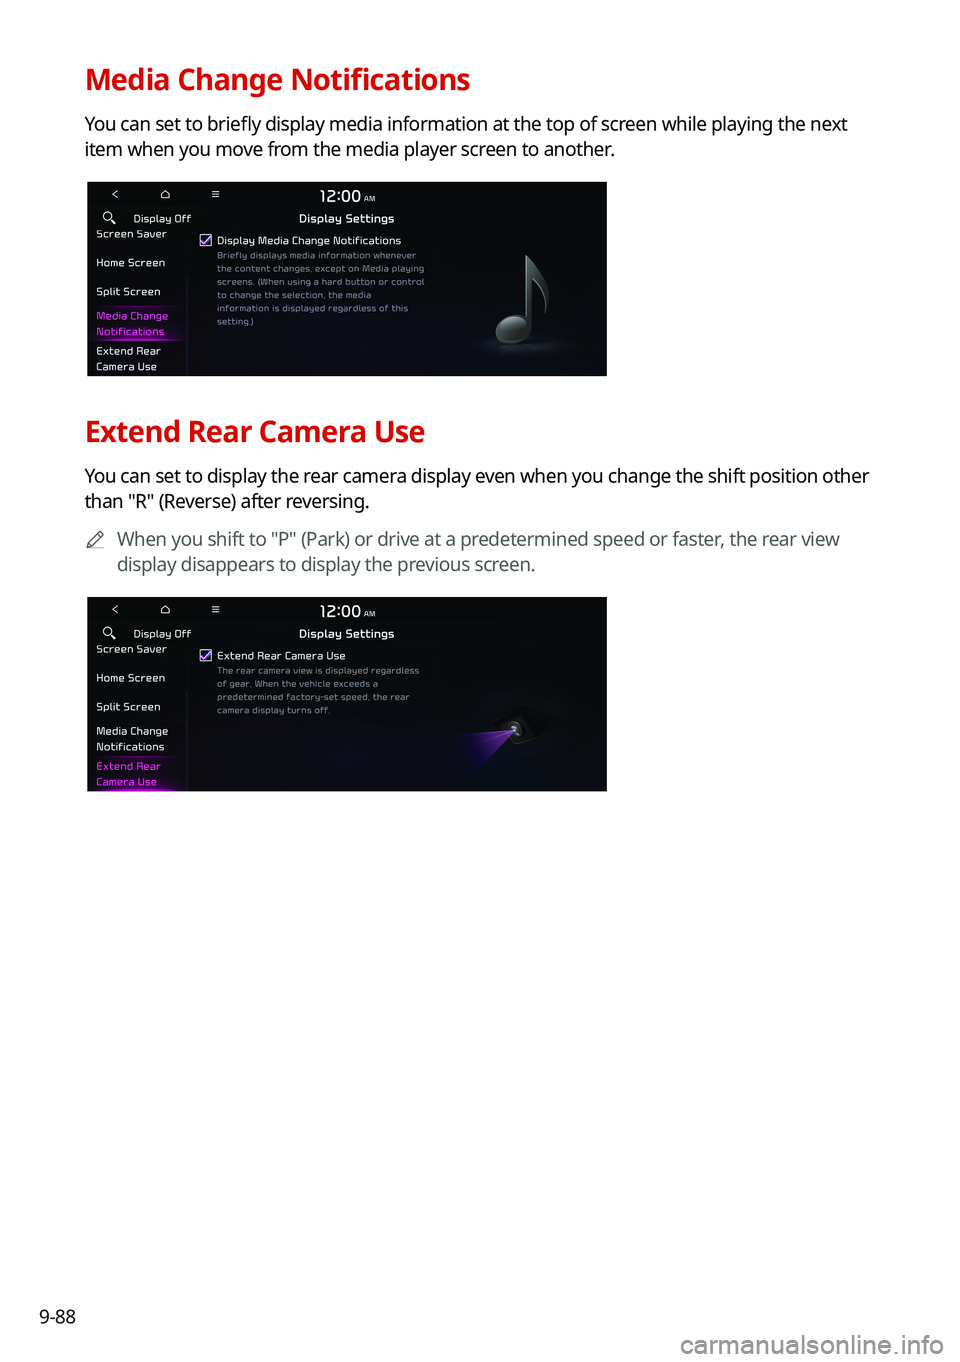
Media Change Notifications
You can set to briefly display media information at the top of screen while playing the next
item when you move from the media player screen to another.
Extend Rear Camera Use
You can set to display the rear camera display even when you change the shift position other
than "R" (Reverse) after reversing.0000
A
When you shift to "P" (Park) or drive at a predetermined speed or faster, the rear view
display disappears to display the previous screen.
Page 269 of 300
9-89
Configuring the media settings (Type1)
(if equipped)
Set to receive a notification when the information changes during playback or to include sub-
folders when playing a folder on repeat.
1 On the All Menus screen, press Setup >
Media.
The media settings screen appears.
2 Configure the settings required:
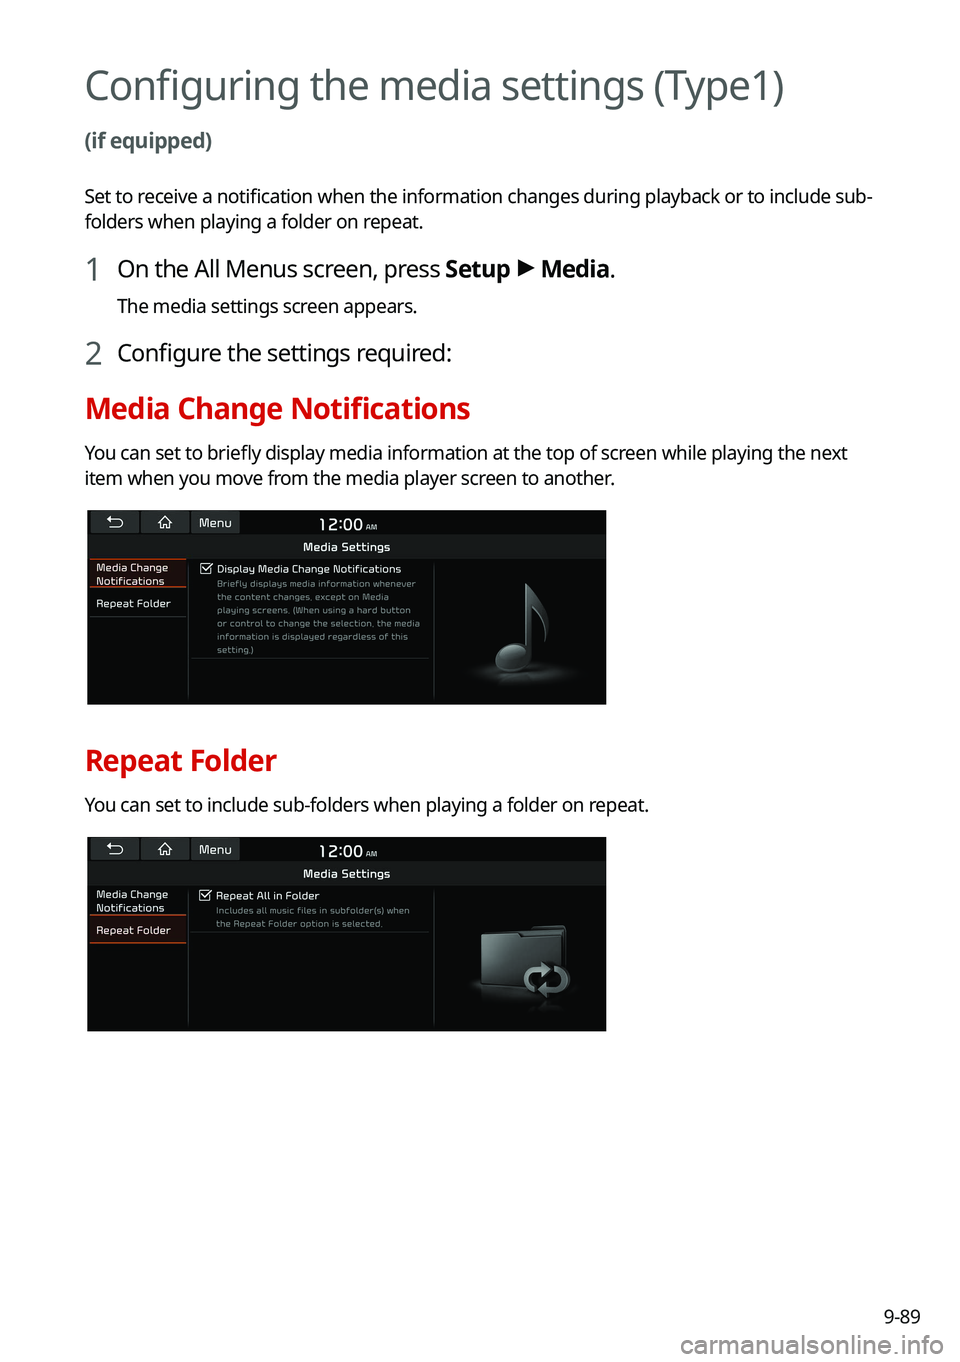
Media Change Notifications
You can set to briefly display media information at the top of screen while playing the next
item when you move from the media player screen to another.
Repeat Folder
You can set to include sub-folders when playing a folder on repeat.
Page 270 of 300
9-90
How to Update the Map and Software for
your Infotainment System
To ensure you are maximizing the full potential of your navigation system, we advise
updating the map and software annually. To update, visit the map update website and install
the Navigation Updater program onto your PC. Use the program to download and install the
latest map, points of interest, and software. Alternatively, you can visit your local dealership
to update.
\334\334Caution
\225It may take a while (tens of minutes) to finish the system update depending on the
amount of data.
\225Never turn off the system or remove the storage before finishing the system update.
When the system is turned off or the storage device is removed from the system while
updating, it may cause data or system damage.
0000
A
After update is completed, the system automatically restarts and the SW Info/Update
screen displays the updated version.
0000
A
During update, you cannot use the navigation system, UVO service, camera, and
infotainment system.
0000
A
For assistance concerning the update, contact the Customer Center at 800\
-333-4
KIA(4542).
0000
A
Changes are not applied to the map after creation of all update files. For this reason, road
names, POI names, speed limits, or other map information displayed, may \
not be the
latest values due to the creation time of the update files.
Updating via a USB device
Install the Navigation Updater on your PC and then download the latest data to a USB device
for update to the navigation map and infotainment system.
Installing Navigation Updater
On your PC, visit the website at http://update.kia.com/us to download and
install the Navigation Updater software.
0000
A
For system requirements for installing the program and details on how to install it, visit
the website.
Page 271 of 300
9-91
Updating the software and map
1 Connect a USB device to the computer and run Navigation Updater for
downloading the update files.
2 Follow the instructions on the screen to download the update files.
3 Remove the USB device from the computer and then connect it to the
USB port in your vehicle.
4 Start the vehicle to turn on the system.
0000
A
You can perform update without starting the vehicle by simply locating the start
switch to "ON".
\334\334Caution
\225Perform update with the start switch "ON" when the battery is sufficiently charged
by driving the vehicle. When the battery is discharged while updating, the system
may get damaged with the update stopped.
-Note that the battery may be discharged easily in winter.
-The battery may also be discharged easily when the vehicle is not used for a long
time. Caution is required.
\225
When you start the vehicle while updating with the start switch "ON", po\
wer supply
to the system may be cut off.
5 On the All Menus screen, press Setup >
General >
SW Info/Update.
0000
A
After the system is turned on, press Yes when a pop-up window appears whether
to proceed with update. In this case, the screen changes to allow you to select the
update method.
[ Updating immediately
You can finish the update quickly.
1 On the SW Info/Update screen, press Update.
2 Press
Update Now.
3 Press OK.
The update is performed immediately after the system reboots.