manual transmission Lancia Flavia 2012 Owner handbook (in English)
[x] Cancel search | Manufacturer: LANCIA, Model Year: 2012, Model line: Flavia, Model: Lancia Flavia 2012Pages: 233, PDF Size: 2.61 MB
Page 11 of 233
INTRODUCTION
Congratulations on selecting your
new LANCIA vehicle. Be assured that
it represents precision workmanship,
distinctive styling, and high quality -
all essentials that are traditional to
our vehicles.
Before you start to drive this vehicle,
read this Owner's Manual and all the
supplements. Be sure you are familiar
with all vehicle controls, particularly
those used for braking, steering, and
transmission shifting. Learn how your
vehicle handles on different road sur-
faces. Your driving skills will improve
with experience, but as in driving any
vehicle, take it easy as you begin. Al-
ways observe local laws wherever you
drive.
NOTE:
After reviewing the owner infor-
mation, it should be stored in the
vehicle for convenient referencing
and remain with the vehicle when
sold.
Failure to operate this vehicle cor-
rectly may result in loss of control or a
collision.Operating this vehicle at excessive
speeds or while intoxicated may result
in loss of control, collision with other
vehicles or objects, going off the road,
or overturning; any of which may lead
to serious injury or death. Also, failure
to use seat belts subjects the driver
and passengers to a greater risk of
injury or death.
To keep your vehicle running at its
best, have your vehicle serviced at
recommended intervals by an autho-
rized dealer who has the qualified per-
sonnel, special tools, and equipment
to perform all service.
The manufacturer and its distributors
are vitally interested in your complete
satisfaction with this vehicle. If you
encounter a service or warranty prob-
lem, which is not resolved to your
satisfaction, discuss the matter with
your dealer's management.
Your authorized dealer will be happy
to assist you with any questions about
your vehicle.
IMPORTANT NOTICE
ALL MATERIAL CONTAINED IN
THIS PUBLICATION IS BASED ON
THE LATEST INFORMATION
AVAILABLE AT TIME OF PUBLI-
CATION APPROVAL. THE RIGHT
IS RESERVED TO PUBLISH REVI-
SIONS AT ANY TIME.
This Owner's Manual has been pre-
pared with the assistance of service
and engineering specialists to ac-
quaint you with the operation and
maintenance of your new vehicle. It is
supplemented by a Warranty Infor-
mation Booklet and various
customer-oriented documents. You
are urged to read these publications
carefully. Following the instructions
and recommendations in this Owner's
Manual will help assure safe and en-
joyable operation of your vehicle.
After you have read the Owner’s
Manual, it should be stored in the
vehicle for convenient reference and
remain with the vehicle when sold.
4
Page 23 of 233
nected, the Vehicle Security Alarm
will remain armed when the battery is
reconnected. The exterior lights will
flash, and the horn will sound. If this
occurs, disarm the Vehicle Security
Alarm.
SECURITY MANUAL
OVERRIDE
The Vehicle Security Alarm will not
arm if you lock the doors using the
manual door lock plunger.
ILLUMINATED ENTRY
The courtesy lights will turn on when
you press the unlock button on the
Remote Keyless Entry (RKE) trans-
mitter or open any door.
The interior lights will fade to off after
approximately 30 seconds or they will
immediately fade to off once the igni-
tion switch is turned to ON/RUN from
the OFF position.
NOTE:
The front courtesy overheadconsole and door courtesy lights
will turn on if the dimmer con-
trol is in the "Dome ON" position
(extreme top position). The Illuminated Entry system
will not operate if the dimmer
control is in the “Dome defeat”
position (extreme bottom posi-
tion).
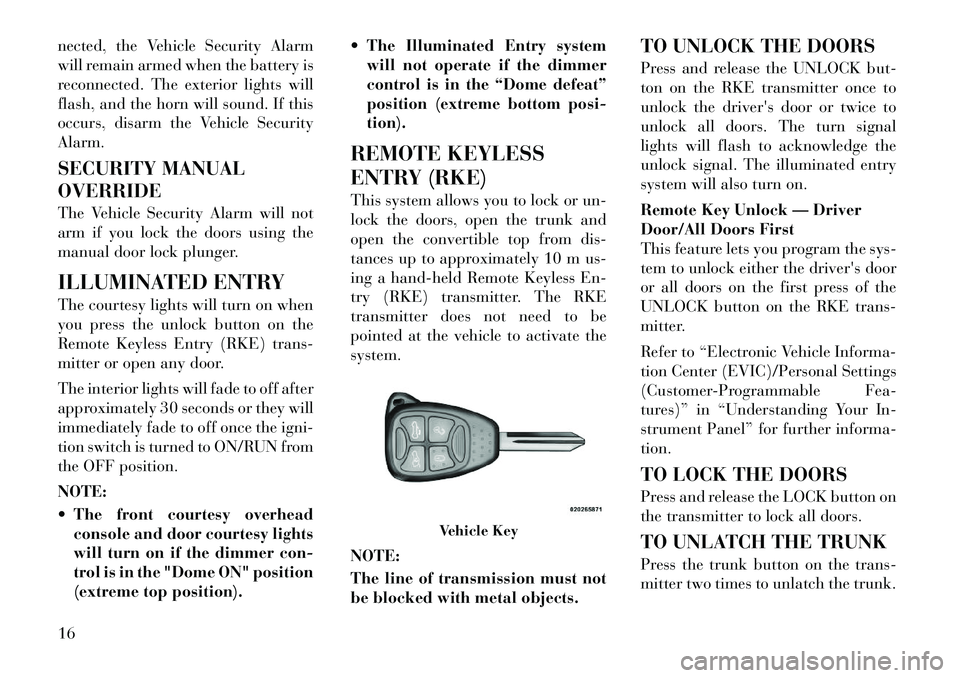
REMOTE KEYLESS
ENTRY (RKE)
This system allows you to lock or un-
lock the doors, open the trunk and
open the convertible top from dis-
tances up to approximately 10 m us-
ing a hand-held Remote Keyless En-
try (RKE) transmitter. The RKE
transmitter does not need to be
pointed at the vehicle to activate the
system.
NOTE:
The line of transmission must not
be blocked with metal objects. TO UNLOCK THE DOORS
Press and release the UNLOCK but-
ton on the RKE transmitter once to
unlock the driver's door or twice to
unlock all doors. The turn signal
lights will flash to acknowledge the
unlock signal. The illuminated entry
system will also turn on.
Remote Key Unlock — Driver
Door/All Doors First
This feature lets you program the sys-
tem to unlock either the driver's door
or all doors on the first press of the
UNLOCK button on the RKE trans-
mitter.
Refer to “Electronic Vehicle Informa-
tion Center (EVIC)/Personal Settings
(Customer-Programmable Fea-
tures)” in “Understanding Your In-
strument Panel” for further informa-
tion.
TO LOCK THE DOORS
Press and release the LOCK button on
the transmitter to lock all doors.
TO UNLATCH THE TRUNK
Press the trunk button on the trans-
mitter two times to unlatch the trunk.
Vehicle Key
16
Page 144 of 233
SIX-SPEED AUTOMATIC
TRANSMISSION
The shift lever position display (lo-
cated in the instrument panel cluster)
indicates the transmission gear range.
You must press the brake pedal to
move the shift lever out of the PARK
position (refer to “Brake/
Transmission Shift Interlock System”
in this section). To drive, move the
shift lever from PARK or NEUTRAL
to the DRIVE position.
The electronically-controlled trans-
mission provides a precise shift sched-
ule. The transmission electronics are
self-calibrating; therefore, the first
few shifts on a new vehicle may be
somewhat abrupt. This is a normal
condition, and precision shifts will de-
velop within a few hundred kilome-
ters.
Shifting from DRIVE to PARK or RE-
VERSE should be done only after the
accelerator pedal is released and the
vehicle is stopped. Be sure to keep
your foot on the brake pedal when
moving the shift lever between these
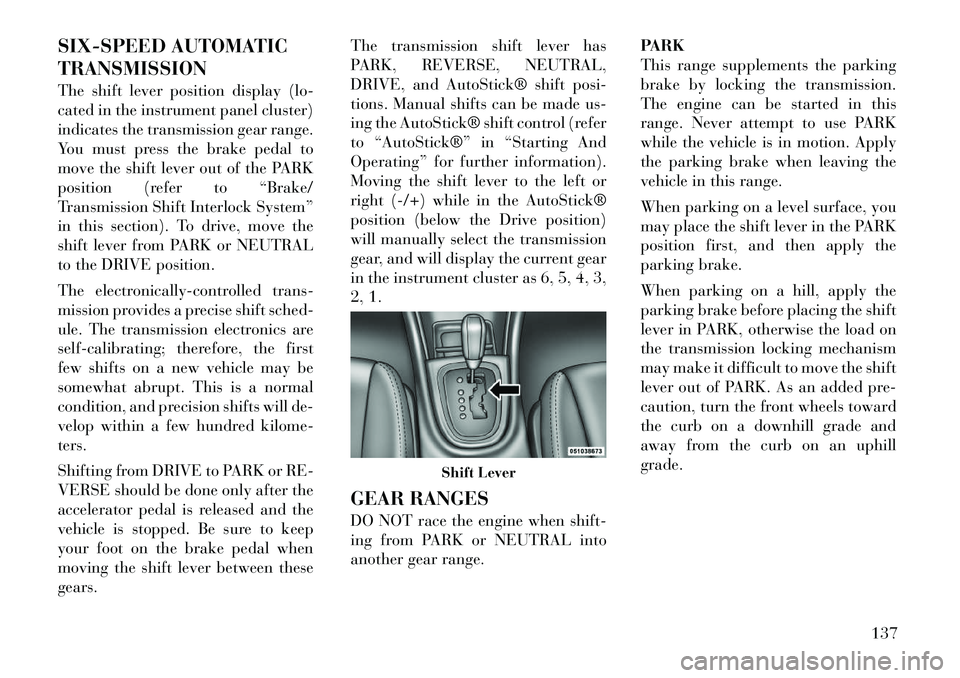
gears.The transmission shift lever has
PARK, REVERSE, NEUTRAL,
DRIVE, and AutoStick® shift posi-
tions. Manual shifts can be made us-
ing the AutoStick® shift control (refer
to “AutoStick®” in “Starting And
Operating” for further information).
Moving the shift lever to the left or
right (-/+) while in the AutoStick®
position (below the Drive position)
will manually select the transmission
gear, and will display the current gear
in the instrument cluster as 6, 5, 4, 3,
2, 1.
GEAR RANGES
DO NOT race the engine when shift-
ing from PARK or NEUTRAL into
another gear range.
PARK
This range supplements the parking
brake by locking the transmission.
The engine can be started in this
range. Never attempt to use PARK
while the vehicle is in motion. Apply
the parking brake when leaving the
vehicle in this range.
When parking on a level surface, you
may place the shift lever in the PARK
position first, and then apply the
parking brake.
When parking on a hill, apply the
parking brake before placing the shift
lever in PARK, otherwise the load on
the transmission locking mechanism
may make it difficult to move the shift
lever out of PARK. As an added pre-
caution, turn the front wheels toward
the curb on a downhill grade and
away from the curb on an uphill
grade.
Shift Lever
137
Page 148 of 233

Torque Converter Clutch
A feature designed to improve fuel
economy has been included in the au-
tomatic transmission on your vehicle.
A clutch within the torque converter
engages automatically at calibrated
speeds. This may result in a slightly
different feeling or response during
normal operation in the upper gears.
When the vehicle speed drops or dur-
ing some accelerations, the clutch au-
tomatically disengages.
NOTE:
The torque converter clutch will
not engage until the transmission
fluid and engine coolant are warm
[usually after 2 to 5 km of driving].
Because the engine speed is higher
when the torque converter clutch
is not engaged, it may seem as if the
transmission is not shifting into
Overdrive when cold. This is nor-
mal. Using the AutoStick® feature,
when the transmission is suffi-
ciently warm, will demonstrate
that the transmission is able to
shift into and out of Overdrive.AUTOSTICK®
AutoStick® is a driver-interactive
feature providing manual shift con-
trol, giving you more control of the
vehicle. AutoStick® allows you to
maximize engine braking, eliminate
undesirable upshifts and downshifts,
and improve overall vehicle perfor-
mance. This system can also provide
you with more control during passing,
city driving, cold slippery conditions,
mountain driving, and many other
situations.
OPERATION
When the shift lever is in the
AutoStick® position (below the
DRIVE position), it can be moved
from side to side. This allows the
driver to manually select the trans-
mission gear being used. Moving the
shift lever to the left (-) triggers a
downshift and to the right (+) an up-
shift. The gear position will display in
the instrument cluster on the trans-
mission range indicator.
NOTE:
In AutoStick® mode, the transmis-
sion will only shift up or down
when the driver moves the shift
lever to the right (+) or left (-), or as
described below.
AutoStick® is deactivated when the
shift lever is moved from the
AutoStick (+/-) position into the
DRIVE position.
GENERAL INFORMATION
You can start out, from a stop, in
any gear except sixth. The system
will ignore attempts to upshift at
too low of a vehicle speed.
If a ratio other than first gear is selected, and the vehicle is brought
to a stop, the transmission control
logic will automatically select the
first gear ratio.
Starting out in second gear is help- ful in snowy or icy conditions. To
select second gear after the vehicle
is brought to a stop, tap the shift
lever to the right (+) once.
Avoid using speed control when AutoStick® is engaged.
141
Page 176 of 233
WARNING!(Continued)
A loose TIREFIT kit thrown for-
ward in a collision or hard stop
could endanger the occupants of
the vehicle. Always stow the
TIREFIT kit in the place pro-
vided. Failure to follow these
warnings can result in injuries
that are serious or fatal to you,
your passengers, and others
around you.
Take care not to allow the con-
tents of TIREFIT to come in con-
tact with hair, eyes, or clothing.
TIREFIT is harmful if inhaled,
swallowed, or absorbed through
the skin. It causes skin, eye, and
respiratory irritation. Flush im-
mediately with plenty of water if
there is any contact with eyes or
skin. Change clothing as soon as
possible, if there is any contact
with clothing.
(Continued)
WARNING!(Continued)
TIREFIT Sealant solution con-
tains latex. In case of an allergic
reaction or rash, consult a physi-
cian immediately. Keep TIREFIT
out of reach of children. If swal-
lowed, rinse mouth immediately
with plenty of water and drink
plenty of water. Do not induce
vomiting! Consult a physician im-
mediately.
SEALING A TIRE WITH
TIREFIT
(A) Whenever You Stop To Use
TIREFIT:
1. Pull over to a safe location and
turn on the vehicle’s Hazard Warning
flashers.
2. Verify that the valve stem (on the
wheel with the deflated tire) is in a
position that is near to the ground.
This will allow the TIREFIT Hoses
(6) and (7) to reach the valve stem
and keep the TIREFIT kit flat on the
ground. This will provide the best po-
sitioning of the kit when injecting the
sealant into the deflated tire and run- ning the air pump. Move the vehicle as
necessary to place the valve stem in
this position before proceeding.
3. Place the transmission in PARK
(auto transmission) or in Gear
(manual transmission) and turn Off
the ignition.
4. Set the parking brake.
(B) Setting Up To Use TIREFIT:
1. Turn the Mode Select Knob (5) to
the Sealant Mode position.
2. Uncoil the Sealant Hose (6) and
then remove the cap from the fitting
at the end of the hose.
3. Place the TIREFIT kit flat on the
ground next to the deflated tire.
4. Remove the cap from the valve
stem and then screw the fitting at the
end of the Sealant Hose (6) onto the
valve stem.
5. Uncoil the Power Plug (8) and in-
sert the plug into the vehicle’s 12 Volt
power outlet.
NOTE:
Do not remove foreign objects (e.g.,
screws or nails) from the tire.
169
Page 177 of 233

(C) Injecting TIREFIT Sealant
Into The Deflated Tire:
Always start the engine beforeturning ON the TIREFIT kit.
NOTE:
Manual transmission vehicles
must have the parking brake en-
gaged and the shift lever in NEU-
TRAL.
After pressing the Power Button (4), the sealant (white fluid) will
flow from the Sealant Bottle (1)
through the Sealant Hose (6) and
into the tire.
NOTE:
Sealant may leak out through the
puncture in the tire.
If the sealant (white fluid) does not
flow within 0 – 10 seconds through
the Sealant Hose (6):
1. Press the Power Button (4) to turn
Off the TIREFIT kit. Disconnect the
Sealant Hose (6) from the valve stem.
Make sure the valve stem is free of
debris. Reconnect the Sealant Hose
(6) to the valve stem. Check that the
Mode Select Knob (5) is in the Sealant Mode position and not Air Mode.
Press the Power Button (4) to turn On
the TIREFIT kit.
2. Connect the Power Plug (8) to a
different 12 Volt power outlet in your
vehicle or another vehicle, if avail-
able. Make sure the engine is running
before turning ON the TIREFIT kit.
3. The Sealant Bottle (1) may be
empty due to previous use. Call for
assistance.
NOTE:
If the Mode Select Knob (5) is on
Air Mode and the pump is operat-
ing, air will dispense from the Air
Pump Hose (7) only, not the Seal-
ant Hose (6).
If the sealant (white fluid) does
flow
through the Sealant Hose (6):
1. Continue to operate the pump un-
til sealant is no longer flowing
through hose (typically takes 30 -
70 seconds). As the sealant flows
through the Sealant Hose (6), the
Pressure Gauge (3) can read as high
as 5 Bar. The Pressure Gauge (3) will
decrease quickly from approximately 70 psi (5 Bar) to the actual tire pres-
sure when the Sealant Bottle (1) is
empty.
2. The pump will start to inject air
into the tire immediately after the
Sealant Bottle (1) is empty. Continue
to operate the pump and inflate the
tire to the pressure indicated on the
tire pressure label on the driver-side
latch pillar (recommended pressure).
Check the tire pressure by looking at
the Pressure Gauge (3).
If the tire does not inflate to at least
1.8 Bar pressure within 15 min-
utes:
The tire is too badly damaged. Do
not attempt to drive the vehicle fur-
ther. Call for assistance.
NOTE:
If the tire becomes over-inflated,
press the Deflation Button to re-
duce the tire pressure to the rec-
ommended inflation pressure be-
fore continuing.
If the tire inflates to the recom-
mended pressure or is at least 1.8
Bar pressure within 15 minutes:
170