display Lexus ES300h 2014 Owner's Manual
[x] Cancel search | Manufacturer: LEXUS, Model Year: 2014, Model line: ES300h, Model: Lexus ES300h 2014Pages: 918, PDF Size: 25.26 MB
Page 585 of 918
584
ES350_300h_OM_OM33A60U_(U)
5-4. Using the audio system
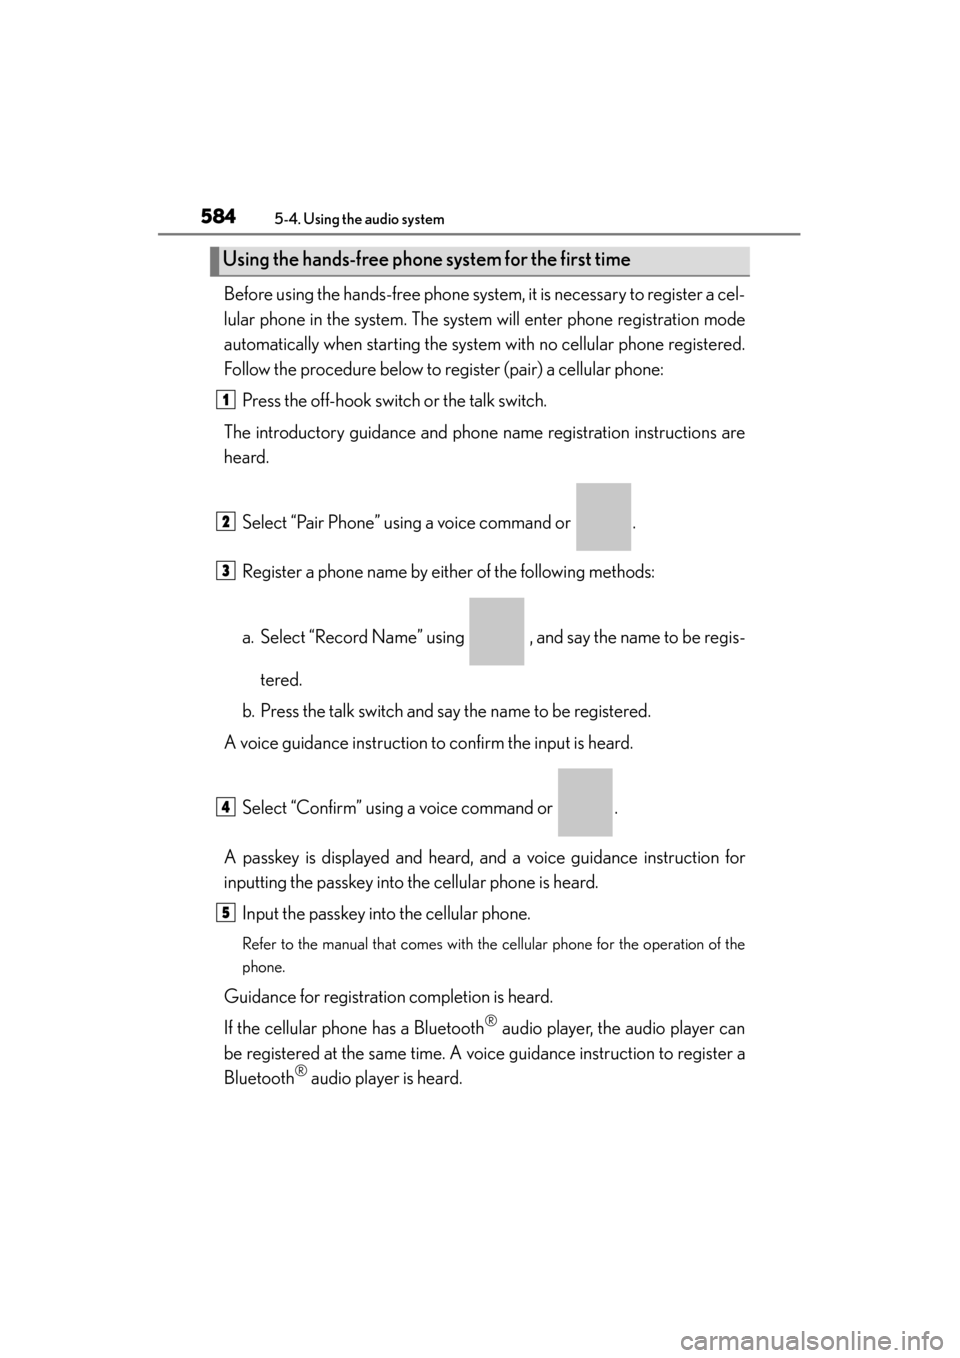
Before using the hands-free phone system, it is necessary to register a cel-
lular phone in the system. The system will enter phone registration mode
automatically when starting the system with no cellular phone registered.
Follow the procedure below to register (pair) a cellular phone:Press the off-hook switch or the talk switch.
The introductory guidance and phone name registration instructions are
heard.
Select “Pair Phone” using a voice command or .
Register a phone name by either of the following methods:
a. Select “Record Name” using , and say the name to be regis-
tered.
b. Press the talk switch and say the name to be registered.
A voice guidance instruction to confirm the input is heard.
Select “Confirm” using a voice command or .
A passkey is displayed and heard, and a voice guidance instruction for
inputting the passkey into the cellular phone is heard. Input the passkey into the cellular phone.
Refer to the manual that comes with the cellular phone for the operation of the
phone.
Guidance for registration completion is heard.
If the cellular phone has a Bluetooth
® audio player, the audio player can
be registered at the same time. A voice guidance instruction to register a
Bluetooth
® audio player is heard.
Using the hands-free phone system for the first time
1
2
3
4
5
Page 587 of 918
586
ES350_300h_OM_OM33A60U_(U)
5-4. Using the audio system
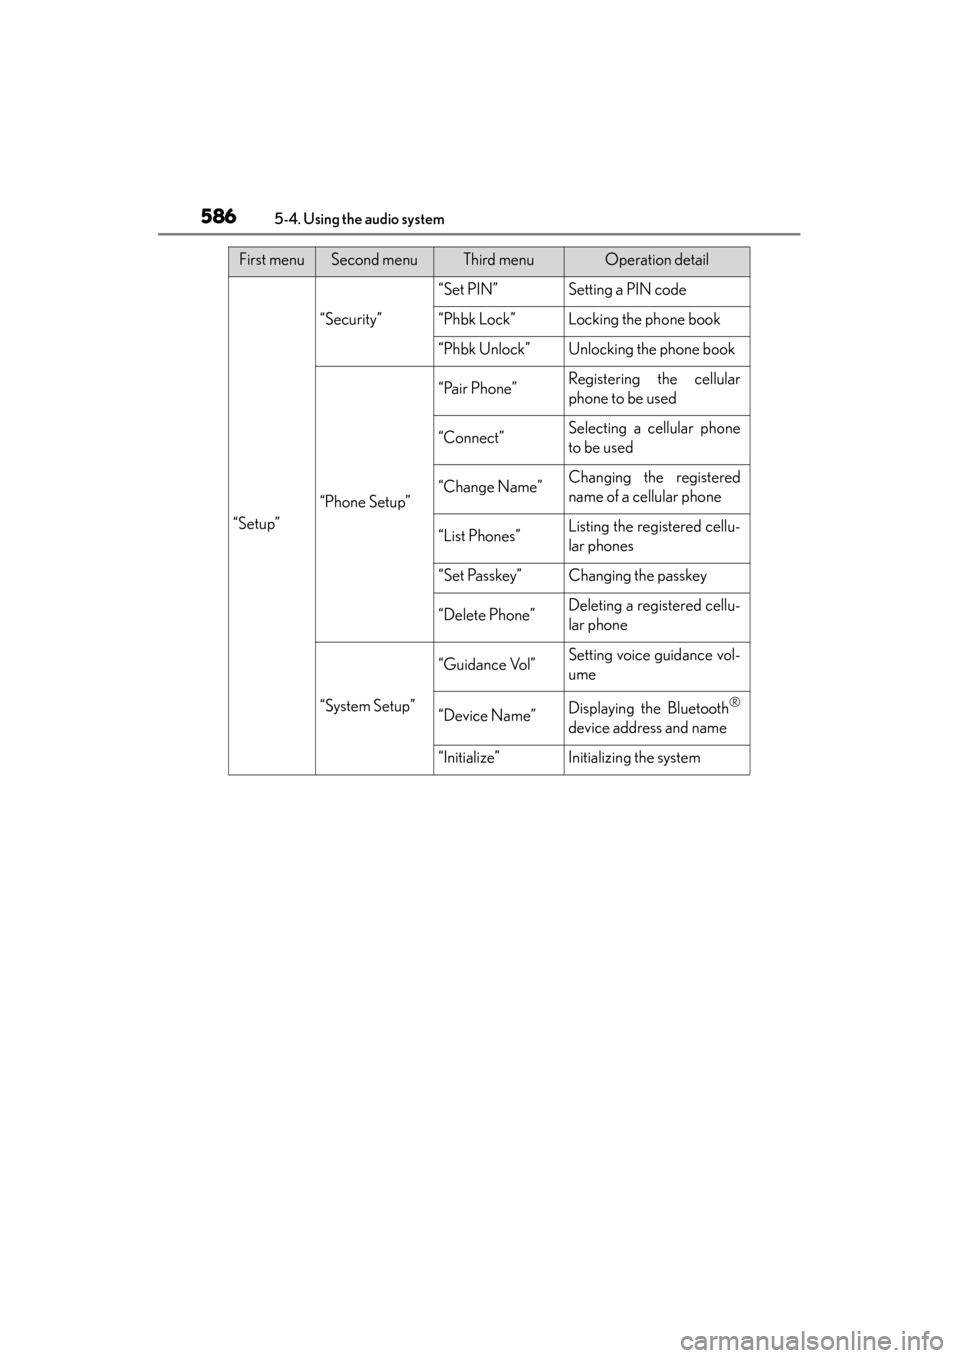
“Setup”
“Security”
“Set PIN”Setting a PIN code
“Phbk Lock”Locking the phone book
“Phbk Unlock”Unlocking the phone book
“Phone Setup”
“Pair Phone”Registering the cellular
phone to be used
“Connect”Selecting a cellular phone
to be used
“Change Name”Changing the registered
name of a cellular phone
“List Phones”Listing the registered cellu-
lar phones
“Set Passkey”Changing the passkey
“Delete Phone”Deleting a registered cellu-
lar phone
“System Setup”
“Guidance Vol”Setting voice guidance vol-
ume
“Device Name”Displaying the Bluetooth®
device address and name
“Initialize”Initializing the system
First menuSecond menuThird menuOperation detail
Page 593 of 918
592
ES350_300h_OM_OM33A60U_(U)
5-4. Using the audio system
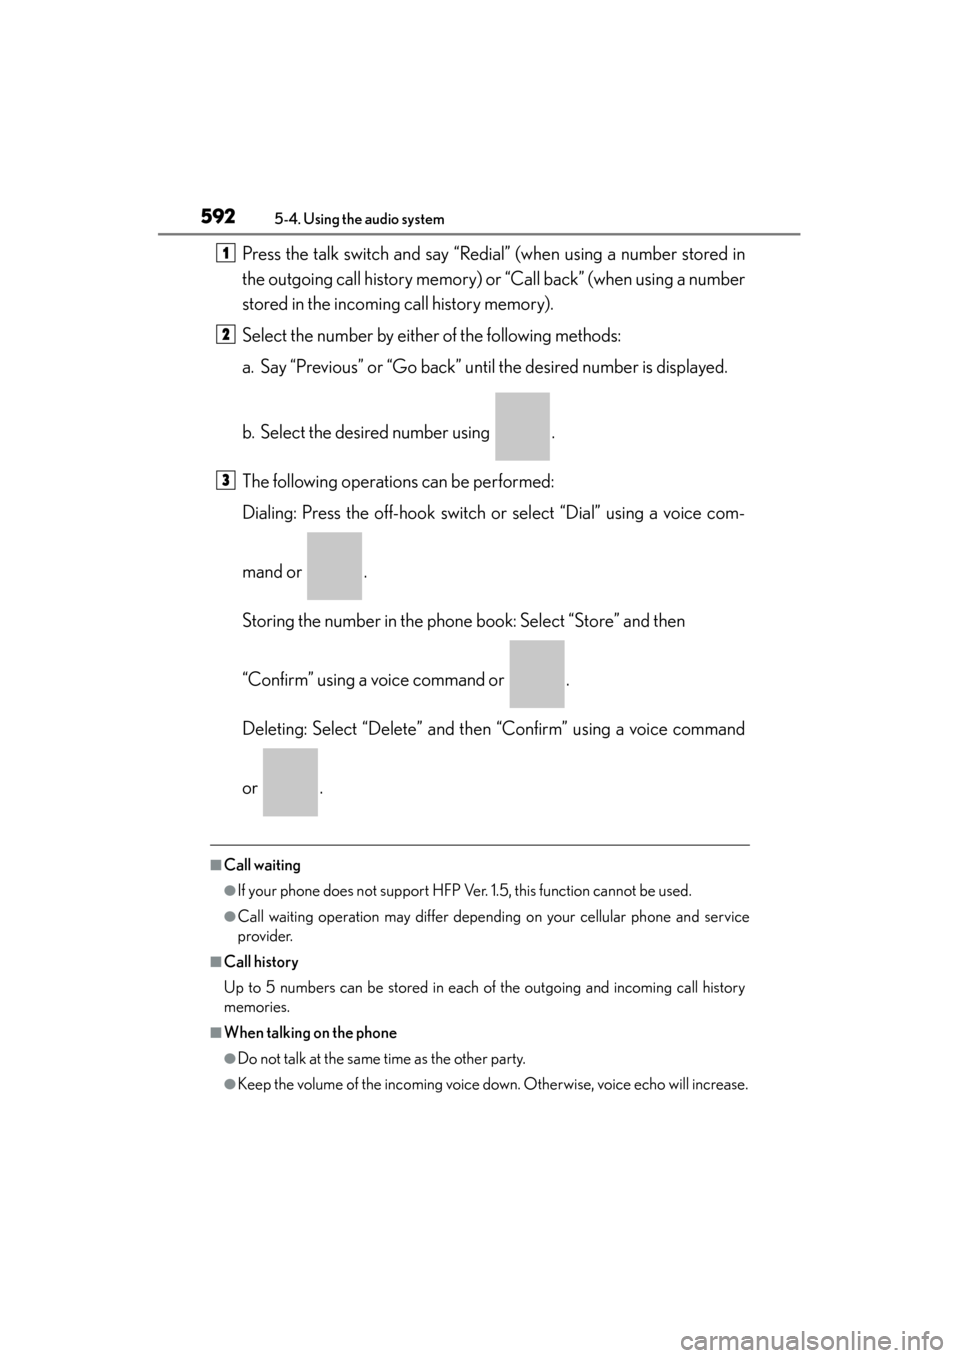
Press the talk switch and say “Redial” (when using a number stored in
the outgoing call history memory) or “Call back” (when using a number
stored in the incoming call history memory).
Select the number by either of the following methods:
a. Say “Previous” or “Go back” until the desired number is displayed.
b. Select the desired number using .
The following operations can be performed:
Dialing: Press the off-hook switch or select “Dial” using a voice com-
mand or .
Storing the number in the phone book: Select “Store” and then
“Confirm” using a voice command or .
Deleting: Select “Delete” and then “Confirm” using a voice command
or .
■Call waiting
●If your phone does not support HFP Ver. 1.5, this function cannot be used.
●Call waiting operation may differ depending on your cellular phone and service
provider.
■Call history
Up to 5 numbers can be stored in each of the outgoing and incoming call history
memories.
■When talking on the phone
●Do not talk at the same time as the other party.
●Keep the volume of the incoming voice down. Otherwise, voice echo will increase.
1
2
3
Page 599 of 918
598
ES350_300h_OM_OM33A60U_(U)
5-4. Using the audio system
Security and system setup
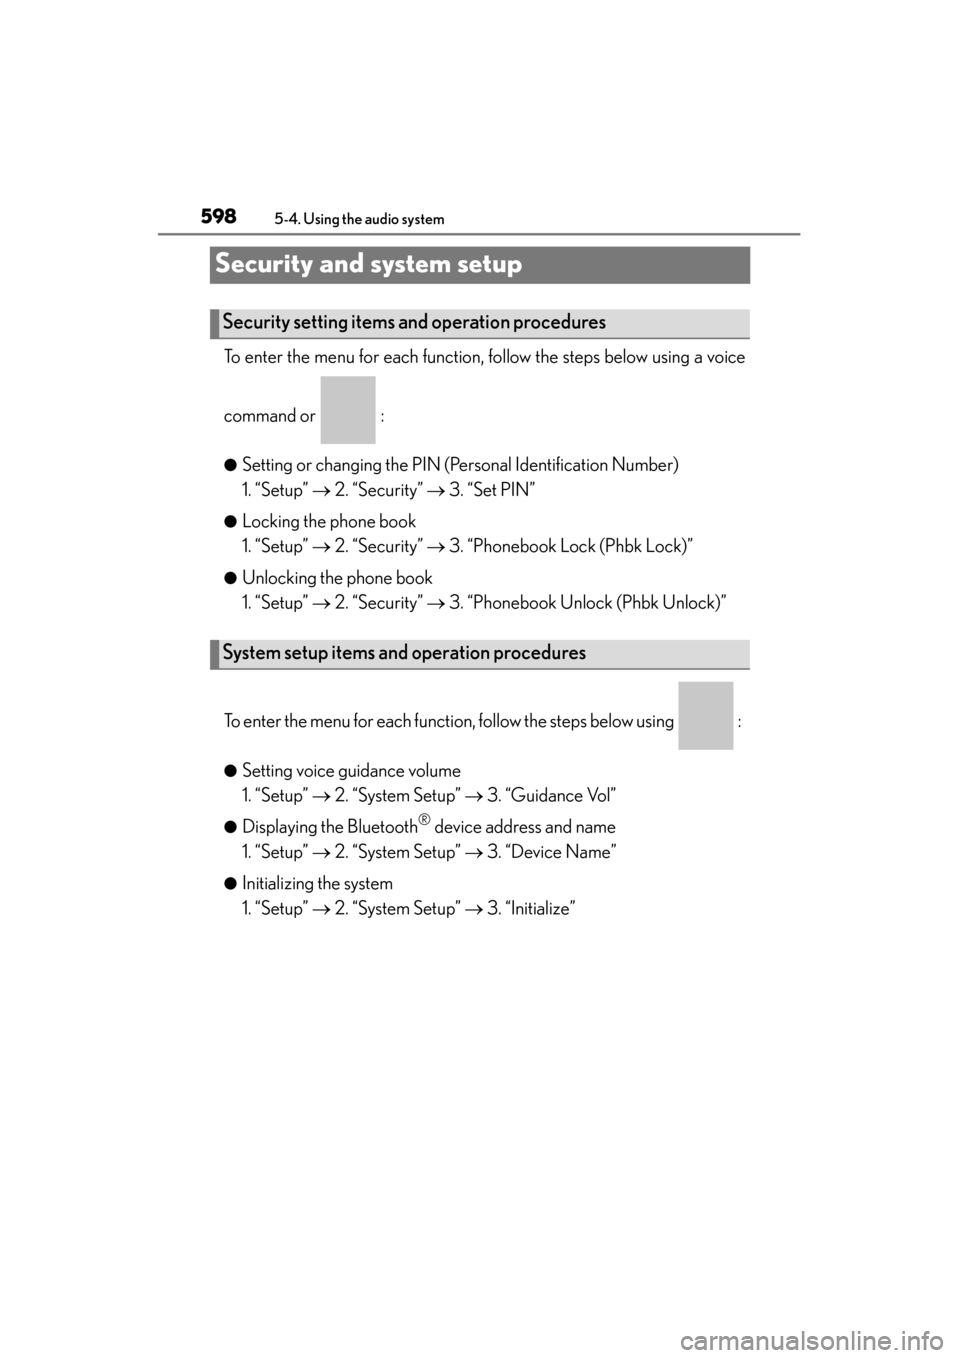
To enter the menu for each function, follow the steps below using a voice
command or :
●Setting or changing the PIN (Personal Identification Number)
1. “Setup” → 2. “Security” → 3. “Set PIN”
●Locking the phone book
1. “Setup” → 2. “Security” → 3. “Phonebook Lock (Phbk Lock)”
●Unlocking the phone book
1. “Setup” → 2. “Security” → 3. “Phonebook Unlock (Phbk Unlock)”
To enter the menu for each function, follow the steps below using :
●Setting voice guidance volume
1. “Setup” → 2. “System Setup” → 3. “Guidance Vol”
●Displaying the Bluetooth® device address and name
1. “Setup” → 2. “System Setup” → 3. “Device Name”
●Initializing the system
1. “Setup” → 2. “System Setup” → 3. “Initialize”
Security setting items and operation procedures
System setup items and operation procedures
Page 602 of 918
ES350_300h_OM_OM33A60U_(U)
6015-4. Using the audio system
5
Interior features
Select “Device Name” using .
Turn to display the Bluetooth
® device address and name.
Select “Go Back” using to return to “System Setup”.
Select “Initialize” and then “Confirm” using .
Select “Confirm” again using .
Displaying the Bluetooth® device address and name
Initializing the system
1
2
3
1
2
Page 606 of 918
ES350_300h_OM_OM33A60U_(U)
6055-4. Using the audio system
5
Interior features
Inputting a phone number using :STEP2-1 Select “Manual Input” using .
STEP2-2 Input a phone number using , and press again.
Input the phone number 1 digit at a time.
Selecting a phone number from the outgoing or incoming call history:
STEP2-1 Select “Call History” using a voice command or .
STEP2-2 Select “Outgoing” or “Incoming” using a voice command or .
STEP2-3 Select the data to be registered by either of the following methods:
a. Say “Previous” or “Go back” until the desired data isdisplayed, and select “Confirm” using a voice com-
mand.
b. Select the desired data using .
Page 645 of 918
644
ES350_300h_OM_OM33A60U_(U)
5-7. Other interior features
Compass∗
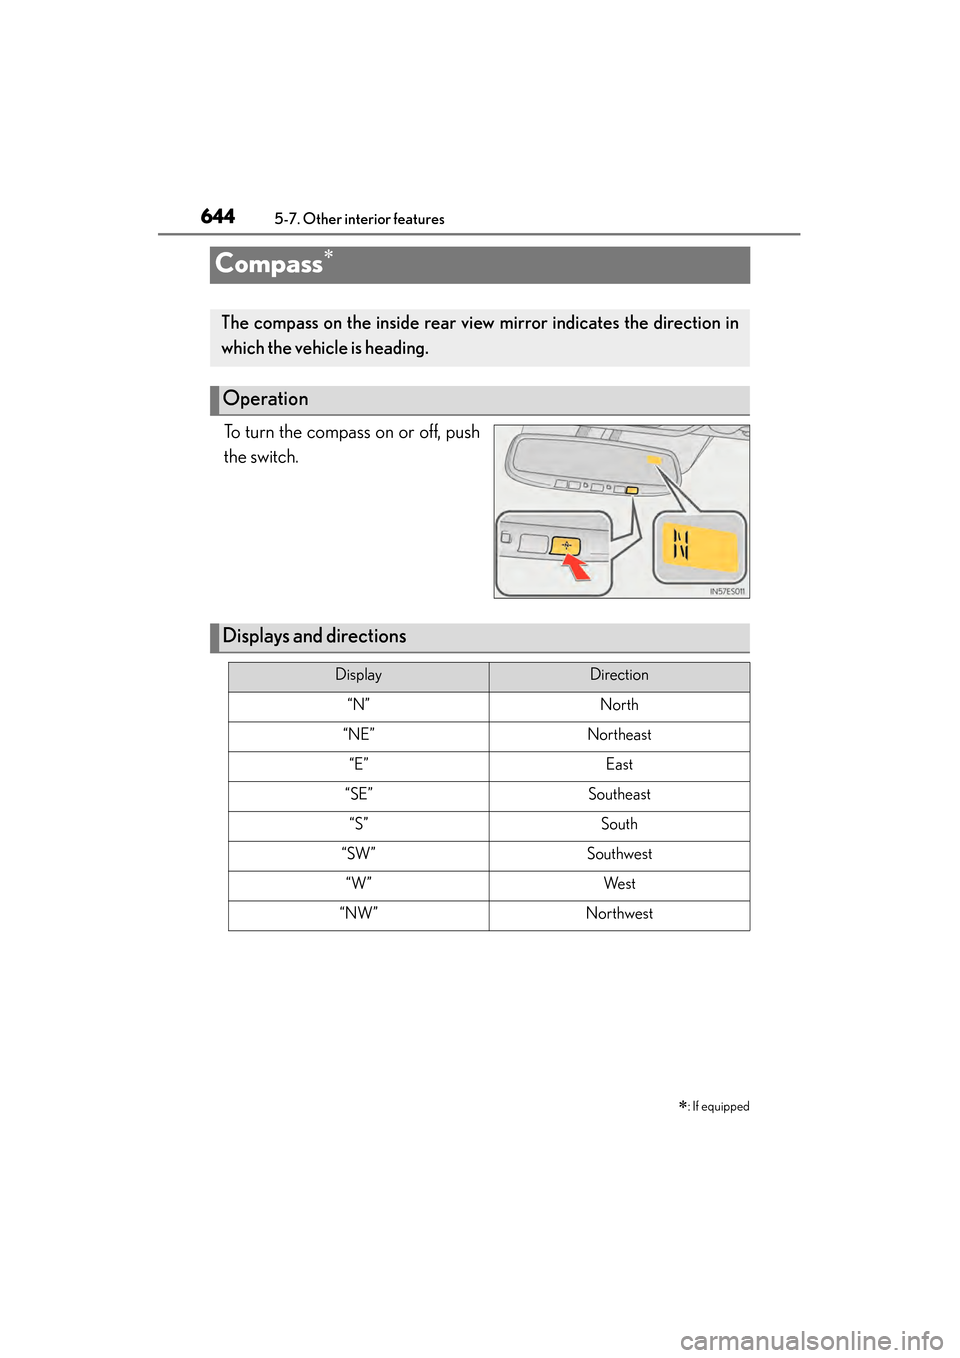
To turn the compass on or off, push
the switch.∗
: If equipped
The compass on the inside rear view mirror indicates the direction in
which the vehicle is heading.
Operation
Displays and directions
DisplayDirection
“N”North
“NE”Northeast
“E”East
“SE”Southeast
“S”South
“SW”Southwest
“W”We s t
“NW”Northwest
Page 646 of 918
ES350_300h_OM_OM33A60U_(U)
6455-7. Other interior features
5
Interior features
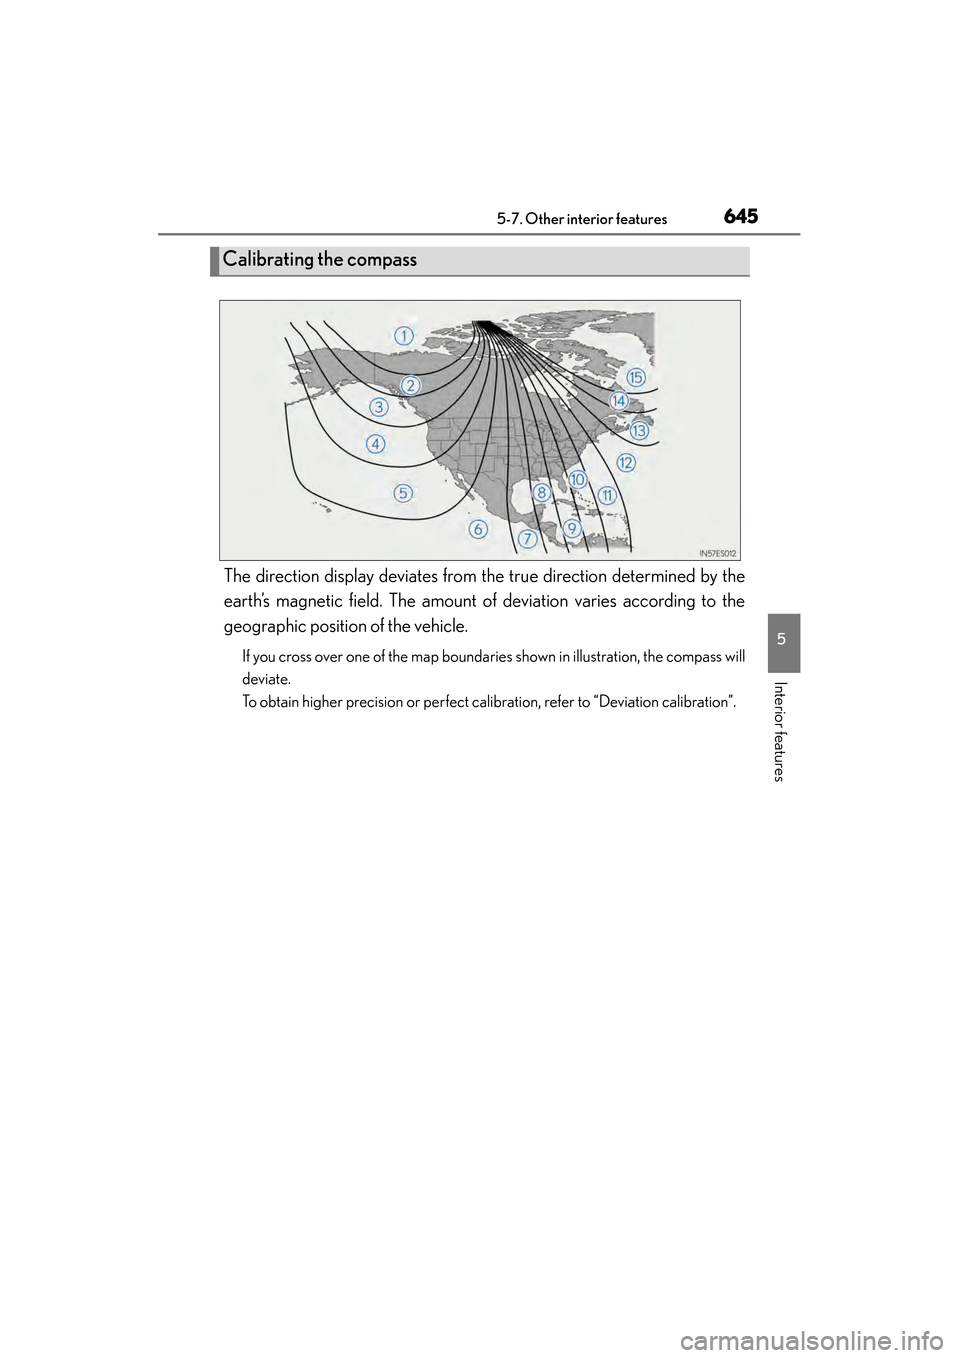
The direction display deviates from the true direction determined by the
earth’s magnetic field. The amount of deviation varies according to the
geographic position of the vehicle.
If you cross over one of the map boundaries shown in illustration, the compass will
deviate.
To obtain higher precision or perfect calibration, refer to “Deviation calibration”.
Calibrating the compass
Page 647 of 918
646
ES350_300h_OM_OM33A60U_(U)
5-7. Other interior features
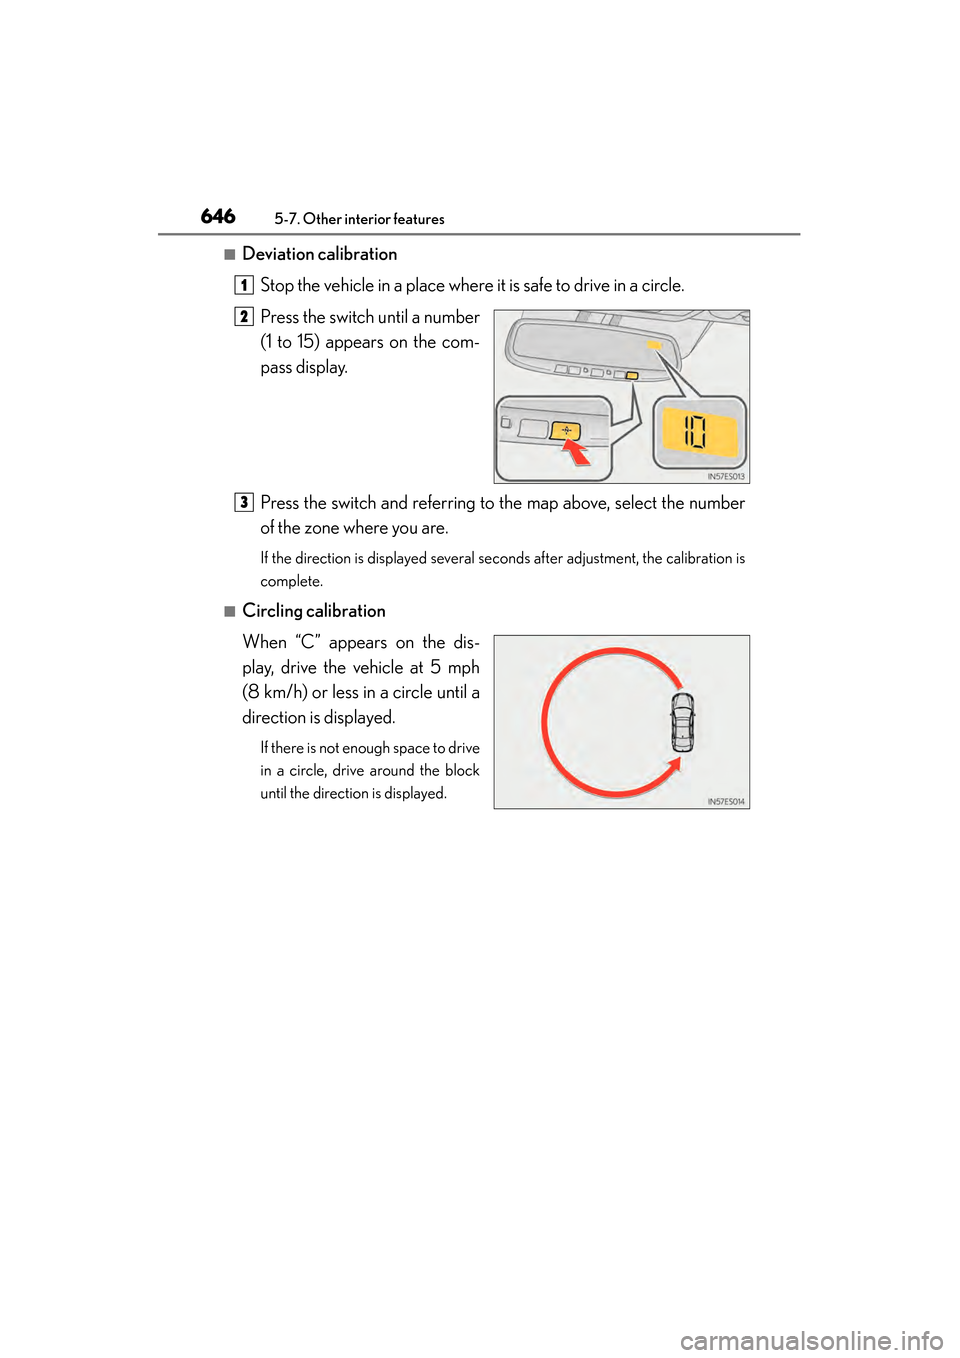
■Deviation calibrationStop the vehicle in a place where it is safe to drive in a circle.
Press the switch until a number
(1 to 15) appears on the com-
pass display.
Press the switch and referring to the map above, select the number
of the zone where you are.
If the direction is displayed several seconds after adjustment, the calibration is
complete.
■Circling calibration
When “C” appears on the dis-
play, drive the vehicle at 5 mph
(8 km/h) or less in a circle until a
direction is displayed.
If there is not enough space to drive
in a circle, drive around the block
until the direction is displayed.
1
2
3
Page 648 of 918
ES350_300h_OM_OM33A60U_(U)
6475-7. Other interior features
5
Interior features
■Conditions unfavorable to correct operation
The compass may not show the correct direction in the following conditions:
●The vehicle is stopped immediately after turning.
●The vehicle is on an inclined surface.
●The vehicle is in a place where the earth’s magnetic field is subject to interference
by artificial magnetic fields (underground car park/parking lot, under a steel tower,
between buildings, roof car park/parking lot, near an intersection, near a large
vehicle, etc.).
●The vehicle has become magnetized.
(There is a magnet or metal object near the inside rear view mirror.)
●The 12-volt battery has been disconnected.
●A door is open.
CAUTION
■While driving the vehicle
Do not adjust the display. Adjust the display only when the vehicle is stopped.
■When doing the circling calibration
Secure a wide space, and watch out for people and vehicles in the vicinity. Do not
violate any local traffic rules while performing circling calibration.