jack Lexus ES350 2012 Owner's Manual
[x] Cancel search | Manufacturer: LEXUS, Model Year: 2012, Model line: ES350, Model: Lexus ES350 2012Pages: 554, PDF Size: 6.43 MB
Page 6 of 554
1
2
3
4
5
6
7
5
ES350_U
4-1. Maintenance and careCleaning and protecting the vehicle exterior.................. 358
Cleaning and protecting the vehicle interior ..................... 361
4-2. Maintenance Maintenance requirements ..... 364
General maintenance ................ 366
Emission inspection and maintenance (I/M)
programs ...................................... 369
4-3. Do-it-yourself maintenance Do-it-yourself service precautions .................................. 370
Hood.................................................. 374
Positioning a floor jack............... 375
Engine compartment.................. 377
Tires .................................................. 390
Tire inflation pressure................. 399
Wheels............................................. 403
Air conditioning filter................. 405
Electronic key battery ................ 407
Checking and replacing fuses ............................................... 409
Headlight aim ................................. 418
Light bulbs ....................................... 420 5-1. Essential information
Emergency flashers ................... 430
If your vehicle needs to be towed .............................................. 431
If you think something is wrong ............................................. 437
Fuel pump shut off system ....... 438
5-2. Steps to take in an emergency If a warning light turns on or a warning buzzer
sounds... ........................................ 439
If a warning message is displayed....................................... 449
If you have a flat tire...................... 461
If the engine will not start .......... 470
If the shift lever cannot be shifted from P .............................. 472
If you lose your keys .................... 473
If the electronic key does not operate properly ............... 474
If the vehicle battery is discharged ................................... 477
If your vehicle overheats .......... 480
If the vehicle becomes stuck............................................... 483
If your vehicle has to be stopped in an emergency ...... 484
4Maintenance and care5When trouble arises
Page 358 of 554
Maintenance and care4
357
ES350_U
4-1. Maintenance and careCleaning and protecting the vehicle exterior............ 358
Cleaning and protecting the vehicle interior ............... 361
4-2. Maintenance Maintenance requirements ........................ 364
General maintenance .......... 366
Emission inspection and maintenance (I/M)
programs
................................. 369 4-3. Do-it-yourself
maintenance
Do-it-yourself service precautions ........................... 370
Hood ........................................... 374
Positioning a floor jack ......... 375
Engine compartment ............ 377
Tires............................................ 390
Tire inflation pressure........... 399
Wheels ...................................... 403
Air conditioning filter ........... 405
Electronic key battery.......... 407
Checking and replacing fuses ........................................ 409
Headlight aim .......................... 418
Light bulbs................................ 420
Page 376 of 554
375
4-3. Do-it-yourself maintenance
4
Maintenance and care
ES350_U
Positioning a floor jack
When raising your vehicle with a floor jack, position the jack correctly.
Improper placement may damage your vehicle or cause injury.
■Front
■ Rear
Page 377 of 554
376
4-3. Do-it-yourself maintenance
ES350_U
CAUTION
■When raising your vehicle:
Make sure to observe the following to reduce the possibility of death or serious
injury.
●When using a floor jack, follow the instructions of the manual provided with the
jack.
●Do not use the jack that was supplied with your vehicle.
●Do not put any part of your body or get underneath the vehicle supported only by
the floor jack.
●Always use floor jack and/or automotive jack stands on a solid, flat, level surface.
●Do not start the engine while the vehicle is supported by the floor jack.
●Stop the vehicle on level firm ground, firmly set the parking brake and put the shift
lever in P.
●Make sure to set the floor jack properly at the jack point.
Raising the vehicle with an improperly positioned floor jack will damage the vehi-
cle and may cause the vehicle to fall off the floor jack.
●Do not raise the vehicle while someone is in the vehicle.
●When raising the vehicle, do not place any objects on top of or underneath the
floor jack.
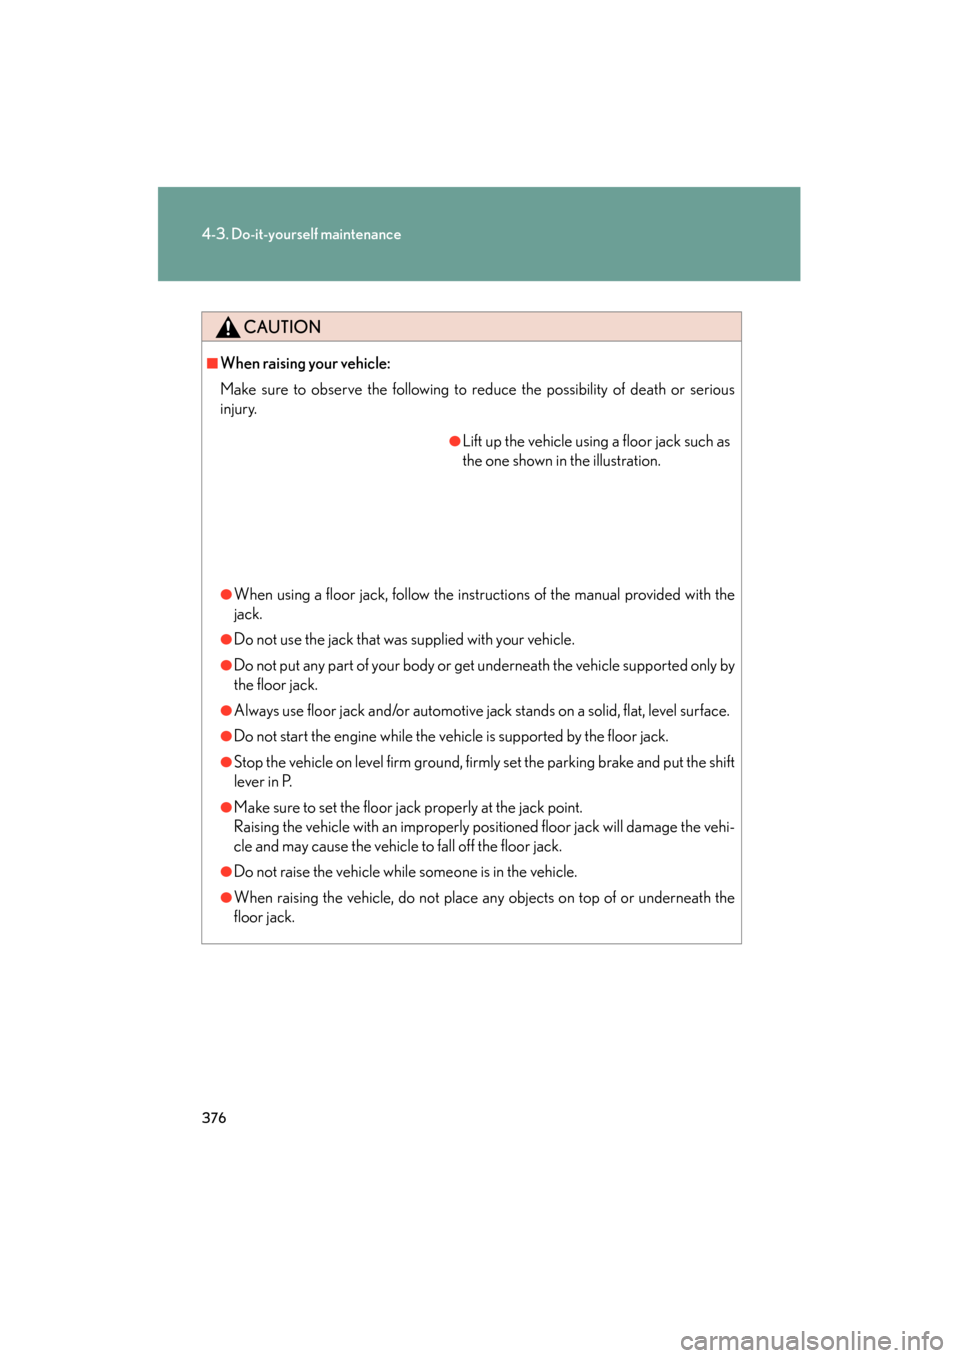
●Lift up the vehicle using a floor jack such as
the one shown in the illustration.
Page 462 of 554
5
When trouble arises
461
5-2. Steps to take in an emergency
ES350_U
If you have a flat tire
Remove the flat tire and replace it with the spare provided.
■Before jacking up the vehicle
●Stop the vehicle on a hard, flat surface.
● Set the parking brake.
● Shift the shift lever to P.
● Stop the engine.
● Turn on the emergency flashers.
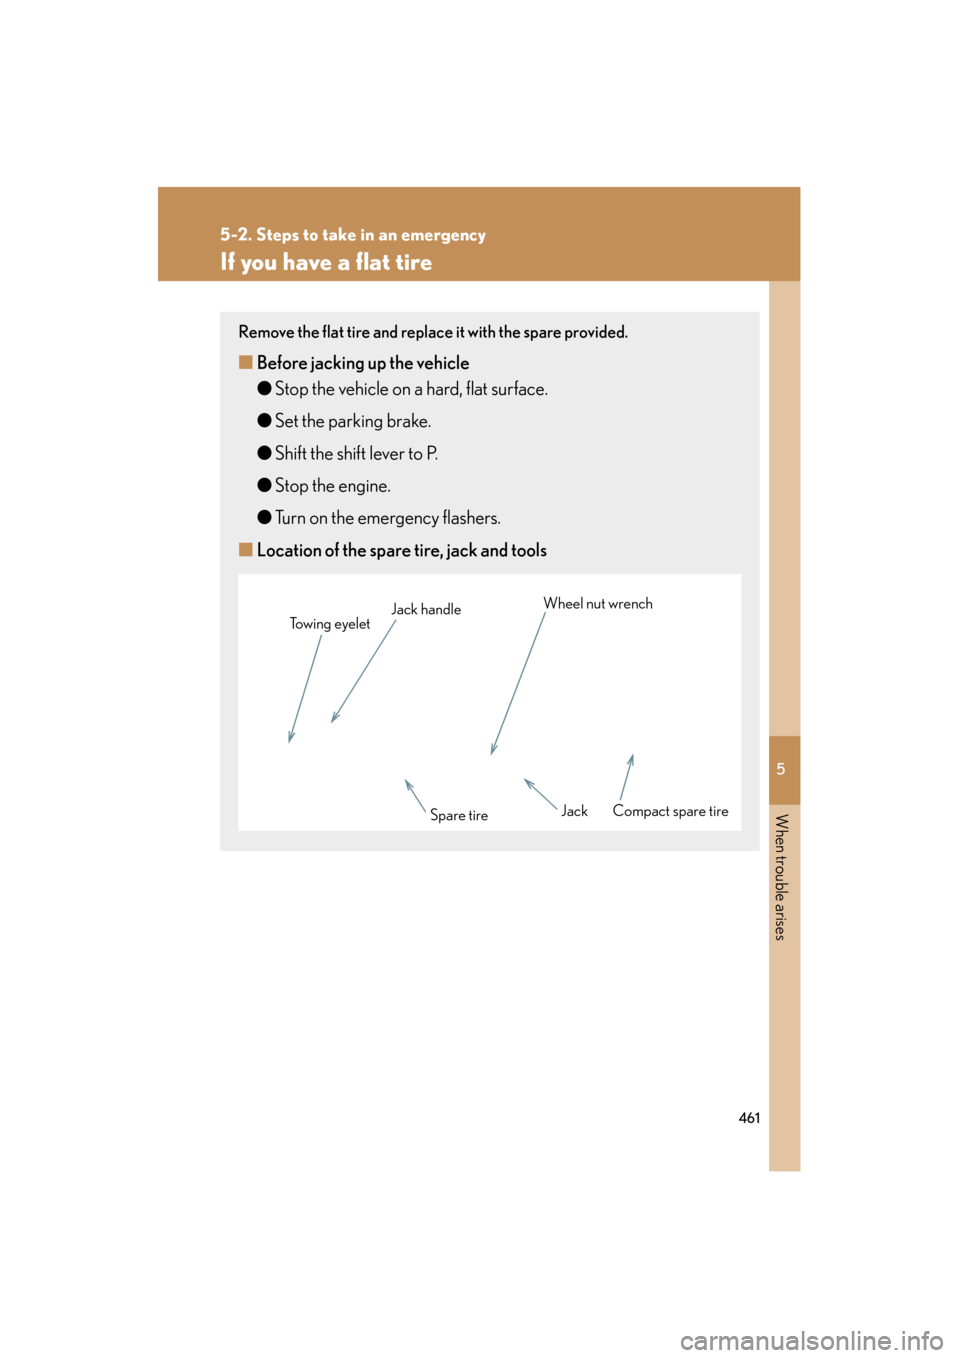
■ Location of the spare tire, jack and tools
Jack
Jack handle
Spare tireCompact spare tire
Wheel nut wrench
Towing eyelet
Page 463 of 554
462
5-2. Steps to take in an emergency
ES350_U
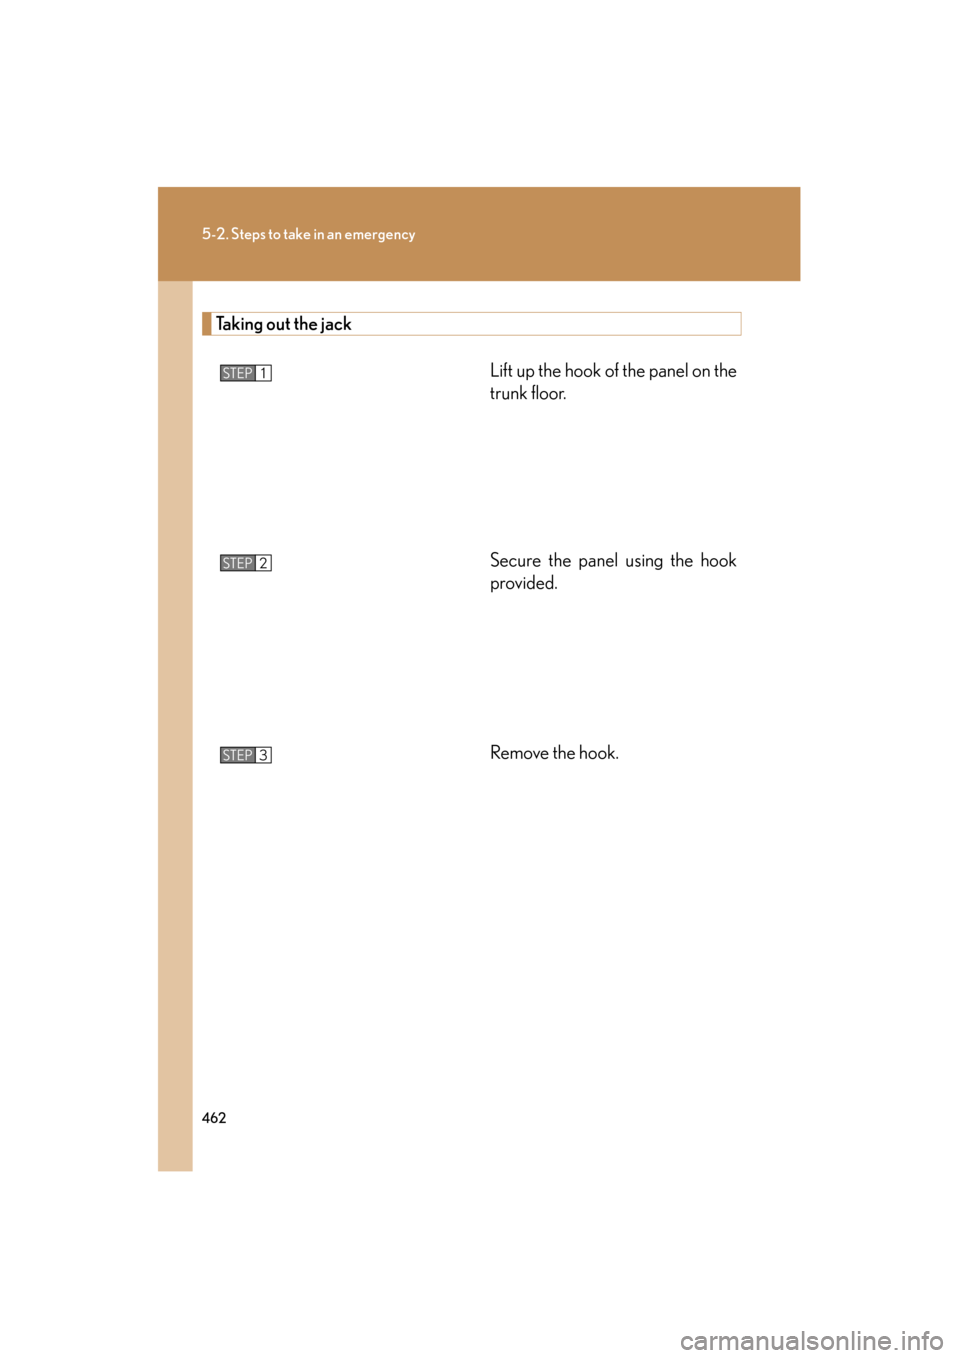
Taking out the jackLift up the hook of the panel on the
trunk floor.
Secure the panel using the hook
provided.
Remove the hook.
STEP1
STEP2
STEP3
Page 465 of 554
464
5-2. Steps to take in an emergency
ES350_U
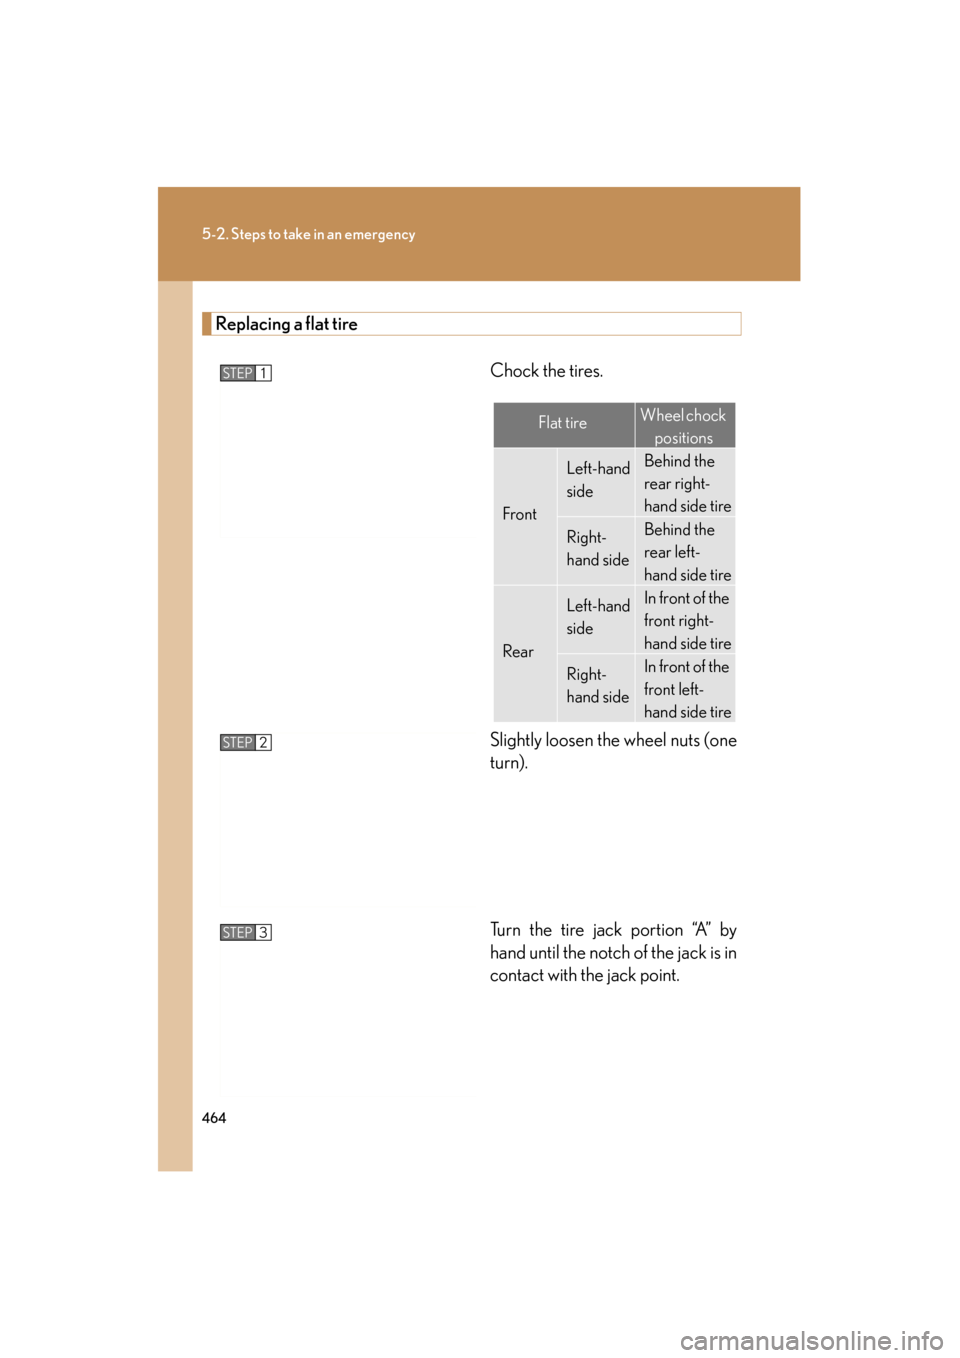
Replacing a flat tireChock the tires.
Slightly loosen the wheel nuts (one
turn).
Turn the tire jack portion “A” by
hand until the notch of the jack is in
contact with the jack point.
STEP1
Flat tireWheel chock positions
Front
Left-hand
sideBehind the
rear right-
hand side tire
Right-
hand sideBehind the
rear left-
hand side tire
Rear
Left-hand
sideIn front of the
front right-
hand side tire
Right-
hand sideIn front of the
front left-
hand side tire
STEP2
STEP3
Page 467 of 554
466
5-2. Steps to take in an emergency
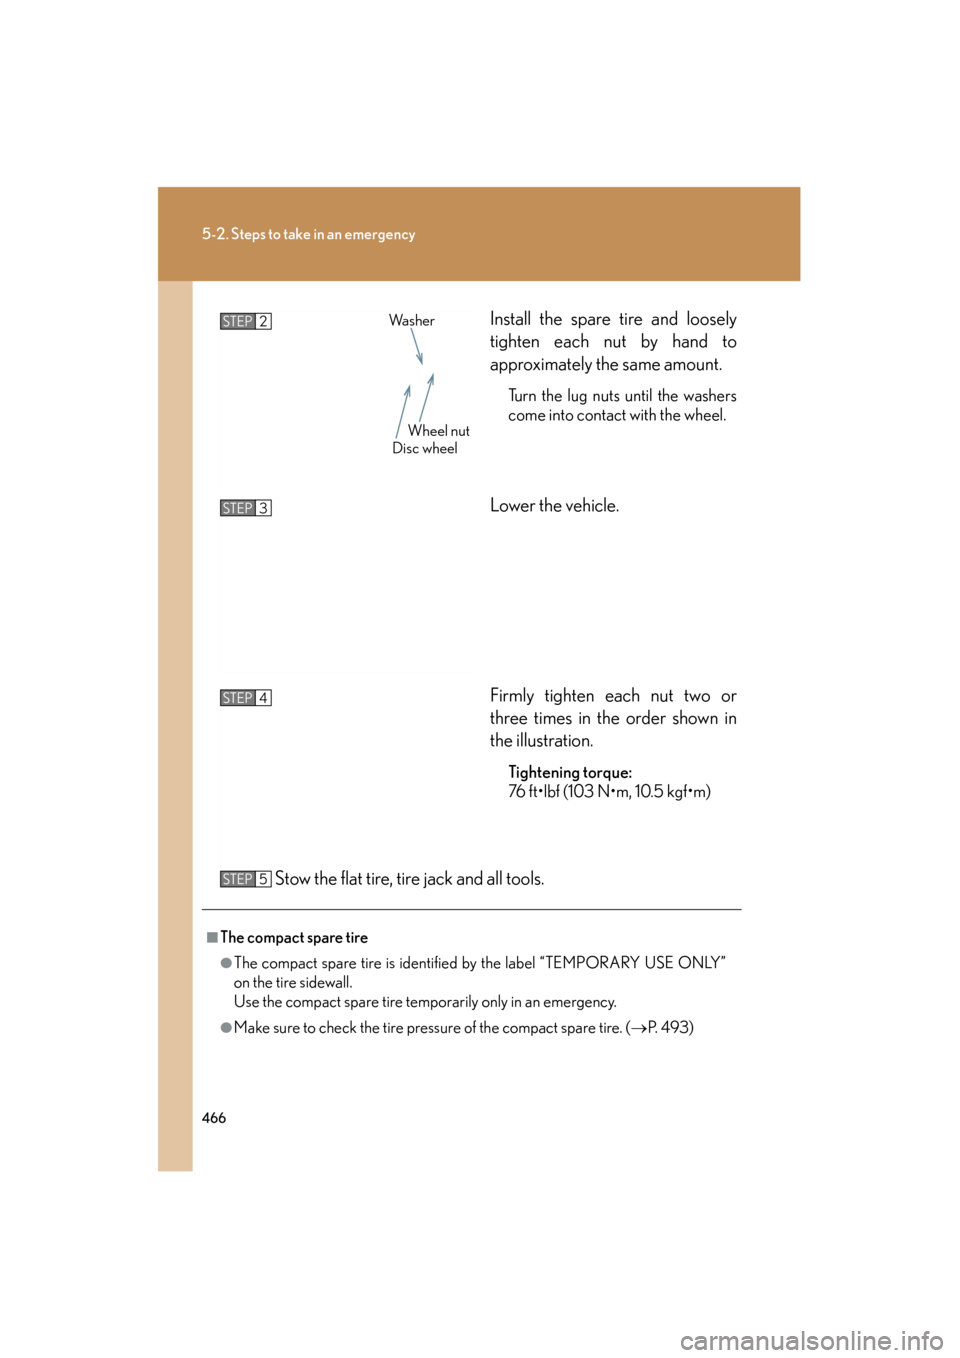
ES350_UInstall the spare tire and loosely
tighten each nut by hand to
approximately the same amount.
Turn the lug nuts until the washers
come into contact with the wheel.
Lower the vehicle.
Firmly tighten each nut two or
three times in the order shown in
the illustration.
Tightening torque:
76 ft•lbf (103 N•m, 10.5 kgf•m)
Stow the flat tire, tire jack and all tools.
STEP2
Wheel nut
Wa s h e r
Disc wheel
STEP3
STEP4
■The compact spare tire
●The compact spare tire is identified by the label “TEMPORARY USE ONLY”
on the tire sidewall.
Use the compact spare tire temporarily only in an emergency.
●Make sure to check the tire pressure of the compact spare tire. (
→P. 4 9 3 )
STEP5
Page 468 of 554
5
When trouble arises
467
5-2. Steps to take in an emergency
ES350_U
■When using the compact spare tire
As the compact spare tire is not equipped with the tire pressure warning valve and
transmitter, low inflation pressure of the spare tire will not be warned. Also, if you
replace the compact spare tire after the tire pressure warning light comes on, the
light remains on.
■If you have a flat front tire on a road covered with snow or ice (vehicles with com-
pact spare tire)
Install the compact spare tire on the rear of the vehicle. Perform the following steps
and fit tire chains to the front tires.Replace a rear tire with the compact spare tire.
Replace the flat front tire with the tire removed from the rear of the vehi-
cle.
Fit tire chains to the front tires.
■After completing the tire change
The tire pressure warning system must be reset. ( →P. 3 9 2 )
CAUTION
■Using the tire jack
Improper use of the tire jack may lead to death or serious injuries due to the vehicle
suddenly falling off the jack.
●Do not use the tire jack for any purpose other than replacing tires or installing and
removing tire chains.
●Only use the tire jack that comes with this vehicle for replacing a flat tire.
Do not use it on other vehicles, and do not use other tire jacks for replacing tires
on this vehicle.
●Always check that the tire jack is securely set to the jack point.
●Do not put any part of your body under the vehicle supported by a jack.
●Do not start or run the engine while your vehicle is supported by the jack.
●Do not raise the vehicle while someone is in it.
●When raising the vehicle, do not put an object on or under the jack.
STEP1
STEP2
STEP3
Page 469 of 554
468
5-2. Steps to take in an emergency
ES350_U
CAUTION
●Do not raise the vehicle to a height greater than that required to replace the tire.
●Use a jack stand if it is necessary to get under the vehicle.
Take particular care when lowering the vehicle to ensure that no one working on or
near the vehicle may be injured.
■Replacing a flat tire
Failure to follow these precautions could cause the wheel nuts to loosen and the tire
to fall off, resulting in death or serious injury.
●Never use oil or grease on the wheel bolts or wheel nuts.
Oil and grease may cause the wheel nuts to be excessively tightened, leading to
bolt or disc wheel damage. In addition, the oil or grease can cause the wheel nuts
to loosen and the wheel may fall off, causing a serious accident. Remove any oil or
grease from the wheel bolts or wheel nuts.
●Have the wheel nuts tightened with a torque wrench to 76 ft•lbf (103 N•m, 10.5
kgf•m) as soon as possible after changing wheels.
●Do not attach a heavily damaged wheel ornament, as it may fly off the wheel while
the vehicle is moving.
■When using the compact spare tire
●Remember that your compact spare tire is specifically designed for use with your
vehicle. Do not use your compact spare tire on another vehicle.
●Do not use two compact spare tires simultaneously.
●Replace the compact spare tire with a standard tire as soon as possible.
●Avoid sudden acceleration, deceleration and braking, as well as sharp cornering.
■Speed limit when using the compact spare tire
Do not drive at speeds in excess of 50 mph (80 km/h) when a compact spare tire is
installed on the vehicle.
The compact spare tire is not designed for driving at high speeds. Failing to observe
this precaution may lead to an accident causing death or serious injury.