change time Lexus GS450h 2010 Using The Audio System / LEXUS 2010 GS450H (OM30C81U) User Guide
[x] Cancel search | Manufacturer: LEXUS, Model Year: 2010, Model line: GS450h, Model: Lexus GS450h 2010Pages: 644, PDF Size: 15.8 MB
Page 268 of 644
268
3-2. Using the air conditioning system and defogger
GS_HV_U (OM30C81U)
October 13, 2015 12:41 pm
Rear window and outside rear view mirror defoggers
■Operating conditions
The “POWER” switch must be in the ON mode.
CAUTION
■When the outside rear view mirror defoggers are on
Do not touch the rear view mirror surfaces, as they can become very hot and burn
you.
NOTICE
■To prevent 12 volt battery discharge
Turn the defoggers off when the hybrid system is off.
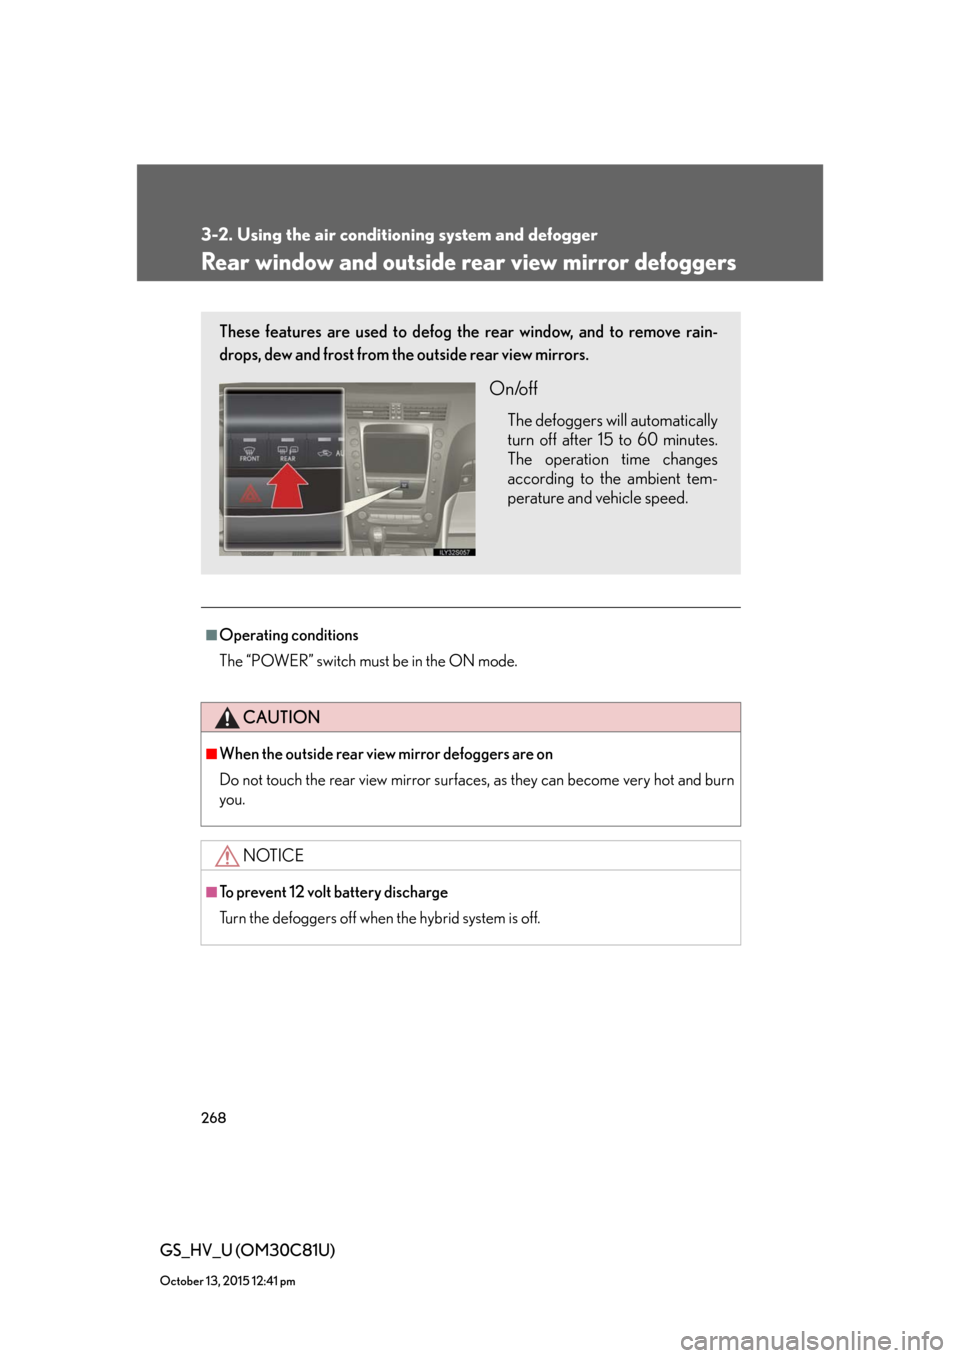
These features are used to defog the rear window, and to remove rain-
drops, dew and frost from the outside rear view mirrors.
On/off
The defoggers will automatically
turn off after 15 to 60 minutes.
The operation time changes
according to the ambient tem-
perature and vehicle speed.
Page 275 of 644
275
3-3. Using the audio system
3
Interior features
GS_HV_U (OM30C81U)
January 28, 2010 1:22 pm
RDS (Radio Data System)
This feature allows your radio to receive station identification information
and program information (classical, jazz, etc.) from radio stations which
broadcast this information.
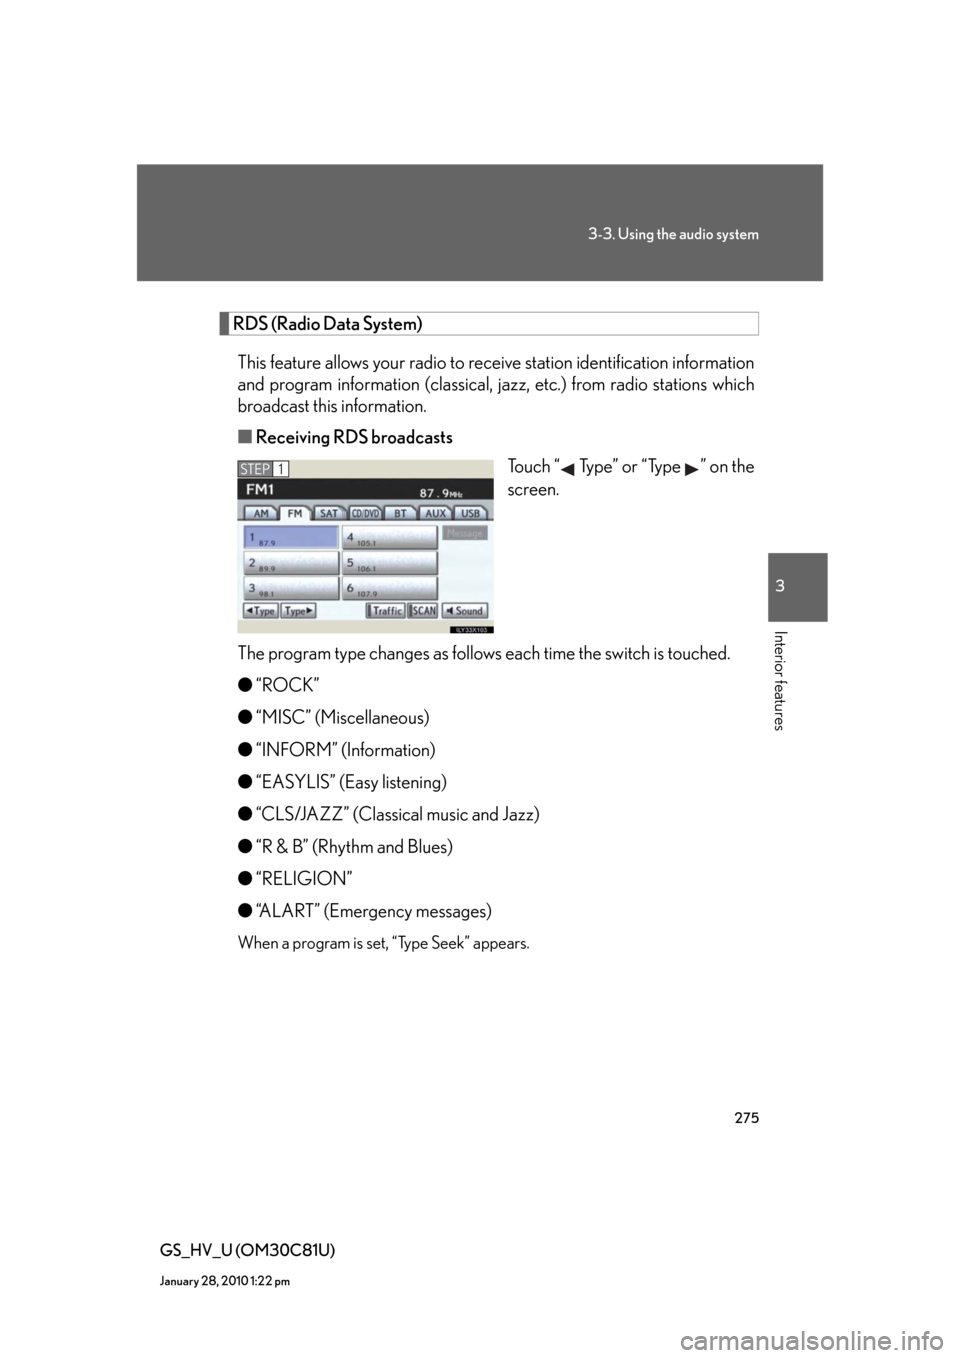
■Receiving RDS broadcasts
Touch “ Type” or “Type ” on the
screen.
The program type changes as follows each time the switch is touched.
●“ROCK”
●“MISC” (Miscellaneous)
●“INFORM” (Information)
●“EASYLIS” (Easy listening)
●“CLS/JAZZ” (Classical music and Jazz)
●“R & B” (Rhythm and Blues)
●“RELIGION”
●“ALART” (Emergency messages)
When a program is set, “Type Seek” appears.
STEP1
Page 277 of 644
277
3-3. Using the audio system
3
Interior features
GS_HV_U (OM30C81U)
January 28, 2010 1:22 pm
XM® Satellite Radio (if equipped)
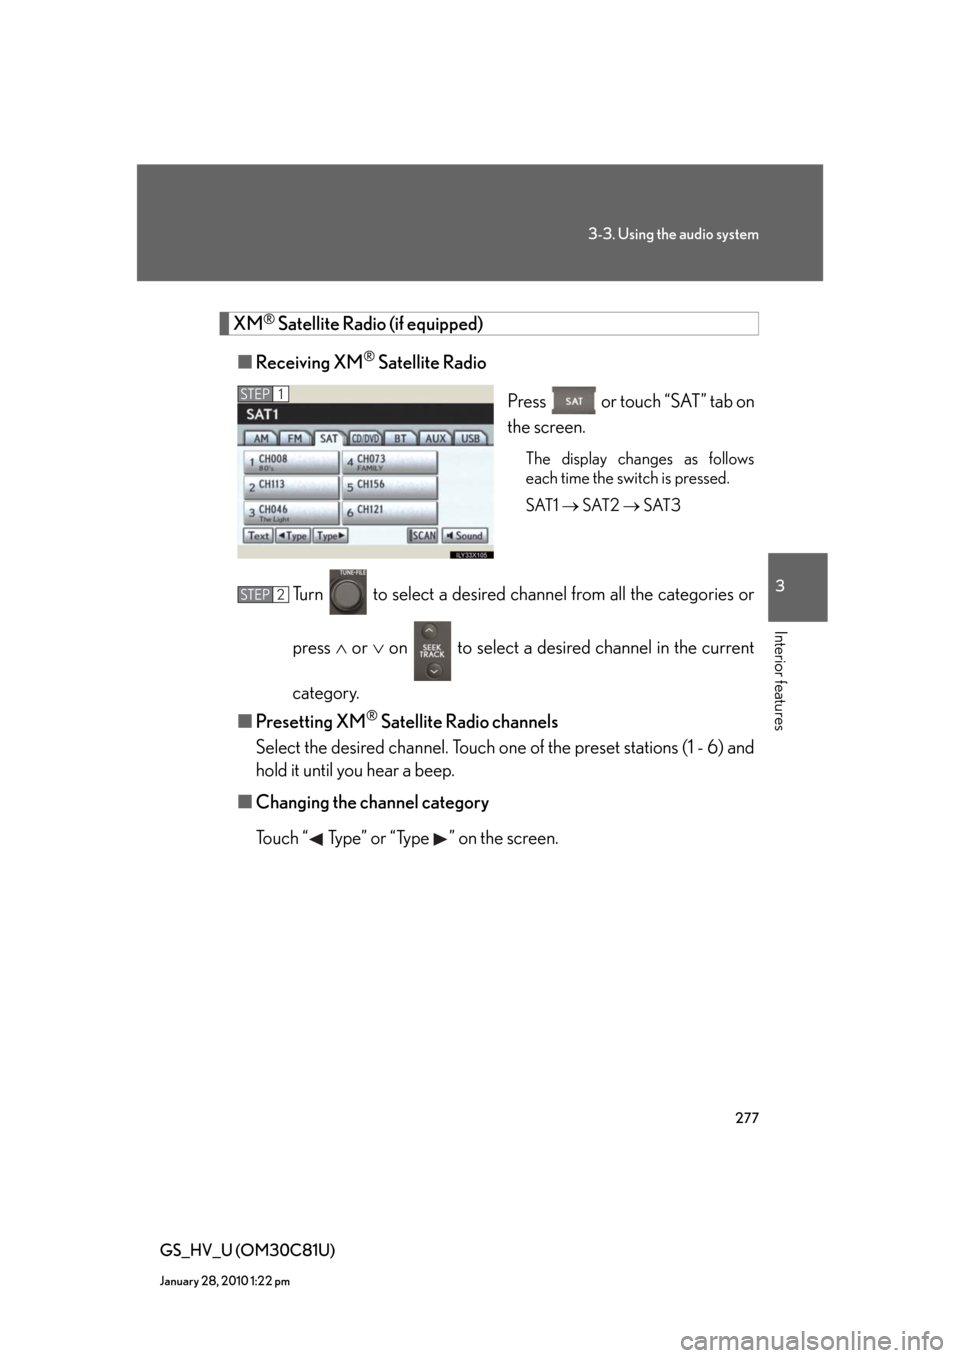
■Receiving XM
® Satellite Radio
Press or touch “SAT” tab on
the screen.
The display changes as follows
each time the switch is pressed.
SAT1 SAT2 SAT3
Turn to select a desired channel from all the categories or
press or on to select a desired channel in the current
category.
■Presetting XM
® Satellite Radio channels
Select the desired channel. Touch one of the preset stations (1 - 6) and
hold it until you hear a beep.
■Changing the channel category
Touch “ Type” or “Type ” on the screen.
STEP1
STEP2
Page 279 of 644
279
3-3. Using the audio system
3
Interior features
GS_HV_U (OM30C81U)
January 28, 2010 1:22 pm
■When the 12 volt battery is disconnected
All preset stations are erased.
■Reception sensitivity
●Maintaining perfect radio reception at all times is difficult due to the continually
changing position of the antenna, differences in signal strength and surrounding
objects, such as trains, transmitters, etc.
●The radio antenna is mounted inside the rear window. To maintain clear radio
reception, do not attach metallic window tinting or other metallic objects to the
antenna wire mounted inside the rear window.
■Receiving XM® Satellite Radio
An XM
® Satellite Radio is a tuner designed exclusively to receive broadcasts pro-
vide under a separate subscription. Availability is limited to the 48 contiguous
states and 10 Canadian provinces.
●XM® subscriptions
For detailed information about XM® Satellite Radio or to subscribe:
U.S.A.-
Visit on the web at www.xmradio.com
or call 1-877-515-3987.
Canada-
Visit on the web at www.xmradio.ca
or call 1-877-515-3987.
●Radio ID
You will need the radio ID when activating XM
® service or reporting a prob-
lem. Select “CH000” using the dial, and the receiver’s 8-character ID
number will appear.
●Satellite tuner
The tuner supports only Audio Services (Music and Talk) and the accompany-
ing Text Information of XM
® Satellite Radio.
*: Terms and services provided by XM® Satellite Radio are subject to change with-
out notice.
Page 281 of 644
281
3-3. Using the audio system
3
Interior features
GS_HV_U (OM30C81U)
January 28, 2010 1:22 pm
Contact the XM® Listener Care Center at 1-877-515-3987.
■Certifications for the radio tuner
This equipment has been tested and found to comply with the limits for a class B
digital device, pursuant to Part 15 of the FCC Rules. These limits are designed to
provide reasonable protection against harmful interference in a residential installa-
tion. This equipment generates, uses and can radiate radio frequency energy and, if
not installed and used in accordance with the instructions, may cause harmful inter-
ference to radio communications. However, there is no guarantee that interference
will not occur in a particular installation.
If this equipment does cause harmful interference to radio or television reception,
which can be determined by turning the equipment off and on, the user is encour-
aged to try to correct the interference by trying one or more of the following:
●Reorienting or relocating the receiving antenna.
●Increasing the separation between the equipment and receiver.
●Connecting the equipment into an outlet on a circuit different from that to which
the receiver is connected.
●Consulting the dealer or an experienced radio/TV technician for help.
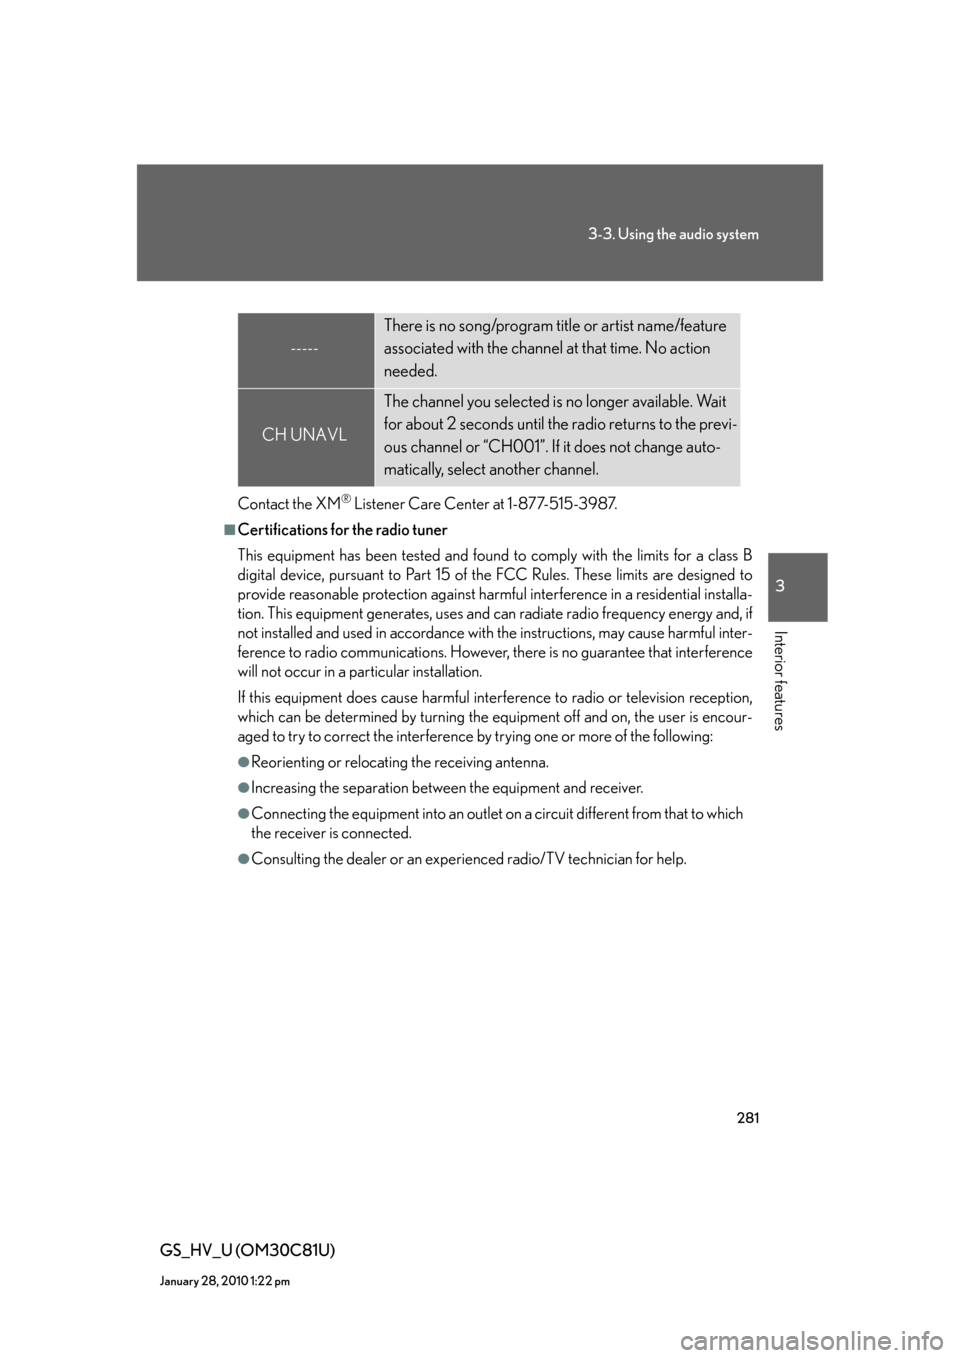
-----
There is no song/program title or artist name/feature
associated with the channel at that time. No action
needed.
CH UNAVL
The channel you selected is no longer available. Wait
for about 2 seconds until the radio returns to the previ-
ous channel or “CH001”. If it does not change auto-
matically, select another channel.
Page 298 of 644
298
3-3. Using the audio system
GS_HV_U (OM30C81U)
January 28, 2010 1:22 pm
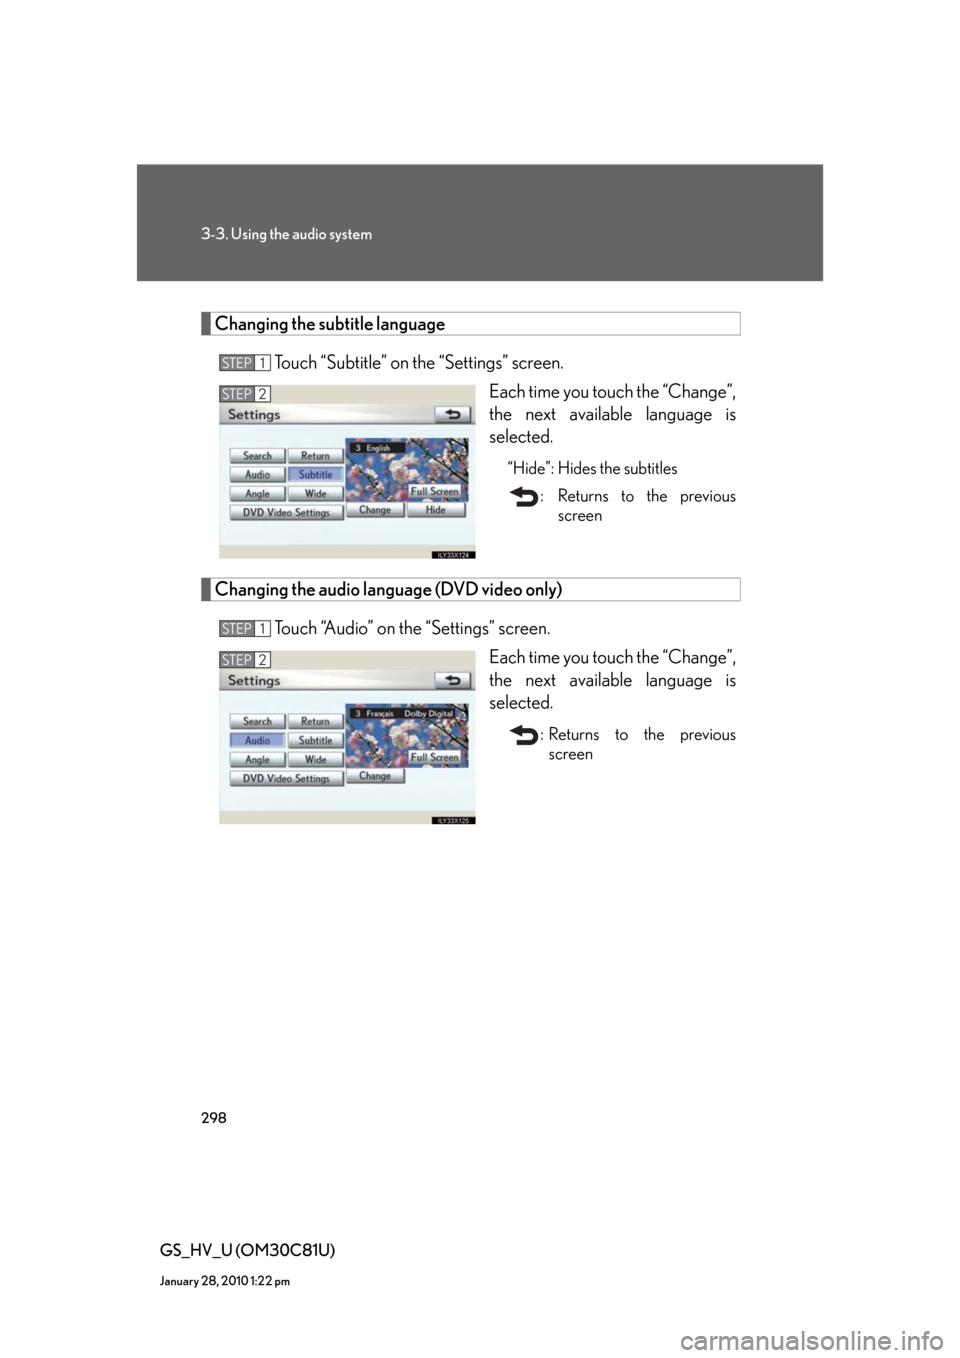
Changing the subtitle language
Touch “Subtitle” on the “Settings” screen.
Each time you touch the “Change”,
the next available language is
selected.
“Hide”: Hides the subtitles
: Returns to the previous
screen
Changing the audio language (DVD video only)
Touch “Audio” on the “Settings” screen.
Each time you touch the “Change”,
the next available language is
selected.
: Returns to the previous
screen
STEP1
STEP2
STEP1
STEP2
Page 299 of 644
299
3-3. Using the audio system
3
Interior features
GS_HV_U (OM30C81U)
January 28, 2010 1:22 pm
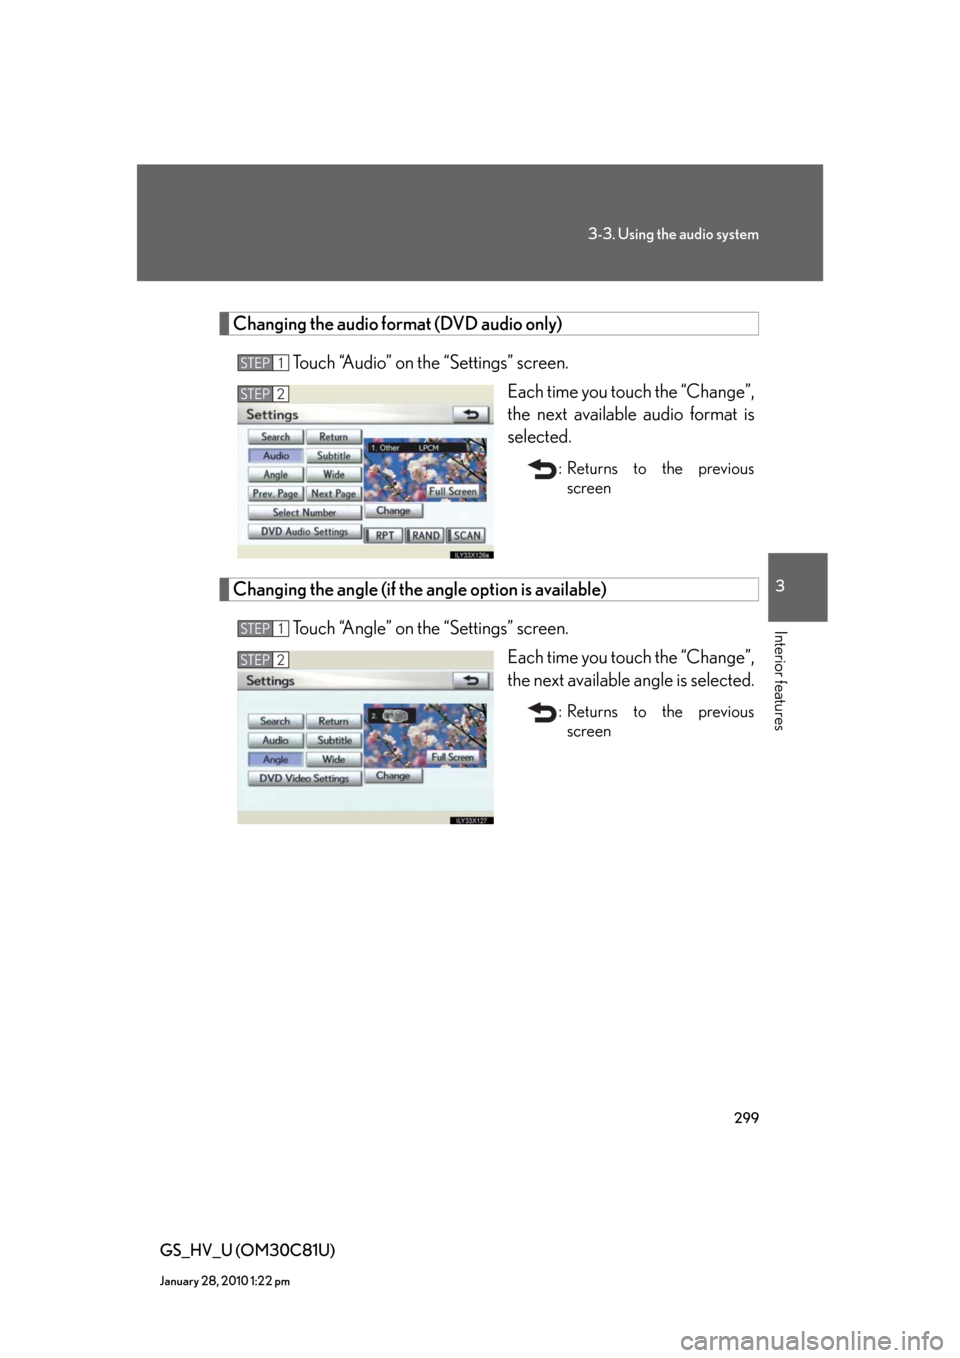
Changing the audio format (DVD audio only)
Touch “Audio” on the “Settings” screen.
Each time you touch the “Change”,
the next available audio format is
selected.
: Returns to the previous
screen
Changing the angle (if the angle option is available)
Touch “Angle” on the “Settings” screen.
Each time you touch the “Change”,
the next available angle is selected.
: Returns to the previous
screen
STEP1
STEP2
STEP1
STEP2
Page 309 of 644
309
3-3. Using the audio system
3
Interior features
GS_HV_U (OM30C81U)
January 28, 2010 1:22 pm
Using the video CD menu
Touch “Return” on the “Settings” screen.
Refer to the manual that comes with the video CD for specific menu items.
Changing the sound-multiplex mode
Touch “Main/Sub” on the “Settings” screen. The mode cycles through
each time the switch is touched.
“Main/Sub” “Main” “Sub”
Changing the page
Disc menu displaying
Touch “Prev. Page” or “Next Page” to change the previous/next page.
While playing the video
Touch “Prev. Page” or “Next Page” to change the previous/next track.
Selecting a desired screen
P. 2 9 7
■Error messages
P. 3 1 0
Page 343 of 644
343
3-3. Using the audio system
3
Interior features
GS_HV_U (OM30C81U)
January 28, 2010 1:22 pm
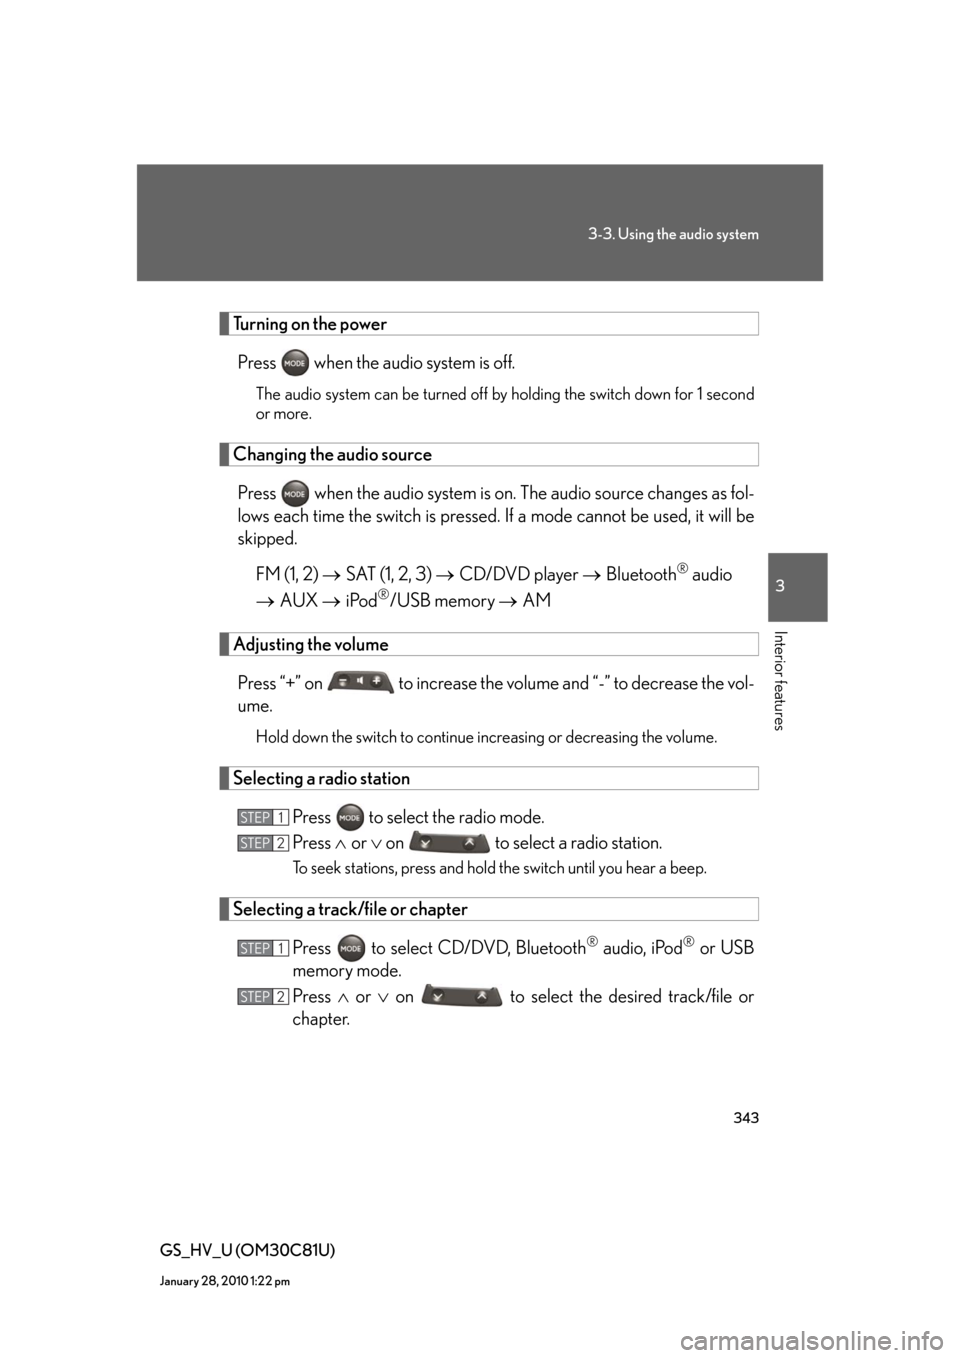
Turning on the power
Press when the audio system is off.
The audio system can be turned off by holding the switch down for 1 second
or more.
Changing the audio source
Press when the audio system is on. The audio source changes as fol-
lows each time the switch is pressed. If a mode cannot be used, it will be
skipped.
FM (1, 2) SAT (1, 2, 3) CD/DVD player Bluetooth
® audio
AUX iPod
®/USB memory AM
Adjusting the volume
Press “+” on to increase the volume and “-” to decrease the vol-
ume.
Hold down the switch to continue increasing or decreasing the volume.
Selecting a radio station
Press to select the radio mode.
Press or on to select a radio station.
To seek stations, press and hold the switch until you hear a beep.
Selecting a track/file or chapter
Press to select CD/DVD, Bluetooth
® audio, iPod® or USB
memory mode.
Press or on to select the desired track/file or
chapter.
STEP1
STEP2
STEP1
STEP2
Page 372 of 644

372
3-4. Using the hands-free system (for cellular phone)
GS_HV_U (OM30C81U)
January 28, 2010 10:42 am
■When another Bluetooth® device is connected while registering or selecting a
phone
When another Bluetooth
® device is connected, a confirmation message will be dis-
played. If you want to disconnect it, touch “Yes”.
■When Bluetooth® audio is connected while registering a phone
When you register your phone, Bluetooth
® audio will disconnect. It will reconnect
automatically when you finish registration. It will not be reconnected depending on
the phone you are using.
■Connecting the phone while Bluetooth® audio is playing
Bluetooth
® audio will disconnect. It will reconnect automatically when you finish
registration. It will not be reconnected depending on the phone you are using.
■Setting the “Handsfree Power”
The state changes between “On” and “Off” every time you select “Handsfree
Power” on the “Connect Phone” screen. When “Handsfree Power” is “On”, the
Bluetooth
® phone is automatically connected when you turn the “POWER” switch
is in ACCESSORY or ON mode.
■Editing the “Device Name”
If you change a device name, the name registered in your cellular phone is not
changed.
■About “Device Address”
This address is specific to the system and cannot be changed. If you have registered
two Bluetooth
® phones with the same device name and you cannot distinguish one
from the other, refer to this address.
■When you delete a Bluetooth® phone
The phonebook data will be deleted at the same time.
■Connecting the phone by voice recognition
“Connect Phone” includes “Select Phone”, “Add New Phone” and “Handsfree
Power Off (On)” can be operated by voice recognition. (P. 3 6 0 )