stop start Lexus GX460 2010 Navigation Manual
[x] Cancel search | Manufacturer: LEXUS, Model Year: 2010, Model line: GX460, Model: Lexus GX460 2010Pages: 428, PDF Size: 6.27 MB
Page 307 of 428

AIR CONDITIONING
306
(d) Rear air conditioning controls
(With rear air conditioning system)
1“REAR OFF” button
2Temperature control
3Fan speed control
4“REAR AUTO” button
Touch the “REAR AUTO” button.
The air conditioning system will operate,
and air outlets and fan speed will be ad-
justed automatically.
To adjust the temperature setting, push the
“
” button on “TEMP” to increase the
temperature and push the “”button to
decrease the temperature.
The fan speed can be set to your desired
speed by touching the appropriate fan
speed control button.
Touch “REAR OFF” to turn the fan off.
INFORMATION
When the “ENGINE START STOP”
switch is turn on, the air conditioning
system settings will be set to those
that were in use the last time the “EN-
GINE START STOP” switch was
turned off. Air conditioning system
settings are memorized individually
on each electronic key, so the set-
tings reproduced will be specific to
the key that is used.
(e) Defogging the windshield
The air conditioning system operates
automatically.
Recirculated air mode will automatically
switch to outside air mode. It is not pos-
sible to return to recirculated air mode
when the switch is on.
CAUTION
To prevent the windshield from fog-
ging up
Do not use the windshield air flow
button during cool air operation in
extremely humid weather. The differ-
ence between the temperature of the
outside air and that of the windshield
can cause the outer surface of the
windshield to fog up, blocking your
vision.
GX460 Navi (U)
OM60E73U
Finish
09.09.24
Page 309 of 428

AIR CONDITIONING
308
DSwitching between outside air and
recirculated air modes
Recirculated air mode or outside
air mode may be automatically
switched to in accordance with the
temperature setting and the inside
temperature.
D Window defogger feature
Recirculated air mode may auto-
matically switch to outside air
mode in situations where the win-
dows need to be defogged.
D When outside air temperature is
below 32 _F(0 _C)
The cooling and dehumidification
function may not operate even
when “A/C” is on.
D When the indicator light on “A/C”
flashes
Touch “A/C” to turn off the air con-
ditioning system and turn it on
again. There may be a problem in
the air conditioning system if the
indicator light continues to flash.
Turn the air conditioning system
off and have it inspected by your
Lexus dealer.
D Automatic air intake change mode
(with rear air conditioning system)
In automatic mode, the system au-
tomatically switches between re-
circulated air and outside air
modes according to whether the
system detects harmful sub-
stances such as exhaust gas in the
air outside.(g) Windshield wiper de− icer
This feature is used to prevent ice from
building up on the windshield and wiper
blades.
The windshield wiper de −icer can be oper-
ated when the “ENGINE START STOP”
switch is in IGNITION ON mode.
" Without rear air conditioning system
"With rear air conditioning system
Turns the windshield wiper de −icer
on/off.
The windshield wiper de −icer will automat-
ically turn off after approximately 15 min-
utes.
CAUTION
When the windshield wiper de −icer is
on
Do not touch the lower part of the
windshield or the side of the front pil-
lars, as the surfaces can become very
hot and burn you.
GX460 Navi (U)
OM60E73U
Finish
09.09.24
Page 310 of 428

AIR CONDITIONING
309
(h) Rear window and outside rear view
mirror defogging
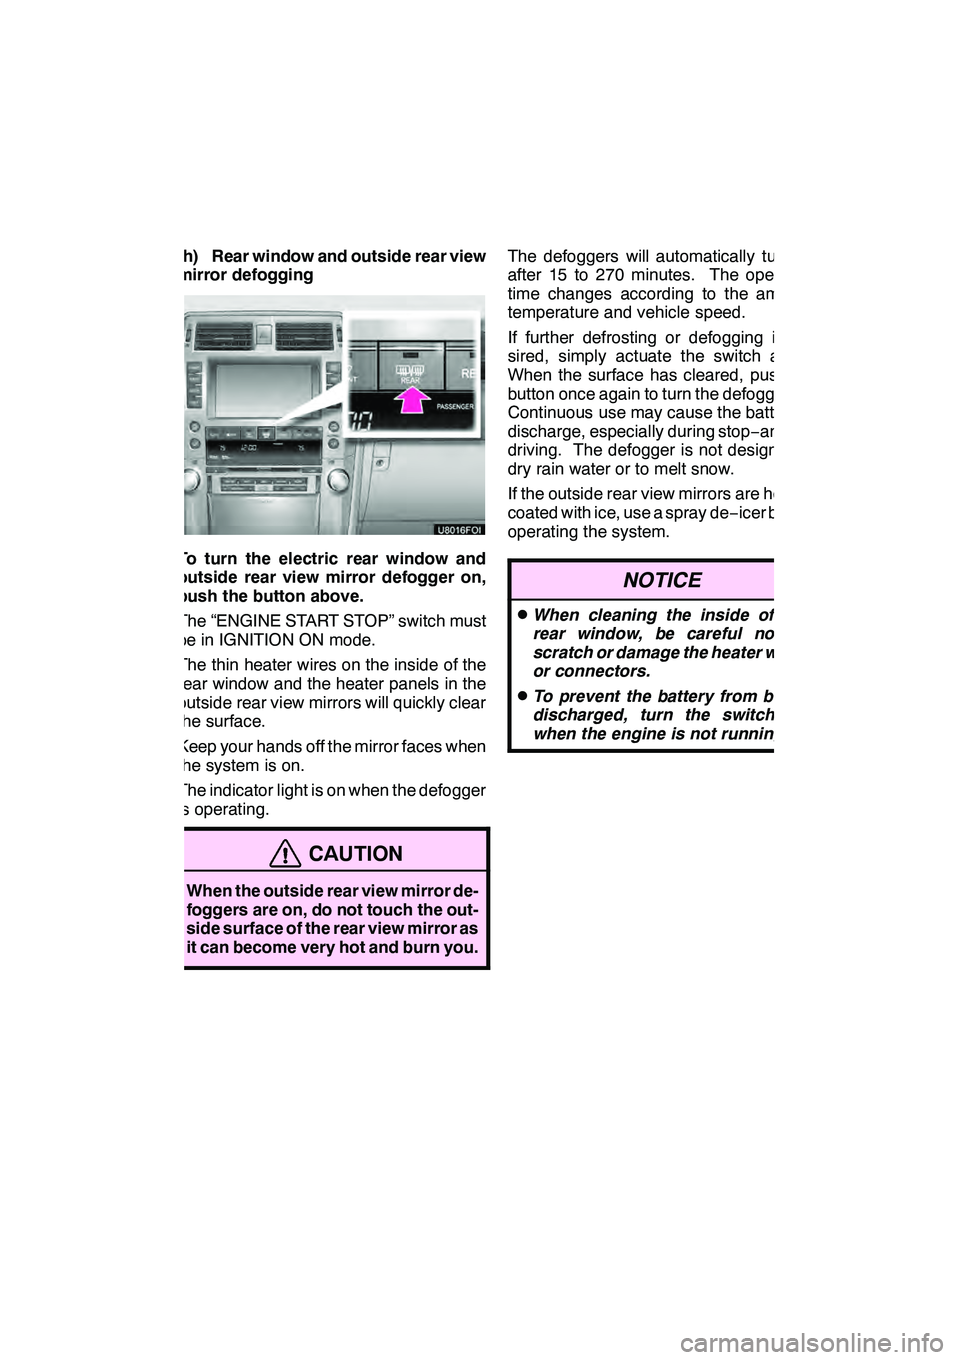
To turn the electric rear window and
outside rear view mirror defogger on,
push the button above.
The “ENGINE START STOP” switch must
be in IGNITION ON mode.
The thin heater wires on the inside of the
rear window and the heater panels in the
outside rear view mirrors will quickly clear
the surface.
Keep your hands off the mirror faces when
the system is on.
The indicator light is on when the defogger
is operating.
CAUTION
When the outside rear view mirror de-
foggers are on, do not touch the out-
side surface of the rear view mirror as
it can become very hot and burn you.
The defoggers will automatically turn off
after 15 to 270 minutes. The operation
time changes according to the ambient
temperature and vehicle speed.
If further defrosting or defogging is de-
sired, simply actuate the switch again.
When the surface has cleared, push the
button once again to turn the defogger off.
Continuous use may cause the battery to
discharge, especially during stop−and− go
driving. The defogger is not designed to
dry rain water or to melt snow.
If the outside rear view mirrors are heavily
coated with ice, use a spray de −icer before
operating the system.
NOTICE
DWhen cleaning the inside of the
rear window, be careful not to
scratch or damage the heater wires
or connectors.
DTo prevent the battery from being
discharged, turn the switch off
when the engine is not running.
GX460 Navi (U)
OM60E73U
Finish
09.09.24
8
Page 316 of 428

WIDE VIEW FRONT & SIDE MONITOR
315
INFORMATION
If the camera lens becomes dirty, it
cannot transmit a clear image. If wa-
ter droplets, snow, or mud adhere to
the lens, rinse with water and wipe
with a soft cloth. If the lens is ex-
tremely dirty, wash it with a mild
cleanser and rinse.
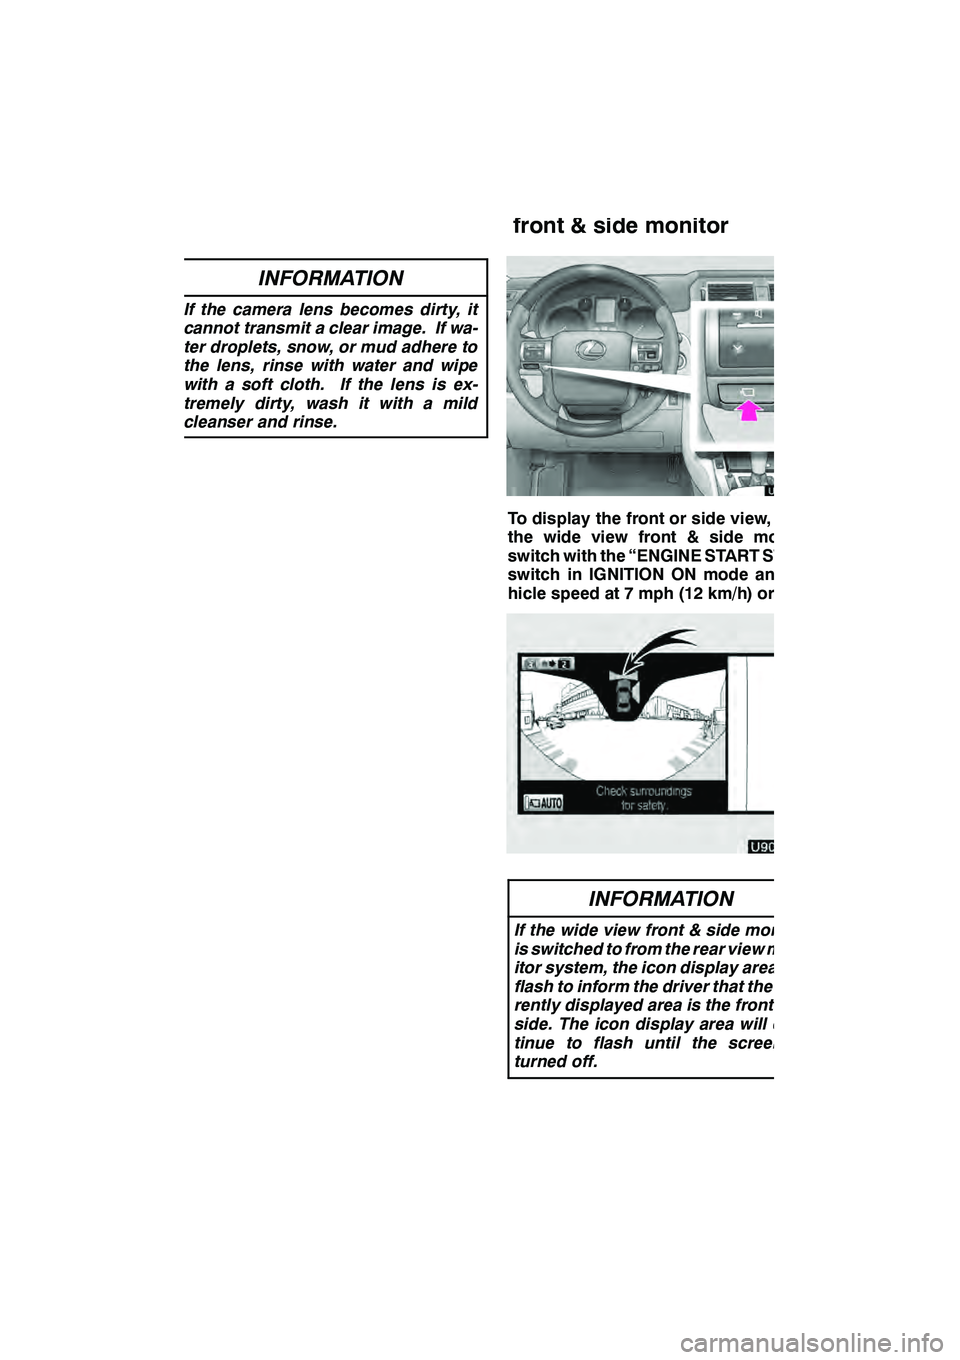
To display the front or side view, push
the wide view front & side monitor
switch with the “ENGINE START STOP”
switch in IGNITION ON mode and ve-
hicle speed at 7 mph (12 km/h) or less.
INFORMATION
If the wide view front & side monitor
is switched to from the rear view mon-
itor system, the icon display area will
flash to inform the driver that the cur-
rently displayed area is the front and
side. The icon display area will con-
tinue to flash until the screen is
turned off.
GX460 Navi (U)
OM60E73U
Finish
09.09.24
9
—Activating the wide view
front & side monitor
Page 387 of 428

SETUP
386
2. Touch “Full Screen” or “Drop
Down”.
“Full Screen”mode
When a call is received, the
....
Hands −free screen is dis-
played and you can operate it
on the screen.
“Drop Down” mode
The message is displayed on
....
the upper side of the screen.
You can only operate the
steering switch.
DThe Bluetooth rconnection status
at start up
When the “ENGINE START STOP”
switch is in ACCESSORY or IGNITION
ON mode and the Bluetooth ris auto-
matically connected, the connection
check is displayed.
When “Display Phone Status” is “On”,
this status is displayed.
When “Display Phone Status” is “Off”,
this status is not displayed.
GX460 Navi (U)
OM60E73U
Finish
09.09.24
Page 394 of 428

SETUP
393
(b) Connecting Bluetoothraudio
AUTOMATICALLY
Touch “On”for “Auto Bluetooth∗connect”
to activate the automatic connection for
the Bluetooth r. Always set it to this mode
and leave the Bluetooth rportable player in
a condition where connection can be
established. The “Auto Bluetooth
∗
Connect” cannot be selected if the
connection method is set to “From
Portable Player” .
∗: Bluetooth is a registered trademark of
Bluetooth SIG.Inc.
When the “ENGINE START STOP” switch
is in ACCESSORY or IGNITION ON
mode, the selected portable player will be
automatically connected and the connec-
tion result is displayed.
MANUALLY
When the auto connection failed or turned
off, you have to connect Bluetooth rmanu-
ally.
For the manual operation, see page 248.
GX460 Navi (U)
OM60E73U
Finish
09.09.24
11
Page 425 of 428

INDEX
424
Recirculated air mode305
..............
Reconnecting Bluetooth r
audio player 250
....................
Reconnecting the Bluetooth r
phone 138
..........................
Region codes 243
.....................
Registering a Bluetooth r
phone 352, 359
......................
Registering address book entries 117 ....
Registering areas to avoid 123 ..........
Registering home 12, 111 ...............
Registering portable player 390 ..........
Registering preset destinations 14, 114 ...
Registering the phonebook data 363 .....
Registering the speed dial 369 ..........
Registering the voice tag 377 ...........
Removing a Bluetooth raudio 392 .......
Reordering destinations 94 .............
Replacing the rear seat
entertainment system
controller batteries 265 ...............
Resume guidance 102 .................
Ring volume 350 ......................
Route button 10 .......................
Route features 100 ....................
Route guidance screen 88 ..............
Route overview 97 ....................
Route preference 99 ...................
Route preview 98 .....................
Route trace 106 .......................
Route trace −start 107 ..................
Route trace −stop 107 ..................
Route type 99 .........................
RPT button 213, 218, 252, 260 ..........
S
Safety Connect 154
....................
SAT button 184, 186 ...................
Satellite tuner 200 .....................
Scale indicator 10 .....................
SCAN button 213, 217, 218, 259 .........
Screen adjustment 31, 286 ..............
Screen configuration button 10 ..........
Screen layout function 346 ..............
Screen off 31, 286 .....................
Screen scroll operation 34 ..............
Screen size 194, 285 ...................
Screens for clock settings 335 ..........
Screens for general settings 330 ........
Screens for navigation settings 341 ......
Screens for voice settings 337 ..........
Search area 62 .......................
Search by category 71 .................
Search by eDestination 75 ..............Search by freeway entrance/exit 80
......
Search by intersection 79 ...............
Search by name 69 ....................
Search by phone # 74 ..................
Search point from along my route 72 .....
Search point from near a destination 73 ................
Search point from near city center 72 ....
Search point from near hear 72 ..........
Searching by group 232, 276 ............
Searching by title 231, 275 ..............
Searching by track 242, 283 .............
Searching for a desired file 217, 259 ......
Searching for a desired folder 218, 259 ...
Searching for a desired track
or disc 213 .........................
SEEK·TRACK button 184, 186 ...........
Select button 215, 256 ..................
Select portable player 388 ..............
Selecting a Bluetooth rphone 354, 359 ...
Selecting a desired album 252 ..........
Selecting a desired disc 211, 225 ........
Selecting a desired file 215, 271 .........
Selecting a desired files or tracks 257 ....
Selecting a desired folder 215, 256 .......
Selecting a desired track 212, 251, 270 ...
Selecting a keyboard layout 332 .........
Selecting a language 331 ...............
Selecting a play mode 255 ..............
Selecting a satellite radio channel 203 ....
Selecting a station 197 .................
Selecting DVD disc menu item 231 ......
Selecting portable player
connection method 390 ..............
Selecting the bonus group 232, 276 ......
Selecting the menu number 277 .........
Selecting the search area 62 ............
Sensor detection information 325 ........
Sets address book 110 .................
Sets area to avoid 110 .................
Sets home 110 ........................
Sets preset destinations 110 ............
Setting and deleting destinations 94 ......
Setting Bluetooth raudio 390 ............
Setting home as the destination 17 ......
Setting route 96 .......................
Setting the phonebook 360 .............
Setting the vehicle interior temperature 301, 303 ................
Setting the voice tag 376 ...............
Setting up the address book 116 .........
Setting up the areas to avoid 122 ........
Setting up the home 111 ................
Setting up the preset destinations 113 ....
SETUP button 10 .....................
Setup screen 22 ......................
GX460 Navi (U)
OM60E73U
Finish
09.09.24