Track Lexus GX460 2010 Scheduled Maintenance Guide / LEXUS 2010 GX460 OWNERS MANUAL (OM60E69U)
[x] Cancel search | Manufacturer: LEXUS, Model Year: 2010, Model line: GX460, Model: Lexus GX460 2010Pages: 825, PDF Size: 9.27 MB
Page 120 of 825
120
1-7. Safety information
GX460_U.S.A. (OM60E69U)
CAUTION
■While driving
●Do not adjust the position of the driver’s seat.
Doing so could cause the driver to lose control of the vehicle.
●Do not place a cushion between the driver or passenger and the seatback.
A cushion may prevent correct posture from being achieved, and reduce the
effectiveness of the seat belt and head re straint, increasing the risk of death or
serious injury to the driver or passenger.
●Do not place anything under the front seats.
Objects placed under the front seats may become jammed in the seat tracks and
stop the seat from locking in place. This may lead to an accident, resulting in
death or serious injury. The adjustment mechanism may also be damaged.
■Adjusting the seat position
●Take care when adjusting the seat position to ensure that other passengers are
not injured by the moving seat.
●Do not put your hands under the seat or near the moving parts to avoid injury.
Fingers or hands may become jammed in the seat mechanism.
Page 230 of 825

230
2-3. Operating the lights and windshield wipers
GX460_U.S.A. (OM60E69U)
●In the situations below, the system may not be able to correctly detect the sur-
rounding brightness levels, and may flash or expose nearby pedestrians to the
high beam. Therefore, you should consider turning the high beam on or off
manually rather than relying on the Automatic High Beam system.
• In bad weather (rain, snow, fog, sandstorms etc.)
• The windshield is obscured by fog, mist, ice, dirt etc.
• The windshield is cracked or damaged.
• The inside rear view mirror or camera sensor is deformed or dirty.
• Surrounding brightness levels are equal to those of headlights, tail lights or
fog lights.
• Vehicles ahead have headlights that are either switched off, dirty, are chang-
ing color, or are not aimed properly.
• When driving through an area of intermittently changing brightness and darkness
• When frequently and repe atedly driving ascending/descending roads, or
roads with rough, bumpy or uneven surfaces (such as stone-paved roads,
gravel tracks etc.)
• When frequently and repeatedly taking curves or driving on a winding road
• There is a highly reflective object ahead of the vehicle, such as a sign or a mir- ror.
• The vehicle’s headlights are damaged or dirty.
• The vehicle is listing or tilting, due to a flat tire, a trailer being towed etc.
• The Automatic High Beam indicator is flashing.
• The high beam and low beam are repeatedly being switched between in an abnormal manner.
• The driver believes that the high beam may be causing problems or distress to
other drivers or pedestrians nearby.
Page 272 of 825
272
2-4. Using other driving systems
GX460_U.S.A. (OM60E69U)
CAUTION
■Turn the LDA off while driving in any of the following situations
Do not use LDA in any of the following situations.
Otherwise, the system may not function correctly and could result in an accident.
●When driving with snow tires, tire ch ains, a spare tire, or similar equipment.
●When driving with non-standard part s or aftermarket equipment installed
(including modified tire s and suspensions, etc.).
●When towing a trailer.
●When there are objects or structures alon g the roadside that might be misinter-
preted as lane markers (such as guardrails, curbs, reflector posts, etc.).
●When there is snow in the wheel tracks of the road.
●When there are shadows on the road running parallel with lane markers, or if a
shadow is covering the lane markers.
●When there are visible lines on the pavement from road repairs, or if the remains
of old lane markers are still visible on the road.
●When driving in a lane other than the driving or passing lanes on a freeway or
highway.
●When driving on a road with lane closures due to maintenance, or when driving
in a temporary lane.
Page 410 of 825
409
3-2. Using the audio system
3
Interior features
GX460_U.S.A. (OM60E69U)
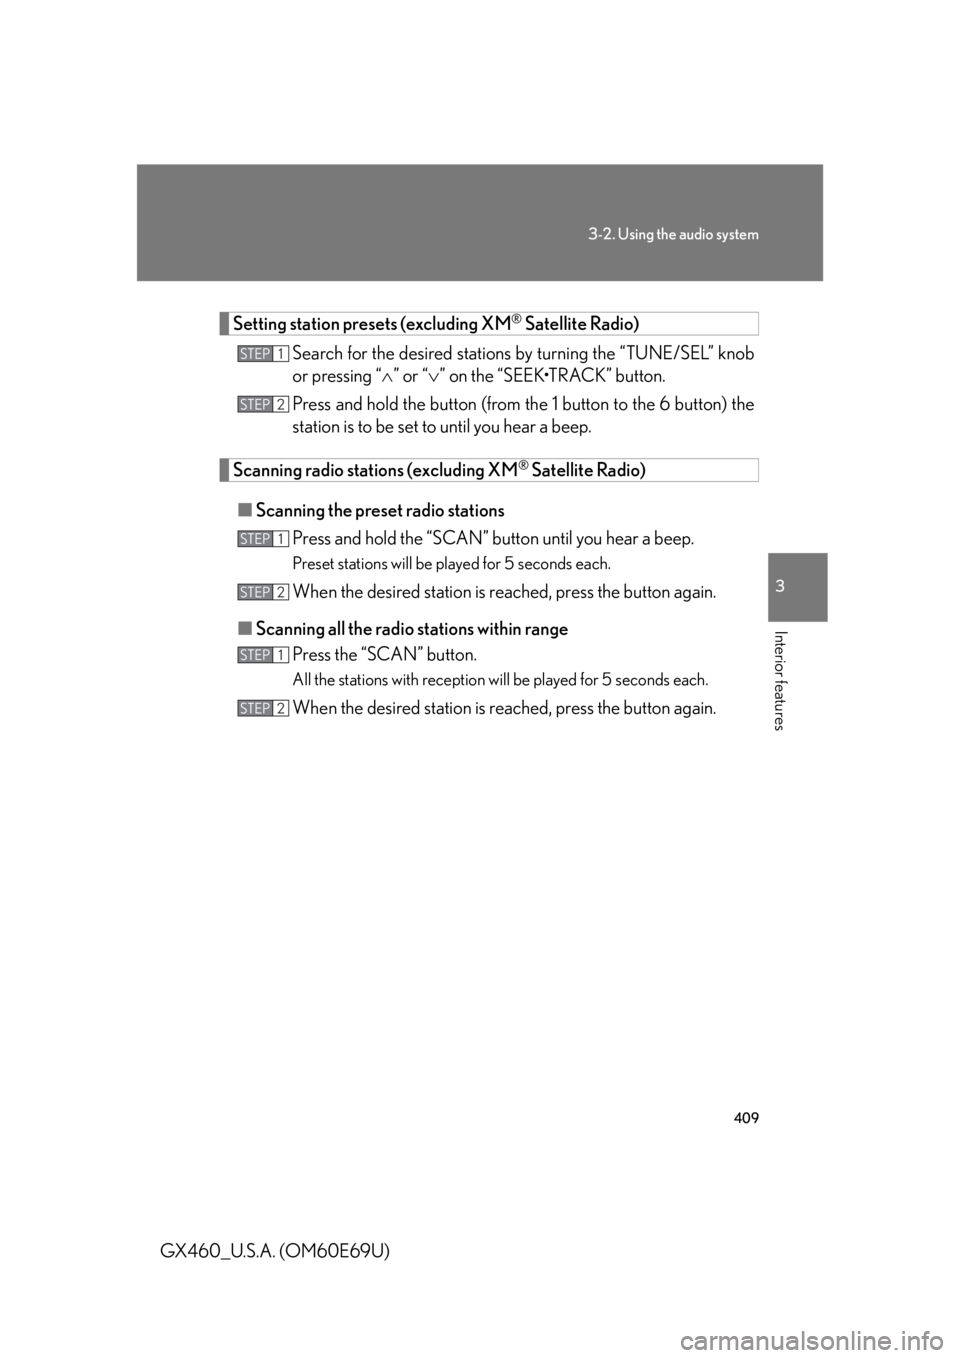
Setting station presets (excluding XM® Satellite Radio)
Search for the desired stations by turning the “TUNE/SEL” knob
or pressing “ ” or “ ” on the “SEEK•TRACK” button.
Press and hold the button (from th e 1 button to the 6 button) the
station is to be set to until you hear a beep.
Scanning radio stations (excluding XM® Satellite Radio)
■ Scanning the preset radio stations
Press and hold the “SCAN” button until you hear a beep.
Preset stations will be played for 5 seconds each.
When the desired station is reached, press the button again.
■ Scanning all the radio stations within range
Press the “SCAN” button.
All the stations with reception will be played for 5 seconds each.
When the desired station is reached, press the button again.
STEP1
STEP2
STEP1
STEP2
STEP1
STEP2
Page 411 of 825
410
3-2. Using the audio system
GX460_U.S.A. (OM60E69U)
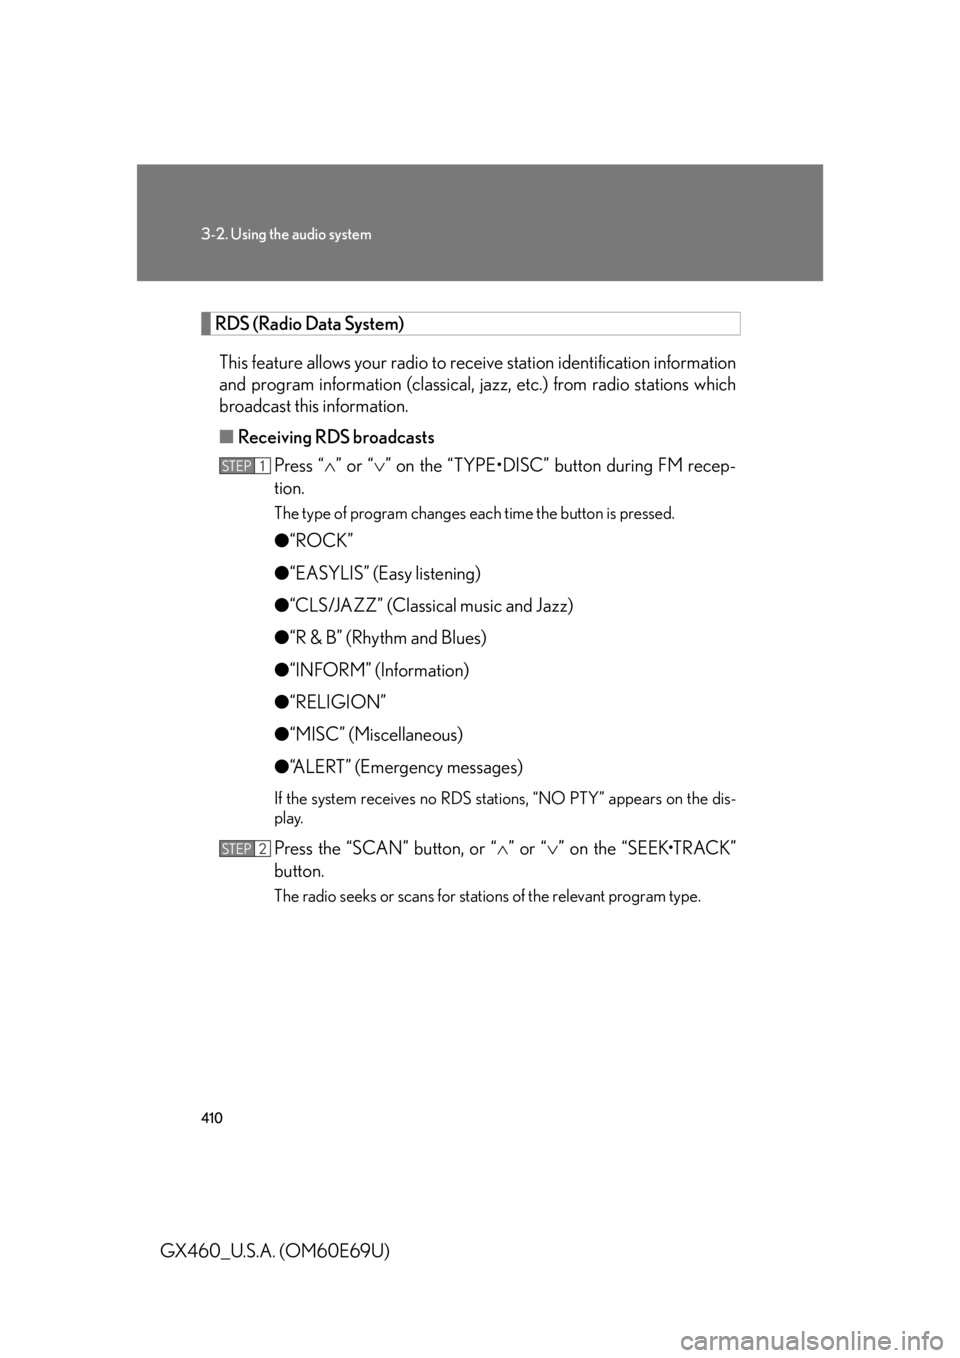
RDS (Radio Data System)This feature allows your radio to re ceive station identification information
and program information (classical, ja zz, etc.) from radio stations which
broadcast this information.
■ Receiving RDS broadcasts
Press “ ” or “ ” on the “TYPE•DISC” button during FM recep-
tion.
The type of program changes each time the button is pressed.
● “ROCK”
● “EASYLIS” (Easy listening)
● “CLS/JAZZ” (Classical music and Jazz)
● “R & B” (Rhythm and Blues)
● “INFORM” (Information)
● “RELIGION”
● “MISC” (Miscellaneous)
● “ALERT” (Emergency messages)
If the system receives no RDS stations, “NO PTY” appears on the dis-
play.
Press the “SCAN” button, or “ ” or “ ” on the “SEEK•TRACK”
button.
The radio seeks or scans for stations of the relevant program type.
STEP1
STEP2
Page 412 of 825
411
3-2. Using the audio system
3
Interior features
GX460_U.S.A. (OM60E69U)■
Displaying radio station names
Press the “TEXT” button.
■ Displaying radio text messages
Press the “TEXT” button twice.
A text message is displayed when “MSG” is shown on the screen.
If the text continues past the end of the display, is displayed. Press and
hold the “TEXT” button until you hear a beep.
XM® Satellite Radio (if equipped)
■ Receiving XM
® Satellite Radio
Press the “SAT” button.
The display changes as follows each time the button is pressed:
“SAT1” “SAT2” “SAT3”
Turn the “TUNE/SEL” knob to sele ct the desired channel in all the
categories or press “ ” or “ ” on the “SEEK•TRACK” button to
select the desired channel in the current category.
STEP1
STEP2
Page 417 of 825
416
3-2. Using the audio system
GX460_U.S.A. (OM60E69U)
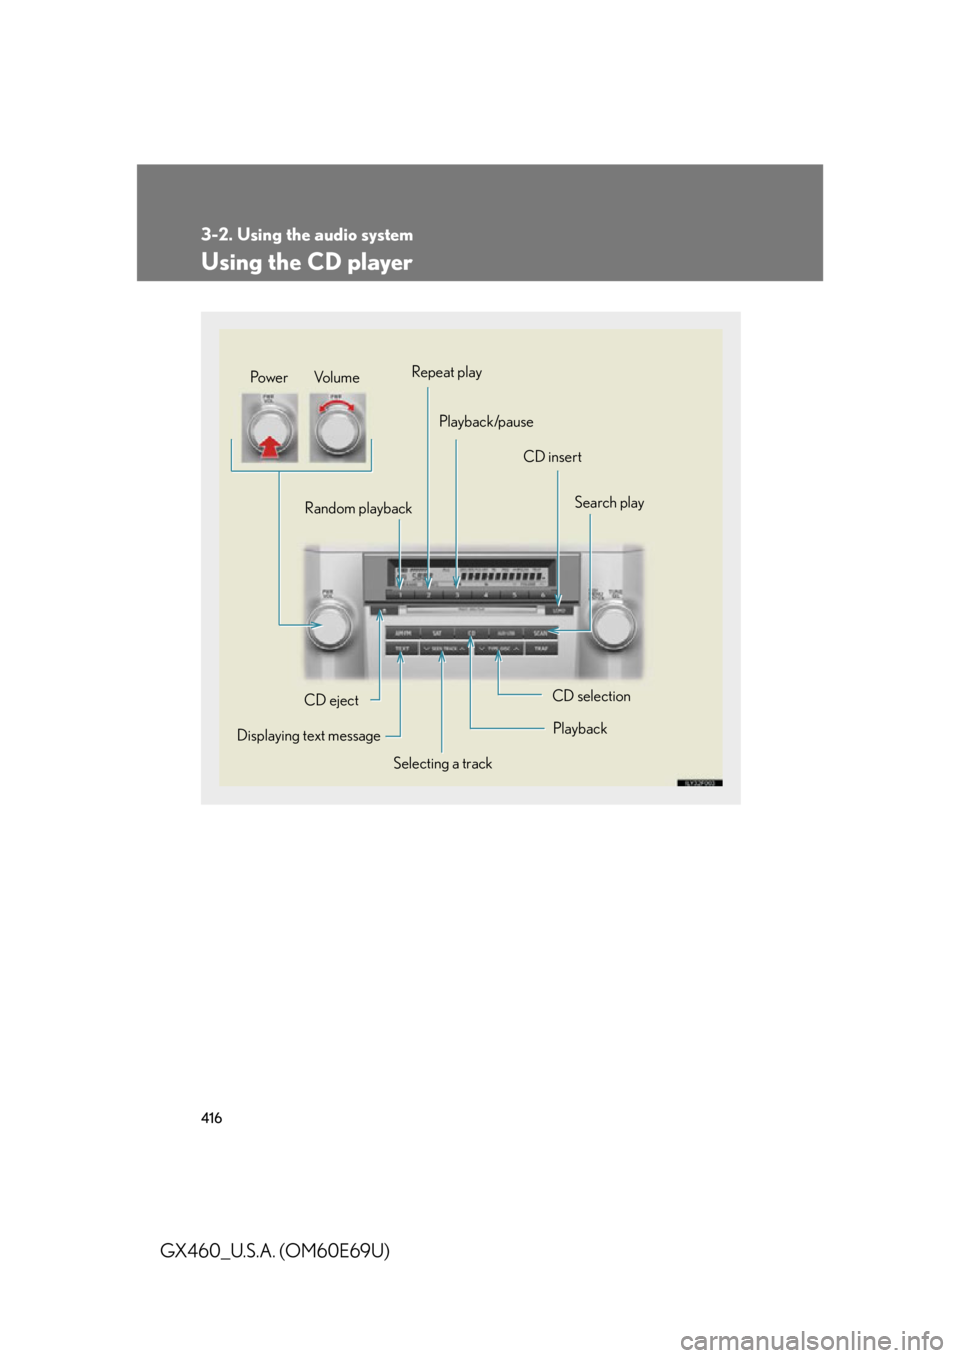
Using the CD player
Selecting a trackSearch play
CD eject
Displaying text message Random playback
CD selection
CD insert
Repeat play
Playback/pause
Po w e r Vo l u m e
Playback
Page 419 of 825
418
3-2. Using the audio system
GX460_U.S.A. (OM60E69U)
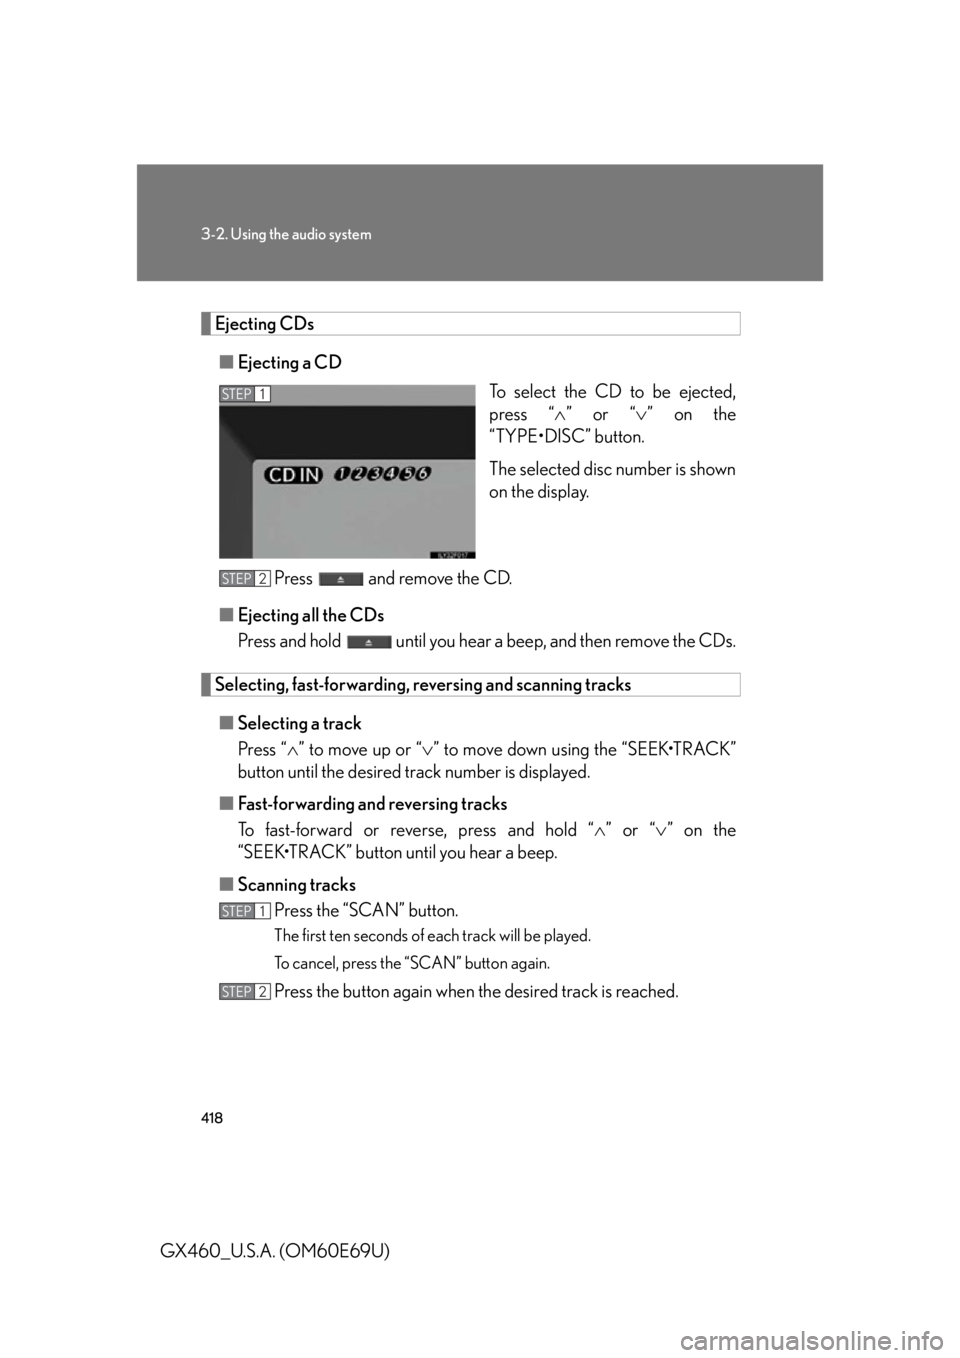
Ejecting CDs■ Ejecting a CD
To select the CD to be ejected,
press “” or “ ” on the
“TYPE•DISC” button.
The selected disc number is shown
on the display.
Press and remove the CD.
■ Ejecting all the CDs
Press and hold until you hear a beep, and then remove the CDs.
Selecting, fast-forwarding, re versing and scanning tracks
■ Selecting a track
Press “ ” to move up or “ ” to move down using the “SEEK•TRACK”
button until the desired track number is displayed.
■ Fast-forwarding and reversing tracks
To fast-forward or reve rse, press and hold “” or “ ” on the
“SEEK•TRACK” button until you hear a beep.
■ Scanning tracks
Press the “SCAN” button.
The first ten seconds of each track will be played.
To cancel, press the “SCAN” button again.
Press the button again when th e desired track is reached.
STEP1
STEP2
STEP1
STEP2
Page 420 of 825
419
3-2. Using the audio system
3
Interior features
GX460_U.S.A. (OM60E69U)
Selecting a CD■ Selecting a CD to play
To select the desired CD, press “ ” or “ ” on the “TYPE•DISC” button.
■ Scanning loaded CDs
Press and hold the “SCAN” button until you hear a beep.
The first ten seconds of the first track on each CD will be played.
To cancel, press the “SCAN” button again.
Press the button again when the desired CD is reached.
Playing and pausing tracks
To play or pause a track, press the 3 ( ) button.
Random playback■ Current CD
Press the 1 (RAND) button.
Songs are played in random order.
To cancel, press the 1 (RAND) button again.
■All CDs
Press and hold the 1 (RAND) button until you hear a beep.
Tracks on all loaded CDs are played in random order.
To cancel, press the 1 (RAND) button again.
STEP1
STEP2
Page 421 of 825

420
3-2. Using the audio system
GX460_U.S.A. (OM60E69U)
Repeat play■ Repeating a track
Press the 2 (RPT) button.
To cancel, press the 2 (RPT) button again.
■Repeating all of the tracks on a CD
Press and hold the 2 (RPT) bu tton until you hear a beep.
To cancel, press the 2 (RPT) button again.
Switching the display
Press the “TEXT” button.
Each time the button is pressed, the display changes in the following order:
Elapsed time CD title Track title
■CD player protection feature
To protect the internal components, play back is automatically stopped when a
problem is detected.
■Display
Up to 12 characters can be displayed at a time.
If there are 13 or more characters, pressing and holding the “TEXT” button for 1
second or more enables to di splay the remaining characters.
A maximum of 24 characters can be displayed.
If the “TEXT” button is pressed for more than 1 second again or has not been oper-
ated for more than 6 seconds, the display will return to the first 12 characters.
Depending on the contents recorded, the characters may not be displayed prop-
erly or may not be displayed at all.