display Lexus GX460 2014 Repair Manual
[x] Cancel search | Manufacturer: LEXUS, Model Year: 2014, Model line: GX460, Model: Lexus GX460 2014Pages: 624, PDF Size: 19.39 MB
Page 283 of 624
GX 460 _O M_ OM6 0K 80 U_ (U)
2814-5. Using the driving support systems
4
Driving
■Side monitor
The image from the side camera is displayed. Use this monitor to help check
the area to the right of the vehicle, for example when taking off and stopping,
when turning right, etc. If displayed, the course line can be used as rough
guide for steering wheel operation when turning right. (→P. 2 8 4 )
�XFull view display mode�XFront view enlarged display mode
GX460_OM_OM60K80U_(U).book Page 281 Wednesday, July 3, 2013 11:40 AM
Page 284 of 624
282
GX 460 _O M_ OM6 0K 80 U_ (U)4-5. Using the driving support systems
■Changing the screen mode
This system has a 2 screen mode and a 3 screen mode.
2 screen mode:
Only the wide view front & side monitor simultaneous display can be used.
3 screen mode:
The wide view front & side monitor simult
aneous display or the individual display
can be used. The display can be switched between the simultaneous display and
the individual display by operating the wide view front & side monitor switch.
The screen mode is changed from
the wide view front & side monitor
simultaneous display screen. The
screen mode will change as
or are
selected.
If the screen is changed to the wide
view front & side monitor simulta-
neous display screen while the Lexus
parking assist monitor is displayed, it
is not possible to switch to the 3
screen mode. (The switch is not dis-
played.)
GX460_OM_OM60K80U_(U).book Page 282 Wednesday, July 3, 2013 11:40 AM
Page 285 of 624
GX 460 _O M_ OM6 0K 80 U_ (U)
2834-5. Using the driving support systems
4
Driving
■Changing the display in 3 screen mode
When in 3 screen mode, you can change the display from the simultaneous
display to each individual display.
The screen changes as follows with each press of the wide view front & side
monitor switch.
When the wide view front monitor was displayed the previous time:
When the side monitor was displayed the previous time:
The wide view front monitor and side monitor individual displays are not accessible
when the shift lever is in R.
■Automatic display mode
In this mode, the screen is switched automatically in response to vehicle
speed, in addition to screen switching by operating the wide view front & side
monitor switch.
Select “AUTO” on the front or wide
view front & side monitor screen.
The “AUTO” indicator will come on.
Select “AUTO” again to return to
normal display mode.
“AUTO” will not be displayed when
the shift lever is in R.
Wide view front & side monitor simultaneous displaySide monitor Wide view front monitor
Wide view front & side monitor simultaneous display Wide view front monitor Side monitor
GX460_OM_OM60K80U_(U).book Page 283 Wednesday, July 3, 2013 11:40 AM
Page 286 of 624
284
GX 460 _O M_ OM6 0K 80 U_ (U)4-5. Using the driving support systems
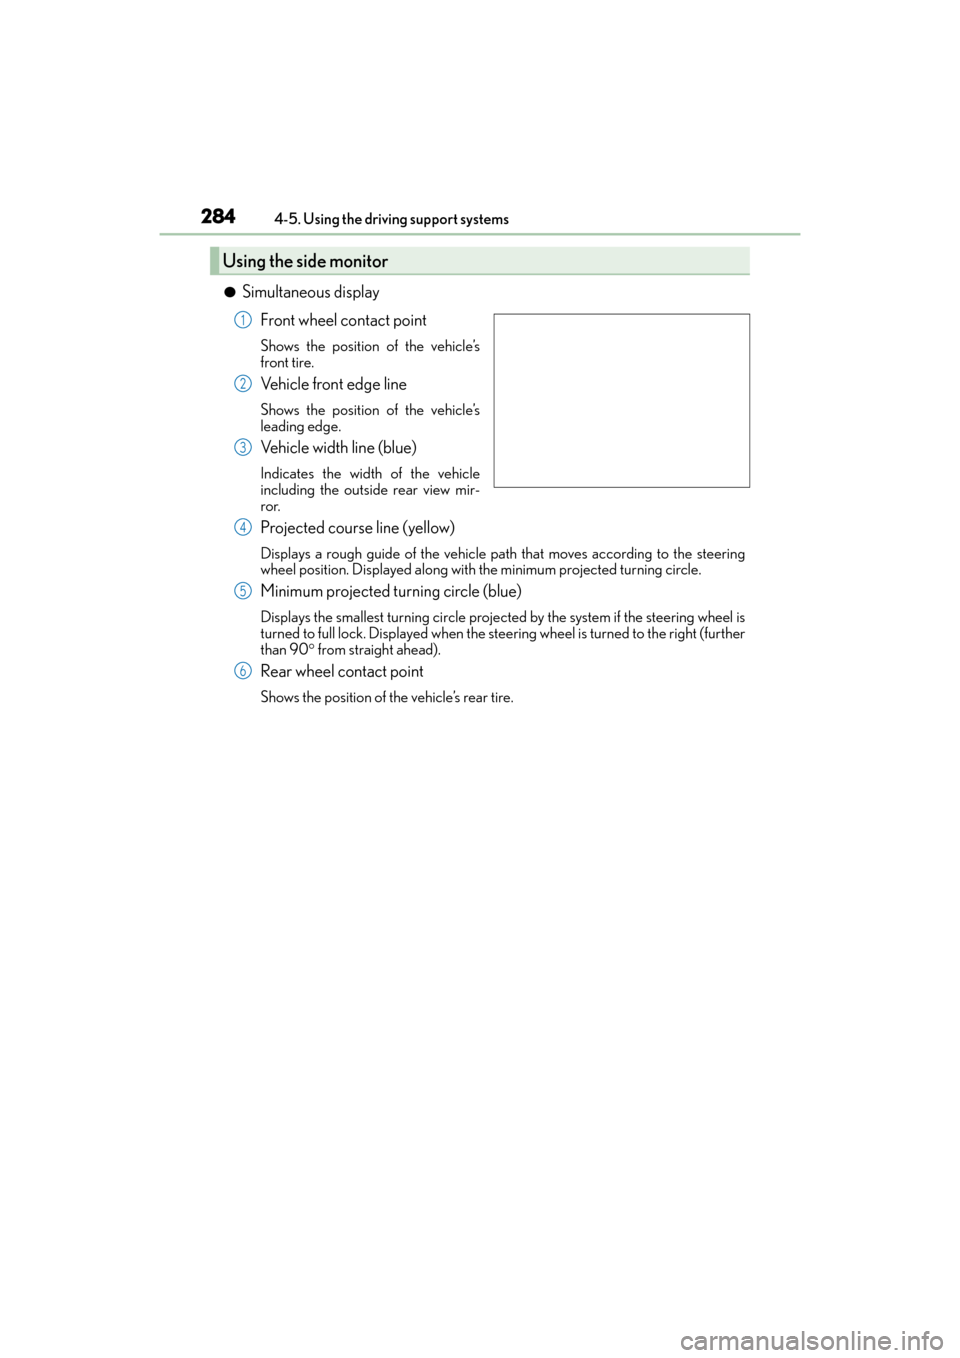
●Simultaneous display
Front wheel contact point
Shows the position of the vehicle’s
front tire.
Vehicle front edge line
Shows the position of the vehicle’s
leading edge.
Vehicle width line (blue)
Indicates the width of the vehicle
including the outside rear view mir-
ror.
Projected course line (yellow)
Displays a rough guide of the vehicle path that moves according to the steering
wheel position. Displayed along with the minimum projected turning circle.
Minimum projected turning circle (blue)
Displays the smallest turning circle projected by the system if the steering wheel is
turned to full lock. Displayed when the steering wheel is turned to the right (further
than 90 ° from straight ahead).
Rear wheel contact point
Shows the position of the vehicle’s rear tire.
Using the side monitor
1
2
3
4
5
6
GX460_OM_OM60K80U_(U).book Page 284 Wednesday, July 3, 2013 11:40 AM
Page 287 of 624
GX 460 _O M_ OM6 0K 80 U_ (U)
2854-5. Using the driving support systems
4
Driving
●Individual display
Front wheel contact point
Shows the position of the vehicle’s front tire.
Vehicle front edge line
Shows the position of the vehicle’s leading edge.
Vehicle width line (blue)
Indicates the width of the vehicle including the outside rear view mirror.
Projected course line (yellow)
Displays a rough guide of the vehicle path that moves according to the steering wheel
position. Displayed along with the minimum projected turning circle.
Minimum projected turning circle (blue)
Displays the smallest turning circle projected by the system if the steering wheel is
turned to full lock. Displayed when the steer ing wheel is turned to the right (further
than 90 ° from straight ahead).
Projected course line switching button
The course line display mode will change as follows each time the switch is selected.
When the shift lever is in R, it will not be displayed.
Rear wheel contact point
Shows the position of the vehicle’s rear tire.
Individual display mode switching button
Switches the full view display mode or Front view enlarged display mode.
�XFull view display mode�XFront view enlarged display mode
1
2
3
4
5
6
7
8
GX460_OM_OM60K80U_(U).book Page 285 Wednesday, July 3, 2013 11:40 AM
Page 288 of 624
286
GX 460 _O M_ OM6 0K 80 U_ (U)4-5. Using the driving support systems
■Changing the course line display mode
●No course lines mode
Vehicle width line is displayed.
●Turning course line display mode
The projected course line is
added to the minimum projected
turning circle mode.
●Minimum projected turning circle display mode
The minimum projected turning
circle line is added to the no
course lines mode.
GX460_OM_OM60K80U_(U).book Page 286 Wednesday, July 3, 2013 11:40 AM
Page 289 of 624
GX 460 _O M_ OM6 0K 80 U_ (U)
2874-5. Using the driving support systems
4
Driving
Change to the side monitor individual display.
Select .
The course line display mode will change as follows each time the switch is
selected.
The selected mode will also be displayed on the wide view front & side
monitor simultaneous display screen.1
2
No course lines modeMinimum projected turning circle display mode Turning course line display mode
GX460_OM_OM60K80U_(U).book Page 287 Wednesday, July 3, 2013 11:40 AM
Page 291 of 624
GX 460 _O M_ OM6 0K 80 U_ (U)
2894-5. Using the driving support systems
4
Driving
●Minimum projected turning circle & projected course line
Use the minimum projected turn-
ing circle & projected course line
(when displayed) to check the
vehicle’s path with relation to
obstacles. If the minimum pro-
jected turning circle line (blue) is
over the obstacle as shown in the
illustration, or the obstacle falls
within the minimum projected
turning circle, if you turn with the
minimum possible turning circle,
the vehicle may collide with the
object. When the projected
course line (yellow) is displayed,
be sure to operate the steering
wheel so that the obstacle stays
outside the projected course line
until the vehicle has passed the
object.
GX460_OM_OM60K80U_(U).book Page 289 Wednesday, July 3, 2013 11:40 AM
Page 292 of 624

290
GX 460 _O M_ OM6 0K 80 U_ (U)4-5. Using the driving support systems
■The wide view front & side monitor can be operated when
�XNormal display mode
●The engine switch is in IGNITION ON mode.
●The vehicle speed is less than approximately 7 mph (12 km/h).
�XAutomatic display mode
●The engine switch is in IGNITION ON mode.
●When automatic display mode is selected
●When the shift lever is shifted to D, S or N
●When the shift lever is in D, S or N and th
e vehicle speed is below approximately 6 mph
(10 km/h)
■Automatic system cancelation
In the following situations, the image is canceled automatically.
●When the vehicle speed exceeds approximately 7 mph (12 km/h).
Automatic display mode: If the vehicle speed returns to below 6 mph (10 km/h), the
image will be displayed.
●When the shift lever is in P or R.
●When another switch outside the screen has been pressed
■When the outside rear view mirrors have been folded
The side monitor screen can be displayed even if the outside rear view mirrors have been
folded. In this case, there will be a slight difference between the image displayed when
the outside rear view mirrors are extended and when the outside rear view mirrors have
been folded.
When the side monitor screen is in front view enlarged display mode and the outside
rear view mirror is retracted, the monitor automatically switches to full view display
mode. After this, even if the outside rear view mirror is restored to its original position, the
monitor does not automatically switch to front view enlarged display mode.
■When switched to from the Lexus parking assist monitor
If the wide view front & side monitor is switched
to from the Lexus parking assist monitor, the
icon display area will flash to inform the driver
that the currently displayed area is the front or
side. The icon display area will continue to flash
until the screen is turned off.
GX460_OM_OM60K80U_(U).book Page 290 Wednesday, July 3, 2013 11:40 AM
Page 293 of 624

GX 460 _O M_ OM6 0K 80 U_ (U)
2914-5. Using the driving support systems
4
Driving
■Displayed area
The area covered by the camera is limited. Objects which are close to either corner of
the bumper or under the bumper cannot be seen on the screen.
The area displayed on the screen may vary depending on vehicle orientation or road
conditions.
The camera uses a special lens. The distances in the image displayed on the screen will
differ from the actual distances.
●Front camera
Masking
This section is masked to prevent the driver
from moving the vehicle while watching
only the wide view front monitor screen.
The driver must visually confirm this area
directly.
Camera’s field of view
Objects visible to the camera
Objects not visible to the camera
Parts of the vehicle (bumper, grille, etc.)
1
2
3
4
5
GX460_OM_OM60K80U_(U).book Page 291 Wednesday, July 3, 2013 11:40 AM