turn signal Lexus GX470 2008 Operating the lights and windshield wipers / LEXUS 2008 GX470 OWNER'S MANUAL (OM60D82U)
[x] Cancel search | Manufacturer: LEXUS, Model Year: 2008, Model line: GX470, Model: Lexus GX470 2008Pages: 458, PDF Size: 7.3 MB
Page 2 of 458

TABLE OF CONTENTSIndex
2
1-1. Key information ........................... 22Keys ...................................................... 22
1-2. Opening, closing and locking the doors...................................... 24
Wireless remote control .............. 24
Side doors .......................................... 26
Back door ............................................ 31
1-3. Adjustable components (seats, mirrors, steering
wheel, etc.) .................................. 34
Front seats .......................................... 34
Rear seats ........................................... 36
Driving position memory system ............................................... 45
Head restraints................................. 47
Seat belts ............................................ 49
Steering wheel.................................. 57
Inside rear view mirror................. 58
Outside rear view mirrors ........... 59
1-4. Opening and closing the windows and moon roof ........... 61
Power windows................................. 61
Moon roof .......................................... 64
1-5. Refueling ........................................ 67 Opening the fuel tank cap........... 67 1-6. Theft deterrent system............... 70
Engine immobilizer system ......... 70
Alarm.................................................... 72
Theft prevention labels (U.S.A.) ............................................. 74
1-7. Safety information ....................... 75 Correct driving posture ............... 75
SRS airbags ....................................... 77
Front passenger occupant classification system .................... 90
Child restraint sy stems ................. 95
Installing child restraints ............... 98
2-1. Driving procedures.................... 110 Driving the vehicle ......................... 110
Engine (ign ition) switch ............... 118
Automatic transmission................ 121
Turn signal lever............................. 124
Parking brake ................................. 125
2-2. Instrument cluster ..................... 126 Gauges and meters ..................... 126
Indicators and warning lights ... 129
Trip information display .............. 132
1Before driving
2When driving
Page 6 of 458

6
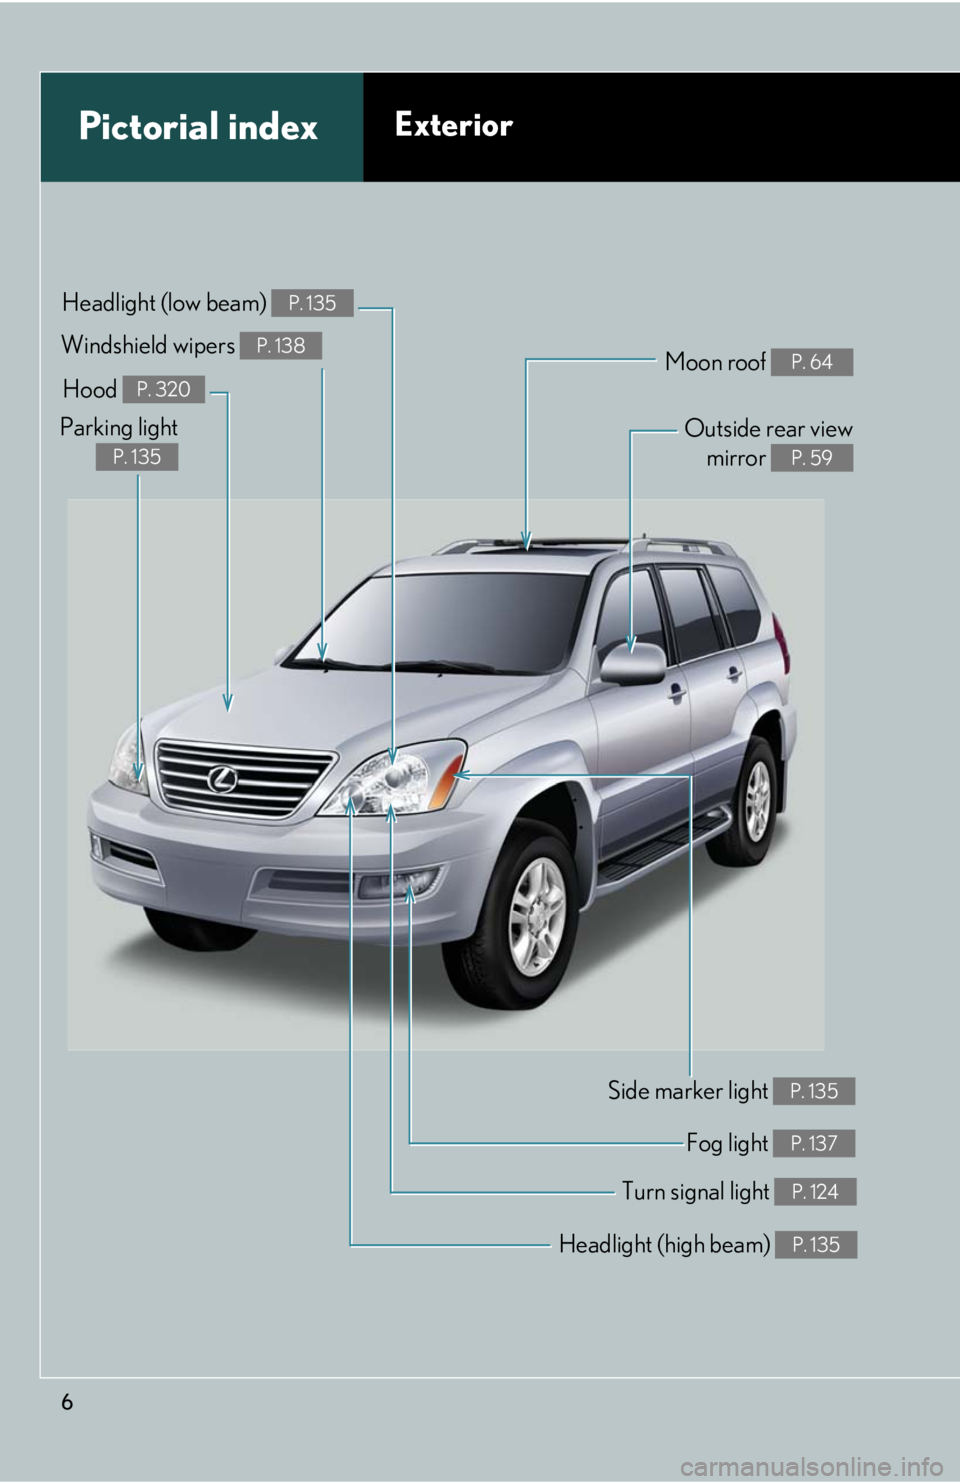
Headlight (high beam) P. 135
Pictorial indexExterior
Turn signal light P. 124
Fog light P. 137
Side marker light P. 135
Headlight (low beam) P. 135
Hood P. 320
Parking light
P. 135
Windshield wipers P. 138Moon roof P. 64
Outside rear viewmirror
P. 59
Page 7 of 458

7
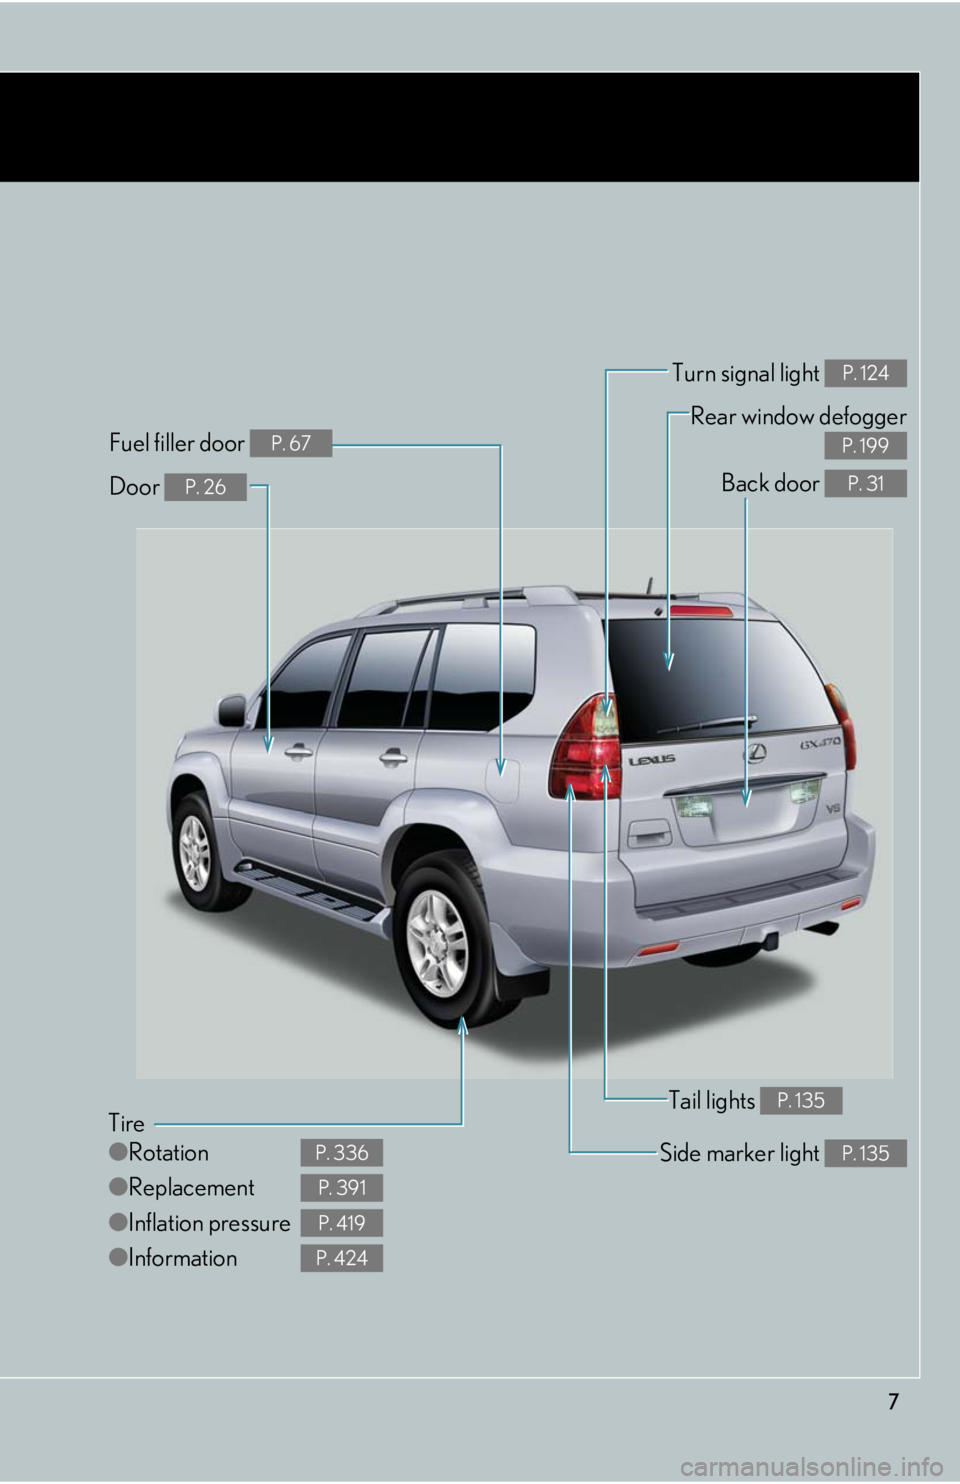
Tire
●Rotation
● Replacement
● Inflation pressure
● Information
P. 336
P. 391
P. 419
P. 424
Tail lights P. 135
Side marker light P. 135
Back door P. 31
Rear window defogger
P. 199
Door P. 26
Fuel filler door P. 67
Turn signal light P. 124
Page 12 of 458

12
Pictorial indexInstrument panel
Gauges and meters P. 126
Engine switch P. 118
Windshield wiper and
washer switch
P. 138
Headlight switch
Turn signal switch
Fog light switch P. 135
P. 124
P. 137
Cruise control switch P. 142
Emergency flashersGlove box
P. 259
Page 45 of 458

45
1
1-3. Adjustable components (seats, mirrors, steering wheel, etc.)
Before driving
Driving position memory system
Your preferred driving position (the po sition of the driver’s seat, steering
wheel and outside rear view mirrors) can be entered into the computer’s
memory and recalled with the touch of a button.
Two different driving positions can be entered into memory.
■Entering a position into memory
Check that the shift lever is set in “P”.
Turn the engine switch to the “ON” position.
Adjust the driver’s seat, steeri ng wheel, and outside rear view
mirrors to the desired positions.
While pushing the “SET” button,
push button “1” or “2” until the
signal beeps.
If the selected button has
already been preset, the previ-
ously recorded position will be
overwritten.
STEP1
STEP2
STEP3STEP3
Page 109 of 458

When driving2
109
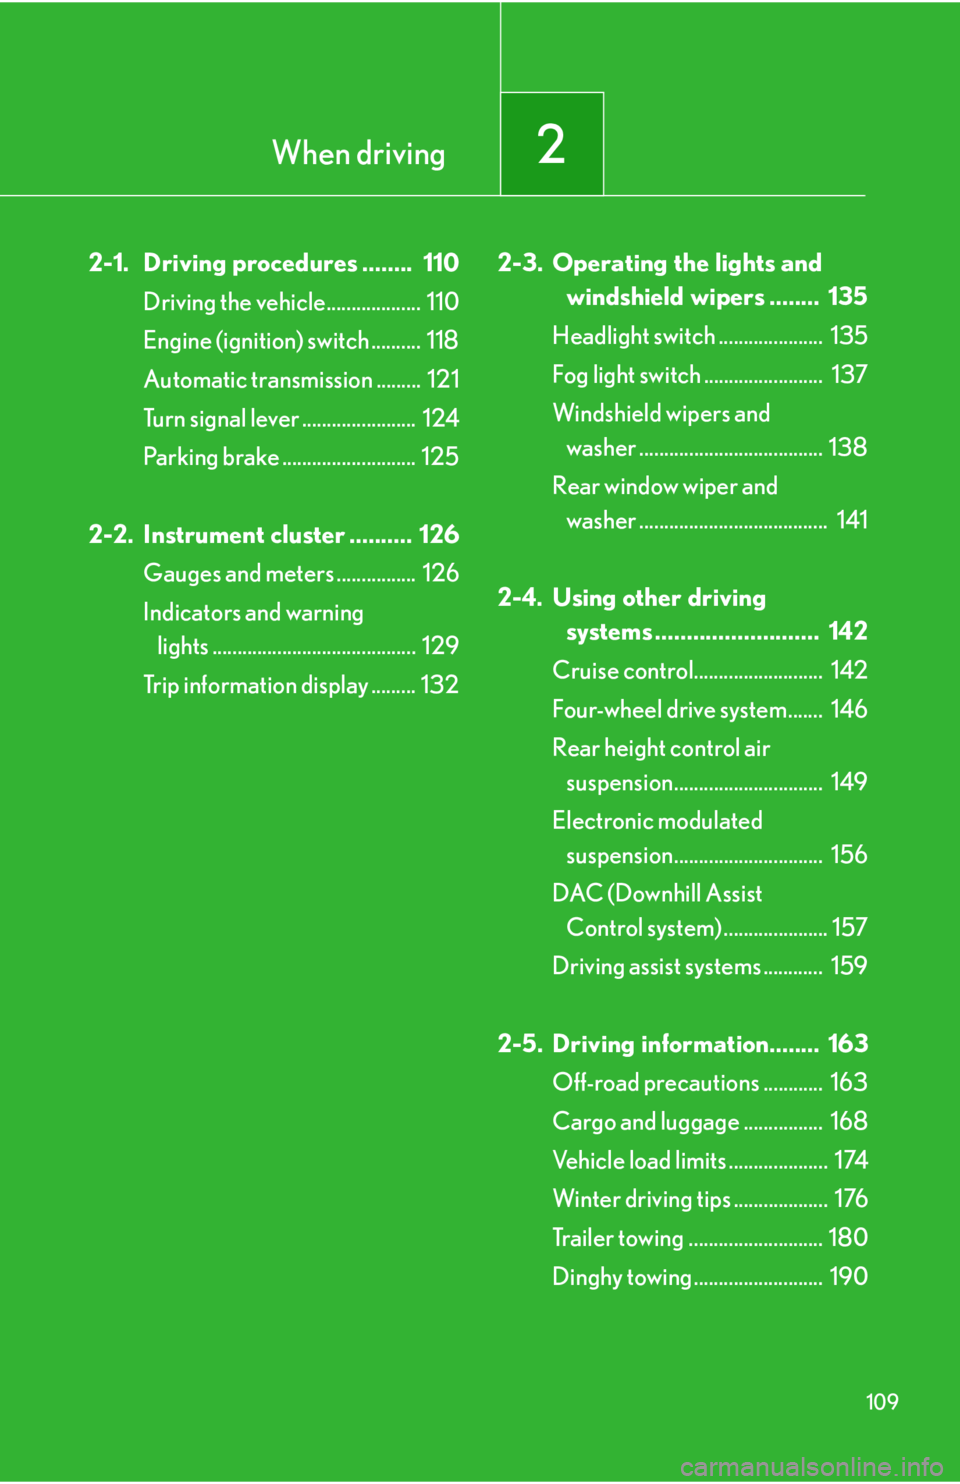
2-1. Driving procedures ........ 110Driving the vehicle................... 110
Engine (ignition) switch .......... 118
Automatic transmission ......... 121
Turn signal lever ....................... 124
Parking brake ........................... 125
2-2. Instrument cluster .......... 126 Gauges and meters ................ 126
Indicators and warning lights ......................................... 129
Trip information display ......... 132 2-3. Operating the lights and
windshield wipers ........ 135
Headlight switch ..................... 135
Fog light switch ........................ 137
Windshield wipers and washer ..................................... 138
Rear window wiper and washer ...................................... 141
2-4. Using other driving systems .......................... 142
Cruise control.......................... 142
Four-wheel drive system....... 146
Rear height control air suspension.............................. 149
Electronic modulated suspension.............................. 156
DAC (Downhill Assist Control system) ..................... 157
Driving assist systems ............ 159
2-5. Driving information........ 163 Off-road precautions ............ 163
Cargo and luggage ................ 168
Vehicle load limits .................... 174
Winter driving tips ................... 176
Trailer towing ........................... 180
Dinghy towing .......................... 190
Page 124 of 458

124
2-1. Driving procedures
Turn signal lever
■Turn signals can be operated when
The engine switch is in the “ON” position.
■If the indicators flash faster than usual
Check that a light bulb in the front or rear turn signal lights has not burned out.
Left turn
Right turn
Move and hold the lever part-
way to signal a lane change
The left hand signal will flash
until you release the lever.
Move and hold the lever part-
way to signal a lane change
The right hand signal will flash
until you release the lever.
Page 130 of 458

130
2-2. Instrument cluster
■Indicators
The indicators inform the driver of th e operating state of the vehi-
cle’s various systems.
Turn signal indicator
( P. 1 2 4 )“RSCA OFF” indicator
(P. 8 9 )
Headlight high beam indi-
cator ( P. 1 3 5 )Downhill assist control
system indicator
( P. 1 5 7 )
(U.S.A.)
Headlight indicator
( P. 1 3 5 )
(U.S.A.)
Engine oil replacement
reminder light ( P. 3 8 4 )
(Canada)
Tail light indicator
( P. 1 3 5 ) Slip indicator
(P. 1 6 0 )
Security indicator
(P. 7 0 ) “VSC OFF” indicator
(P. 1 4 7 )
Shift position indicators
(P. 121)Center differential lock
indicator ( P. 1 4 7 )
Height control indicator
( P. 1 5 0 ) “AIR BAG ON” indicator
( P. 9 0 )
Automatic transmission
second start indicator
( P. 122)“AIR BAG OFF” indicator
( P. 9 0 )
Cruise control indicator
( P. 1 4 2 )
*
*
*
*
*
*
*
Page 136 of 458

136
2-3. Operating the lights and windshield wipers
■Daytime running light system
To make your vehicle more visible to other drivers, the front turn signal lights turn on
automatically whenever the engine is started and the parking brake is released.
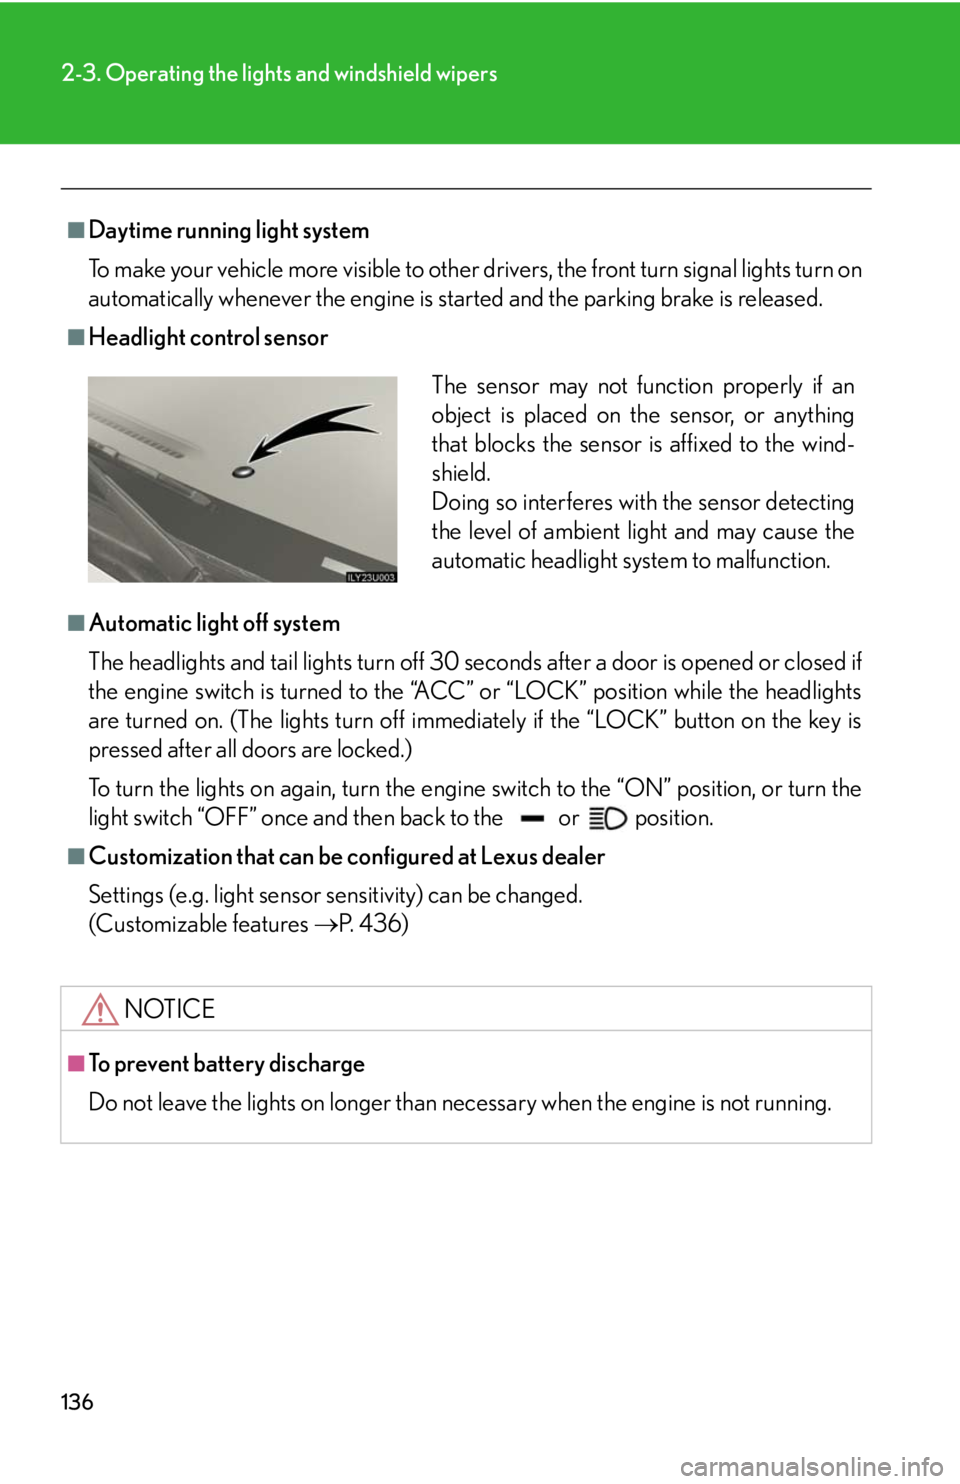
■Headlight control sensor
■Automatic light off system
The headlights and tail lights turn off 30 seconds after a door is opened or closed if
the engine switch is turned to the “ACC” or “LOCK” position while the headlights
are turned on. (The lights turn off immedi ately if the “LOCK” button on the key is
pressed after all doors are locked.)
To turn the lights on again, turn the engine switch to the “ON” position, or turn the
light switch “OFF” once and th en back to the or position.
■Customization that can be configured at Lexus dealer
Settings (e.g. light sensor sensitivity) can be changed.
(Customizable features P. 4 3 6 )
NOTICE
■To prevent battery discharge
Do not leave the lights on longer than necessary when the engine is not running.
The sensor may not function properly if an
object is placed on the sensor, or anything
that blocks the sensor is affixed to the wind-
shield.
Doing so interferes with the sensor detecting
the level of ambient light and may cause the
automatic headlight system to malfunction.
Page 209 of 458

209
3-2. Using the audio system
3
Interior features
■If the satellite radio does not operate normally
If a problem occurs with the XM
® tuner, a message will appear on the screen. Refer
to the table below to identify the problem, and take the suggested corrective action.
ANTENNA
The XM® antenna is not connected. Check whether
the XM® antenna cable is attached securely.
There is a short-circuit in the antenna or the surround-
ing antenna cable. See a Lexus certified dealer.
UPDATING
You have not subscribed to XM® Satellite Radio. The
radio is being updated with the latest encryption code.
Contact XM
® Satellite Radio for subscription infor-
mation. When a contract is canceled, you can choose
“CH000” and all free-to-air channels.
The premium channel you selected is not authorized.
Wait for about 2 seconds until the radio returns to the
previous channel or “CH001”. If it does not change
automatically, select another channel. If you want to lis-
ten to the premium channel, contact XM
® Satellite
Radio.
NO SIGNAL
The XM® signal is too weak at the current location.
Wait until your vehicle reaches a location with a stron-
ger signal.
LOADIN GThe unit is acquiring audio or program information.
Wait until the unit has received the information.
OFF AIRThe channel you selected is not broadcasting any pro-
gramming. Select another channel.
-----
There is no song/program title or artist name/feature
associated with the channel at that time. No action
needed.