change time Lexus HS250h 2010 Using the Bluetooth audio system / LEXUS 2010 HS250H (OM75006U) User Guide
[x] Cancel search | Manufacturer: LEXUS, Model Year: 2010, Model line: HS250h, Model: Lexus HS250h 2010Pages: 608, PDF Size: 9.89 MB
Page 186 of 608
186
2-3. Operating the lights and windshield wipers
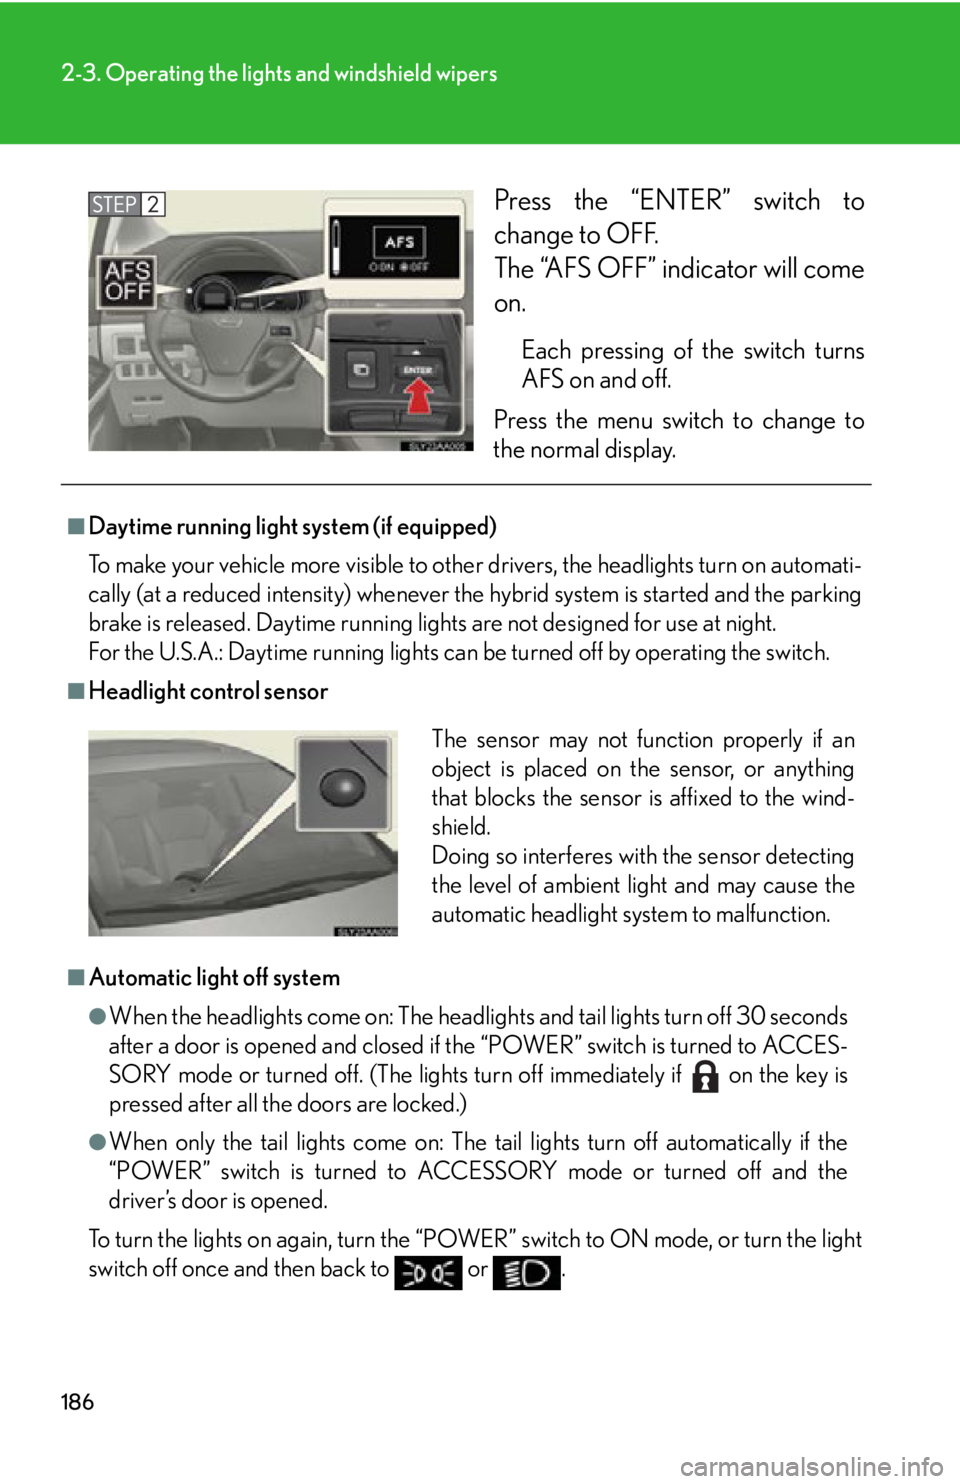
Press the “ENTER” switch to
change to OFF.
The “AFS OFF” indicator will come
on.
Each pressing of the switch turns
AFS on and off.
Press the menu switch to change to
the norma
l display.
■Daytime running light system (if equipped)
To make your vehicle more visible to othe r dr
ivers, the headlights turn on automati-
cally (at a reduced intensity) whenever the hy
brid system is started and the parking
brake is released. Daytime running ligh ts are not designed for use at night.
For the U.S.A.: Daytime running lights can be turned off by operating the switch.
■Headlight control sensor
■Automatic light off system
●When the headlights come on: The headligh ts and tail lights turn off 30 seconds
after a door is opened and closed if the “POWER” switch is turned to ACCES -
SORY mode or turned off. (The lights turn off immediately if on the key is
pressed after all the doors are locked.)
●When only the tail lights come on: The tail lights turn off automatically if the
“POWER” switch is turned to ACCESSORY mode or turned off and the
driver’s door is opened.
To turn the lights on again, turn the “POWER” s
witch to ON mode, or turn the light
switch off once and then back to or .
The sensor may not function properly if an
object is placed on the sensor, or anything
that blocks the sensor is affixed to the wind-
shield.
Doing so interferes with the sensor detecting
the level of ambient light and may cause the
automatic headlight system to malfunction.
Page 207 of 608
207
2-4. Using other driving systems
2
When driving
■Adjusting the set speed
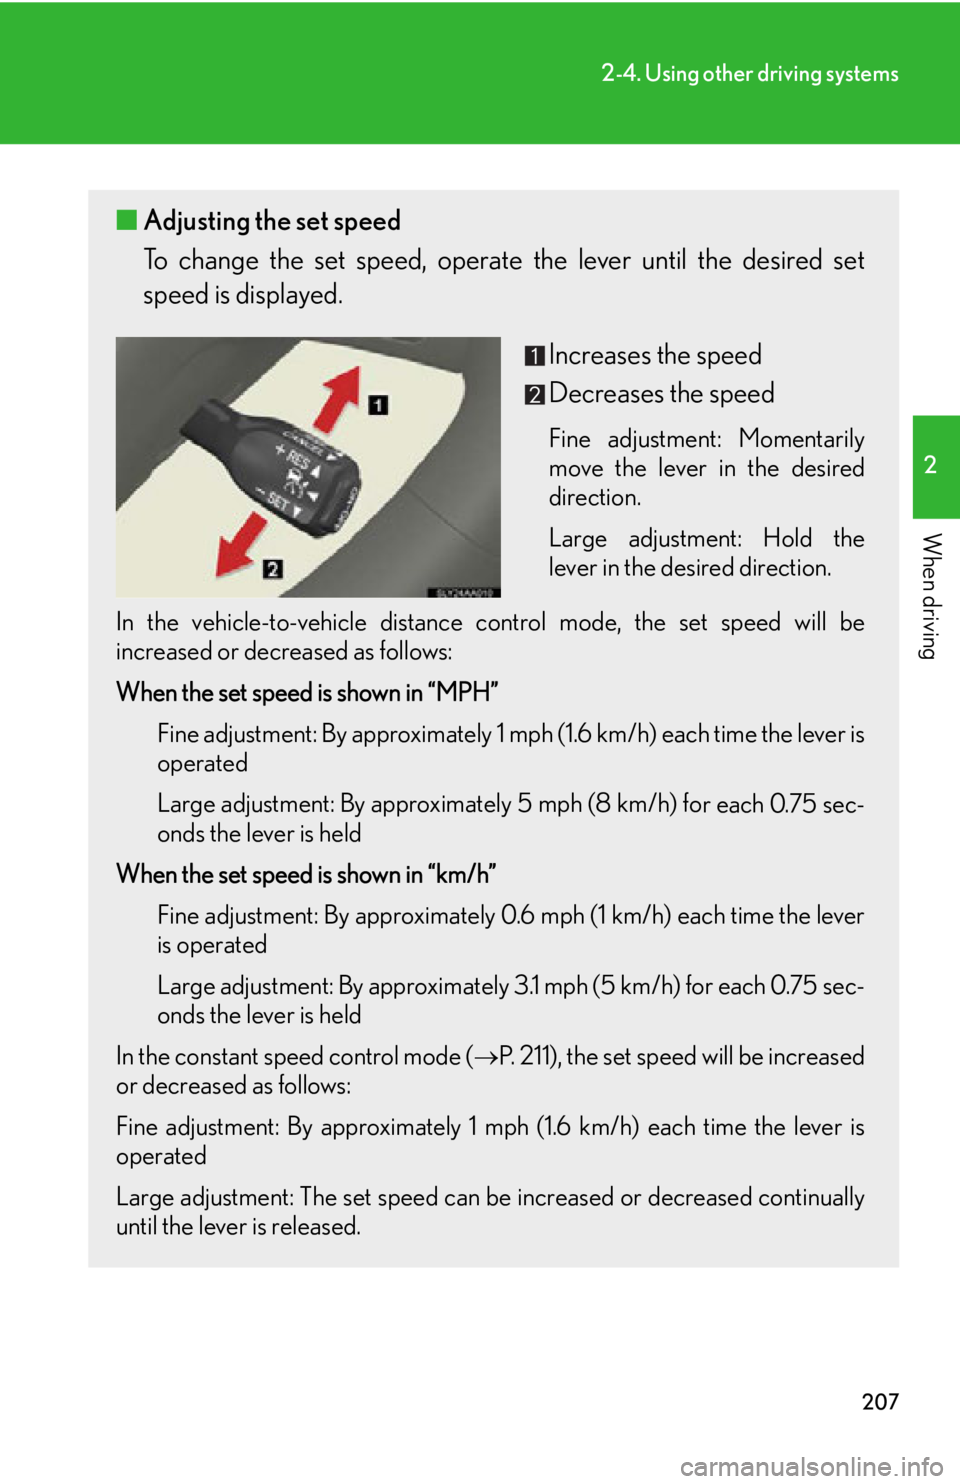
To change the set speed, operate the lever until the desired set
speed is displayed.
Increases the speed
Decreases the speed
Fine adjustment: Momentarily
move the lever in the desired
direction.
Large adjustment: Hold the
le
ver in the desired direction.
In the vehicle-to-vehicle distance contr
ol mode, the set speed will be
increased or decreased as follows:
When the set speed is shown in “MPH”
Fine adjustment: By approximately 1 mp h
(1.6 km/h) each time the lever is
operated
Large adjustment: By approximately 5 mph (8 km/h) fo
r each 0.75 sec-
onds the lever is held
When the set speed is shown in “km/h” Fine adjustment: By approximately 0.6 mph (1 km/h) each time the lever
is oper
ated
Large adjustment: By approximately 3.1 mph (5 km/h) for each 0.75 sec -
onds the lever is held
In the constant speed control mode (
P. 211), the set speed will be increased
or decreased as follows:
Fine adjustment: By approximately 1 mph (1.6 km/h) each time the lever is
oper
ated
Large adjustment: The set speed can be incr
eased or decreased continually
until the lever is released.
Page 224 of 608
224
2-4. Using other driving systems
NOTICE
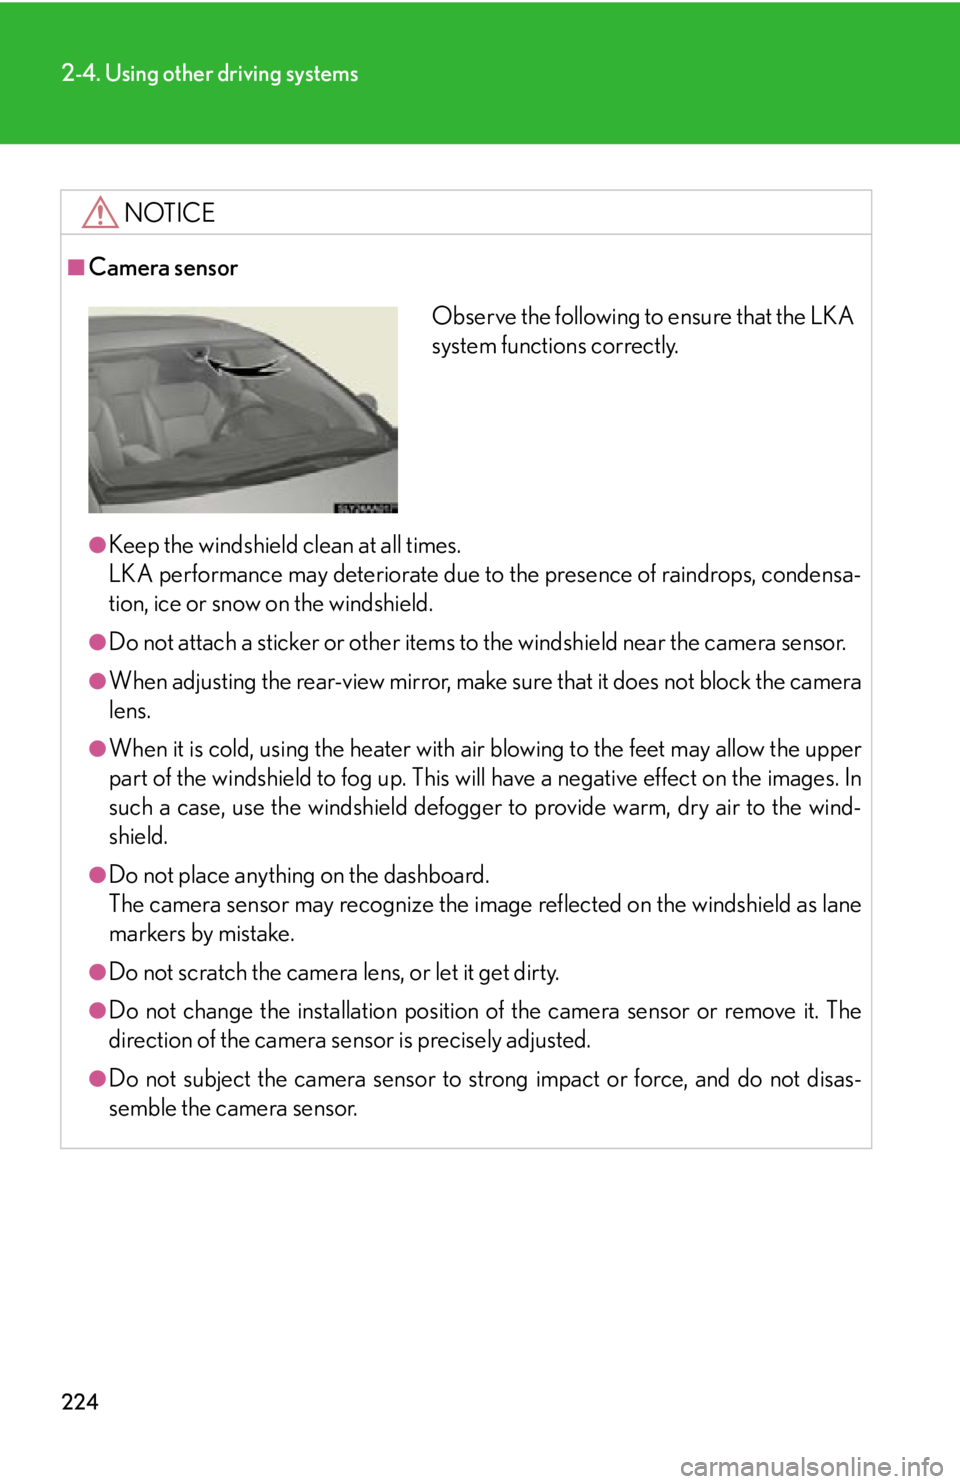
■Camera sensor
●Keep the windshield clean at all times.
LKA performance may deteriorate due to the presence of raindrops, condensa-
tion, ice or snow on the windshield.
●Do not attach a sticker or other items to the windshield near the camera sensor.
●When adjusting the rear-view mirror, make sure that it does not block the camera
lens.
●When it is cold, using the heater with air blowing to the feet may allow the upper
part of the windshield to fog up. This will have a negative effect on the images. In
such a case, use the windshield defogger to provide warm, dry air to the wind-
shield.
●Do not place anything on the dashboard.
The camera sensor may recognize the image reflected on the windshield as lane
markers by mistake.
●Do not scratch the camera lens, or let it get dirty.
●Do not change the installation position of the camera sensor or remove it. The
direction of the camera sensor is precisely adjusted.
●Do not subject the camera sensor to stro ng impact or force, and do not disas-
semble the camera sensor.
Observe the following to ensure that the LKA
system functions correctly.
Page 254 of 608
254
3-1. Using the air conditioning system and defogger
Adjusting the settings manually
■Basic setting
To turn on the air conditioning s
ystem and adjust the fan speed,
press “ ” on to increase the fan speed and “ ” o
n to
decrease the fan speed.
Press to turn the fan off.
To adjust the temperature setting, press “ ” on to increase
the temperature and “ ” to decr
ease the temperature.
When is pressed (the indicator on is on) or the passen-
ger’s side temperature control button is pressed, the temperature for
the driv
er and passenger seats can be adjusted separately.
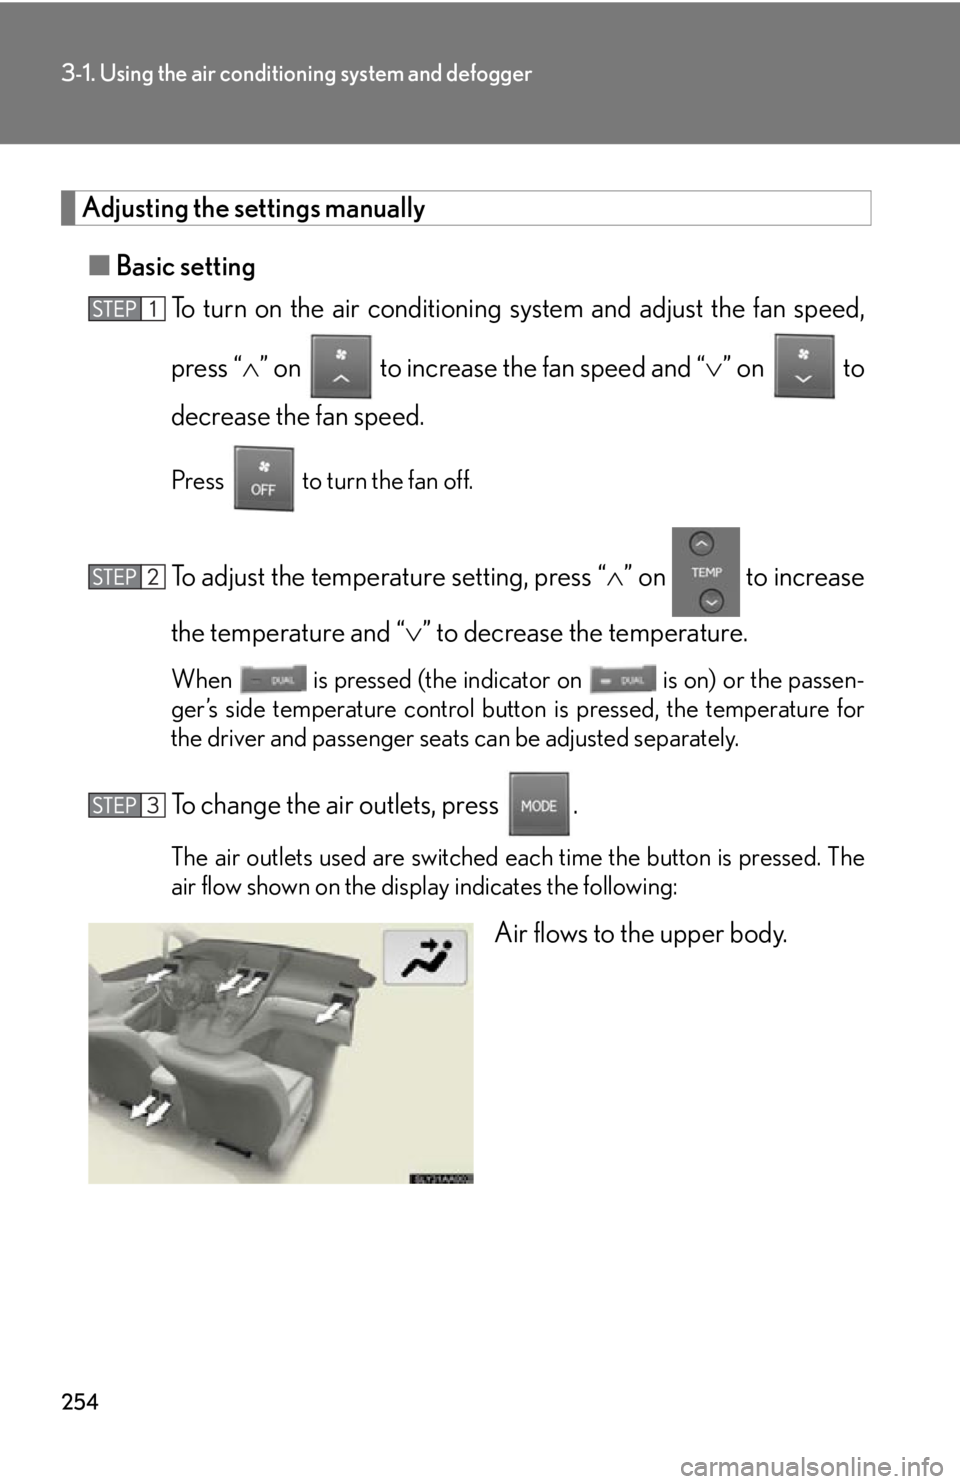
To change the air outlets, press .
The air outlets used are switched each time the button is pressed. The
air flow shown on the display indicates the following:
Air flows to the upper body.
Page 267 of 608
267
3-2. Using the audio system
3
Interior features
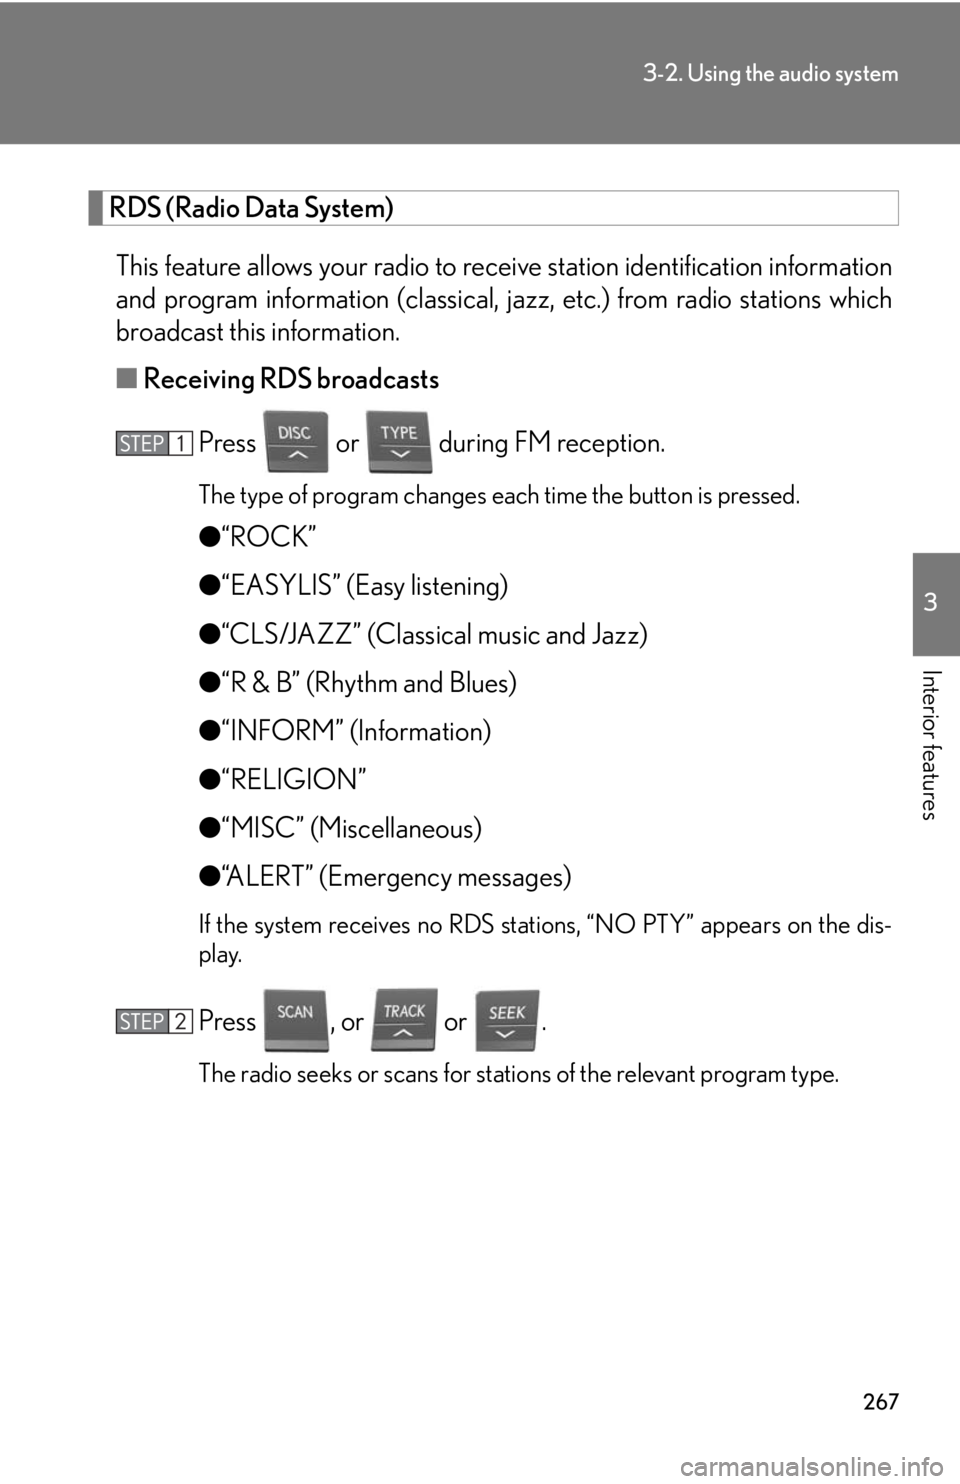
RDS (Radio Data System)
This feature allows your radio to receive station identification information
and program information (classical, ja zz, etc.) from radio stations which
broadcast this information.
■ R
eceiving RDS broadcasts
Press or during FM reception.
The type of program changes each time the button is pressed.
●“ROCK”
● “EA
SYLIS” (Easy listening)
●“
CLS/JAZZ” (Classical music and Jazz)
●“R & B
” (Rhythm and Blues)
●“INF
ORM” (Information)
●“RELIGION”
● “MIS
C” (Miscellaneous)
●“
ALERT” (Emergency messages)
If the system receives no RDS stations, “NO PTY” appears on the dis -
play.
Press , or or .
The radio seeks or scans for stations of the relevant program type.
Page 268 of 608
268
3-2. Using the audio system
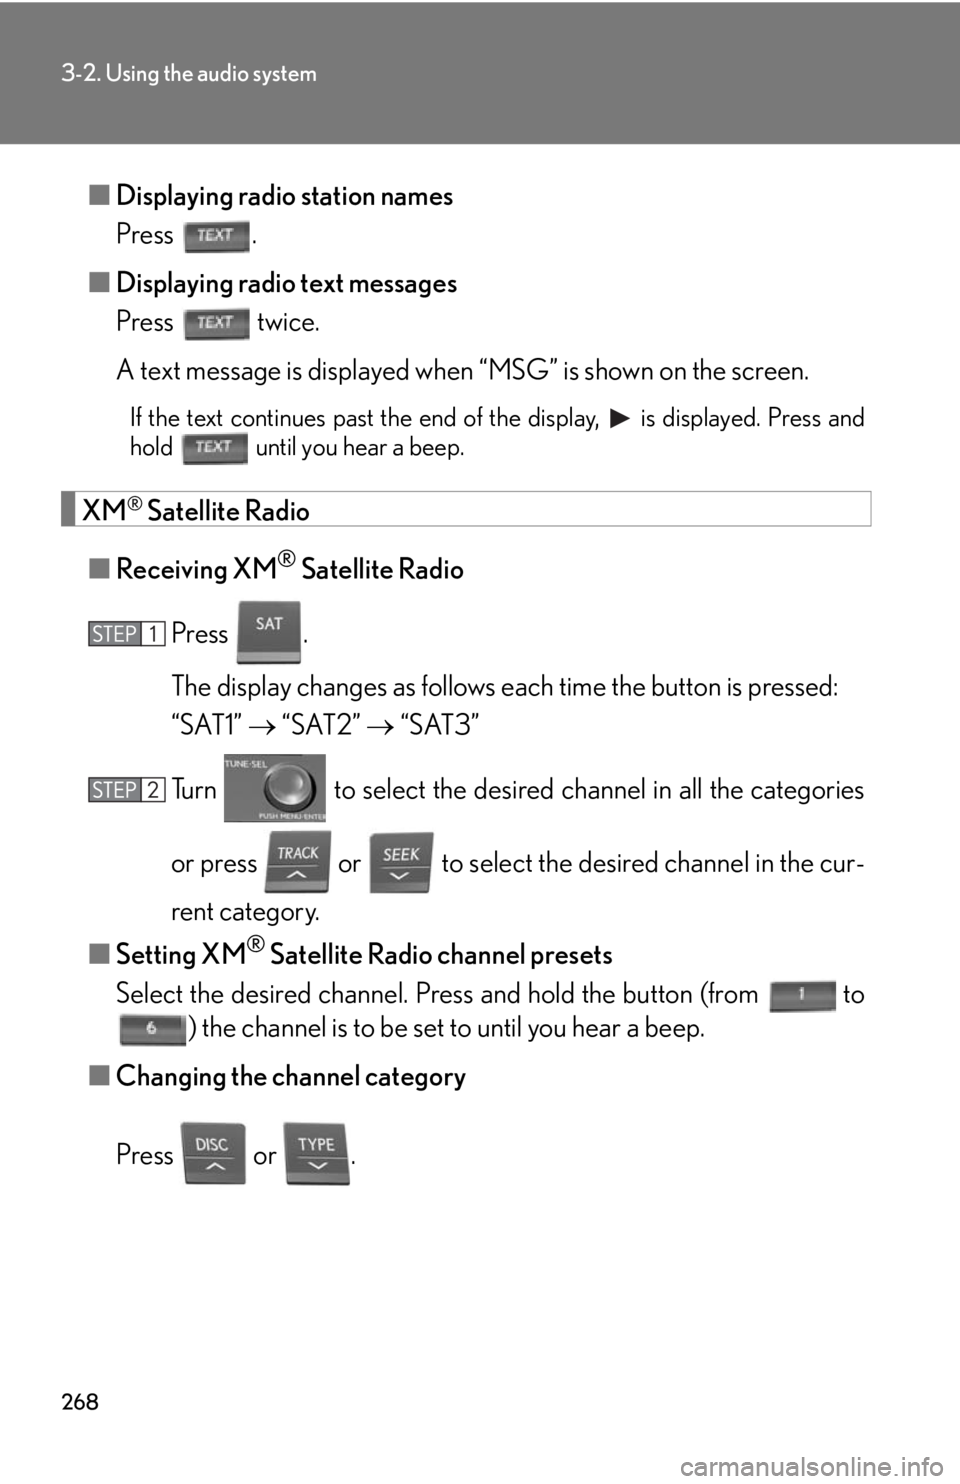
■Displaying radio station names
Press .
■ Displaying r
adio text messages
Press twice.
A text message is displayed when “MS
G” is shown on the screen.
If the text continues past the end of the display, is displayed. Press and
hold until you hear a beep.
XM® Satellite Radio
■ R
eceiving XM® Satellite Radio
Press .
The display changes as follows each time the button is pressed:
“SAT1” “S
AT2” “SAT3”
Turn to select the desired channel in all the categories
or press or to select the desi r
ed channel in the cur -
rent category.
■ Setting XM
® Satellite Radio channel presets
Select the desired channel. Pr es
s and hold the button (from to
) the channel is to be set to until you hear a beep.
■ Changing the channel categor
y
Press or .
Page 269 of 608
269
3-2. Using the audio system
3
Interior features
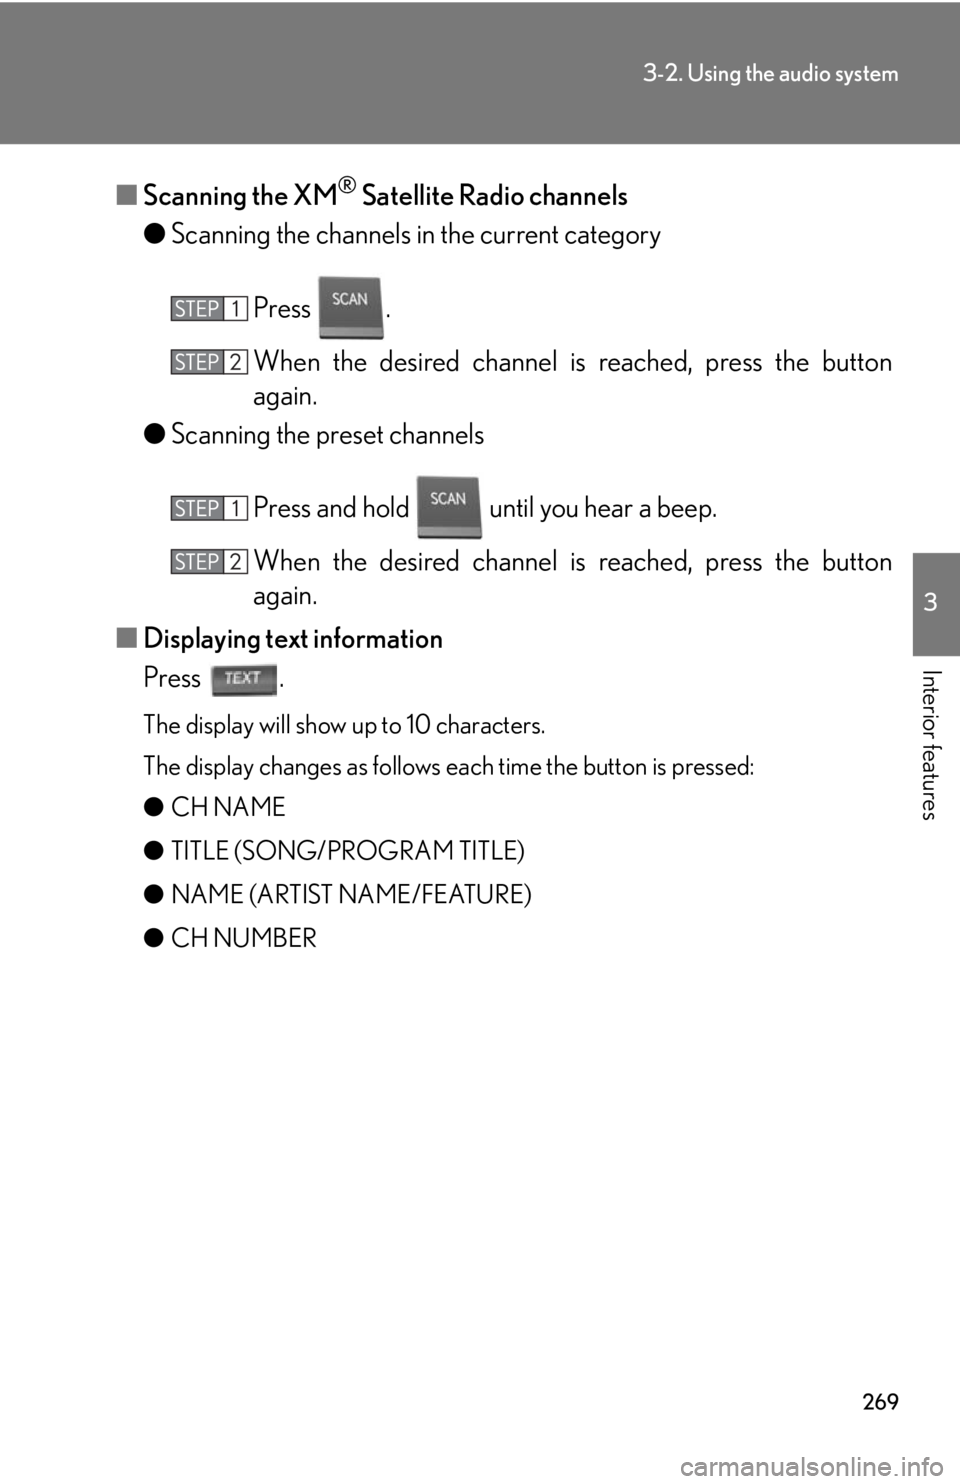
■Scanning the XM® Satellite Radio channels
● Scanning the channels in the curr
ent category
Press .
When the desired channel is r
eached, press the button
again.
● Scanning the pr
eset channels
Press and hold until you hear a beep.
When the desired channel is r
eached, press the button
again.
■ Displaying te
xt information
Press .
The display will show up to 10 characters.
The display changes as follows each time the button is pressed:
●CH NAME
● TI
TLE (SONG/PROGRAM TITLE)
●NAME (AR
TIST NAME/FEATURE)
● CH NUMBER
Page 272 of 608
272
3-2. Using the audio system
Contact the XM® Listener Care Center at 1-877-515-3987.
■Certifications for the radio tuner
This equipment has been tested and found to comply with the limits for a class B
digital device, pursuant to Part 15 of the FCC Rules. These limits are designed to
provide reasonable protection against harmful interference in a residential installa-
tion. This equipment generate s, uses and can radiate radio frequency energy and, if
not installed and used in accordance with the instructions, may cause harmful inter-
ference to radio communications. However, there is no guarantee that interference
will not occur in a particular installation.
If this equipment does cause harmful interf erence to radio or television reception,
which can be determined by turning the eq uipment off and on, the user is encour-
aged to try to correct the interference by trying one or more of the following:
●Reorienting or relocate the receiving antenna.
●Increasing the separation between the equipment and receiver.
●Connecting the equipment into an outlet on a circuit different from that to which
the receiver is connected.
●Consulting the dealer or an experienced radio/TV technician for help.
-----
There is no song/program title or artist name/feature
associated with the channel at that time. No action
needed.
CH UNAVL
The channel you selected is no longer available. Wait
for about 2 seconds until the radio returns to the previ-
ous channel or “CH001”. If it does not change auto-
matically, select another channel.
Page 277 of 608
277
3-2. Using the audio system
3
Interior features
Repeat play
■Repeating a track
Press .
To cancel, press again.
■Repeating all of the tracks on a CD
Press and hold until you hear a beep.
To cancel, press again.
Switching the display
Press .
Each time the button is pressed, the display changes in the following order:
Elapsed time CD title T
rack title
■CD player protection feature
To protect the internal components, play back
is automatically stopped when a
problem is detected.
■Display
Up to 12 characters can be displayed at a time.
If there are 13 or more characters, pressing and holding for 1 second or
more enables to display the remaining characters.
A maximum of 24 characters can be displayed.
If is pressed for more than 1 second again or has not been operated for
more than 6 seconds, the display will return to the first 12 characters.
Depending on the contents recorded, th e char
acters may not be displayed prop-
erly or may not be displayed at all.
Page 284 of 608
284
3-2. Using the audio system
Repeat play
■Repeating a file
Press .
To cancel, press again.
■Repeating all the files in a folder
Press and hold until you hear a beep.
To cancel, press again.
Switching the display
Press .
Each time the button is pressed, the display changes in the following order:
Folder no./File no./Elapsed time Folder name File name Album title
(MP3 only) Track title Artist name
■CD player protection feature
P.
2 7 7
■Display
P.
2 7 7
■When “ERROR”, “WAIT” or “NO MUSIC” is shown on the display
“ERROR”: This indicates a problem either in the CD or inside the player. The CD
may
be dirty, damaged, or inserted up-side down.
“WAIT”: This indicates that operation is st op
ped due to a high temperatures inside
the player. Wait for a while and then press . If the CD still cannot be
played back, contact your Lexus dealer.
“NO MUSIC”: This indicates that an MP3/WMA file is not included in the CD.
■Discs that can be used
P.
2 7 8