buttons Lexus IS F 2011 Owner's Manual
[x] Cancel search | Manufacturer: LEXUS, Model Year: 2011, Model line: IS F, Model: Lexus IS F 2011Pages: 529, PDF Size: 13.89 MB
Page 12 of 529
IS F_EE
12
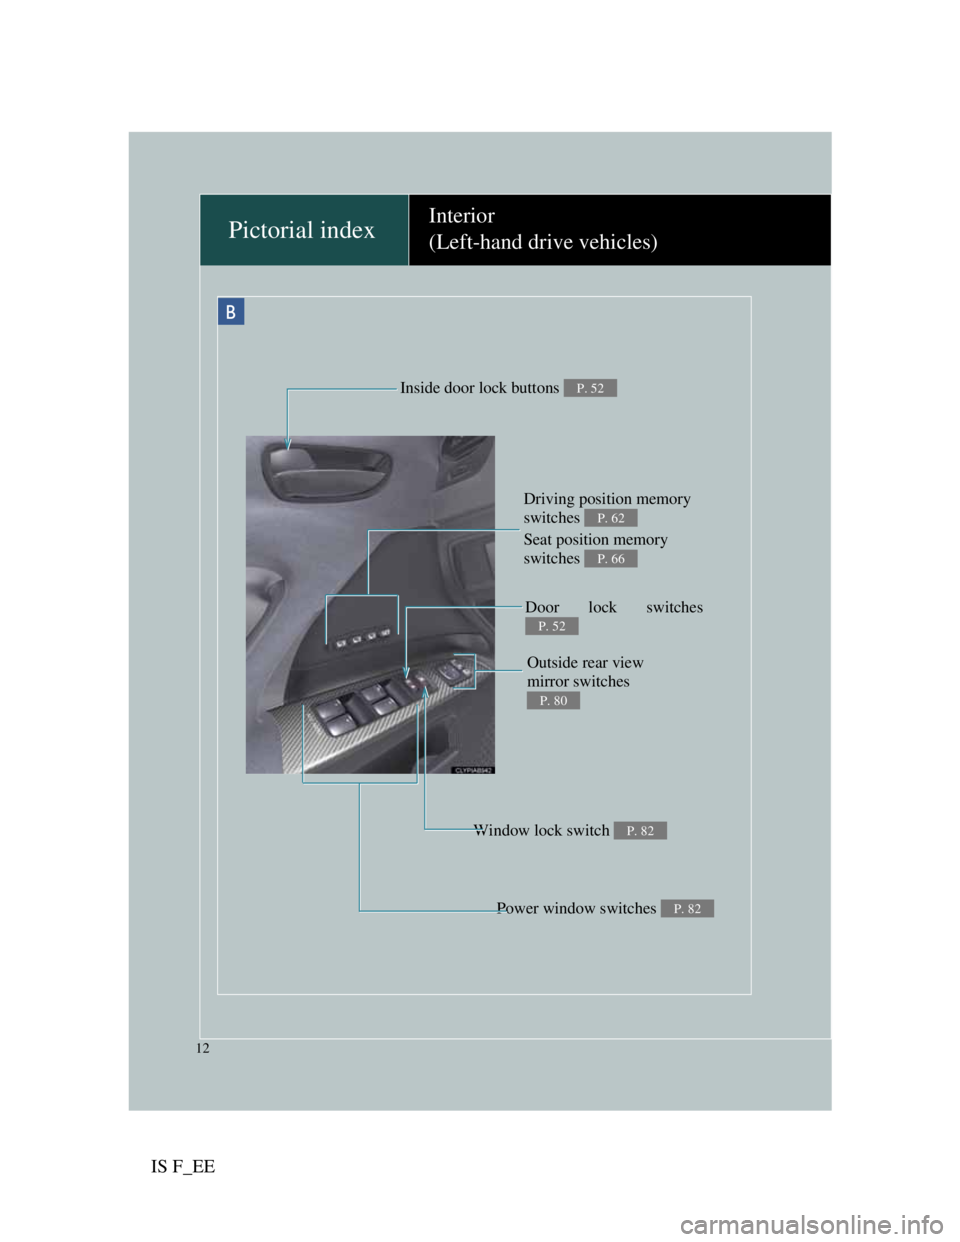
Driving position memory
switches
Seat position memory
switches
P. 62
P. 66
Door lock switches
P. 52
Outside rear view
mirror switches
P. 80
Window lock switch P. 82
Power window switches P. 82
Pictorial indexInterior
(Left-hand drive vehicles)
B
Inside door lock buttons P. 52
Page 20 of 529
IS F_EE
20
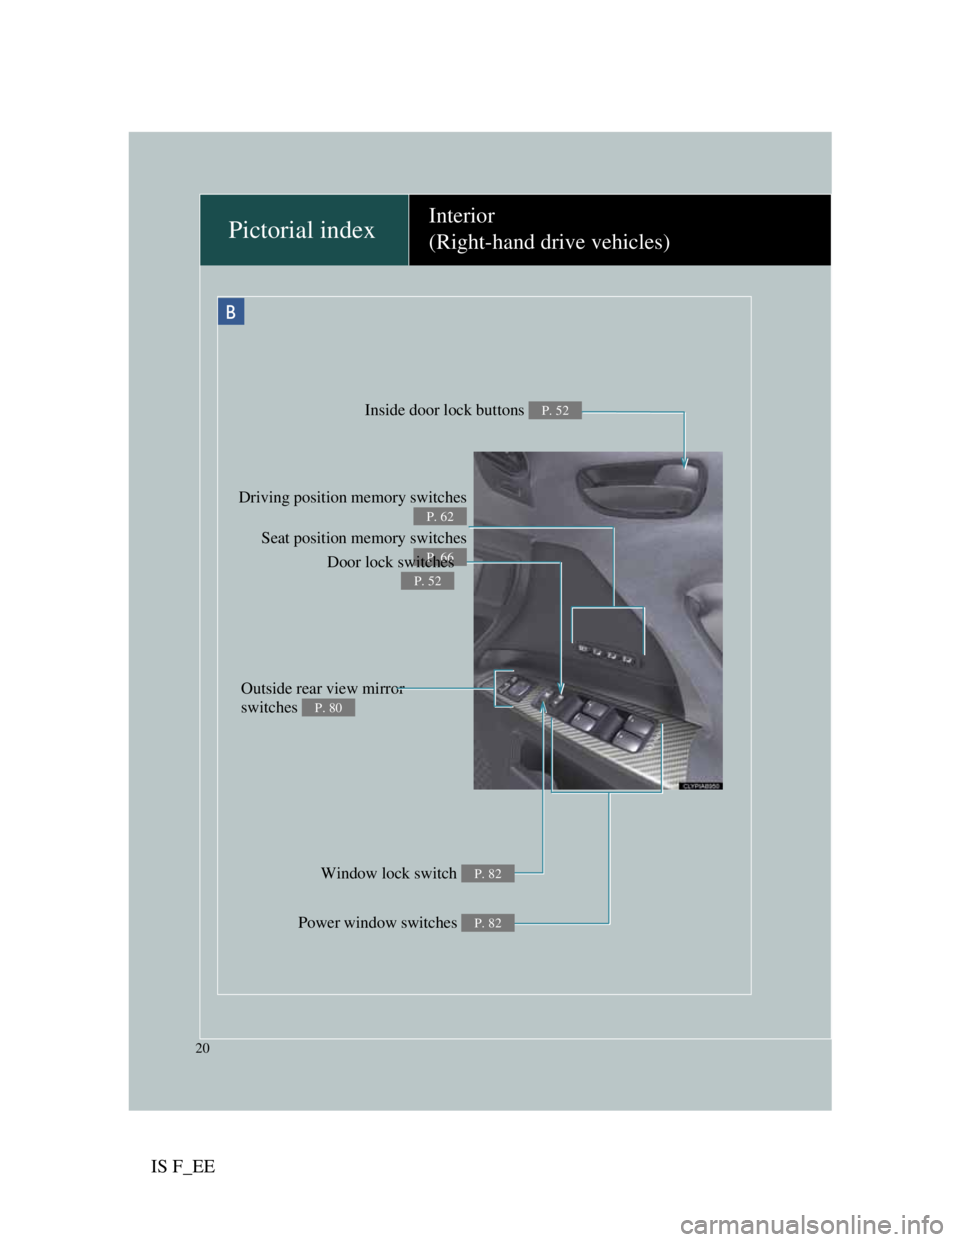
Driving position memory switches
Seat position memory switches
P. 62
P. 66Door lock switches
P. 52
Outside rear view mirror
switches
P. 80
Window lock switch P. 82
Power window switches P. 82
Pictorial indexInterior
(Right-hand drive vehicles)
B
Inside door lock buttons P. 52
Page 34 of 529
34
1-1. Key information
IS F_EE
The card key is not waterproof.
When required to leave a key to the vehicle with a parking attendant
Turn the trunk opener main switch off and lock the glove box as circum-
stances demand. (P. 57, 324)
Remove the mechanical key for your own use and provide the attendant
with the electronic key only.
Key number plate
Keep the plate in a safe place such as your wallet, not in the vehicle. In the
event that a mechanical key is lost, a new key can be made by any autho-
rized Lexus dealer or repairer, or another duly qualified and equipped pro-
fessional, using the key number plate. (P. 457)
When riding in an aircraft
When bringing an electronic key onto an aircraft, make sure you do not
press any buttons on the electronic key while inside the aircraft cabin. If you
are carrying an electronic key in your bag etc, ensure that the buttons are not
likely to be pressed accidentally. Pressing a button may cause the electronic
key to emit radio waves that could interfere with the operation of the air-
craft.
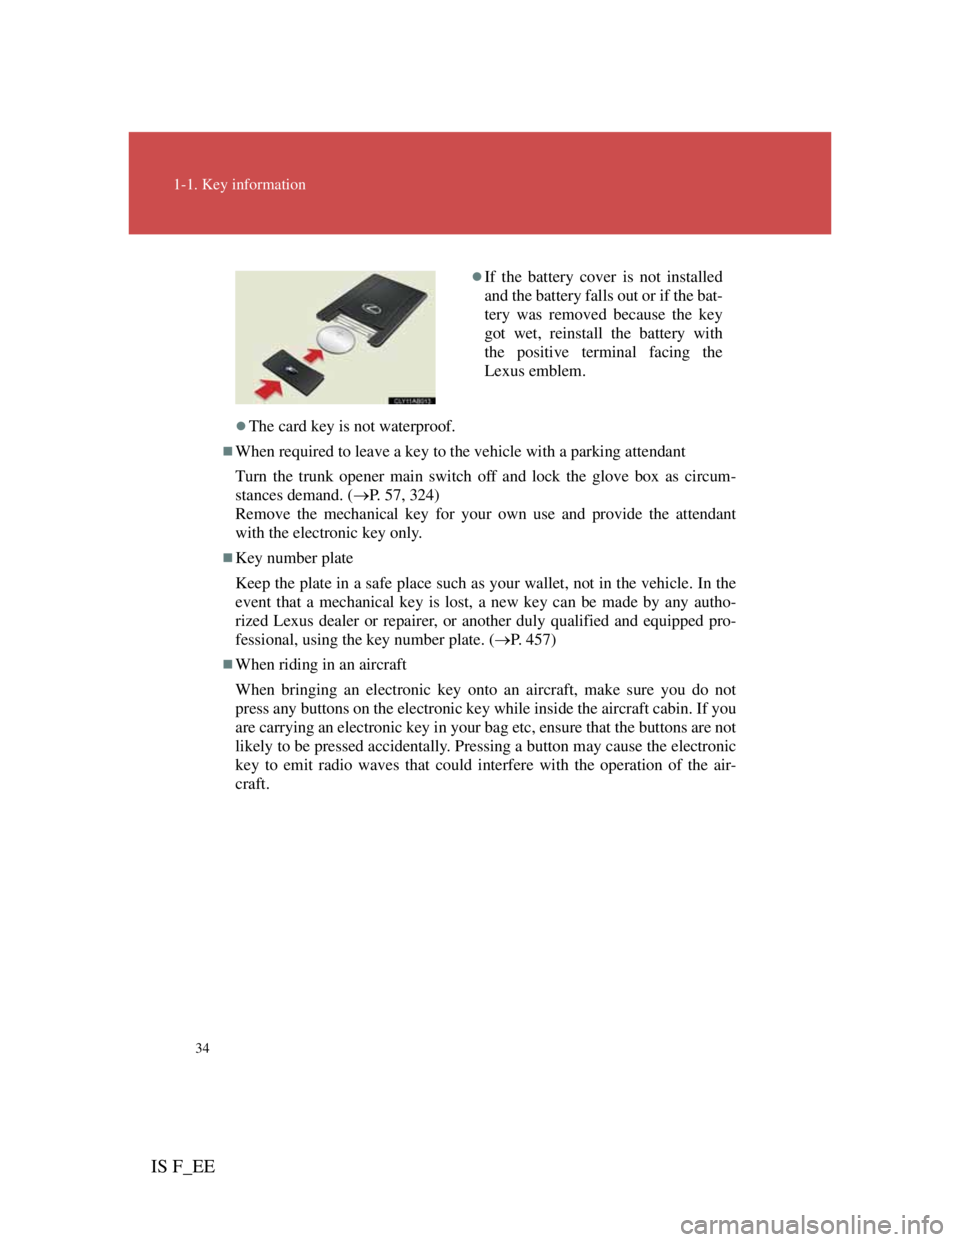
If the battery cover is not installed
and the battery falls out or if the bat-
tery was removed because the key
got wet, reinstall the battery with
the positive terminal facing the
Lexus emblem.
Page 45 of 529
42
1-2. Opening, closing and locking the doors and trunk
IS F_EE
Switching the door unlock function
It is possible to set which doors the entry function unlocks.
Turn the “ENGINE START STOP” switch OFF.
Cancel the intrusion sensor of the alarm system to prevent unin-
tended triggering of the alarm during the setting change. (P. 97)
When the indicator on the key surface is turned off, push and
hold or for approximately 5 seconds while pushing
on the key.
The setting changes each time an operation is performed, as shown below.
(When changing the setting continuously, release the buttons, wait for at
least 5 seconds, and repeat step 3.)
To prevent unintended triggering of the alarm, unlock the doors using the
wireless remote control and open and close a door once after the settings
have been changed. (If a door is not opened within 30 seconds after is
pressed, the doors will be locked again and the alarm will automatically be
set.)
In case that the alarm is triggered, immediately stop the alarm. (P. 9 7 )
STEP1
STEP2
STEP3
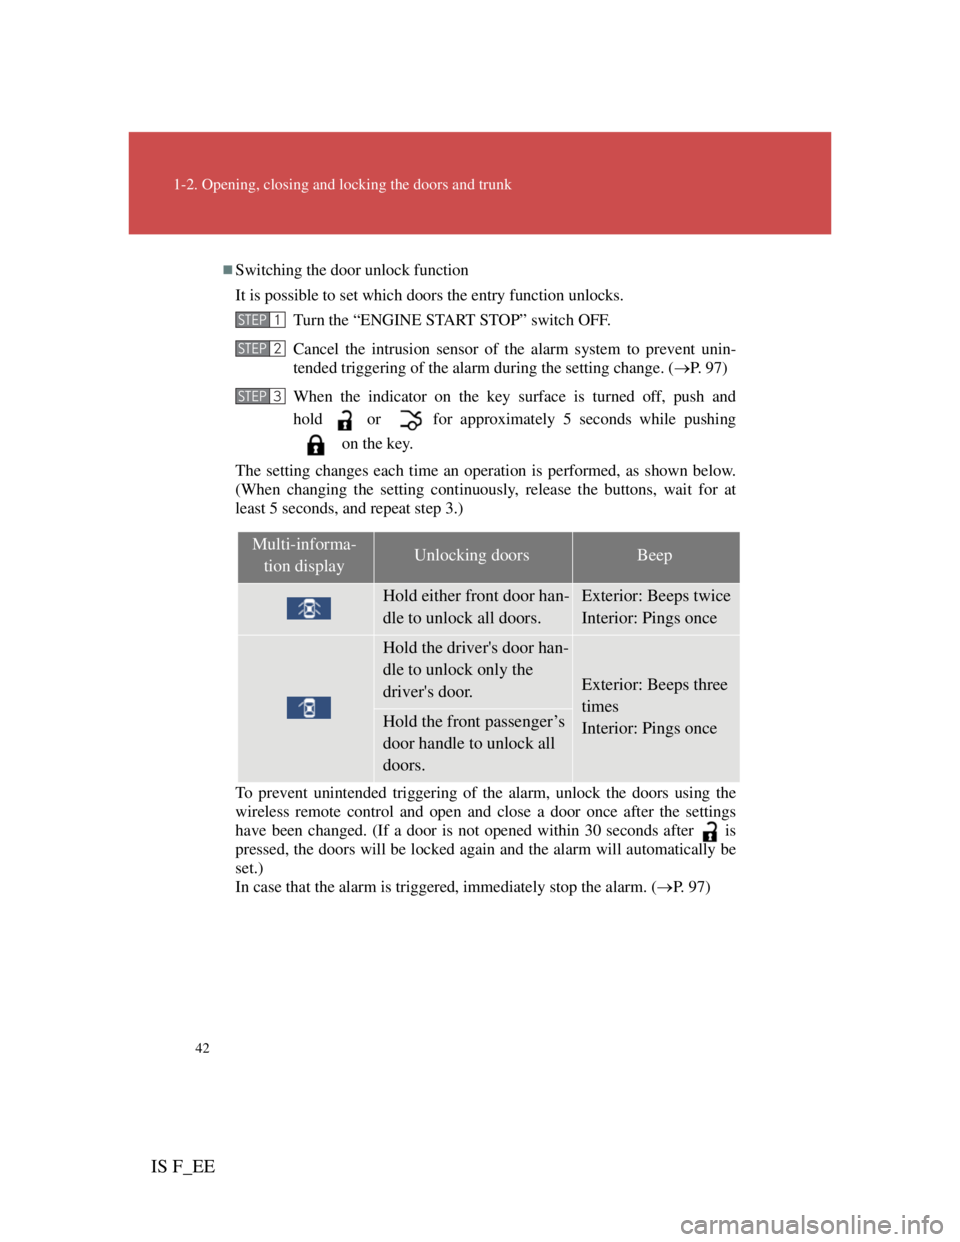
Multi-informa-
tion displayUnlocking doorsBeep
Hold either front door han-
dle to unlock all doors.Exterior: Beeps twice
Interior: Pings once
Hold the driver's door han-
dle to unlock only the
driver's door.
Exterior: Beeps three
times
Interior: Pings once
Hold the front passenger’s
door handle to unlock all
doors.
Page 61 of 529
58
1-2. Opening, closing and locking the doors and trunk
IS F_EE
Impact detection door lock release system
In the event that the vehicle is subject to a strong impact, all the doors are
unlocked. Depending on the force of the impact or the type of accident,
however, the system may not operate.
Using the mechanical key
The doors can also be locked and unlocked with the mechanical key. (P.
458)
Customization that can be configured at any authorized Lexus dealer or
repairer, or another duly qualified and equipped professional
Settings (e.g. unlocking function using a key) can be changed.
(Customizable features P. 484)
CAUTION
To prevent an accident
Observe the following precautions while driving the vehicle.
Failing to do so may result in a door opening and an occupant falling out,
resulting in death or serious injury.
Always use a seat belt.
Ensure that all doors are properly closed.
Do not pull the inside handle of the doors while driving.
The doors may be opened and the passengers may be thrown out of the
vehicle, resulting in death or serious injury.
Be especially careful for the front doors, as the doors may be opened even
if the inside lock buttons are in locked position.
Set the rear door child protector locks when children are seated in the rear
seat.
Page 74 of 529

69
1-3. Adjustable components (seats, mirrors, steering wheel)
1
Before driving
IS F_EE
Removing the head restraints (rear seats)
Adjusting the height of the head restraints
When using the rear seat head restraints
Make sure the head restraints are not in the stowed/folded position while in
use.
CAUTION
Head restraint precautions
Observe the following precautions regarding the head restraints. Failure to
do so may result in death or serious injury.
Use the head restraints designed for each respective seat.
Adjust the head restraints to the correct position at all times.
After adjusting the head restraints, push down on them and make sure
they are locked in position.
Do not drive with the head restraints removed.
Pull the head restraint up while pushing
both of the lock release buttons.
Lock release but-
Make sure that the head restraints are
adjusted so that the center of the head
restraint is closest to the top of your ears.
Page 132 of 529

124
1-7. Safety information
IS F_EE
Installing child restraints
Follow the child restraint system manufacturer's instructions. Firmly
secure child restraints to the rear seats using a seat belt or a ISOFIX
rigid anchors (ISOFIX child restraint system). Attach the top strap
when installing a child restraint.
Installation with a seat belt
(P. 125)
ISOFIX rigid anchors (ISO-
FIX child restraint system)
(P. 128)
These exclusive fixing bars
are provided for the rear
seats. (Buttons displaying the
location of the anchors are
attached to the seats.)
Anchor bracket
(for top strap) (P. 128)
Anchor brackets are provided
for each rear seat.