seats Lexus IS250 2007 Basic Functions / LEXUS 2007 IS350/250 QUICK REFERENCE MANUAL
[x] Cancel search | Manufacturer: LEXUS, Model Year: 2007, Model line: IS250, Model: Lexus IS250 2007Pages: 54, PDF Size: 3.21 MB
Page 1 of 54

1
When Driving
Topic 3
Entering and Exiting
Topic 1
Before Driving
Topic 2
Overview
Contents
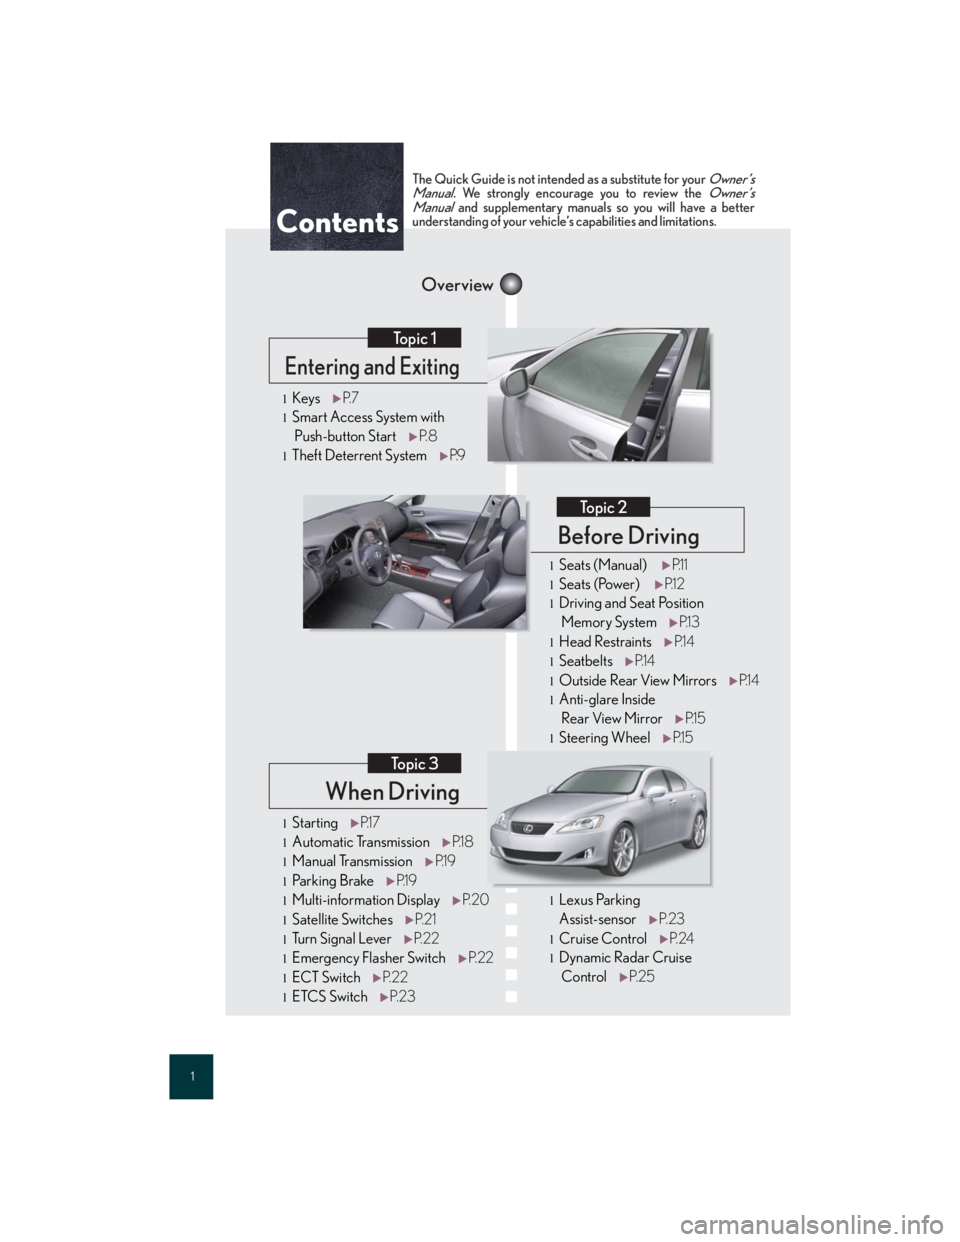
lStartingP.1 7
lAutomatic Transmission P.1 8
lManual TransmissionP.1 9
lPa r k i n g B r a keP.1 9
lMulti-information Display P. 2 0
lSatellite SwitchesP. 2 1
lTu r n S i g n a l L e v e rP. 2 2
lEmergency Flasher Switch P. 2 2
lECT SwitchP. 2 2
lETCS Switch P. 2 3
lKeysP. 7
lSmart Access System with
Push-button Start P. 8
lTheft Deterrent System P.9
The Quick Guide is not intended as a substitute for your Owner’s
Manual. We strongly encourage you to review the Owner’s
Manual and supplementary manuals so you will have a better
understanding of your vehicle’ s capabilities and limitations.
lLexus Parking
Assist-sensorP. 2 3
lCruise Control P. 2 4
lDynamic Radar Cruise
Control P. 2 5
lSeats (Manual) P.1 1
lSeats (Power) P.1 2
lDriving and Seat Position
Memory System P.1 3
lHead RestraintsP.1 4
lSeatbeltsP.1 4
lOutside Rear View Mirrors P.1 4
lAnti-glare Inside
Rear View Mirror P.1 5
lSteering WheelP.1 5
53588U_IS_01.book Page 1 Friday, October 28, 2016 9:51 AM
Page 10 of 54

Before DrivingTopic 2
Seats (Manual) ........................................................ 11
Seats (Power).......................................................... 12
Driving and Seat Position
Memory System .................................................... 13
Head Restraints ..................................................... 14
Seatbelts................................................................... 14
Outside Rear View Mirrors ............................... 14
Anti-glare Inside Rear View Mirror................. 15
Steering Wheel ...................................................... 15
53588U_IS_01.book Page 10 Friday, October 28, 2016 9:51 AM
Page 11 of 54

Topic 2
Before Driving
11
Seats (Manual)
nAdjusting seat position
With the lever raised, slide the seat forward or
backward.
nAdjusting seatback angle
With the lever raised, tilt the seatback forward or
backward.
nAdjusting seat height
Raises the seat
Lowers the seat
nAdjusting the front of the seat cushion
Raises the front of the seat cushion
Lowers the front of the seat cushion
1
2
1
2
53588U_IS_01.book Page 11 Friday, October 28, 2016 9:51 AM
Page 12 of 54

Topic 2
Before Driving
12
Entering and Exiting
Before Driving
When Driving
Rain and
Night Driving
Driving Comfort
Opening and Closing
What to do if ...
Customizing
Yo u r L e x u s
Seats (Power)
nAdjusting seat position
Moves the seat forward
Moves the seat backward
nAdjusting seatback angle
Tilts the seatback forward
Reclines the seatback
nAdjusting the seat cushion
Raises and lowers the front of the cushion
Raises and lowers the entire seat
nAdjusting the lumbar support
Firmer
Softer
1
2
1
2
1
2
1
2
53588U_IS_01.book Page 12 Friday, October 28, 2016 9:51 AM
Page 13 of 54

Topic 2
Before Driving
13
Driving and Seat Position Memory System (If Equipped)
nSetting memory positions
While holding down the SET button, press and
hold one of the memory buttons (1, 2, or 3) until
you hear a beep.
The current position of the seat, as well as the
position of the steering wheel and the outside
rear view mirrors (for the driver's seat only) is
recorded.
nRecalling memory positions
Press one of the memory buttons (1, 2, or 3).
nLinking driving position memory with door unlock operation (driver's seat only)
While holding down the desired memory button,
press and hold either the or button on
the wireless remote control until you hear a beep.
The seats can be returned to a previously set position by simply pressing a button.
The position of the steering wheel and the outside rear view mirrors is adjusted along with the
driver's seat.
Positions can be conveniently recorded for the vehicle's primary drivers and passengers.
Linking driving position memory to the door unlock operation allows the memory position
to be recalled automatically when the driver's door is opened. (The linked function does not
operate if the driver's door is unlocked using the mechanical key or manually from inside
the vehicle.)
53588U_IS_01.book Page 13 Friday, October 28, 2016 9:51 AM
Page 14 of 54

Topic 2
Before Driving
14
Entering and Exiting
Before Driving
When Driving
Rain and
Night Driving
Driving Comfort
Opening and Closing
What to do if ...
Customizing
Yo u r L e x u s
Head Restraints
nVertical adjustment
To r a i s e: push the head restraint upward.
To l o w e r: push the head restraint down while
pressing the lock release button.
Seatbelts
nAdjusting shoulder belt height (front seats only)
To r a i s e: pull the anchor upward.
To l o w e r: depress the button and push the anchor
down.
nSeatbelt comfort guides (outside rear seats only)
If the shoulder belt sits close to the neck, slide the
comfort guide forward.
Outside Rear View Mirrors
To select the mirror you wish to adjust (L or R),
use the master switch.
To adjust mirror angle, use the control switch.
On some models, the mirrors will automatically
angle downwards when the vehicle is reversing.
To disable this function, set the master switch in
the neutral position (between L and R).
Lock
release
button
53588U_IS_01.book Page 14 Friday, October 28, 2016 9:51 AM