change time Lexus IS250 2008 Using the air conditioning system and defogger / LEXUS 2008 IS250 OWNER'S MANUAL (OM53699U)
[x] Cancel search | Manufacturer: LEXUS, Model Year: 2008, Model line: IS250, Model: Lexus IS250 2008Pages: 464, PDF Size: 6.61 MB
Page 16 of 464

16
For your information
Main Owners Manual
Please note that this manual applies to all models and explains all equipment, includ-
ing options. Therefore, you may find some explanations for equipment not installed
on your vehicle.
All specifications provided in this manual are current at the time of printing. How-
ever, because of the Lexus policy of continual product improvement, we reserve the
right to make changes at any time without notice.
Depending on specifications, the vehicle sh own in the illustration may differ from
your vehicle in terms of color and equipment.
Accessories, spare parts and modification of your Lexus
A wide variety of non-genuine spare parts and accessories for Lexus vehicles are
currently available in the market. You should know that Toyota does not warrant
these products and is not responsible for their performance, repair, or replacement,
or for any damage they may cause to, or adverse effect they may have on, your
Lexus vehicle.
This vehicle should not be modified with non-genuine Lexus products. Modification
with non-genuine Lexus products could affect its performance, safety or durability,
and may even violate governmental regula tions. In addition, damage or perfor-
mance problems resulting from the modification may not be covered under war-
ranty.
Installation of a mobile two-way radio system
As the installation of a mobile two-way radio system in your vehicle could affect
electronic systems such as the multiport fuel injection system/sequential multiport
fuel injection system, cruise control syst em, anti-lock brake system, SRS airbag sys-
tem and seat belt pretensioner system, be sure to check with your Lexus dealer for
precautionary measures or special instructions regarding installation.
Page 27 of 464
27
1-2. Opening, closing and locking the doors and trunk
1
Before driving
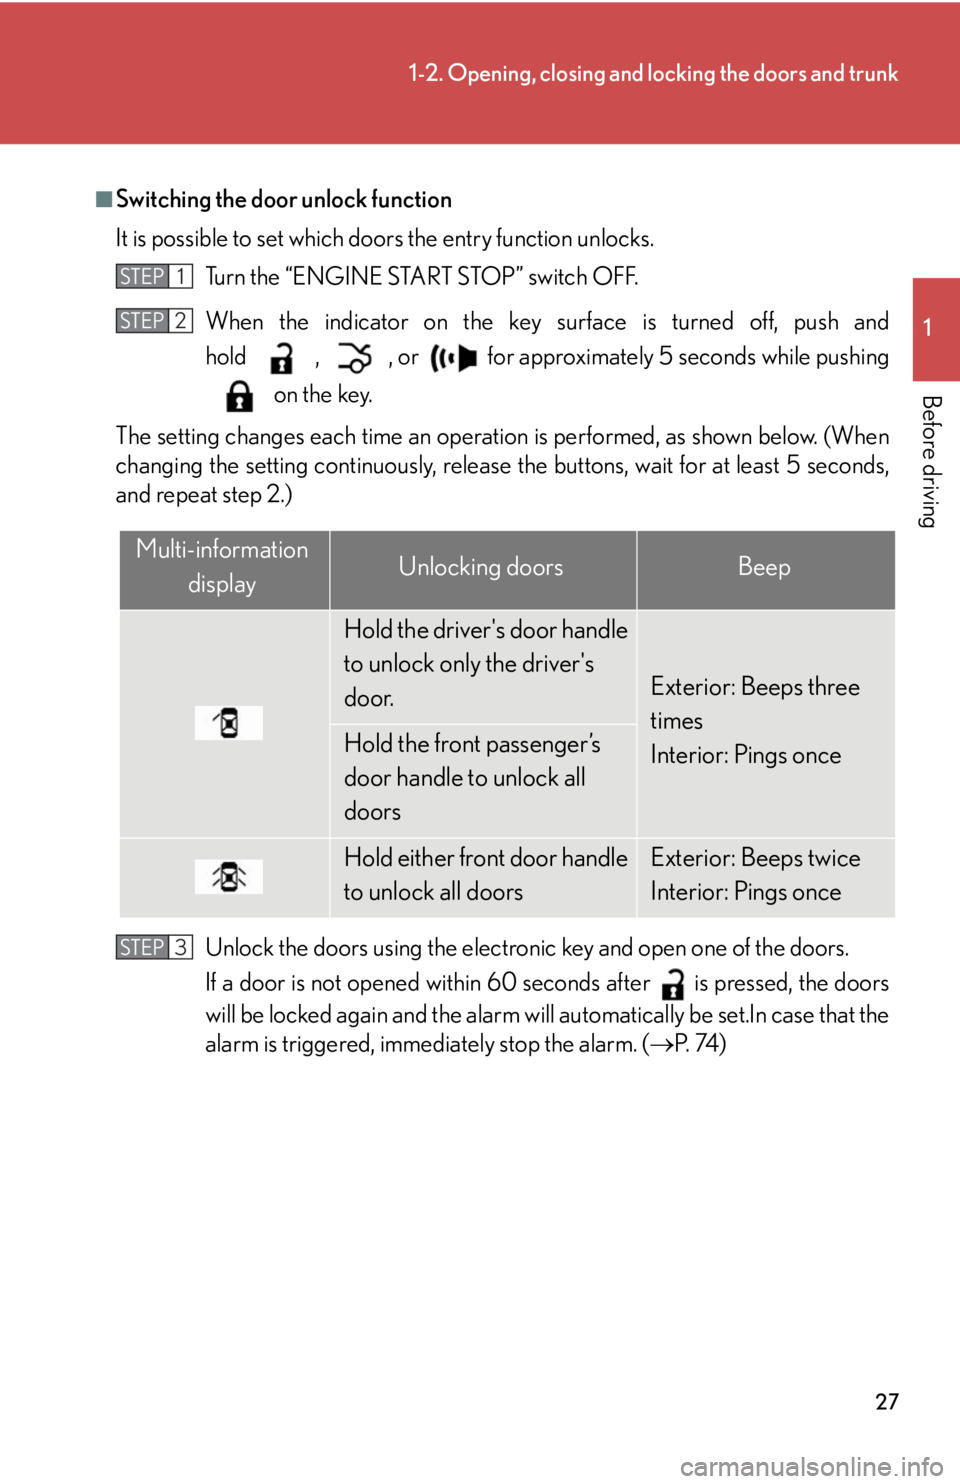
■Switching the door unlock function
It is possible to set which doors the entry function unlocks. Turn the “ENGINE START STOP” switch OFF.
When the indicator on the key surface is turned off, push and
hold , , or for approximately 5 seconds while pushingon the key.
The setting changes each time an operatio n is performed, as shown below. (When
changing the setting continuously, release the buttons, wait for at least 5 seconds,
and repeat step 2.)
Unlock the doors using the electron ic key and open one of the doors.
If a door is not opened within 60 seconds after is pressed, the doors
will be locked again and the alarm will automatically be set.In case that the
alarm is triggered, immediately stop the alarm. ( P. 74 )
STEP1
STEP2
Multi-information
displayUnlocking doorsBeep
Hold the driver's door handle
to unlock only the driver's
door.
Exterior: Beeps three
times
Interior: Pings once
Hold the front passenger’s
door handle to unlock all
doors
Hold either front door handle
to unlock all doorsExterior: Beeps twice
Interior: Pings once
STEP3
Page 134 of 464
134
2-2. Instrument cluster
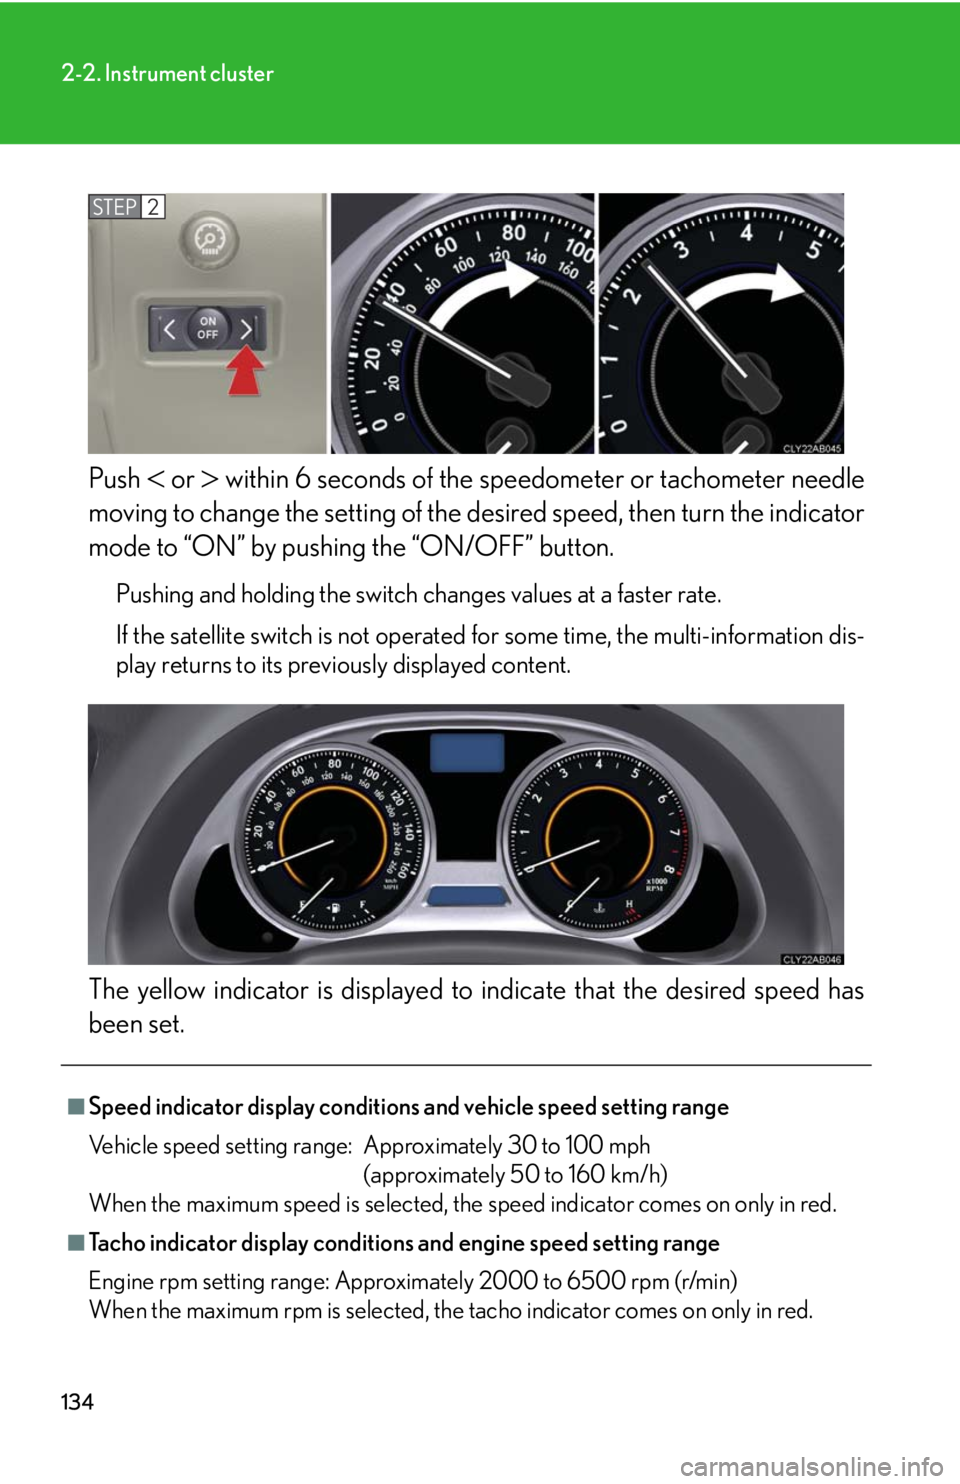
Push or within 6 seconds of the speedometer or tachometer needle
moving to change the setting of the desired speed, then turn the indicator
mode to “ON” by pushing the “ON/OFF” button.
Pushing and holding the switch changes values at a faster rate.
If the satellite switch is not operated for some time, the multi-information dis-
play returns to its previously displayed content.
The yellow indicator is displayed to indicate that the desired speed has
been set.
STEP2
■Speed indicator display conditions and vehicle speed setting range
Vehicle speed setting range: Approximately 30 to 100 mph (approximately 50 to 160 km/h)
When the maximum speed is selected, the speed indicator comes on only in red.
■Tacho indicator display conditions and engine speed setting range
Engine rpm setting range: Approximately 2000 to 6500 rpm (r/min)
When the maximum rpm is selected, the tacho indicator comes on only in red.
Page 205 of 464
205
3-2. Using the audio system
3
Interior features
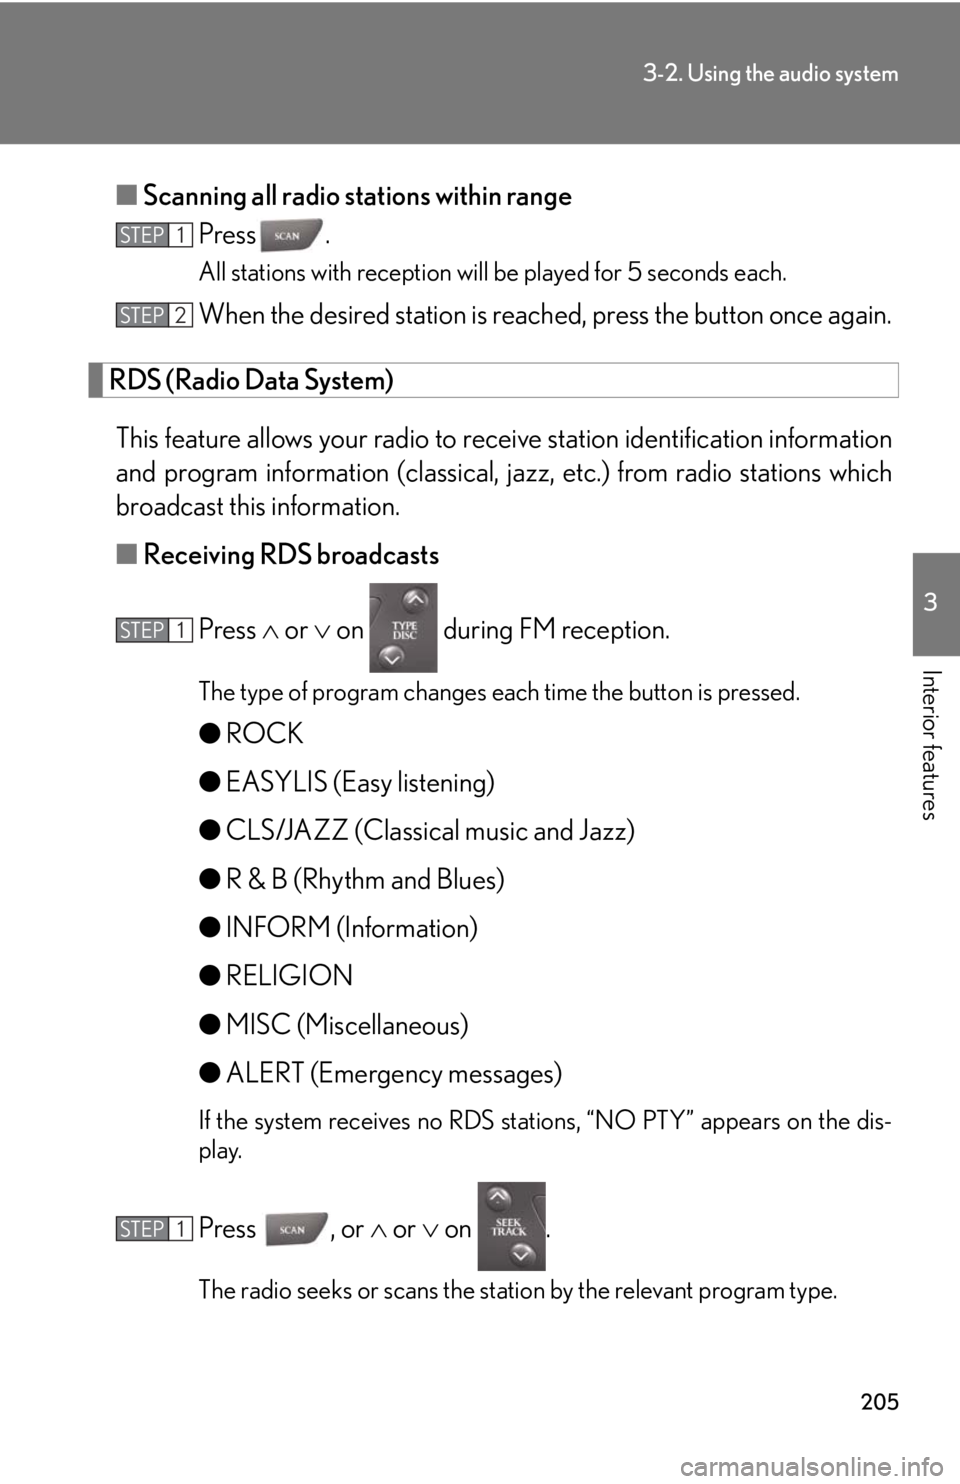
■Scanning all radio stations within range
Press .
All stations with reception will be played for 5 seconds each.
When the desired station is reach ed, press the button once again.
RDS (Radio Data System)
This feature allows your radio to receive station identification information
and program information (classical, ja zz, etc.) from radio stations which
broadcast this information.
■ Receiving RDS broadcasts
Press or on during FM reception.
The type of program changes each time the button is pressed.
● ROCK
● EASYLIS (Easy listening)
● CLS/JAZZ (Classical music and Jazz)
● R & B (Rhythm and Blues)
● INFORM (Information)
● RELIGION
● MISC (Miscellaneous)
● ALERT (Emergency messages)
If the system receives no RDS stations, “NO PTY” appears on the dis-
play.
Press , or or on .
The radio seeks or scans the station by the relevant program type.
STEP1
STEP2
STEP1
STEP1
Page 206 of 464
206
3-2. Using the audio system
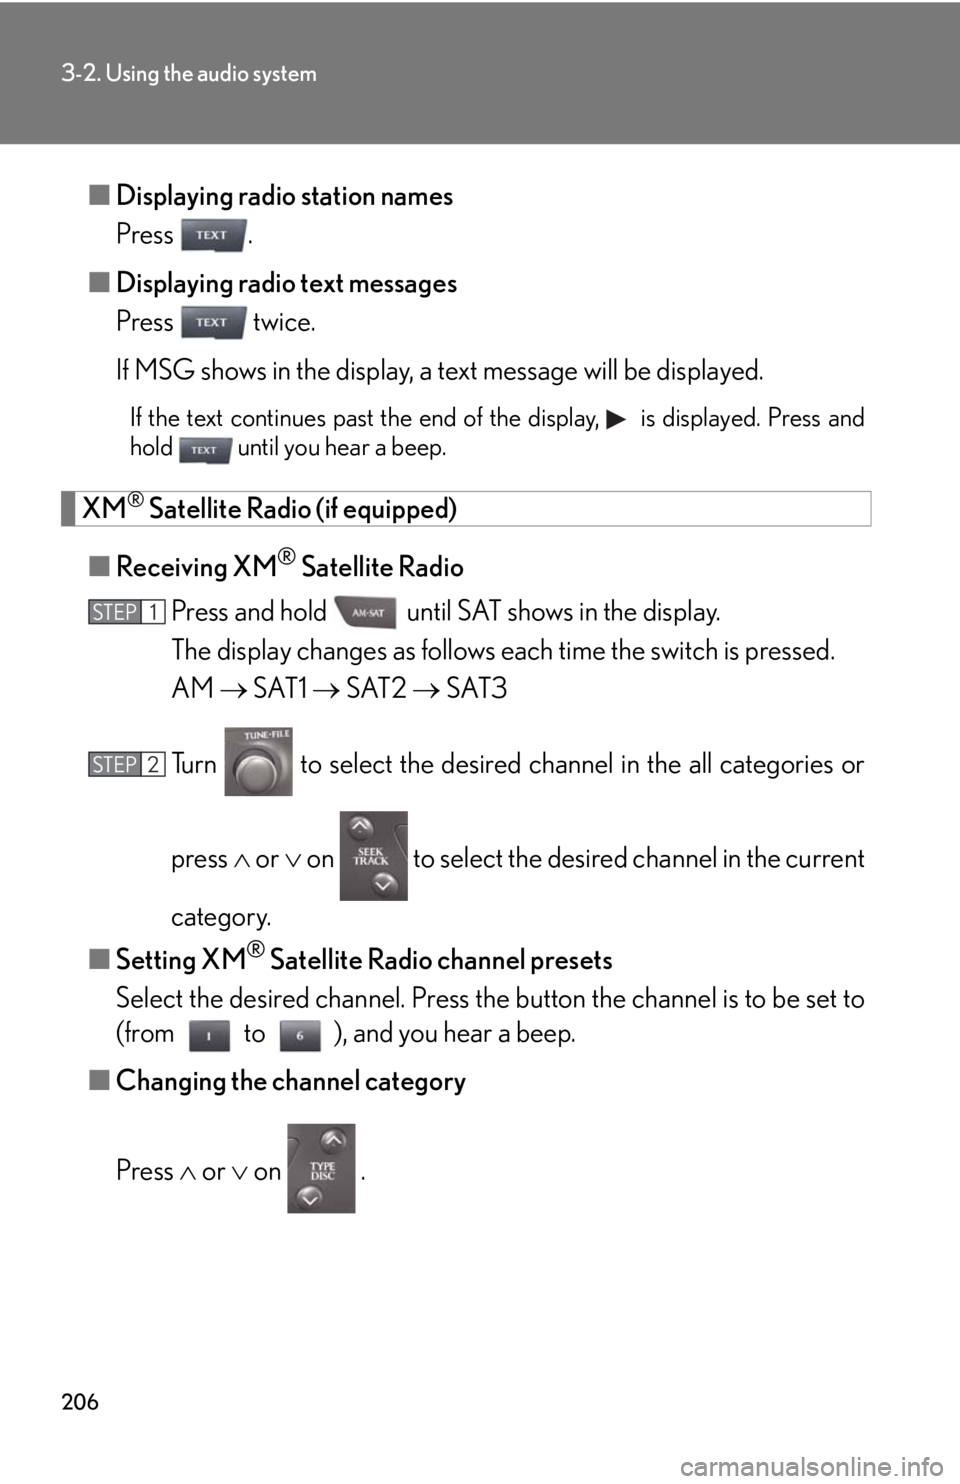
■Displaying radio station names
Press .
■ Displaying radio text messages
Press twice.
If MSG shows in the display, a text message will be displayed.
If the text continues past the end of the display, is displayed. Press and
hold until you hear a beep.
XM® Satellite Radio (if equipped)
■ Receiving XM
® Satellite Radio
Press and hold until SAT shows in the display.
The display changes as follows each time the switch is pressed.
AM SAT1 SAT2 SAT3
Turn to select the desired channel in the all categories or
press or on to select the desired channel in the current
category.
■ Setting XM
® Satellite Radio channel presets
Select the desired channel. Press the button the channel is to be set to
(from to ), and you hear a beep.
■ Changing the channel category
Press or on .
STEP1
STEP2
Page 207 of 464
207
3-2. Using the audio system
3
Interior features
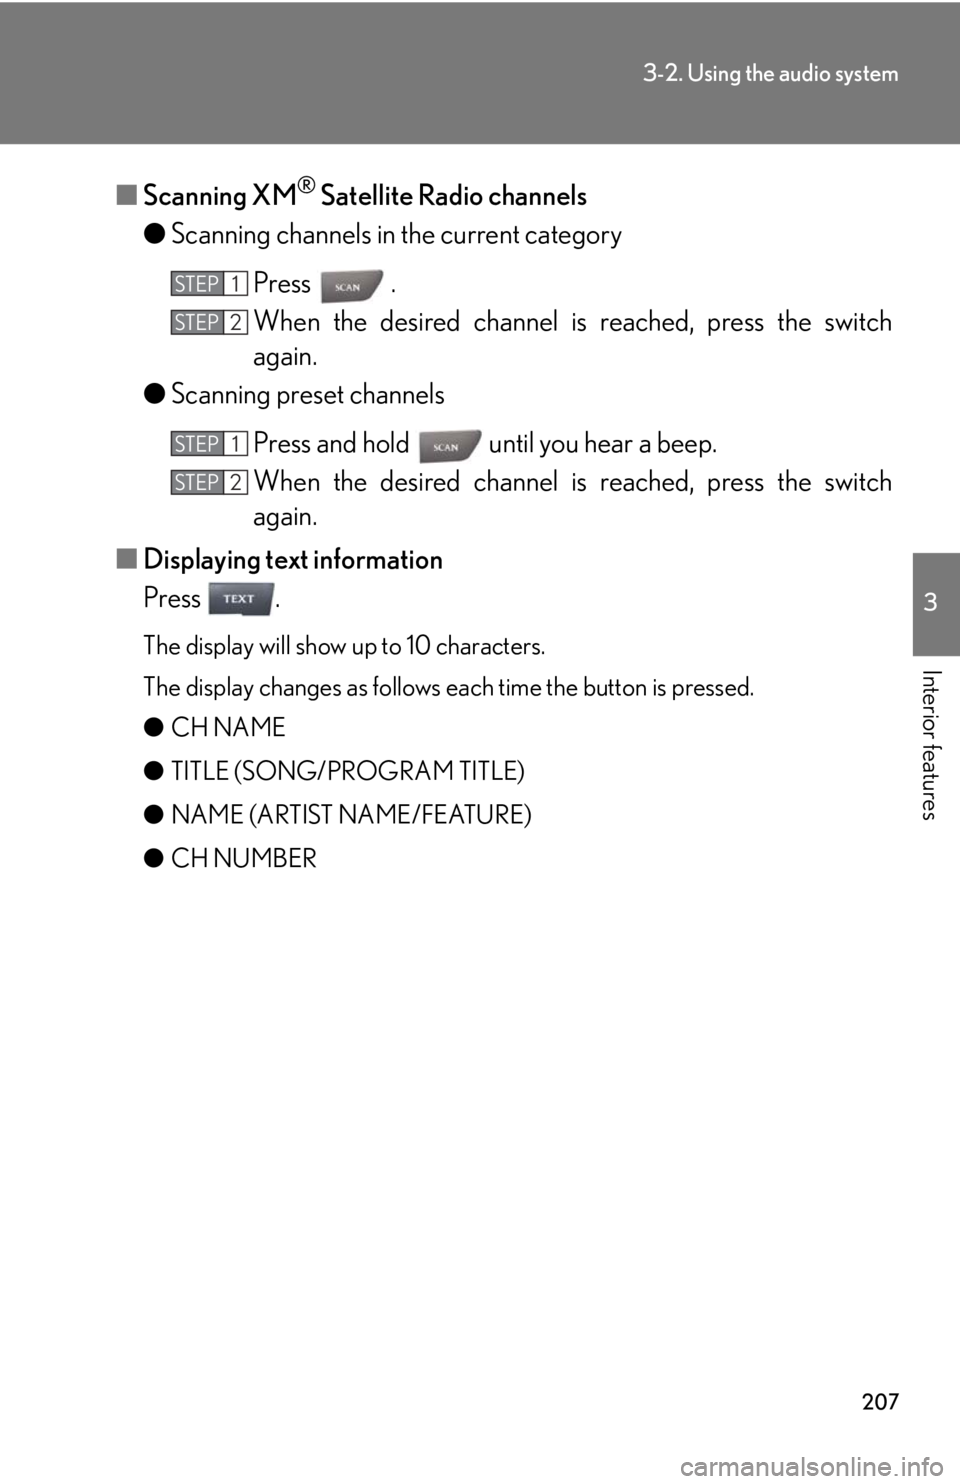
■Scanning XM® Satellite Radio channels
● Scanning channels in the current category
Press .
When the desired channel is reached, press the switch
again.
● Scanning preset channels
Press and hold until you hear a beep.
When the desired channel is reached, press the switch
again.
■ Displaying text information
Press .
The display will show up to 10 characters.
The display changes as follows each time the button is pressed.
● CH NAME
● TITLE (SONG/PROGRAM TITLE)
● NAME (ARTIST NAME/FEATURE)
● CH NUMBER
STEP1
STEP2
STEP1
STEP2
Page 209 of 464
209
3-2. Using the audio system
3
Interior features
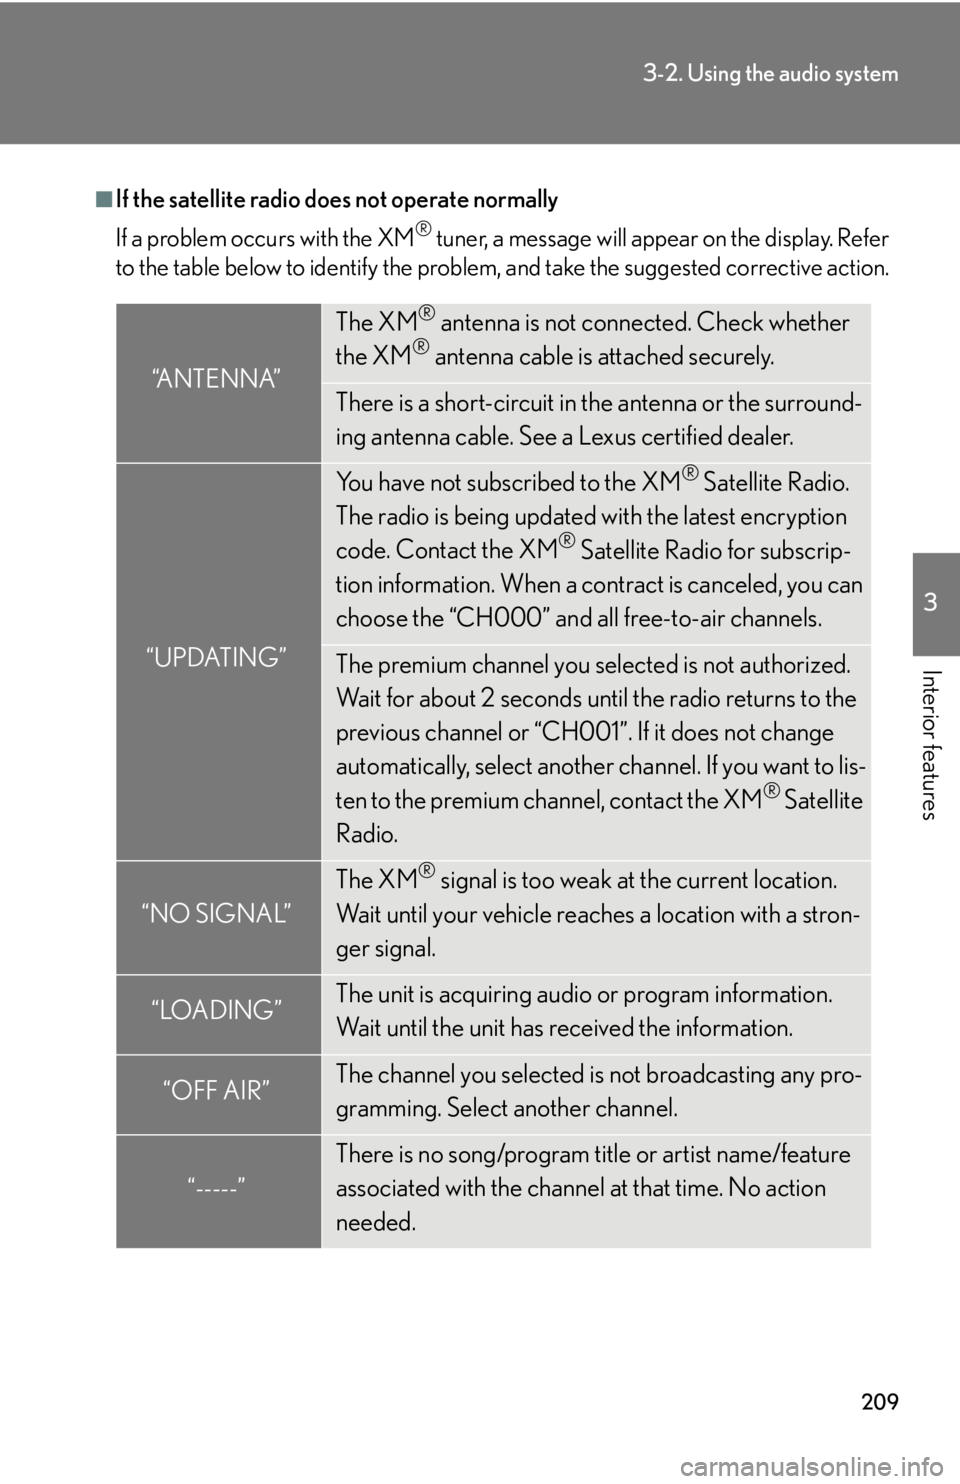
■If the satellite radio does not operate normally
If a problem occurs with the XM
® tuner, a message will appear on the display. Refer
to the table below to identify the problem, and take the suggested corrective action.
“ANTENNA”
The XM® antenna is not connected. Check whether
the XM® antenna cable is attached securely.
There is a short-circuit in the antenna or the surround-
ing antenna cable. See a Lexus certified dealer.
“UPDATING”
You have not subscribed to the XM® Satellite Radio.
The radio is being updated with the latest encryption
code. Contact the XM
® Satellite Radio for subscrip-
tion information. When a co ntract is canceled, you can
choose the “CH000” and all free-to-air channels.
The premium channel you selected is not authorized.
Wait for about 2 seconds until the radio returns to the
previous channel or “CH001”. If it does not change
automatically, select another channel. If you want to lis-
ten to the premium channel, contact the XM
® Satellite
Radio.
“NO SIGNAL”
The XM® signal is too weak at the current location.
Wait until your vehicle reaches a location with a stron-
ger signal.
“LOADING”The unit is acquiring audio or program information.
Wait until the unit has received the information.
“OFF AIR”The channel you selected is not broadcasting any pro-
gramming. Select another channel.
“-----”
There is no song/program title or artist name/feature
associated with the channel at that time. No action
needed.
Page 213 of 464
213
3-2. Using the audio system
3
Interior features
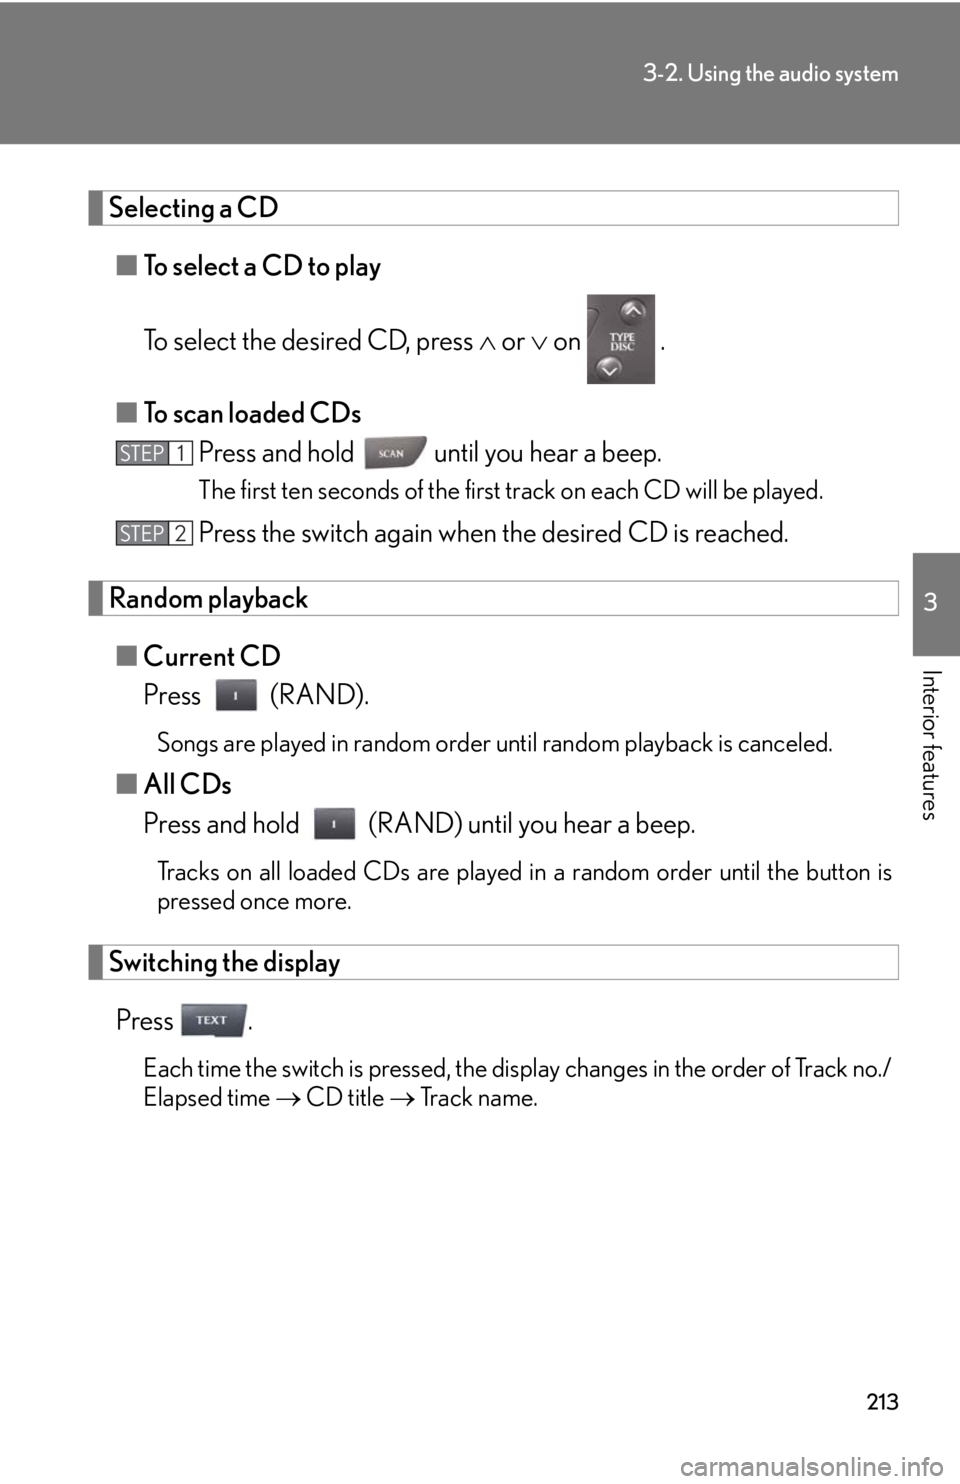
Selecting a CD■ To select a CD to play
To select the desired CD, press or on .
■ To scan loaded CDs
Press and hold until you hear a beep.
The first ten seconds of the first track on each CD will be played.
Press the switch again when the desired CD is reached.
Random playback
■ Current CD
Press (RAND).
Songs are played in random order until random playback is canceled.
■All CDs
Press and hold (RAND) until you hear a beep.
Tracks on all loaded CDs are played in a random order until the button is
pressed once more.
Switching the display
Press .
Each time the switch is pressed, the display changes in the order of Track no./
Elapsed time CD title Track name.
STEP1
STEP2
Page 218 of 464
218
3-2. Using the audio system
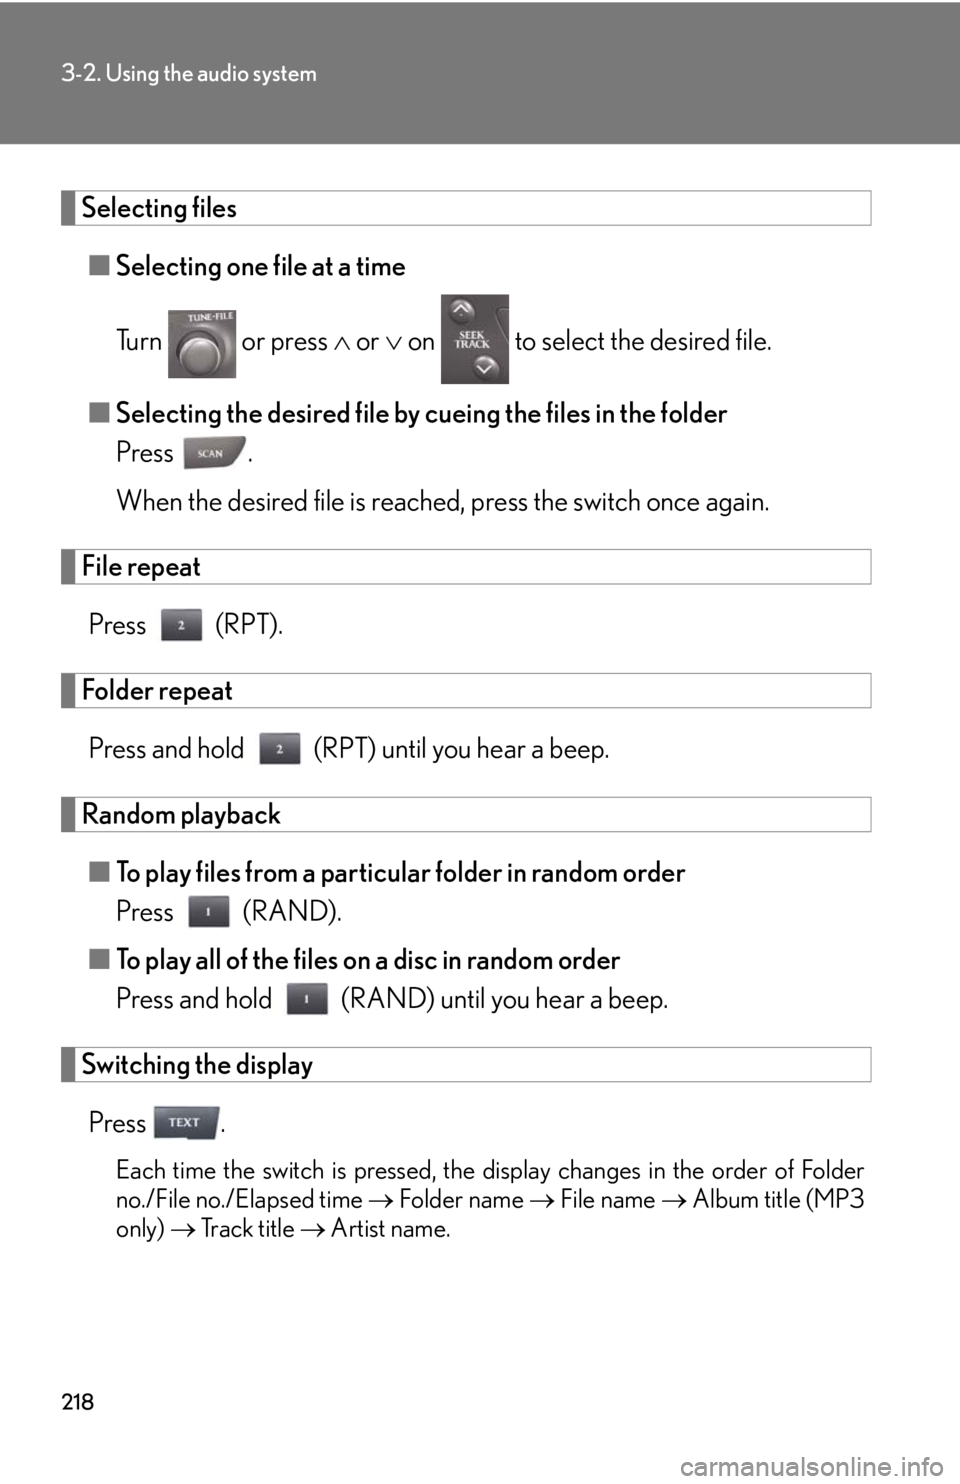
Selecting files■ Selecting one file at a time
Turn or press or on to select the desired file.
■ Selecting the desired file by cueing the files in the folder
Press .
When the desired file is reached, press the switch once again.
File repeat
Press (RPT).
Folder repeatPress and hold (RPT) until you hear a beep.
Random playback■ To play files from a particular folder in random order
Press (RAND).
■ To play all of the files on a disc in random order
Press and hold (RAND) until you hear a beep.
Switching the display
Press .
Each time the switch is pressed, the display changes in the order of Folder
no./File no./Elapsed time Folder name File name Album title (MP3
only) Track title Artist name.
Page 226 of 464
226
3-2. Using the audio system
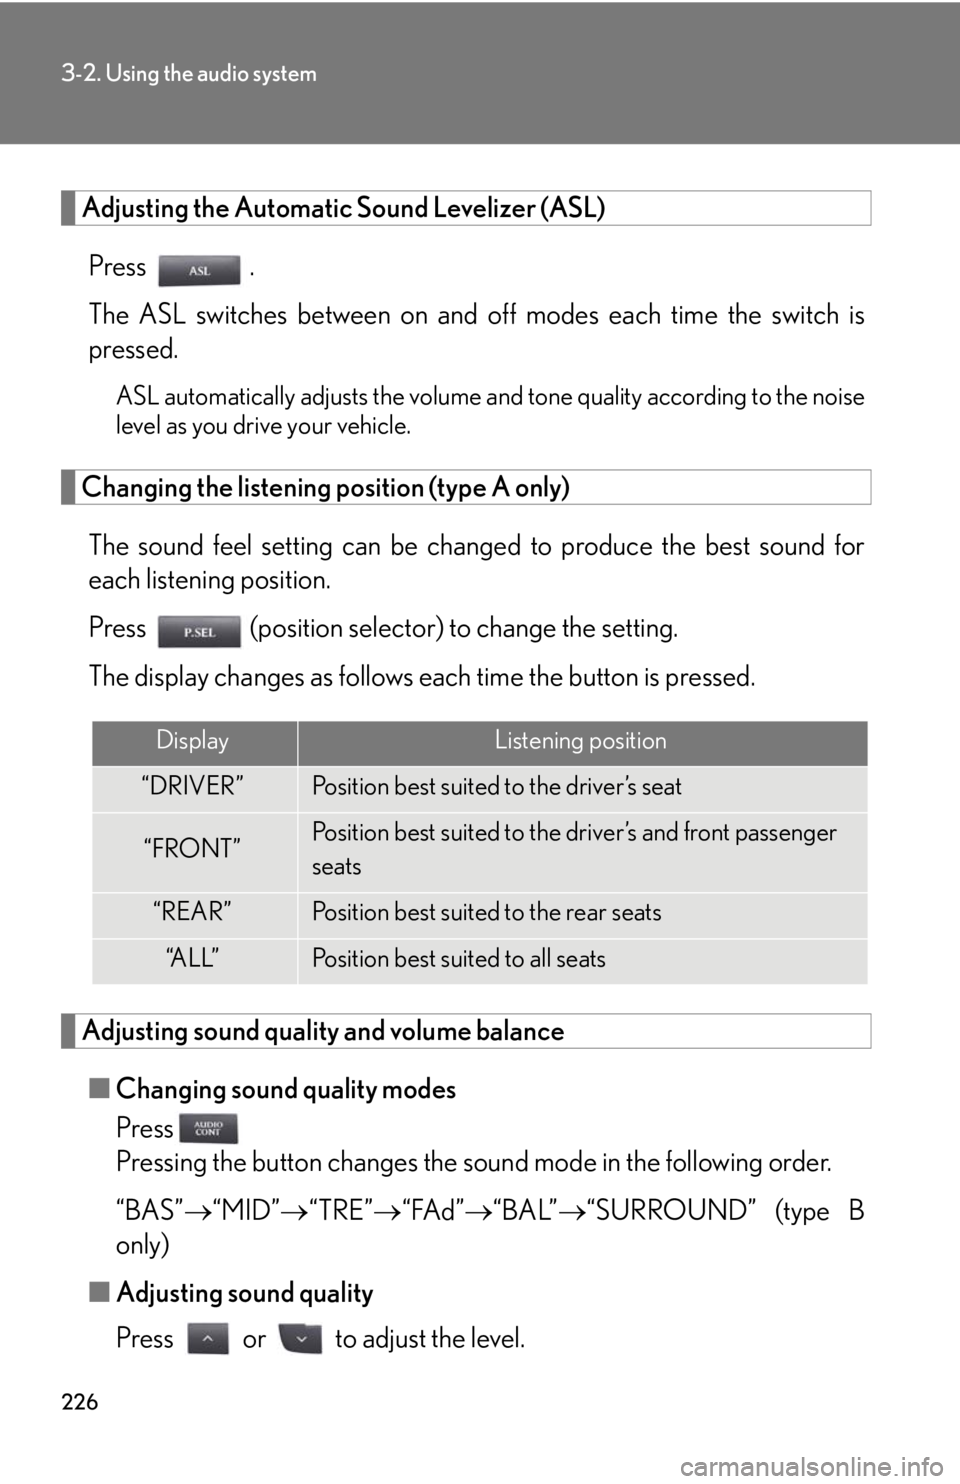
Adjusting the Automatic Sound Levelizer (ASL)Press .
The ASL switches between on and off modes each time the switch is
pressed.
ASL automatically adjusts the volume an d tone quality according to the noise
level as you drive your vehicle.
Changing the listening position (type A only)
The sound feel setting can be chan ged to produce the best sound for
each listening position.
Press (position selector) to change the setting.
The display changes as follows each time the button is pressed.
Adjusting sound quality and volume balance
■ Changing sound quality modes
Press
Pressing the button changes the sound mode in the following order.
“BAS” “MID” “TRE” “FAd” “BAL”“SURROUND” (type B
only)
■ Adjusting sound quality
Press or to adjust the level.
DisplayListening position
“DRIVER”Position best suited to the driver’s seat
“FRONT”Position best suited to the driver’s and front passenger
seats
“REAR”Position best suited to the rear seats
“A L L ”Position best suited to all seats