BACK UP Lexus IS250C 2010 Do-It-Yourself Maintenance / LEXUS 2010 IS350C IS250C (OM53A24U) Repair Manual
[x] Cancel search | Manufacturer: LEXUS, Model Year: 2010, Model line: IS250C, Model: Lexus IS250C 2010Pages: 594, PDF Size: 7.19 MB
Page 323 of 594

321
3-4. Using the hands-free phone system (for mobile phones)
3
Interior features
When receiving a phone call
■ Answering a phone call
Press the off-hook switch.
■ Refusing a phone call
Press the on-hook switch.
Transferring a phone call
A call can be transferred between the mobile phone and system while
dialing, receiving a call, or during a call. Use one of the following meth-
ods:
a. Operate the mobile phone.
Refer to the manual that comes with the mobile phone for the operation
of the phone.
b. Press the off-hook switch*1.
c. Press the talk switch and say “Call Transfer”
*2.
*1: This operation can be performed only when transferring a call
from the mobile phone to the system during a call.
*2: While the vehicle is in motion, calls cannot be transferred from
the system to the mobile phone.
Call waiting
When a call is interrupted by an incoming call from a third party, the fol-
lowing options will become available:
● Answer the incoming call: Press the off-hook switch. (Press the off-
hook switch again as necessary to switch back and forth between
calls.)
● Refuse the incoming call: Press the on-hook switch.
Page 324 of 594

322
3-4. Using the hands-free phone system (for mobile phones)
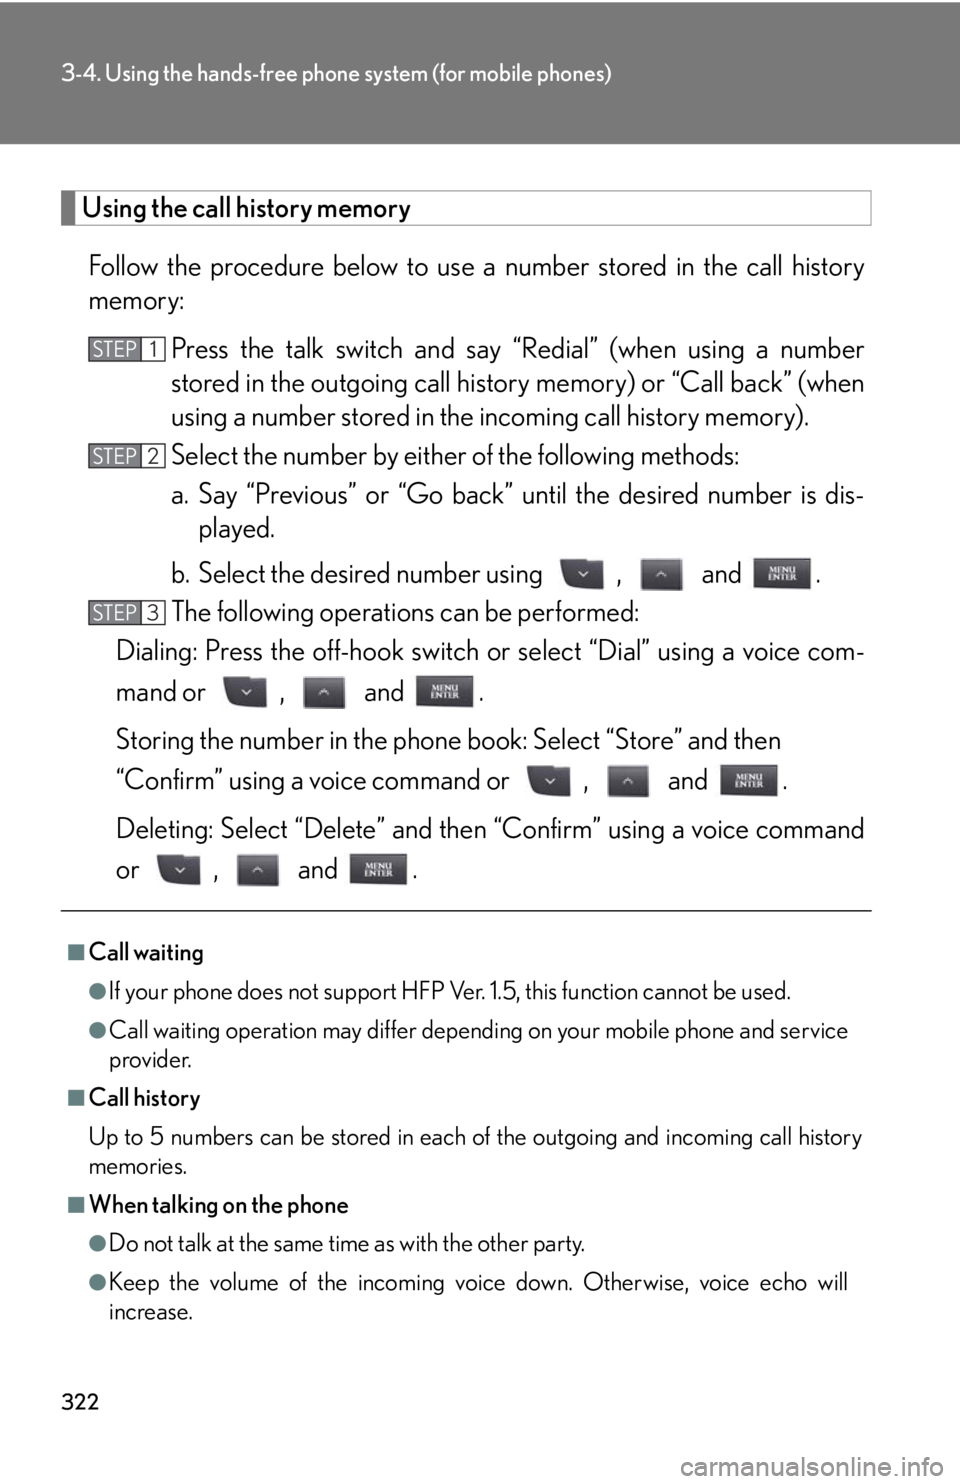
Using the call history memoryFollow the procedure below to use a number stored in the call history
memory:
Press the talk switch and say “Redial” (when using a number
stored in the outgoing call hi story memory) or “Call back” (when
using a number stored in the incoming call history memory).
Select the number by either of the following methods:
a. Say “Previous” or “Go back” until the desired number is dis-
played.
b. Select the desired number using , and .
The following operations can be performed:
Dialing: Press the off-hook switch or select “Dial” using a voice com-
mand or , and .
Storing the number in the phone book: Select “Store” and then
“Confirm” using a voice command or , and .
Deleting: Select “Dele te” and then “Confirm” using a voice command
or , and .
■Call waiting
●If your phone does not support HFP Ver. 1.5, this function cannot be used.
●Call waiting operation may differ depend ing on your mobile phone and service
provider.
■Call history
Up to 5 numbers can be stored in each of the outgoing and incoming call history
memories.
■When talking on the phone
●Do not talk at the same ti me as with the other party.
●Keep the volume of the incoming voice down. Otherwise, voice echo will
increase.
STEP1
STEP2
STEP3
Page 332 of 594

330
3-4. Using the hands-free phone system (for mobile phones)
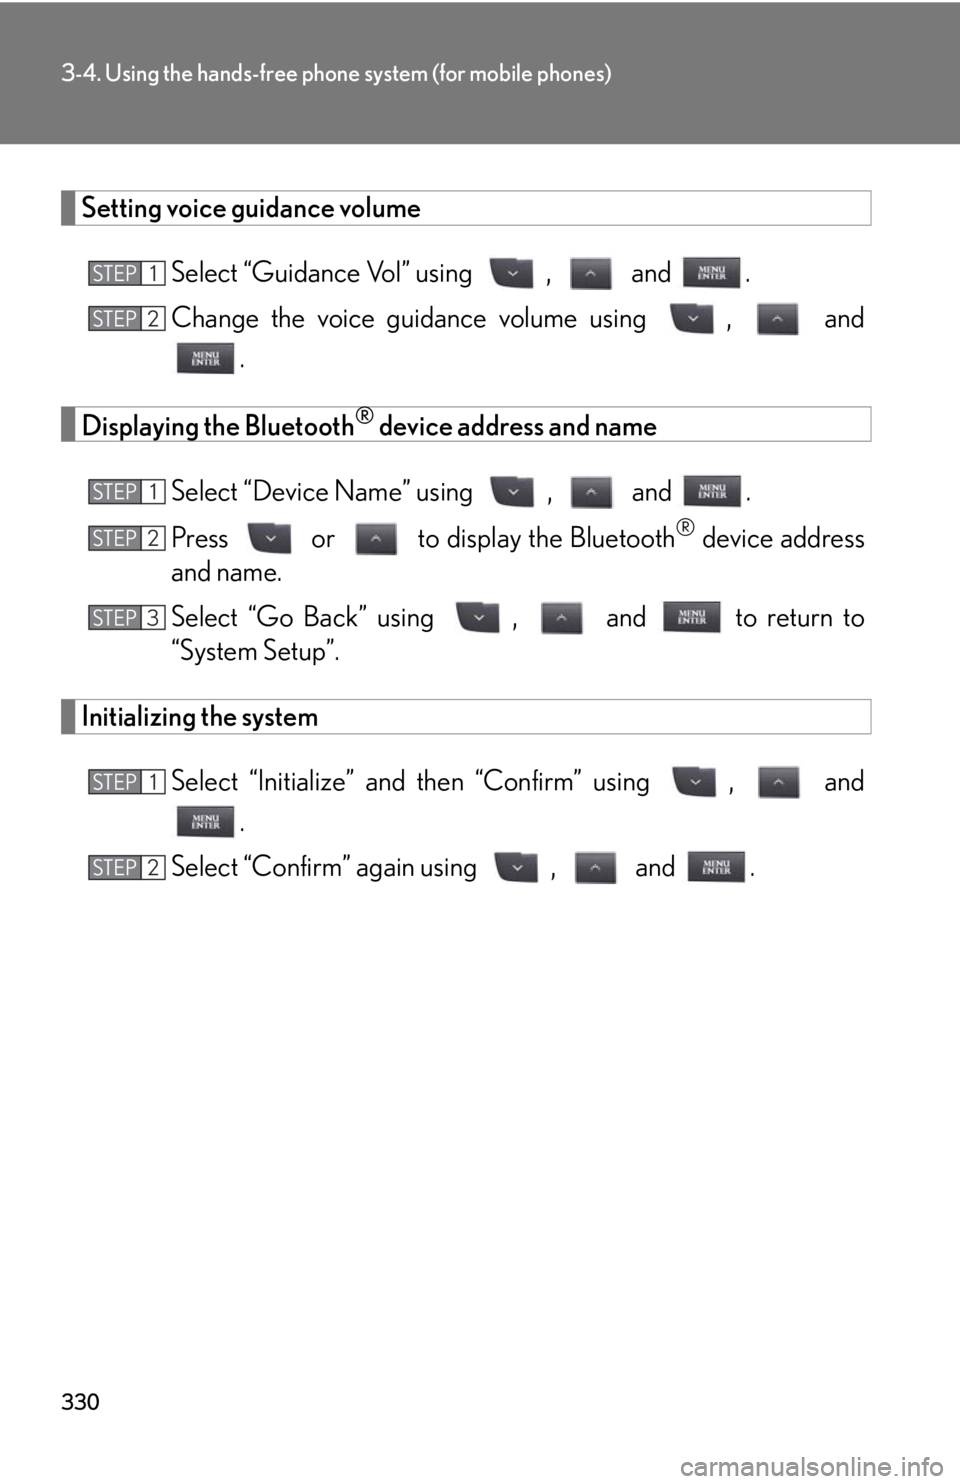
Setting voice guidance volumeSelect “Guidance Vol” using , and .
Change the voice guidance volume using , and.
Displaying the Bluetooth® device address and name
Select “Device Name” using , and .
Press or to display the Bluetooth
® device address
and name.
Select “Go Back” using , and to return to
“System Setup”.
Initializing the system
Select “Initialize” and then “Confirm” using , and.
Select “Confirm” again using , and .
STEP1
STEP2
STEP1
STEP2
STEP3
STEP1
STEP2
Page 336 of 594

334
3-4. Using the hands-free phone system (for mobile phones)
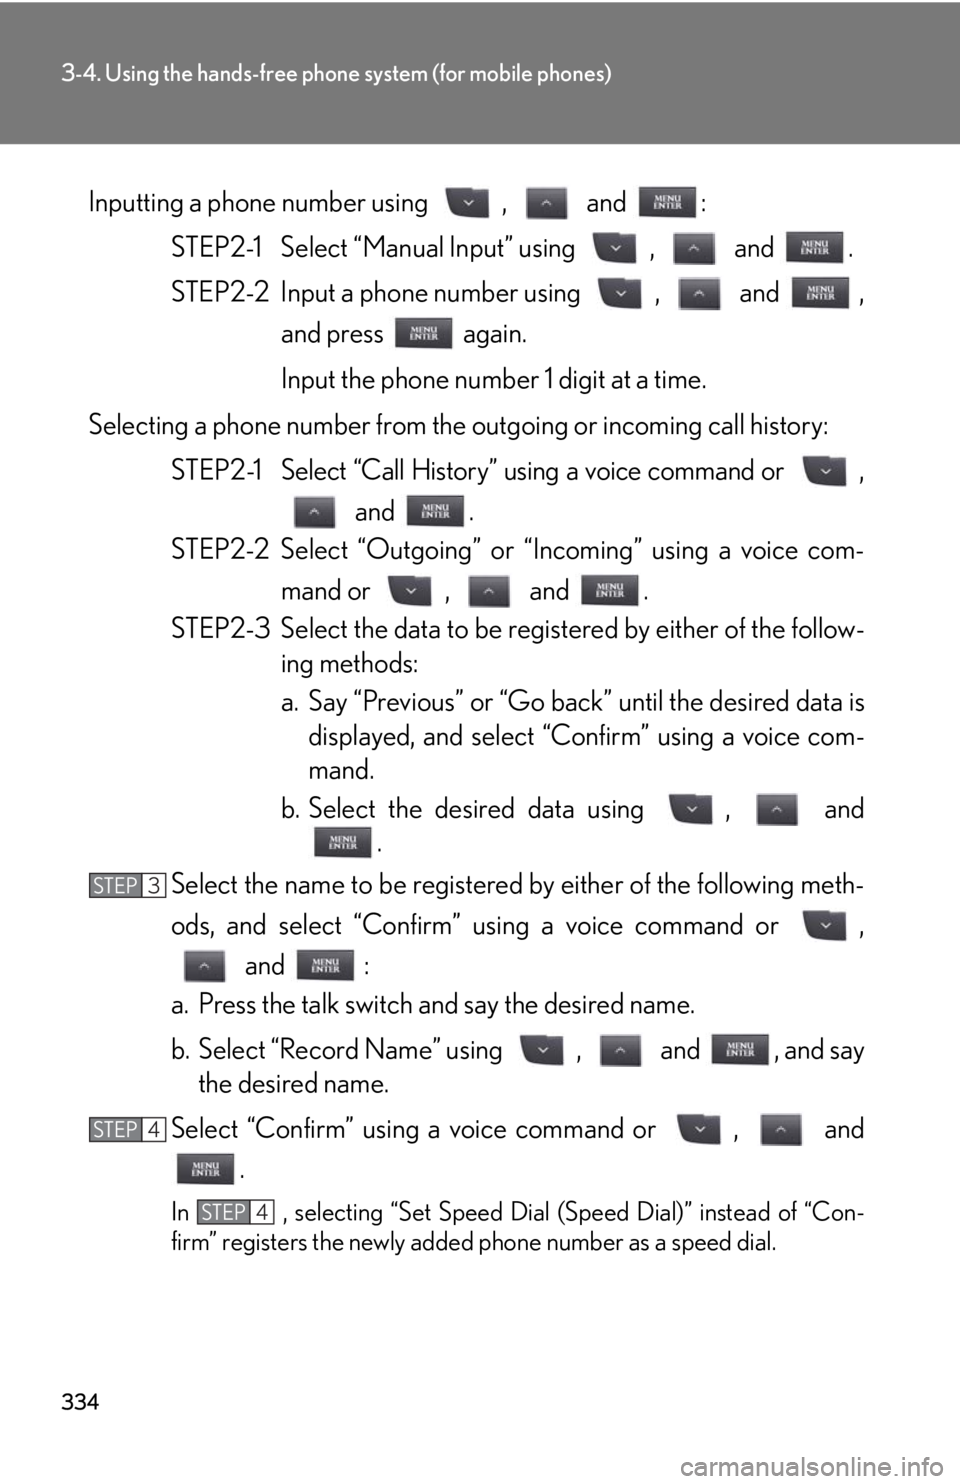
Inputting a phone number using , and :STEP2-1 Select “Manual In put” using , and .
STEP2-2 Input a phone number using , and , and press again.
Input the phone number 1 digit at a time.
Selecting a phone number from the outgoing or incoming call history: STEP2-1 Select “Call History” using a voice command or ,
and .
STEP2-2 Select “Outgoing” or “Incoming” using a voice com-
mand or , and .
STEP2-3 Select the data to be reg istered by either of the follow-
ing methods:
a. Say “Previous” or “Go back ” until the desired data is
displayed, and select “Confirm” using a voice com-
mand.
b. Select the desired data using , and .
Select the name to be registered by either of the following meth-
ods, and select “Confirm” using a voice command or ,
and :
a. Press the talk switch and say the desired name.
b. Select “Record Name” using , and , and say the desired name.
Select “Confirm” using a voice command or , and .
In , selecting “Set Speed Dial (Speed Dial)” instead of “Con-
firm” registers the newly added phone number as a speed dial.
STEP3
STEP4
STEP4
Page 344 of 594

342
3-6. Using the storage features
■Console box light
The console box light turn on when the “ENGINE START STOP” switch is in IGNI-
TION ON mode.
■Using the console box to store CD cases
CAUTION
■Caution while driving
Keep the console box closed.
Injuries may result in the event of an accident or sudden braking.
Store a CD case with the hinged portion fac-
ing either the front or back of the console
box.
Console box
Page 354 of 594

352
3-7. Other interior features
Ashtrays
CAUTION
■When not in use
Keep the ashtray closed.
Injuries may result in the event of sudden braking, sudden swerving or an accident.
■To prevent fire
●Fully extinguish matches and cigarettes be fore putting them in the ashtray, then
make sure the ashtray is fully closed.
●Do not place paper or any other type of flammable object in the ashtray.
Front
Push the back part of the lid to
open. Push the lid again to close.
Push the lever to remove the
ashtray.
RearPull the ashtray lid to open.
Hold the plate down and pull the
ashtray upwards to remove.
Page 355 of 594

353
3-7. Other interior features
3
Interior features
Cigarette lighter
■The cigarette lighter can be used when
The “ENGINE START STOP” switch is in ACCESSORY or IGNITION ON mode.
CAUTION
■When not in use
Keep the lid closed.
Injuries may result in the event of an accident or sudden braking.
■To avoid burns or fires
●Do not touch the metal parts of the cigarette lighter.
●Do not hold the cigarette lighter down. It could overheat and cause a fire.
●Do not insert anything other than th e cigarette lighter into the outlet.
Push the back part of the lid to
open, and push the cigarette
lighter down.
The cigarette lighter will pop up
when it is ready for use.
Page 382 of 594

380
4-1. Maintenance and care
Cleaning and protecting the vehicle exterior
■Automatic car washes
●Before washing the vehicle, do the following.
•Fold the mirrors back.
• Remove the antenna. (if detachable)
●Brushes used in automatic car washes may scratch the vehicle surface and
harm your vehicle’s paint.
■High pressure car washes
●Do not allow the nozzles of the car wash to come within close proximity of the
windows.
●Before car wash, check that the fuel filler door on your vehicle is closed prop-
erly.
■Aluminum wheels
Remove any dirt immediately by using a neutral detergent. Do not use hard brushes
or abrasive cleaners. Do not use strong or harsh chemical cleaners. Use the same
mild detergent and wax as used on the paint.
Perform the following to protect the vehicle and maintain it in prime condi-
tion.
● Working from top to bottom, liber ally apply water to the vehicle
body, wheel wells and underside of the vehicle to remove any dirt
and dust.
● Wash the vehicle body using a sponge or soft cloth, such as a
chamois.
● For hard-to-remove marks, use car wash soap and rinse thor-
oughly with water.
● Wipe away any water.
● Wax the vehicle when the waterproof coating deteriorates.
If water does not bead on a clean surface, apply wax when the vehicle
body is cool.
Page 396 of 594

394
4-3. Do-it-yourself maintenance
CAUTION
■When working near the electric cooling fan or radiator grille
Be sure the “ENGINE START STOP” switch is OFF.
With the “ENGINE START STOP” switch in IGNITION ON mode, the electric
cooling fan may automatically start to run if the air conditioning is on and/or the
coolant temperature is high. (P. 4 0 6 )
■Safety glasses
Wear safety glasses to prevent flying or falling material, fluid spray, etc. from getting
in the eyes.
NOTICE
■If you remove the air cleaner filter
Driving with the air cleaner filter removed may cause excessive engine wear due to
dirt in the air. Also a backfire could cause a fire in the engine compartment.
Page 403 of 594

401
4-3. Do-it-yourself maintenance
4
Maintenance and care
Engine oilWith the engine at operating temperat ure and turned off, check the oil
level on the dipstick.
■ Checking the engine oil
Park the vehicle on level ground . After turning off the engine, wait
more than five minutes for the oil to drain back into the bottom of
the engine.
Hold a rag under the end and pull
the dipstick out.
Wipe the dipstick clean.
Reinsert the dipstick fully.
Holding a rag under the end, pull the dipstick out and check the
oil level.
Wipe the dipstick and reinsert it fully.
Low
Full
STEP1
STEP2
STEP3
STEP4
STEP5
STEP6