lights Lexus IS350 2020 / LEXUS 2020 IS300,IS350 (OM53F29U) Workshop Manual
[x] Cancel search | Manufacturer: LEXUS, Model Year: 2020, Model line: IS350, Model: Lexus IS350 2020Pages: 660, PDF Size: 10.84 MB
Page 411 of 660
411
Interior features6
IS350 AWD/IS350/IS300 AWD/IS300_U
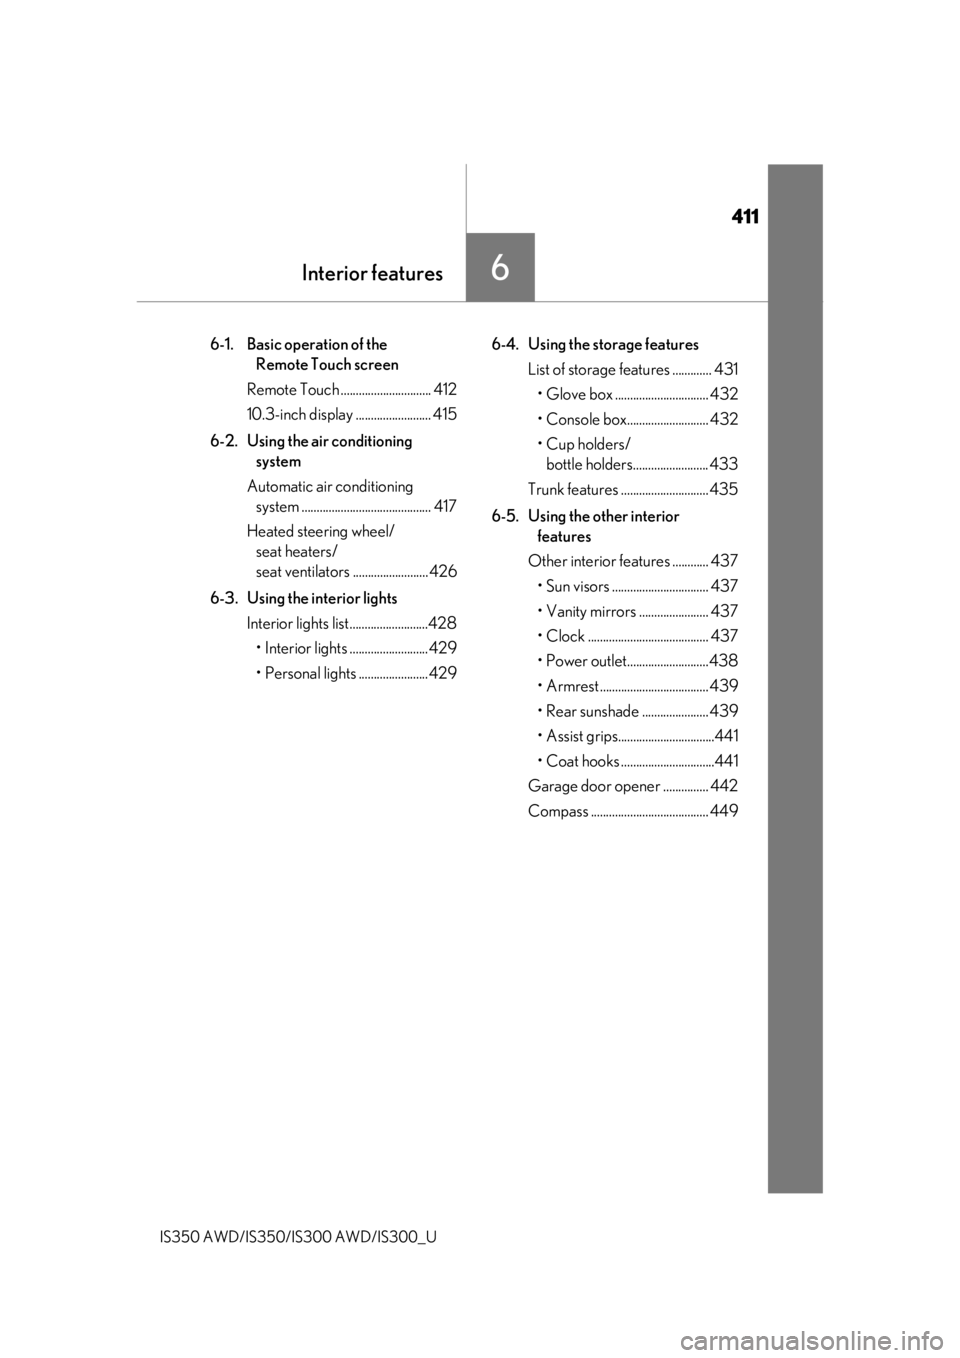
6-1. Basic operation of the Remote Touch screen
Remote Touch .............................. 412
10.3-inch display ......................... 415
6-2. Using the air conditioning system
Automatic air conditioning system ........................................... 417
Heated steering wheel/ seat heaters/
seat ventilators .........................426
6-3. Using the interior lights Interior lights list..........................428• Interior lights ..........................429
• Personal lights .......................429 6-4. Using the storage features
List of storage features ............. 431
• Glove box ............................... 432
• Console box........................... 432
•Cup holders/ bottle holders......................... 433
Trunk features ............................. 435
6-5. Using the other interior features
Other interior features ............ 437 • Sun visors ................................ 437
• Vanity mirrors ....................... 437
• Clock ........................................ 437
• Power outlet...........................438
• Armrest .................................... 439
• Rear sunshade ...................... 439
• Assist grips................................441
• Coat hooks ...............................441
Garage door opener ............... 442
Compass ....................................... 449
Page 427 of 660

4276-2. Using the air conditioning system
6
Interior features
IS350 AWD/IS350/IS300 AWD/IS300_U
Each time the switch is pressed, the
intensity of the seat heater changes and
the level indicator lights (amber) light
as follows:
Hi (3 segments lit) Mid (2 segments
lit) Lo (1 segment lit) Off
■The seat heaters can be used when
The engine switch is in IGNITION ON mode.
■Seat heater timer control
To enable seat heater timer control, press and hold the driver and front passenger seat
heater switches at the same time until a buzzer sounds once. If a seat heater is turned on
while seat heater timer control is enabled, the intensity of the seat heater will automati-
cally change from Hi Mid Lo.
The timing of the change in seat heater in tensity differs depending on the temperature
inside the cabin, etc. when the seat heater is operating.
To disable seat heater timer control, press and hold the driver and front passenger seat
heater switches at the same time until a buzzer sounds twice.
Each time the switch is pressed, the
intensity of the seat ventilator changes
and the level indicator lights (green)
light as follows:
Hi (3 segments lit) Mid (2 segments
lit) Lo (1 segment lit) Off
■The seat ventilators can be used when
The engine switch is in IGNITION ON mode.
■Seat ventilator
The seat ventilators provide ventilation only, and do not have a heating/cooling function.
Seat heaters
Type A Type B
Seat ventilators
Page 428 of 660

428
IS350 AWD/IS350/IS300 AWD/IS300_U6-3. Using the interior lights
Interior lights list
Outer foot lights
Front interior light (
P. 429)
Front personal lights ( P. 429)
Inside door handle lights
Rear interior light ( P. 429) Rear personal lights (
P. 429)
Power window switch lights
Door courtesy lights
Footwell lights1
2
3
4
5
6
7
8
9
Page 429 of 660

4296-3. Using the interior lights
6
Interior features
IS350 AWD/IS350/IS300 AWD/IS300_U
Turns the light on/off
Turns the door position on/off
Turns the light on/off
Interior lights
1
2
Personal lights
FrontRear
Page 430 of 660

4306-3. Using the interior lights
IS350 AWD/IS350/IS300 AWD/IS300_U
■The interior lights and personal lights can be operated when
The interior lights and personal lights can be used regardless of the engine switch mode.
However, when the engine switch is turned off, they can be used only when the battery
protection function is not operating.
■Battery protection function
To prevent the battery from being discharged, approximately 20 minutes after the
engine switch is turned off, the power supplied to the interi or lights, personal lights, and
other lights will be cut off automatically. (If the interior lights, etc. are left on when the
engine switch is turned off, they will be turned off automatically.)
To turn the interior lights, etc. back on, turn the engine switch to ACCESSORY or IGNI-
TION ON mode or operate the interior light switch until the interior lights turn on.
If any of the lights are illuminated automatica lly due to the illuminated entry system, the
battery protection function will be canceled.
■Illuminated entry system
The lights automatically turn on/off according to engine switch mode, the presence of the
electronic key, whether the doors are locked/unlocked, and whether the doors are
opened/closed.
■Customization
Setting (e.g. the time elapsed before lights turn off) can be changed.
(Customizable features: P. 613)
NOTICE
To prevent battery discharge, do not leave th e lights on longer than necessary when the
engine is off.
Page 457 of 660

4577-1. Maintenance and care
7
Maintenance and care
IS350 AWD/IS350/IS300 AWD/IS300_U
NOTICE
■To prevent paint deterioration and corrosion on the body and components (aluminum
wheels etc.)
●Wash the vehicle immediately in the following cases:
• After driving near the sea coast
• After driving on salted roads
• If coal tar or tree sap is present on the paint surface
• If dead insects, insect droppings or bird droppings are present on the paint surface
• After driving in an area contaminated wi th soot, oily smoke, mine dust, iron pow-
der or chemical substances
• If the vehicle becomes heavily soiled with dust or mud
• If liquids such as benzene and gasoli ne are spilled on the paint surface
●If the paint is chipped or scratched, have it repaired immediately.
●To prevent the wheels from corroding, remove any dirt and store in a place with low
humidity when storing the wheels.
■Cleaning the exterior lights
●Wash carefully. Do not use organic subs tances or scrub with a hard brush.
This may damage the surfaces of the lights.
●Do not apply wax to the surfaces of the lights.
Wax may cause damage to the lenses.
■When using an automatic car wash (vehicles with rain-sensing windshield wipers)
Set the wipers to the intermittent windshield wipers. ( P. 213)
If AUTO mode is selected, the wipers may operate and the wiper blades may be dam-
aged.
■When using a high pressure car wash
●Do not bring the nozzle tip close to boots (rubber or resin manufactured cover), con-
nectors or the following parts. The parts may be damaged if they come into contact
with high-pressure water.
●Keep the cleaning nozzle at least 11.9 in. (30 cm) away from the vehicle body. Other-
wise resin section, such as moldings and bumpers, may be deformed and damaged.
Also, do not continuously hold the nozzle in the same place.
●Do not spray the lower part of the windshield continuously.
If water enters the air conditioning system intake located near the lower part of the
windshield, the air conditioning system may not operate correctly.
• Traction related parts
• Steering parts
• Suspension parts
• Brake parts
Page 465 of 660

4657-2. Maintenance
7
Maintenance and care
IS350 AWD/IS350/IS300 AWD/IS300_U
Vehicle interior
ItemsCheck points
Accelerator pedal• The accelerator pedal should move smoothly (with-
out uneven pedal effort or catching).
Automatic transmission
“Park” mechanism• When parked on a slope and the shift lever is in P, is the vehicle securely stopped?
Brake pedal
• Does the brake pedal move smoothly?
• Does the brake pedal have appropriate clearance
from the floor? ( P. 594)
• Does the brake pedal have the correct amount of
free play? ( P. 594)
Brakes
• The vehicle should not pull to one side when the
brakes are applied.
• The brakes should work effectively.
• The brake pedal should not feel spongy.
• The brake pedal should no t get too close to the floor
when the brakes are applied.
Head restraints• Do the head restraints move smoothly and lock
securely?
Indicators/buzzers• Do the indicators and buzzers function properly?
Lights• Do all the lights come on?
Parking brake
• Moves smoothly?
• When parked on a slope and the parking brake is on,is the vehicle securely stopped?
Seat belts• Do the seat belts operate smoothly?
• The seat belts should not be damaged.
Seats• Do the seat controls operate properly?
Steering wheel
• Does the steering wheel rotate smoothly?
• Does the steering wheel have the correct amount offree play?
• There should not be any strange sounds coming from the steering wheel.
Page 506 of 660

5067-3. Do-it-yourself maintenance
IS350 AWD/IS350/IS300 AWD/IS300_U
■After a fuse is replaced
●If the lights do not turn on even after the fuse has been replaced, a bulb may need
replacement. ( P. 507)
●If the replaced fuse blows again, have th e vehicle inspected by your Lexus dealer.
■If there is an overload in a circuit
The fuses are designed to blow, protecting the wiring harness from damage.
■When replacing light bulbs
Lexus recommends that you use genuine Lexus products designed for this vehicle.
Because certain bulbs are connected to circui ts designed to prevent overload, non-gen-
uine parts or parts not designed for this vehicle may be unusable.
WARNING
■To prevent system breakdowns and vehicle fire
Observe the following precautions.
Failure to do so may cause damage to th e vehicle, and possibly a fire or injury.
●Never use a fuse of a higher amperage rating than that indicated, or use any other
object in place of a fuse.
●Always use a genuine Lexus fuse or equivalent.
Never replace a fuse with a wire, even as a temporary fix.
●Do not modify the fuses or fuse boxes.
NOTICE
■Before replacing fuses
Have the cause of electrical overload determined and repaired by your Lexus dealer as
soon as possible.
Page 508 of 660

5087-3. Do-it-yourself maintenance
IS350 AWD/IS350/IS300 AWD/IS300_U
■Front turn signal lights (bulb type) For the left side only: Pinch the
clip to remove the washer fluid
filler opening.
Turn the bulb base counterclock-
wise.
Remove the light bulb.
Install a new light bulb then install
the bulb base to the light unit by
inserting it and turning the bulb
base clockwise.
After installing the light bulb, turn on
the front turn signal light to visually
check that there is no light leaking
from the bulb base.
After replacing the left side bulb, install the washer fluid filler opening to its
original position.
Replacing light bulbs
1
2
3
4
5
Page 509 of 660

5097-3. Do-it-yourself maintenance
7
Maintenance and care
IS350 AWD/IS350/IS300 AWD/IS300_U
■Rear turn signal lightsOpen the trunk, and remove the
cover.
Remove the 2 screws.
Push and pull the light unit toward
the rear of the vehicle as shown in
the illustration to remove it.
Apply protective tape to the periph-
eral of the light un it installation sur-
face on the vehicle body, such as the
rear bumper, to protect the vehicle
from damage.
Pushing on the portion A in the illus-
tration toward the rear of the vehicle
will make disengagement of the tabs
easier.
Turn the bulb base counterclock-
wise.
1
2
3
4