instrument panel lexus LS400 1994 Electrical Components / 1994 LS400: SWITCHES
[x] Cancel search | Manufacturer: LEXUS, Model Year: 1994, Model line: LS400, Model: Lexus LS400 1994Pages: 9, PDF Size: 3.32 MB
Page 2 of 9

SWITCHES
16
HEADLIGHT SWITCH
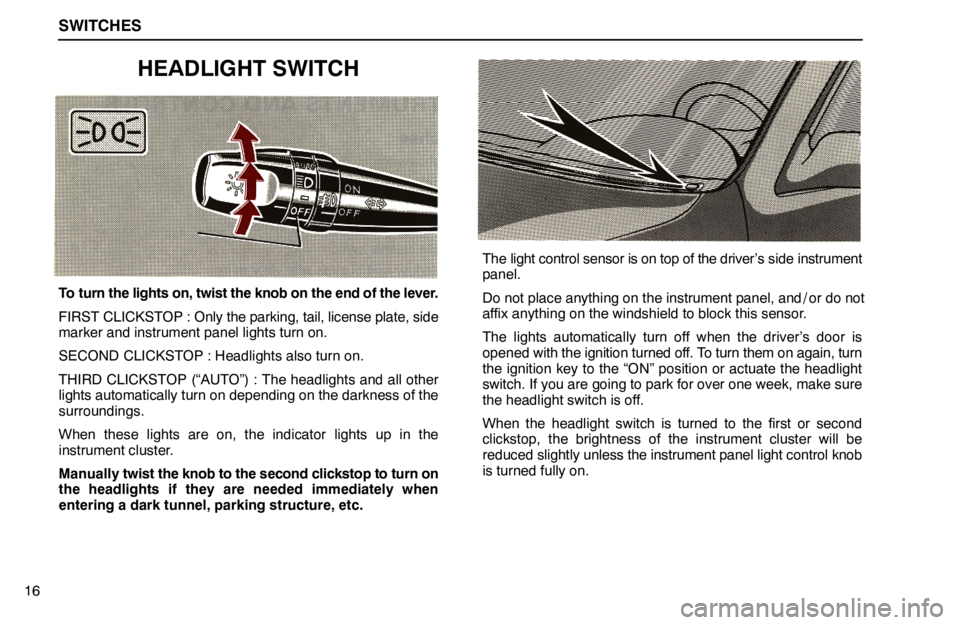
To turn the lights on, twist the knob on the end of the lever.
FIRST CLICKSTOP : Only the parking, tail, license plate, side
marker and instrument panel lights turn on.
SECOND CLICKSTOP : Headlights also turn on.
THIRD CLICKSTOP (“AUTO”) : The headlights and all other
lights automatically turn on depending on the darkness of the
surroundings.
When these lights are on, the indicator lights up in the
instrument cluster.
Manually twist the knob to the second clickstop to turn on
the headlights if they are needed immediately when
entering a dark tunnel, parking structure, etc.
The light control sensor is on top of the driver’s side instrument
panel.
Do not place anything on the instrument panel, and / or do not
affix anything on the windshield to block this sensor.
The lights automatically turn off when the driver’s door is
opened with the ignition turned off. To turn them on again, turn
the ignition key to the “ON” position or actuate the headlight
switch. If you are going to park for over one week, make sure
the headlight switch is off.
When the headlight switch is turned to the first or second
clickstop, the brightness of the instrument cluster will be
reduced slightly unless the instrument panel light control knob
is turned fully on.
Page 3 of 9

SWITCHES
17 Daytime Running Light System (Canada only)
The headlights turn on when the parking brake is released with
the engine started, even with the light switch in the “OFF”
position. They will not go off until the ignition switch is turned
off.
To turn on the other exterior lights and instrument panel lights,
twist the knob to the first clickstop.
Under the daytime running light system, the headlights turn on
at reduced intensity. Twist the knob to the second clickstop to
turn to full intensity for driving at night.
When setting the knob to the third clickstop (“AUTO”), the
headlights will automatically adjust to full intensity and / or turn
on the other lights depending on the darkness of the
surroundings. Likewise, as the surroundings become brighter,
the headlights will turn to reduced intensity, ultimately turning
off the other lights.
NOTICE:
To prevent the battery from being discharged, do not
leave the lights on for a long period when the engine is
not running.
HEADLIGHT DIMMER AND TURN
SIGNAL SWITCH
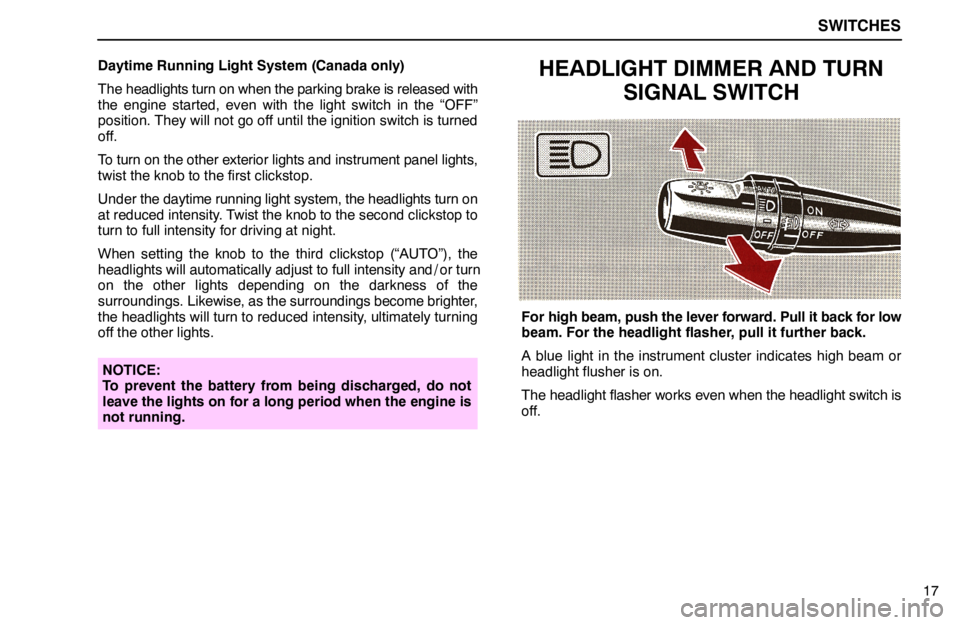
For high beam, push the lever forward. Pull it back for low
beam. For the headlight flasher, pull it further back.
A blue light in the instrument cluster indicates high beam or
headlight flusher is on.
The headlight flasher works even when the headlight switch is
off.
Page 6 of 9

SWITCHES
20The low washer fluid reminder light in the instrument cluster
comes on when the fluid level in the tank becomes nearly
empty. For information on adding washer fluid, see “Adding
washer fluid” on page 230.
NOTICE:
Do not turn the headlight cleaner on with the tank empty.
It may cause the cleaner motor to overheat.
REAR WINDOW AND
OUTSIDE REAR VIEW MIRROR
DEFOGGER SWITCH
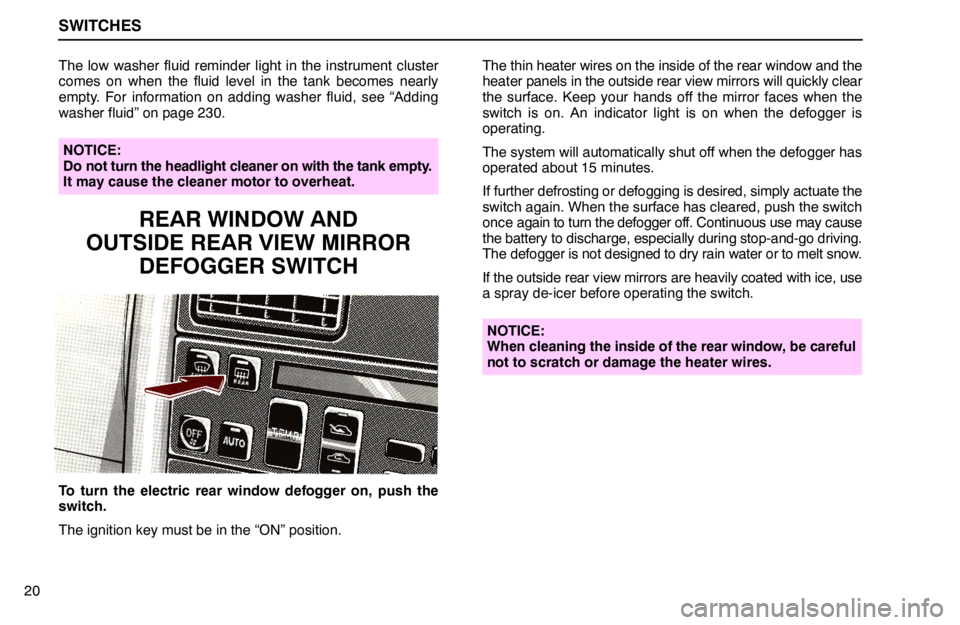
To turn the electric rear window defogger on, push the
switch.
The ignition key must be in the “ON” position.The thin heater wires on the inside of the rear window and the
heater panels in the outside rear view mirrors will quickly clear
the surface. Keep your hands off the mirror faces when the
switch is on. An indicator light is on when the defogger is
operating.
The system will automatically shut off when the defogger has
operated about 15 minutes.
If further defrosting or defogging is desired, simply actuate the
switch again. When the surface has cleared, push the switch
once again to turn the defogger off. Continuous use may cause
the battery to discharge, especially during stop-and-go driving.
The defogger is not designed to dry rain water or to melt snow.
If the outside rear view mirrors are heavily coated with ice, use
a spray de-icer before operating the switch.
NOTICE:
When cleaning the inside of the rear window, be careful
not to scratch or damage the heater wires.