tire LEXUS LS430 2006 User Guide
[x] Cancel search | Manufacturer: LEXUS, Model Year: 2006, Model line: LS430, Model: LEXUS LS430 2006Pages: 419, PDF Size: 11.19 MB
Page 167 of 419
151
2-5. Driving information
2
When driving
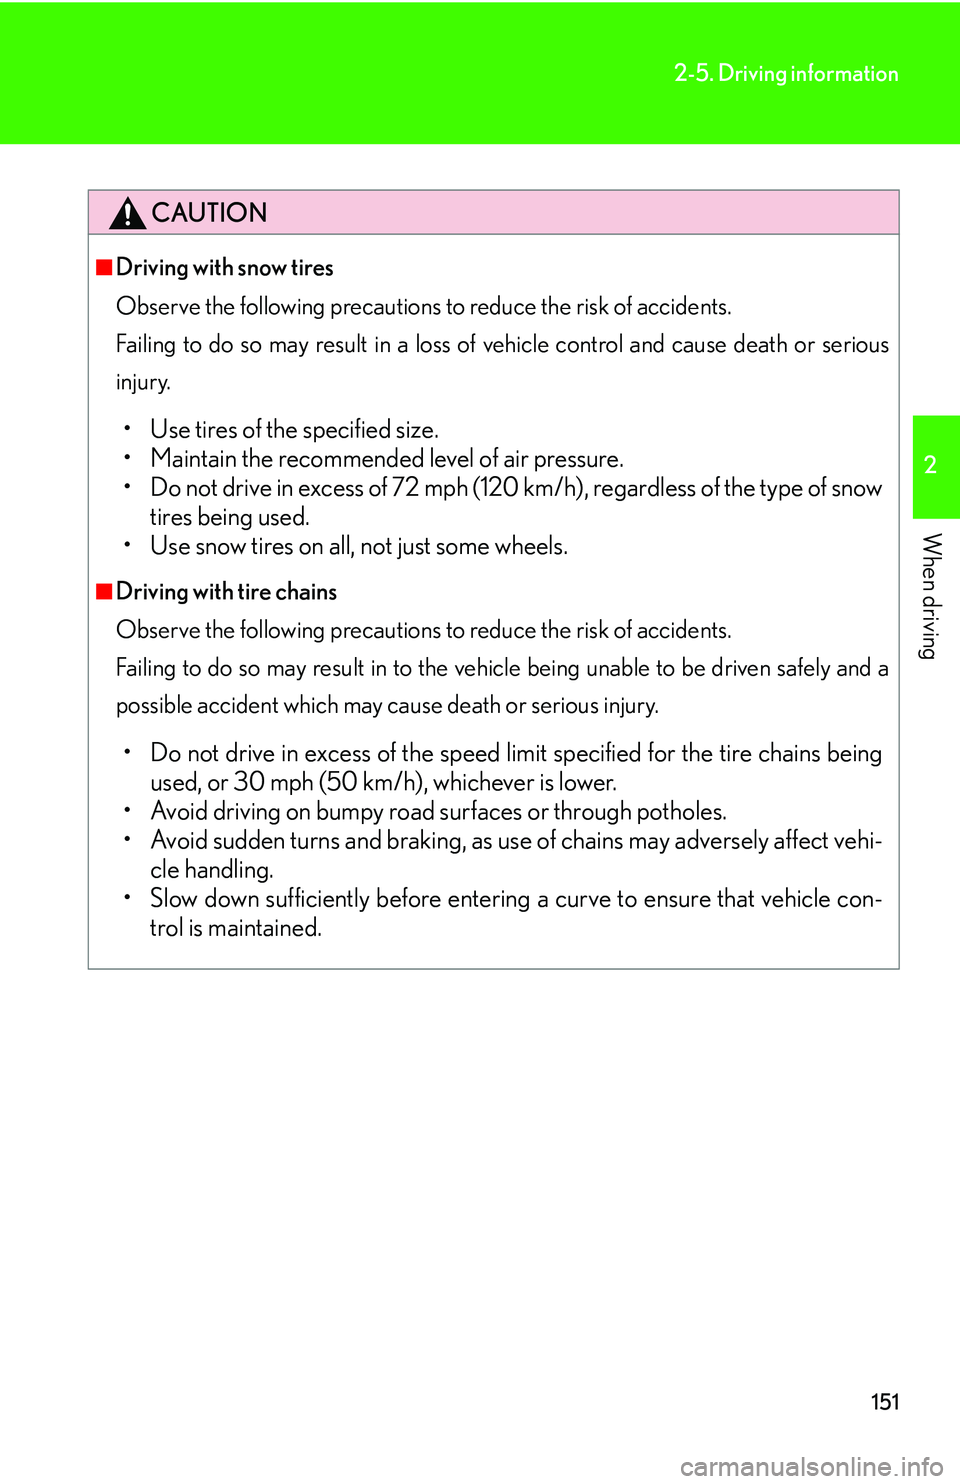
CAUTION
■Driving with snow tires
Observe the following precautions to reduce the risk of accidents.
Failing to do so may result in a loss of vehicle control and cause death or serious
injur
y.
• Use tires of the specified size.
• Maintain the recommended level of air pressure.
• Do not drive in excess of 72 mph (120 km/h), regardless of the type of snow tir
es being used.
• Use snow tires on all, not just some wheels.
■Driving with tire chains
Observe the following precautions to reduce the risk of accidents.
Failing to do so may result in to the vehicle being unable to be driven safely and a
p
ossible accident which may cause death or serious injury.
• Do not drive in excess of the speed limit specified for the tire chains being
used, or 30 mph (50 km/h), whichever is lower.
• Avoid driving on bumpy road s
urfaces or through potholes.
• Avoid sudden turns and braking, as us e of chains may a
dversely affect vehi-
cle handling.
• Slow down sufficiently before entering a curve to ensure that vehicle con -
trol is maintained.
Page 170 of 419
154
2-5. Driving information
■Before towing
●Ensure that your vehicle’s tires are properly inflated. (P.283 )
●Trailer tires should be inflated according to the trailer manufacturer’s recom -
mendation.
●All trailer lights must work to be legal.
●Confirm all lights work each time you connect them.
●Check that your vehicle remains level when a loaded or unloaded trailer is
hitched. Do not drive if the vehicle is not level, and check for improper tongue
load, overloading, worn suspension, or other possible causes.
●Make sure the trailer cargo is securely loaded.
●Check that your rear view mirrors conform to any federal, state/provincial or
local regulations. If they do not, instal l rear view mirrors appropriate for towing
purposes.
■Break-in schedule
Lexus recommends that you do not use a new vehicle or a vehicle with any new
p
ower train components (engine, transmissi on, differential, wheel bearing, etc.) to
tow a trailer for the first 500 miles (800 km) of driving.
■Maintenance
●If you tow a trailer, your vehicle will require more frequent maintenance due to
the additional load. (see “Owner’s Manual Supplement/ Scheduled Mainte -
nance”)
●Retighten the fixing bolts of the towing ball and bracket after approximately
600 miles (1000 km) of trailer towing.
Page 172 of 419
156
2-5. Driving information
Trailer towing tips
Your vehicle will handle differently when towing a trailer. The three main
causes of vehicle-trailer accidents are driver error, excessive speed and
improper trailer loading. Keep these in mind when towing.
• Before starting out, check the tra iler
’s lights and the vehicle-trailer
connections. Recheck after driving a short distance.
• Practice turning, stopping and reversi ng with the tr
ailer attached in an
area away from traffic until you be come accustomed to the feel of the
vehicle.
• Reversing with a trailer attached is dif
ficult and requires practice. Grip
the bottom of the steering wheel and move your hand to the left to
move the trailer to the left. Move yo ur hand to the right to move the
trailer to the right. (This is gene rally opposite to reversing without a
trailer attached.) Avoid sharp or prolonged turning. Have someone
guide you when reversing to redu ce the risk of an accident.
NOTICE
■When installing a trailer hitch
●Use only the position recommended by your Lexus dealer. Do not install the
trailer hitch on the bumper; this may cause body damage.
●Do not use axle-mounted hitches as they can cause damage to the axle housing,
wheel bearings, wheels or tires.
■Brakes
Lexus recommends trailers with brakes that conform to any applicable federal and
sta
te/provincial requlations.
■Do not directly splice trailer lights
Direct splicing may damage your vehicle’s electrical system and cause a malfunc -
tion.
Page 252 of 419
236
3-5. Other interior features
Operating the HomeLink
Press the appropriate HomeLink button. The HomeLink indicator
light on the HomeLink
transceiver should turn on.
The HomeLink continues to send a signal for up to 20 seconds as long as
the button is pressed.
Erasing the entire HomeLink memory (all three programs)
Press and hold down the 2 outside buttons for 20 seconds until the
indicator light flashes.
If you sell your vehicle, be sure to erase the programs stored in the
HomeLink memory.
■Before programming
●Install a new battery in the transmitter.
●The battery side of the transmitter must be pointed away from the HomeLink.
■Certification for the garage door opener
This device complies with Part 15 of the F
CC Rules and with RSS-210 of the IC
Rules.
Operation is subject to the following two co
nditions: (1) This device may not cause
harmful interference, and (2) this device must accept any interference that may be
received, including interference that may cause undesired operation. WARNING:
This transmitter has been tested and comp lies with FCC and IC rules. Changes or
modifications not expressly approved by the party responsible for compliance
could void the user’s authority to operate the device.
Page 259 of 419
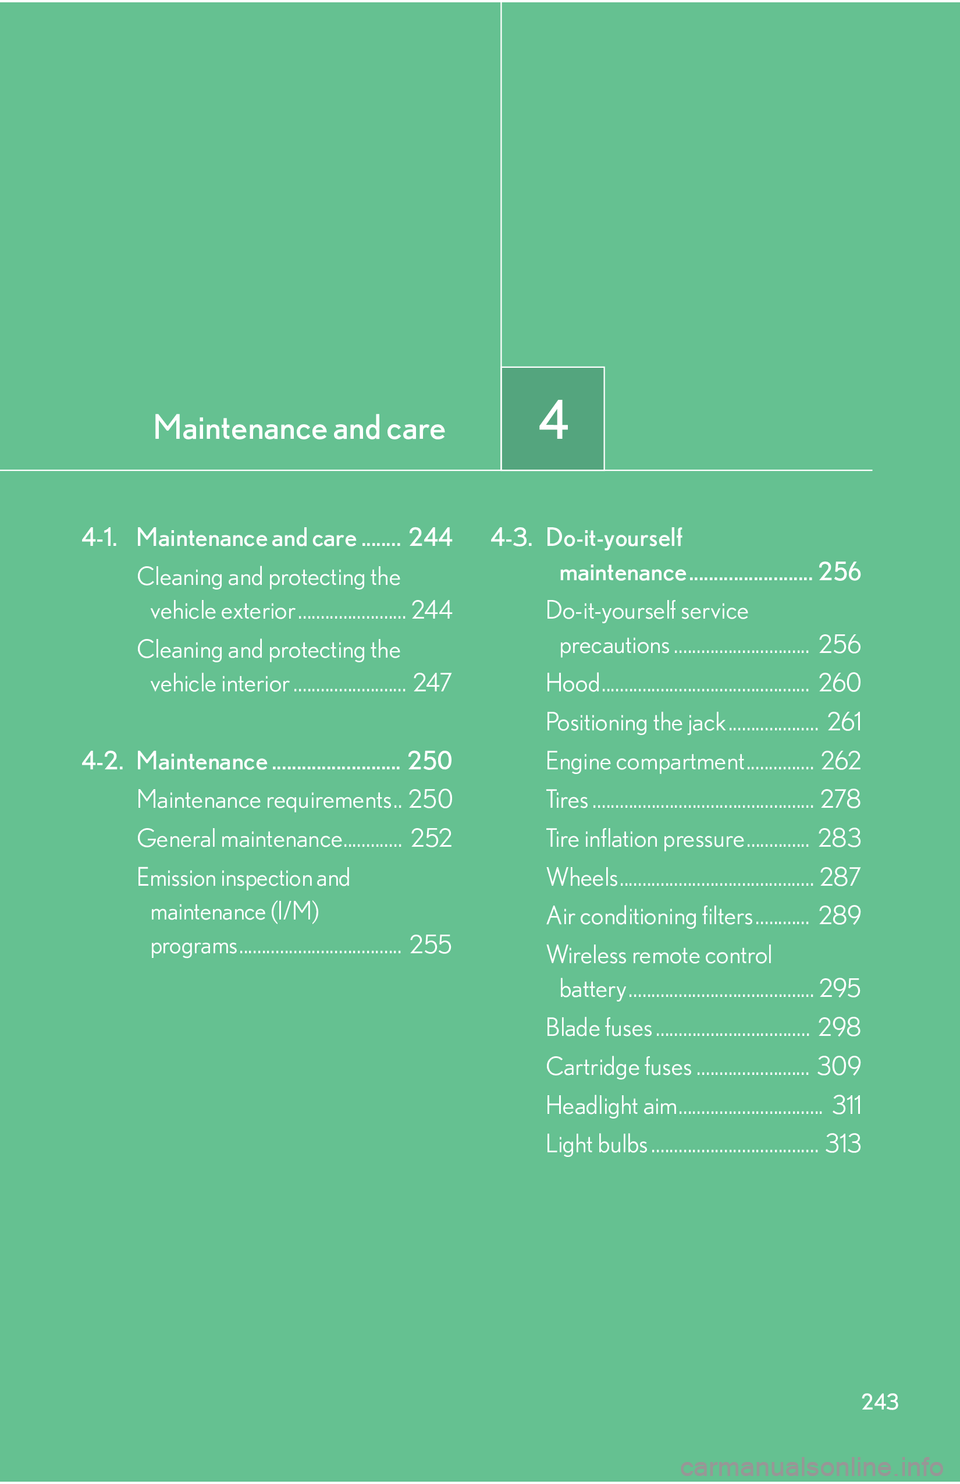
4Maintenance and care
243
4-1. Maintenance and care ........ 244
Cleaning and protecting the vehicle exterior ........................ 244
Cleaning and protecting the vehicle interior ......................... 247
4-2. Maintenance .......................... 250 Maintenance requirements.. 250
General maintenance............. 252
Emission inspection and
maintenance (I/M)
programs.................................... 255 4-3. Do-it-yourself
maintenance ......................... 256
Do-it-yourself service
precautions .............................. 256
Hood.............................................. 260
Positioning the jack .................... 261
Engine compartment ............... 262
Tires ................................................. 278
Tire inflation pressure .............. 283
Wheels ........................................... 287
Air conditioning filters
............ 289
Wireless remote control battery ......................................... 295
Blade fuses .................................. 298
Cartridge fuses ......................... 309
Headlight aim................................ 311
Light bulbs ..................................... 313
Page 270 of 419
254
4-2. Maintenance
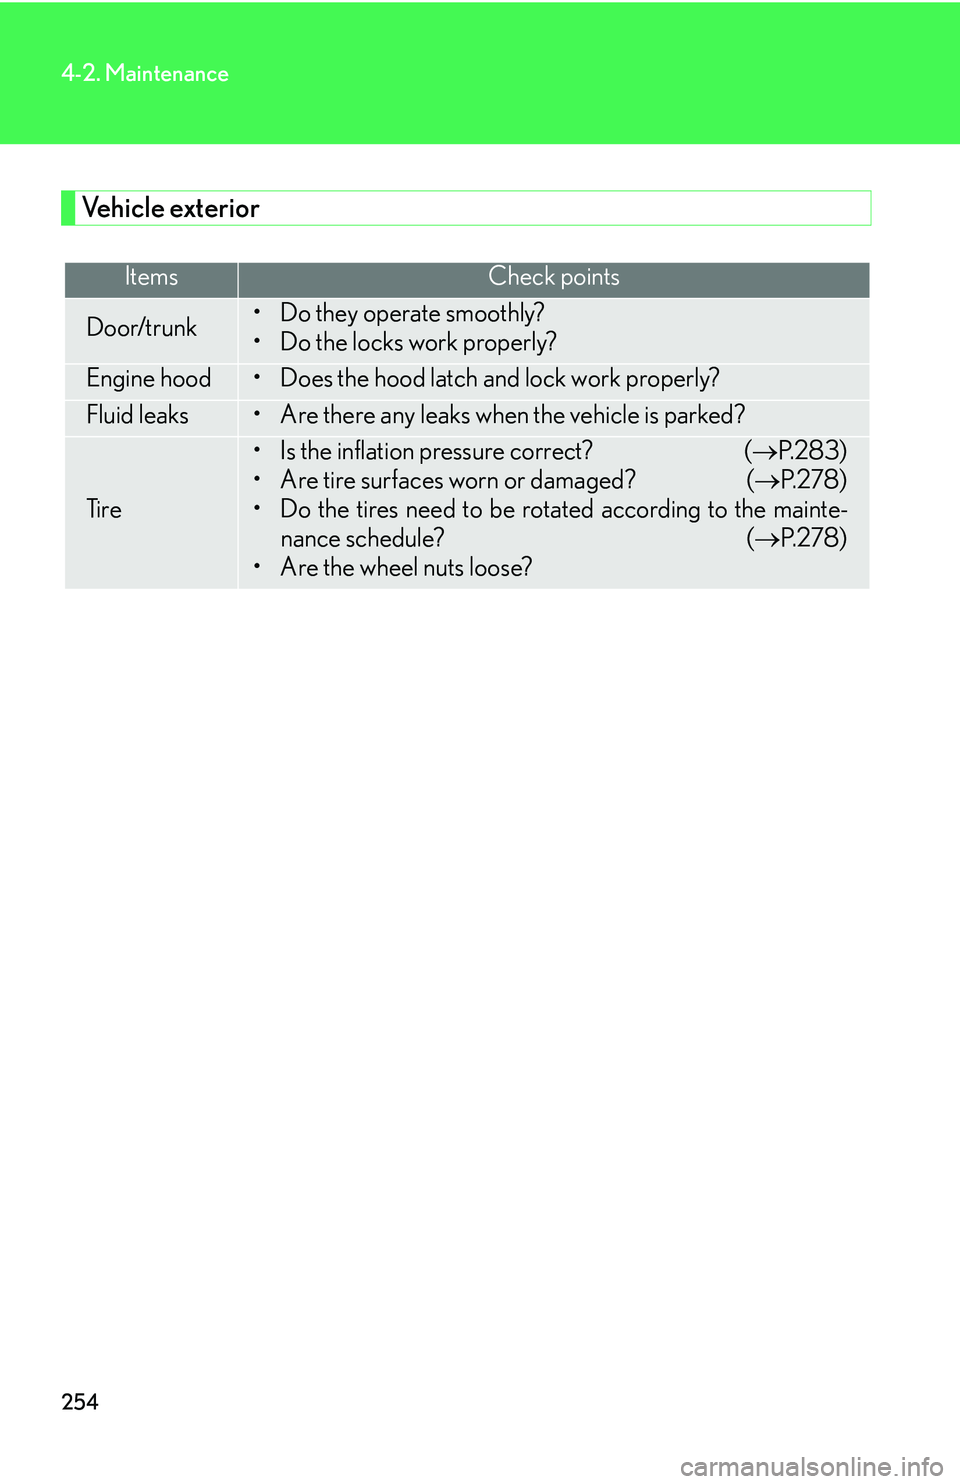
Vehicle exterior
ItemsCheck points
Door/trunk• Do they operate smoothly?
• Do the locks work properly?
Engine hood• Does the hood latch and lock work properly?
Fluid leaks• Are there any leaks when the vehicle is parked?
Ti r e
• Is the inflation pressure correct? ( P. 2 8 3 )
• Are tire surfaces worn or damaged? ( P. 2 7 8 )
• Do the tires need to be rotated according to the mainte- nance schedule? ( P. 2 7 8 )
• Are the wheel nuts loose?
Page 273 of 419
257
4-3. Do-it-yourself maintenance
4
Maintenance and care
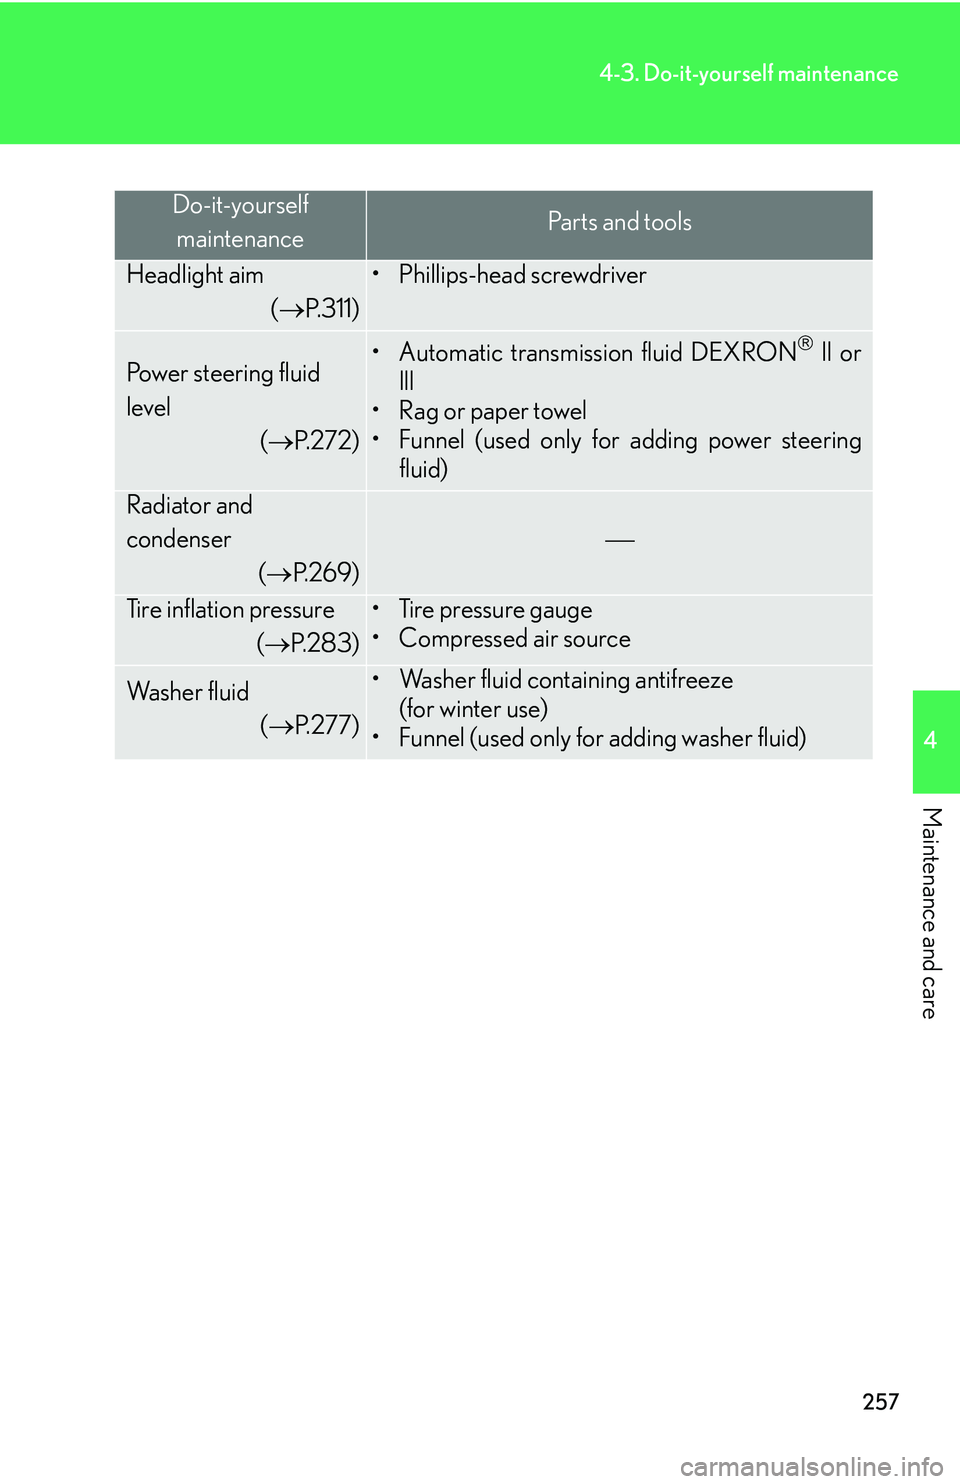
Do-it-yourself maintenancePa r t s a n d t o o l s
Headlight aim
( P.311)
• Phillips-head screwdriver
Power steering fluid
level
(P. 2 7 2 )
• Automatic transmission fluid DEXRON ll or
lll
• Rag or paper towel
• Funnel (used only for adding power steering fluid)
Radiator and
condenser
(P. 2 6 9 )
Tire inflation pressure
(P. 2 8 3 )
• Tire pressure gauge
• Compressed air source
Wa s h e r f l u i d
(P. 2 7 7 )
• Washer fluid containing antifreeze
(for winter use)
• Funnel (used only for adding washer fluid)
Page 294 of 419
278
4-3. Do-it-yourself maintenance
Tires
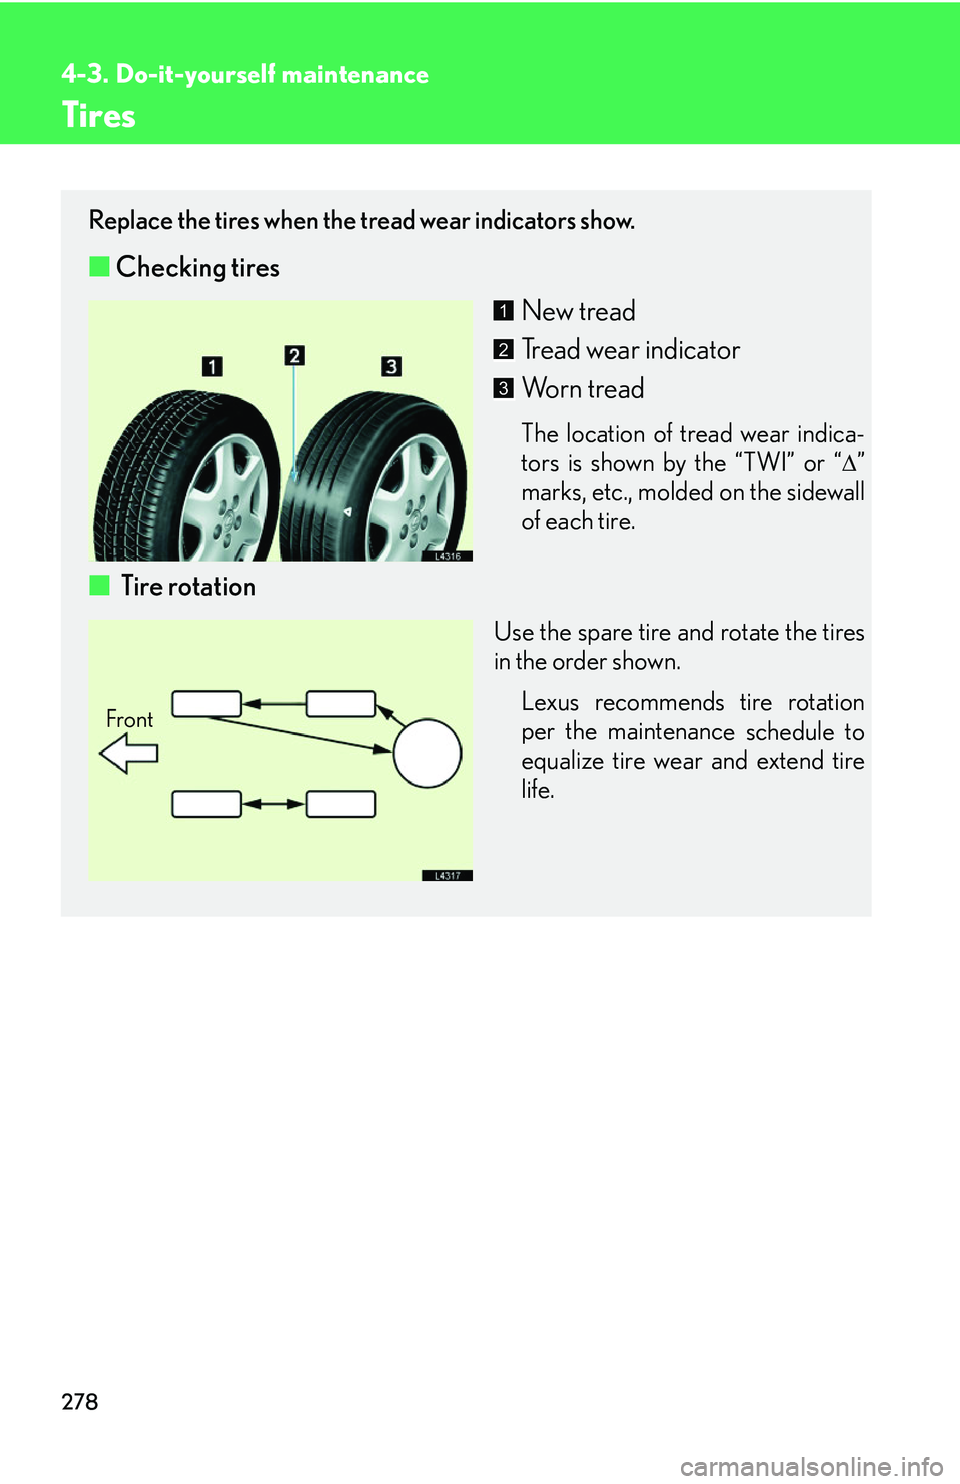
Replace the tires when the tread wear indicators show.
■Checking tires
New tread
Tread wear indicator
Worn tread
The location of tread wear indica-
tors is shown by the “TWI” or “
”
marks, etc., molded on the sidewall
of each tire.
■ Tire rotation
Use the spare tire and rotate the tires
in the order shown.
Lexus recommends tire rotation
per the maintenanc
e schedule to
equalize tire wear and extend tire
life.
1
2
3
Front
Page 295 of 419
279
4-3. Do-it-yourself maintenance
4
Maintenance and care
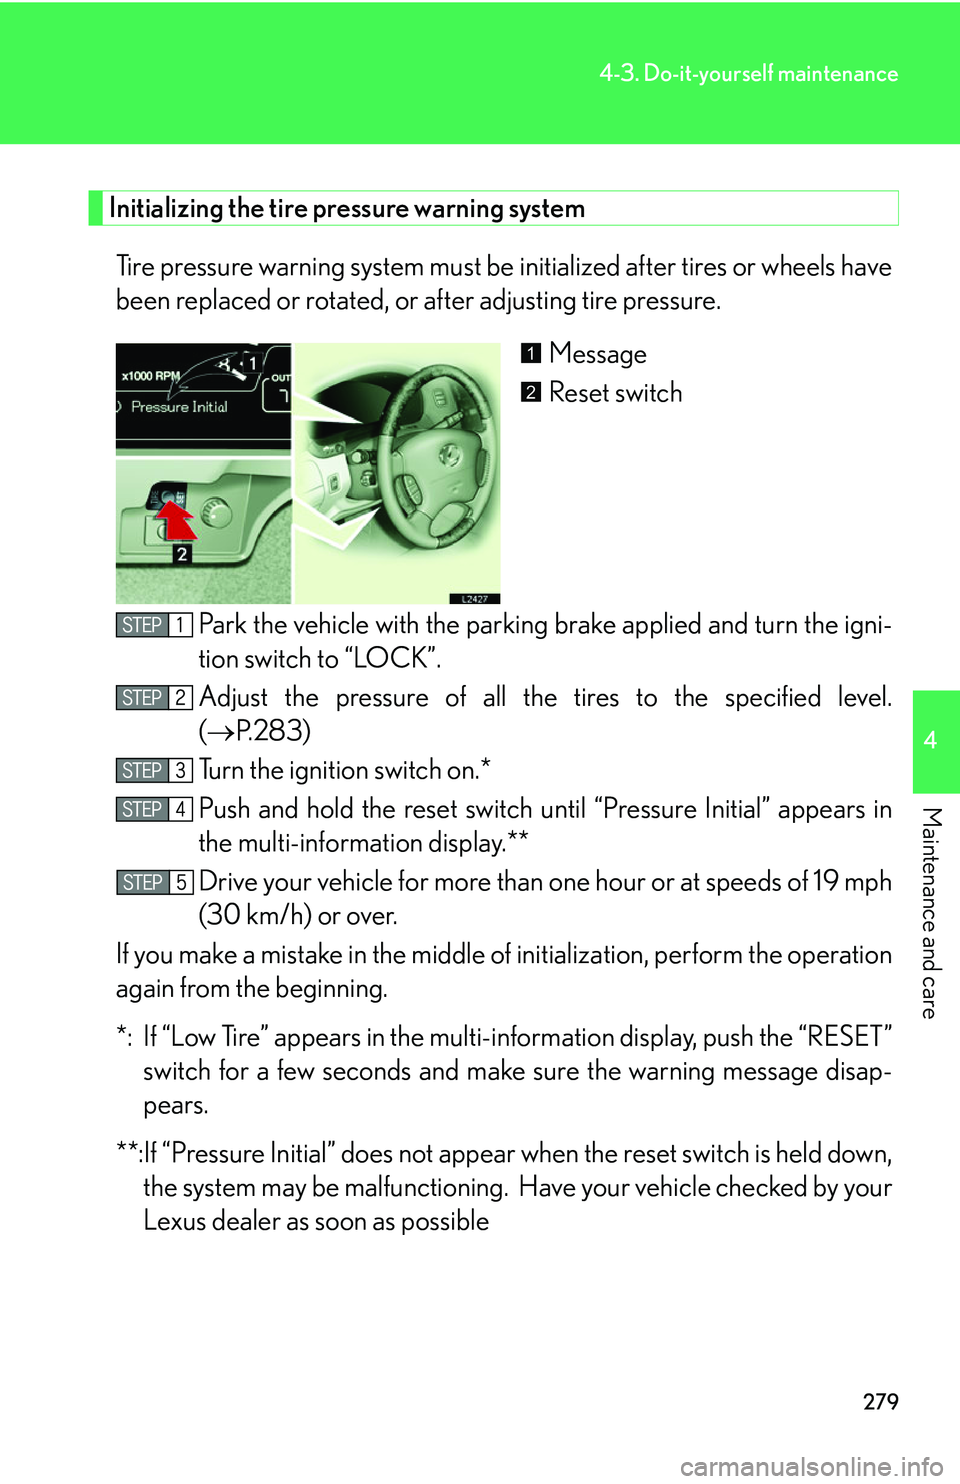
Initializing the tire pressure warning system
Tire pressure warning system must be initialized after tires or wheels have
been replaced or rotated, or after adjusting tire pressure.
Message
Reset switch
Park the vehicle with the parking br
ake applied and turn the igni-
tion switch to “LOCK”.
Adjust the pressure of all the tir
es to the specified level.
( P.283 )
Turn the ignition switch on.*
Push and hold the reset switch until “P
ressure Initial” appears in
the multi-information display.**
Drive your vehicle for more than one hour or at speeds of 1
9 mph
(30 km/h) or over.
If you make a mistake in the middle of initialization, per
form the operation
again from the beginning.
*: If “Low Tire” appears in the multi- information display
, push the “RESET”
switch for a few seconds and make sure the warning message disap-
pears.
**:If “Pressure Initial” does not appear when the r
eset switch is held down,
the system may be malfunctioning. Ha ve your vehicle checked by your
Lexus dealer as soon as possible
1
2
Page 296 of 419
280
4-3. Do-it-yourself maintenance
■When to replace your vehicle’s tires
If either of the following occurs, the tire should be replaced:
• Tire damage such as cuts, splits, cracks deep enough to expose the
fabric, or bulges indicating internal damage
• If a tire often goes flat or cannot be pr
operly repaired due to the size
or location of a cut or other damage
If you are not sure, see your Lexus dealer.
■Tire life
Any tire over 6 years old must be checked by a qualified technician even if it has
ne
ver or seldom been used or damage is not obvious.
■If the tread wears down below 0.16 in. (4 mm) on snow tires
The effectiveness of snow tires is lost.
■Tire selection
When replacing a tire, use a tire of the sa me siz
e and construction, and the same or
greater maximum load as the originally installed tires.
Check that the maximum load of the replaced t
ire is greater than 1 /2 of the Gross
Axle Weight Ratings (GAWR) of either the front axle or the rear axle, whichever is
greater.
As for the maximum load of the tire, see the load limit a
t maximum cold tire inflation
pressure mentioned on the sidewall of the tire.
As for the Gross Axle Weight Ratings (GAWR), see the Certification Label.
( P.283 )