ECO mode LEXUS RC350 2017 User Guide
[x] Cancel search | Manufacturer: LEXUS, Model Year: 2017, Model line: RC350, Model: LEXUS RC350 2017Pages: 724, PDF Size: 15.76 MB
Page 107 of 724
1072. Instrument cluster
2
Instrument cluster
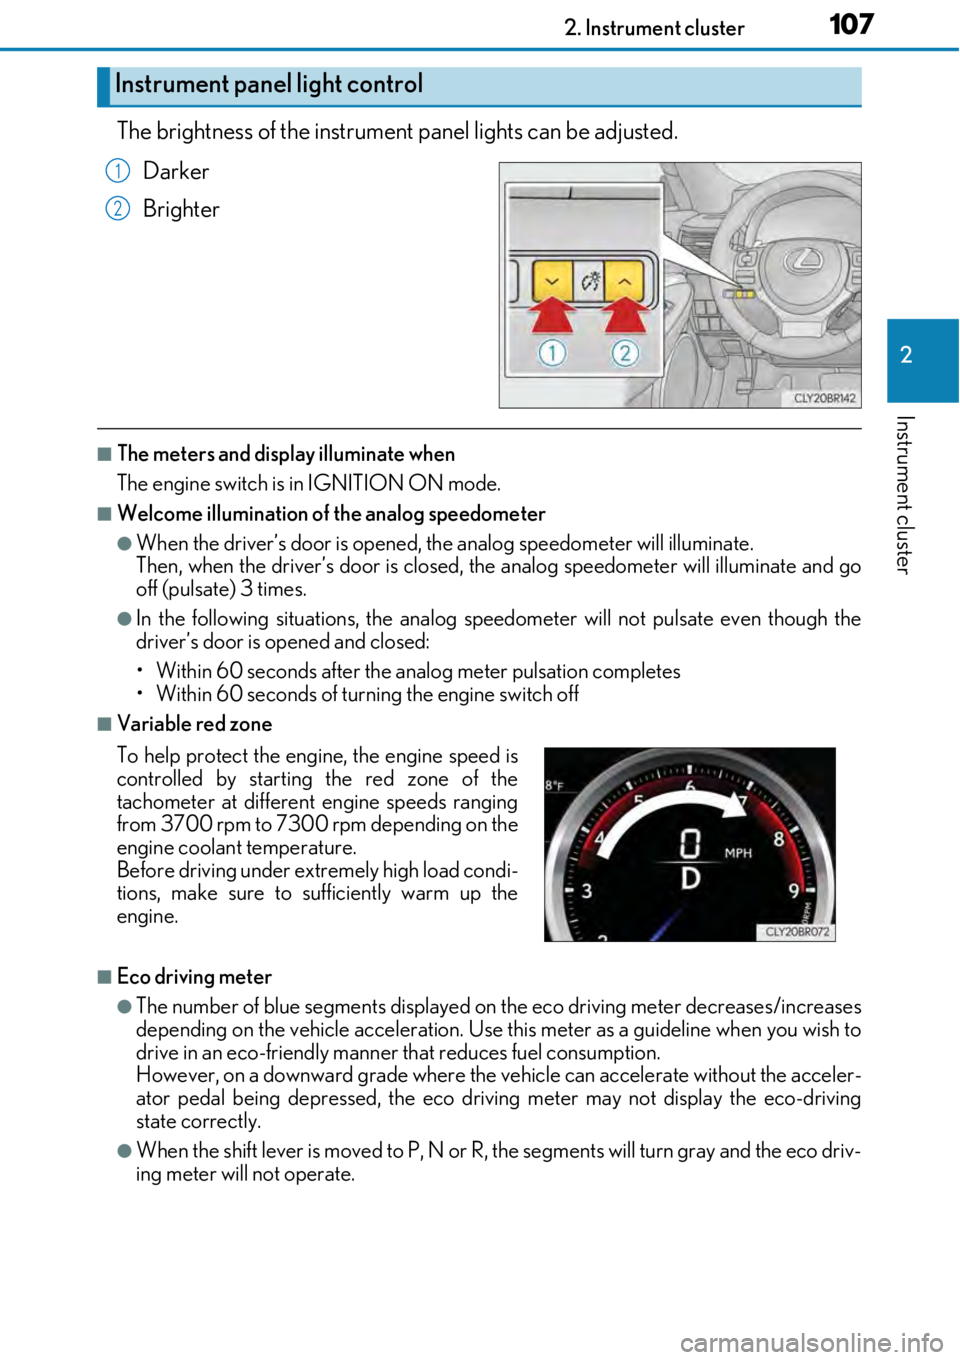
The brightness of the instrument panel lights can be adjusted.
Darker
Brighter
■The meters and display illuminate when
The engine switch is in IGNITION ON mode.
■Welcome illumination of the analog speedometer
●When the driver’s door is opened, the analog speedometer will illuminate.
Then, when the driver’s door is closed, the analog speedometer will illuminate and go
off (pulsate) 3 times.
●In the following situations, the analog sp eedometer will not pulsate even though the
driver’s door is opened and closed:
• Within 60 seconds after the an alog meter pulsation completes
• Within 60 seconds of turning the engine switch off
■Variable red zone
■Eco driving meter
●The number of blue segments displayed on the eco driving meter decreases/increases
depending on the vehicle acceleration. Use this meter as a guideline when you wish to
drive in an eco-friendly manner that reduces fuel consumption.
However, on a downward grade where the ve hicle can accelerate without the acceler-
ator pedal being depressed, the eco driv ing meter may not display the eco-driving
state correctly.
●When the shift lever is moved to P, N or R, the segments will turn gray and the eco driv-
ing meter will not operate.
Instrument panel light control
1
2
To help protect the engine, the engine speed is
controlled by starting the red zone of the
tachometer at different engine speeds ranging
from 3700 rpm to 7300 rpm depending on the
engine coolant temperature.
Before driving under extremely high load condi-
tions, make sure to su fficiently warm up the
engine.
Page 112 of 724
1122. Instrument cluster
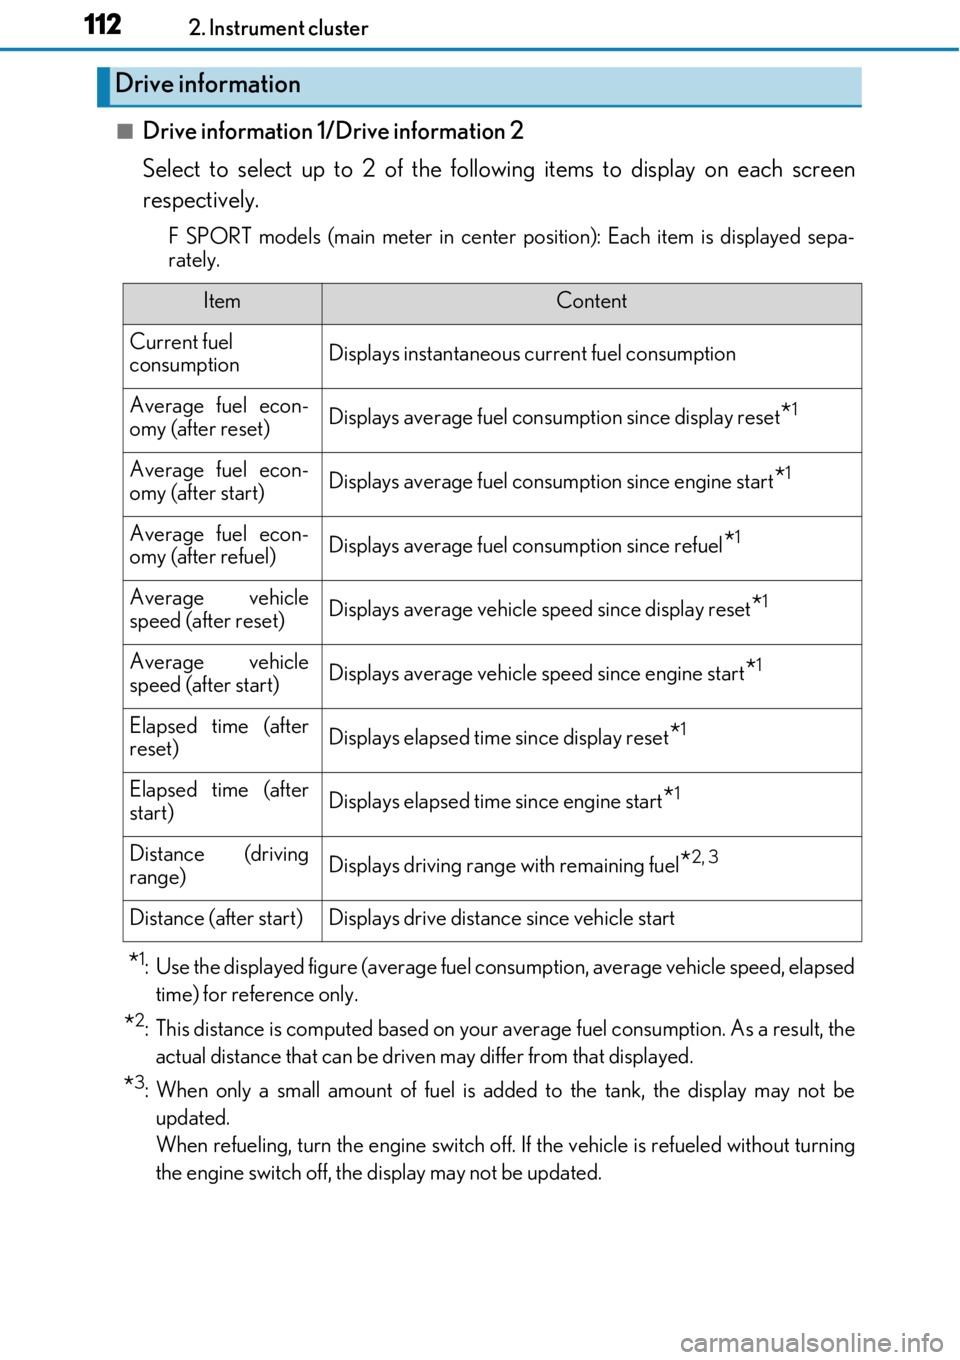
■Drive information 1/Drive information 2
Select to select up to 2 of the following items to display on each screen
respectively.
F SPORT models (main meter in center position): Each item is displayed sepa-
rately.
*1: Use the displayed figure (average fuel co nsumption, average vehicle speed, elapsed
time) for reference only.
*2: This distance is computed based on your average fuel consumption. As a result, the actual distance that can be driven may differ from that displayed.
*3: When only a small amount of fuel is added to the tank, the display may not beupdated.
When refueling, turn the engine switch off. If the vehicle is refueled without turning
the engine switch off, the display may not be updated.
Drive information
ItemContent
Current fuel
consumptionDisplays instantaneous current fuel consumption
Average fuel econ-
omy (after reset)Displays average fuel cons umption since display reset*1
Average fuel econ-
omy (after start)Displays average fuel consumption since engine start*1
Average fuel econ-
omy (after refuel)Displays average fuel consumption since refuel*1
Average vehicle
speed (after reset)Displays average vehicle speed since display reset*1
Average vehicle
speed (after start)Displays average vehicle speed since engine start*1
Elapsed time (after
reset)Displays elapsed time since display reset*1
Elapsed time (after
start)Displays elapsed time since engine start*1
Distance (driving
range)Displays driving range with remaining fuel*2, 3
Distance (after start)Displays drive distance since vehicle start
Page 113 of 724

1132. Instrument cluster
2
Instrument cluster
●Resetting
The following displays can be reset: average fuel consumption after reset,
average vehicle speed after reset, and elapsed time after reset. • To reset, display the desired item and press and hold .
• If both displayed items are resett able, a reset selection screen will
appear.
■Eco Driving Indicator
→ P. 94
■Boost Meter/Oil Temperature Gaug e/Oil Pressure Gauge (F SPORT
models for RC200t)
Boost Meter:
Displays the boost pressure. The display changes colors when the set pres-
sure is exceeded.
Oil Temperature Gauge:
Displays the temperature of the engine oil. The display flashes when the
engine oil exceeds 284°F (140°C).
Oil Pressure Gauge:
Displays the oil pressure for the engine interior. A buzzer sounds and warning
message is displayed when the oil pressure gets low. ( →P. 578)
Depending on the road conditions, temperature, vehicle speed, etc., the actual
vehicle condition on the display screen may differ.
Use the display scre en as a reference.
■Tire pressure
→P. 518
■Gear positions
Displays the current gear position when the shift lever is in D or M.
■Speed unit (F SPORT models with main meter in center position)
The units of measure used can be changed while driving.
Unlike the units setting performed on the settings display, the units setting per-
formed on the drive information me nu can be changed while driving.
Page 114 of 724
1142. Instrument cluster
■Language
Select to change the language on the display.
■Units
Select to change the unit of measure for fuel consumption.
■Maintenance system (if equipped)
Select to reset the maintenance data after the required maintenance is per-
formed. (
→ P. 489)
■Eco Driving Indicator Light
Select to activate/deactivate th e Eco Driving Indicator Light.
■ switch settings (except F SPORT models)
Displays a procedure to register a desired screen to .
You can register 1 screen as a shortcut, which can be displayed by pressing . (
→P. 111)
■Drive information 1/Drive information 2
Select to select up to 2 items that will be displayed on the “Drive Info 1” screen
and “Drive Info 2” screen respectively. (
→ P. 112)
■Pop-up display
Select to set the following pop-up disp lays, which may appear in some situa-
tions, on/off. • Route guidance display of the navigation system-linked system (if equipped)
• Incoming call display of the hands-free phone system
• Dynamic radar cruise control operation display (if equipped)
• Instrument panel bright ness adjustment display
• Main meter switch operation display (F SPORT models)
■Accent color (except F SPORT models)
Select to change the accent colors on the screen, such as the cursor color.
■Needle (F SPORT models)
Select to change the needle color for the tachometer.
Settings display
Page 115 of 724
1152. Instrument cluster
2
Instrument cluster
■Rev indicator (F SPORT models)
Select to set the rev indicator on/off.
When set to on, proceed to set the engine speed at which the rev indicator will
be displayed.
Selectable engine speed range:
RC350/RC300: 2000 rpm to 6600 rpm
RC200t: 2000 rpm to 6100 rpm
■Rev peak (F SPORT models)
Select to set the rev peak on/off.
■Speed indicator (F SPORT models)
Select to set the speed indicator on/off.
When set to on, proceed to set the vehicle speed at which the speed indicator
will be displayed.
Selectable speed range:
30 mph to 100 mph (50 km/h to 160 km/h)
*
*
: Always observe the legal speed limi t when driving on public roads.
■Initialization
Select to reset the meter display settings. ( →P. 674)
■Suspension of the settings display
In the following situations, op eration of the settings display will be temporarily sus-
pended.
●When a warning message appears on the multi-information display
●When the vehicle begins to move
■Tire pressure
●It may take a few minutes to display the tire inflation pressure after the engine switch is
turned to IGNITION ON mode. It may also take a few minutes to display the tire infla-
tion pressure after inflation pressure has been adjusted.
●“---” may be displayed if the tire information cannot be determined due to unfavorable
radio wave conditions.
●Tire inflation pressure changes with temperat ure. The displayed values may also be dif-
ferent from the values measured using a tire pressure gauge.
■When disconnecting and reconnecting battery terminals
The drive information data will be reset.
■Liquid crystal display
→ P. 100
Page 126 of 724
1262. Instrument cluster
■Language
Select to change the language on the display.
■Units
Select to change the unit of measure for fuel consumption.
■Maintenance system (U.S.A. only)
Select to reset the maintenance data after the required maintenance is per-
formed. (
→ P. 489)
■Eco Driving Indicator Light
Select to activate/deactivate th e Eco Driving Indicator Light.
■ switch settings
Displays a procedure to register a desired screen to .
You can register 1 screen as a shortcut, which can be displayed by pressing . (→ P. 118)
■Drive information 1/Drive information 2
Select to select up to 2 items that will be displayed on the “Drive Info 1” screen
and “Drive Info 2” screen respectively.
( → P. 119)
■Pop-up display
Select to set the following pop-up disp lays, which may appear in some situa-
tions, on/off. • Route guidance display of the navigation system-linked system (if equipped)
• Incoming call display of the hands-free phone system
• Dynamic radar cruise control operation display (if equipped)
• Instrument panel bright ness adjustment display
• TVD control mode change display (if equipped)
• Drive mode change display
■Rev indicator
Select to set the rev indicator on/off.
When set to on, proceed to select the engine speed at which the rev indicator
will be displayed.
■Rev peak
Select to set the rev peak on/off.
Settings display
Page 127 of 724
1272. Instrument cluster
2
Instrument cluster
■Speed indicator
Select to set the speed indicator on/off.
When set to on, proceed to set the vehicle speed at which the speed indicator
will be displayed.
Selectable speed range:
30 mph to 100 mph (50 km/h to 160 km/h)
*
*
: Always observe the legal speed limi t when driving on public roads.
■Rear wing
Select to enable/disable the active rear wing.
■SPORT gauges
The SPORT S or SPORT S+ mode meter display can be selected and set as
the customized display for either SPORT S or SPORT S+ mode.
■Initialization
Select to reset the meter display settings. ( →P. 674)
■Start-up display
When the engine is started, the name of the vehicle is displayed on the multi-information
display.
While the start-up display is being displaye d, the meter display cannot be changed even
if the drive mode is changed. When the start- up display is finished, the meter display for
the currently selected mode will be displayed.
■Torque distribution display (if equipped)
Torque distribution may not be displayed correctly in some cases, such as when the vehi-
cle passes over road expansion joints.
■G-force display
●The G-force values may not be zero even when the vehicle is parked, such as when it is
parked on an incline.
●The steering amount, accelerator pedal input, and brake fluid pressure displays are dis-
abled until the engine has warmed up (the variable red zone of the tachometer has
retracted to 7300 rpm).
After the engine has warmed up, these displays will be enabled.
●Depending on the vehicle usage conditions, the brake fluid pressure display may not
reach its maximum reading even though the brake pedal is fully depressed.
●If a battery terminal is disconnected and reconnected, the steering amount display may
be disabled temporarily. Afte r driving the vehicle for a while , the display will be enabled.
Page 128 of 724
1282. Instrument cluster
■Suspension of the settings display
In the following situations, operation of the settings display will be temporarily sus-
pended.
●When a warning message appears on the multi-information display
●When the vehicle begins to move
■Tire pressure
●It may take a few minutes to display the tire inflation pressure after the engine switch is
turned to IGNITION ON mode. It may also take a few minutes to display the tire infla-
tion pressure after inflation pressure has been adjusted.
●“---” may be displayed if the tire position information cannot be determined due to
unfavorable radio wave conditions.
●Tire inflation pressure changes with temperat ure. The displayed values may also be dif-
ferent from the values measured using a tire pressure gauge.
■When disconnecting and reconnecting battery terminals
The following information data will be reset:
●Drive information
●Lap timer: Measured lap times, history
●G-force: Record of the maximum G-forces
■Using the lap timer
If the engine is stopped while a lap is being timed, the lap timer will stop and the lap time
up to that point will be recorded.
■Liquid crystal display
→ P. 108
WARNING
■Caution for use while driving
●When operating the multi-information display while driving, pay extra attention to the
safety of the area around the vehicle.
●Do not look continuously at the multi-info rmation display while driving as you may fail
to see pedestrians, objects on the road, etc. ahead of the vehicle.
■The information display at low temperatures
Allow the interior of the vehicle to warm up before using the liquid crystal information
display. At extremely low temperatures, th e information display monitor may respond
slowly, and display changes may be delayed.
For example, there is a lag between the dr iver’s shifting and the new gear number
appearing on the display. This lag could ca use the driver to downshift again, causing
rapid and excessive engine braking and possibly an accident resulting in death or
injury.
■Cautions during setting up the display
As the engine needs to be running during sett ing up the display, ensure that the vehicle
is parked in a place with adequate ventilation. In a closed area such as a garage,
exhaust gases including harmful carbon mo noxide (CO) may collect and enter the
vehicle. This may lead to death or a serious health hazard.
Page 137 of 724
1373-1. Key information
3
Operation of each component
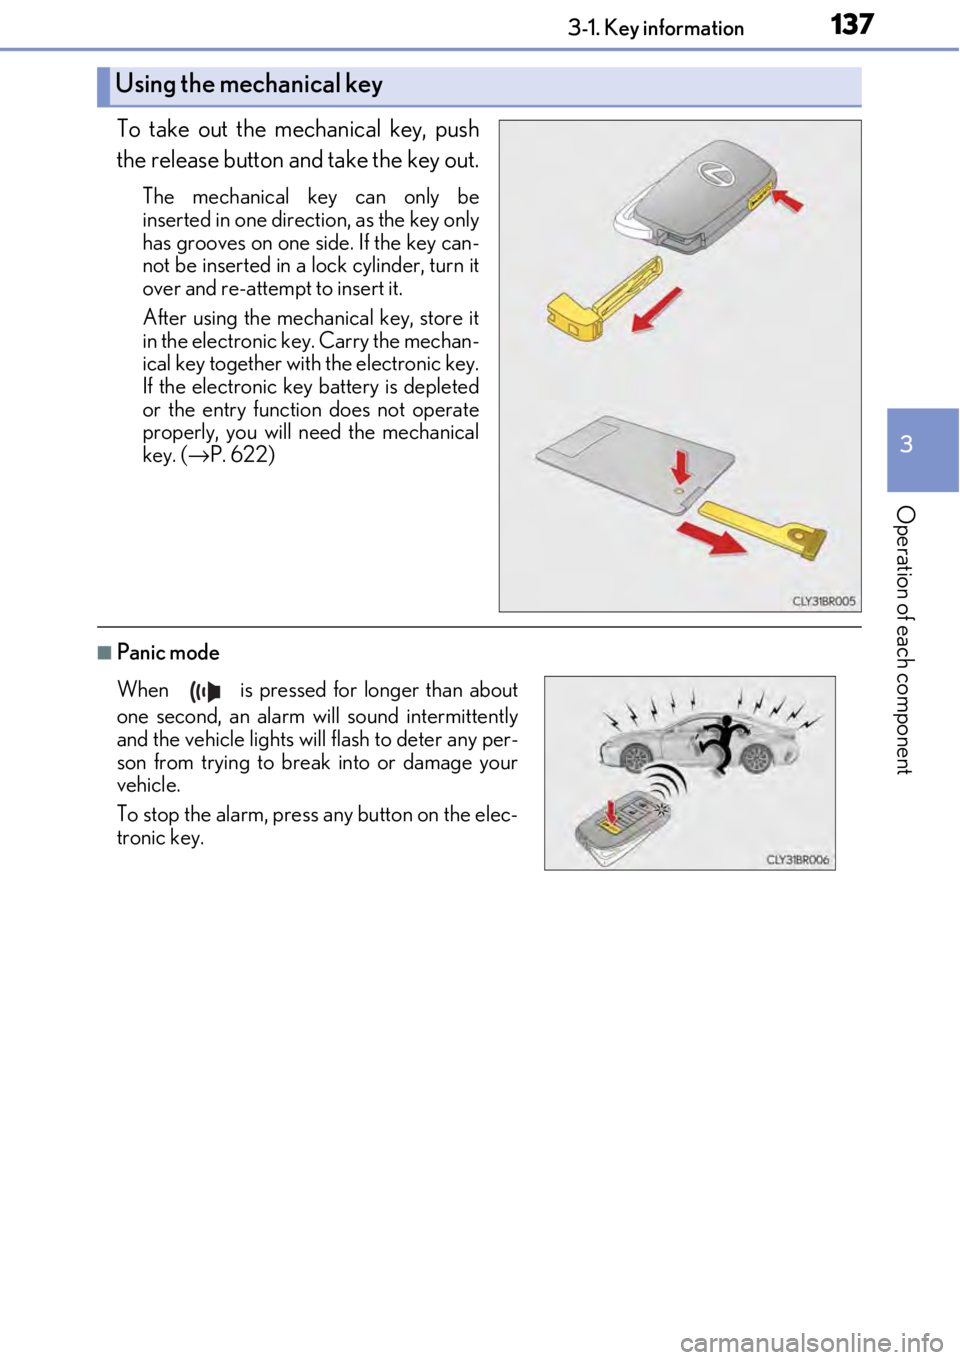
To take out the mechanical key, push
the release button and take the key out.
The mechanical key can only be
inserted in one direction, as the key only
has grooves on one side. If the key can-
not be inserted in a lock cylinder, turn it
over and re-attempt to insert it.
After using the mechanical key, store it
in the electronic key. Carry the mechan-
ical key together with the electronic key.
If the electronic key battery is depleted
or the entry function does not operate
properly, you will need the mechanical
key. ( →P. 622)
■Panic mode
Using the mechanical key
When is pressed for longer than about
one second, an alarm will sound intermittently
and the vehicle lights will flash to deter any per-
son from trying to break into or damage your
vehicle.
To stop the alarm, press any button on the elec-
tronic key.
Page 153 of 724
1533-2. Opening, closing and locking the doors and trunk
3
Operation of each component
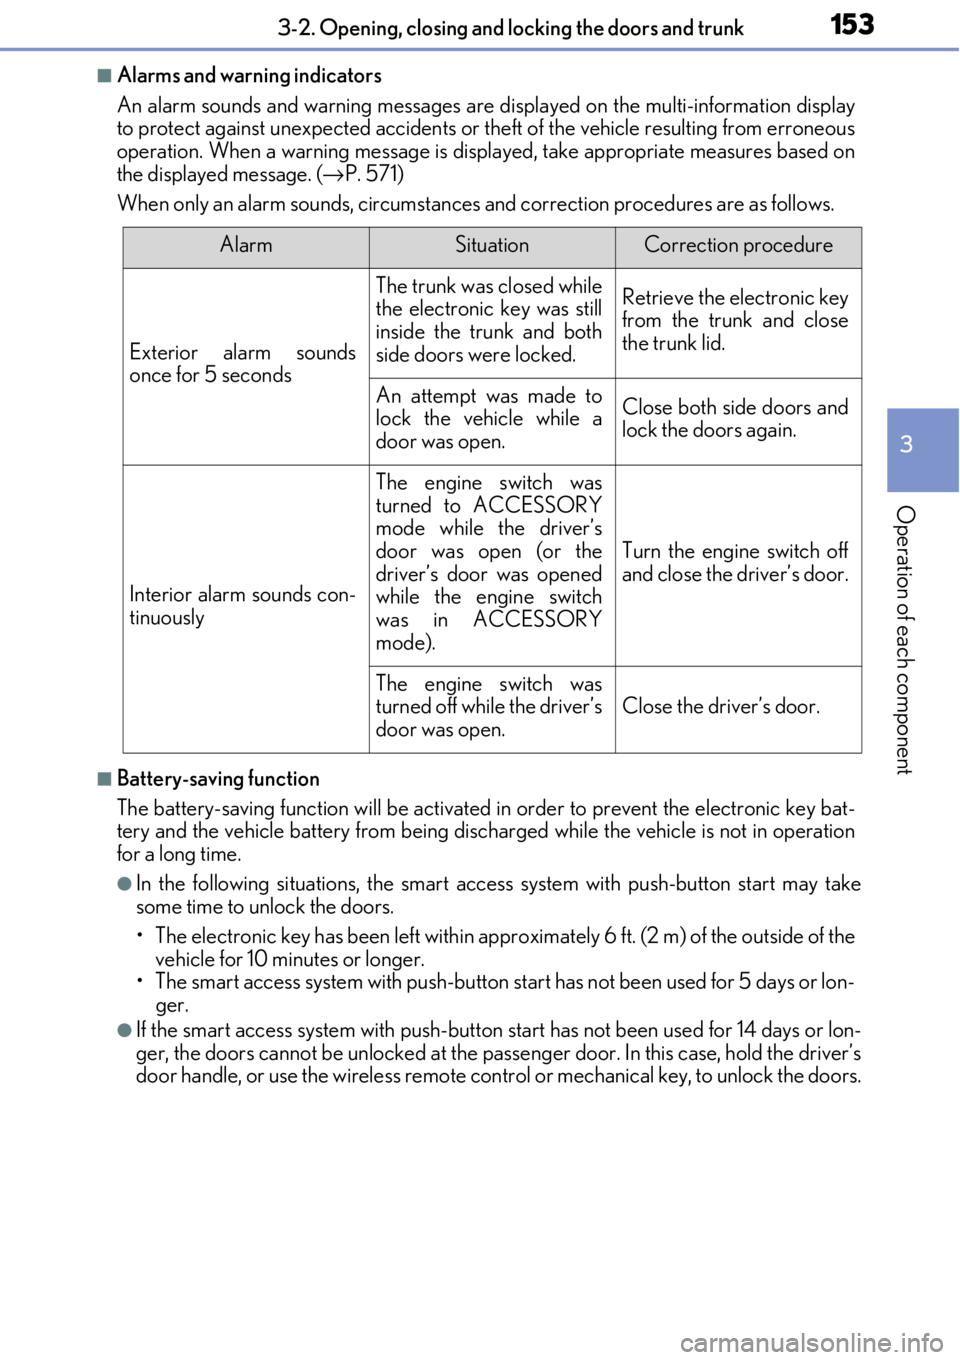
■Alarms and warning indicators
An alarm sounds and warning messages are displayed on the multi-information display
to protect against unexpected accidents or th eft of the vehicle resulting from erroneous
operation. When a warning me ssage is displayed, take appropriate measures based on
the displayed message. ( →P. 571)
When only an alarm sounds, circumstances and correction procedures are as follows.
■Battery-saving function
The battery-saving function w ill be activated in order to prevent the electronic key bat-
tery and the vehicle battery from being discharged while the vehicle is not in operation
for a long time.
●In the following situations, the smart acce ss system with push-button start may take
some time to unlock the doors.
• The electronic key has been left within appr oximately 6 ft. (2 m) of the outside of the
vehicle for 10 minutes or longer.
• The smart access system with push-button start has not been used for 5 days or lon-
ger.
●If the smart access system with push-button start has not been used for 14 days or lon-
ger, the doors cannot be unlocked at the passe nger door. In this case, hold the driver’s
door handle, or use the wireless remote cont rol or mechanical key, to unlock the doors.
AlarmSituationCorrection procedure
Exterior alarm sounds
once for 5 seconds
The trunk was closed while
the electronic key was still
inside the trunk and both
side doors were locked.Retrieve the electronic key
from the trunk and close
the trunk lid.
An attempt was made to
lock the vehicle while a
door was open.Close both side doors and
lock the doors again.
Interior alarm sounds con-
tinuously
The engine switch was
turned to ACCESSORY
mode while the driver’s
door was open (or the
driver’s door was opened
while the engine switch
was in ACCESSORY
mode).
Turn the engine switch off
and close the driver’s door.
The engine switch was
turned off while the driver’s
door was open.
Close the driver’s door.