brake LINCOLN AVIATOR 2004 Owners Manual
[x] Cancel search | Manufacturer: LINCOLN, Model Year: 2004, Model line: AVIATOR, Model: LINCOLN AVIATOR 2004Pages: 336, PDF Size: 3.69 MB
Page 2 of 336
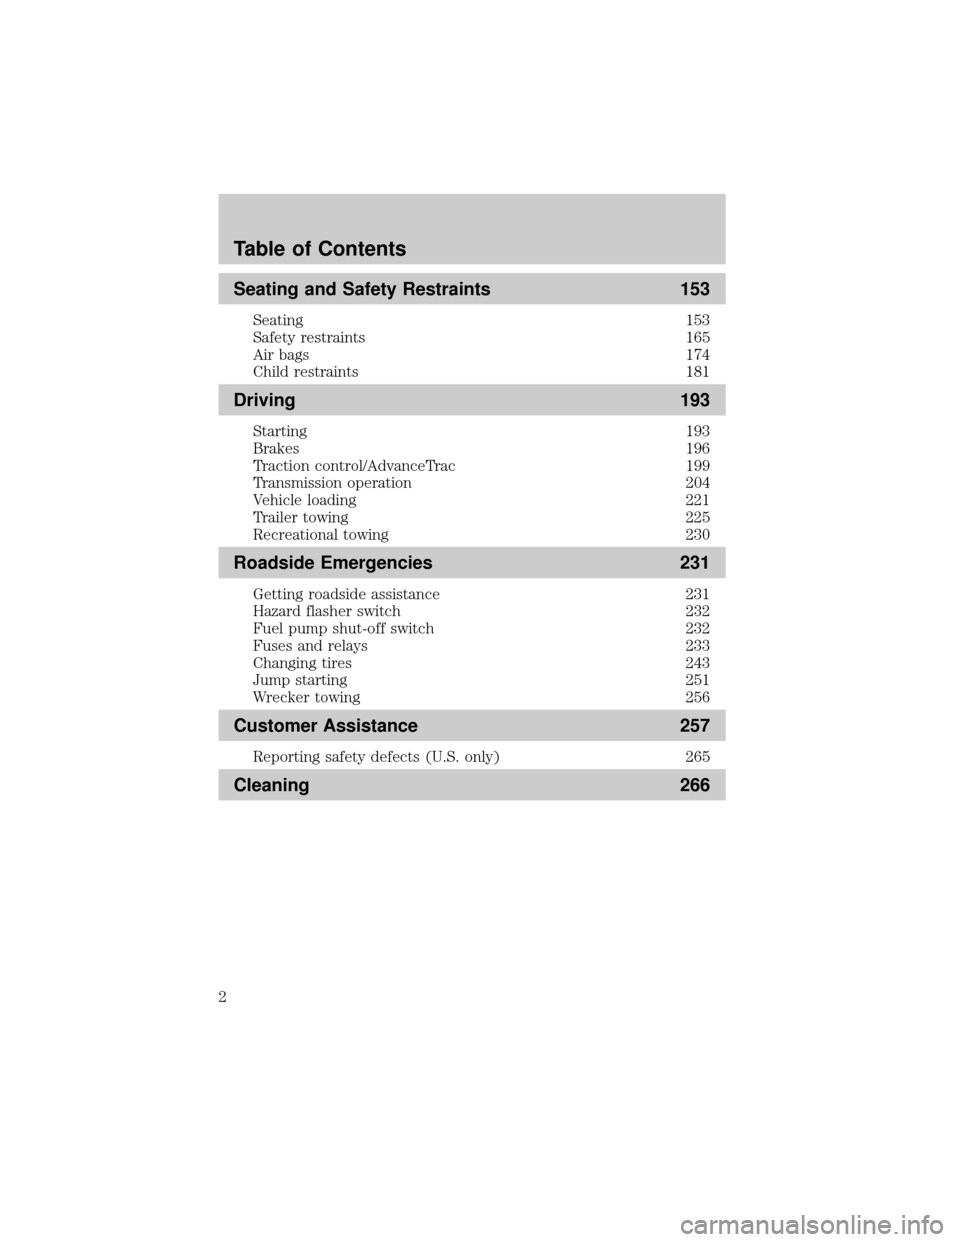
Seating and Safety Restraints 153
Seating 153
Safety restraints 165
Air bags 174
Child restraints 181
Driving 193
Starting 193
Brakes 196
Traction control/AdvanceTrac 199
Transmission operation 204
Vehicle loading 221
Trailer towing 225
Recreational towing 230
Roadside Emergencies 231
Getting roadside assistance 231
Hazard flasher switch 232
Fuel pump shut-off switch 232
Fuses and relays 233
Changing tires 243
Jump starting 251
Wrecker towing 256
Customer Assistance 257
Reporting safety defects (U.S. only) 265
Cleaning 266
Table of Contents
2
Page 6 of 336

SPECIAL NOTICES
Emission warranty
The New Vehicle Limited Warranty includes Bumper-to-Bumper
Coverage, Safety Restraint Coverage, Corrosion Coverage, and 6.0L
Power Stroke Diesel Engine Coverage. In addition, your vehicle is eligible
for Emissions Defect and Emissions Performance Warranties. For a
detailed description of what is covered and what is not covered, refer to
theWarranty Guidethat is provided to you along with your Owner's
Guide.
Service Data Recording
Service date recorders in your vehicle are capable of collecting and
storing diagnostic information about your vehicle. This potentially
includes information about the performance or status of various systems
and modules in the vehicle, such as engine, throttle, steering or brake
systems. In order to properly diagnose and service your vehicle, Ford
Motor Company, Ford of Canada and service and repair facilities may
access vehicle diagnostic information through a direct connection to your
vehicle when diagnosing or servicing your vehicle.
Event Data Recording
Other modules in your vehicle Ð event data recorders Ð are capable of
collecting and storing data during a crash or near crash event. The
recorded information may assist in the investigation of such an event.
The modules may record information about both the vehicle and the
occupants, potentially including information such as:
²how various systems in your vehicle were operating;
²whether or not the driver and passenger seatbelts were buckled;
²how far (if at all) the driver was depressing the accelerator and/or the
brake pedal;
²how fast the vehicle was traveling; and
²where the driver was positioning the steering wheel.
To access this information, special equipment must be directly connected
to the recording modules. Ford Motor Company and Ford of Canada do
not access event data recorder information without obtaining consent,
unless pursuant to court order or where required by law enforcement,
other government authorities or other third parties acting with lawful
authority. Other parties may seek to access the information
independently of Ford Motor Company and Ford of Canada.
Introduction
6
Page 8 of 336
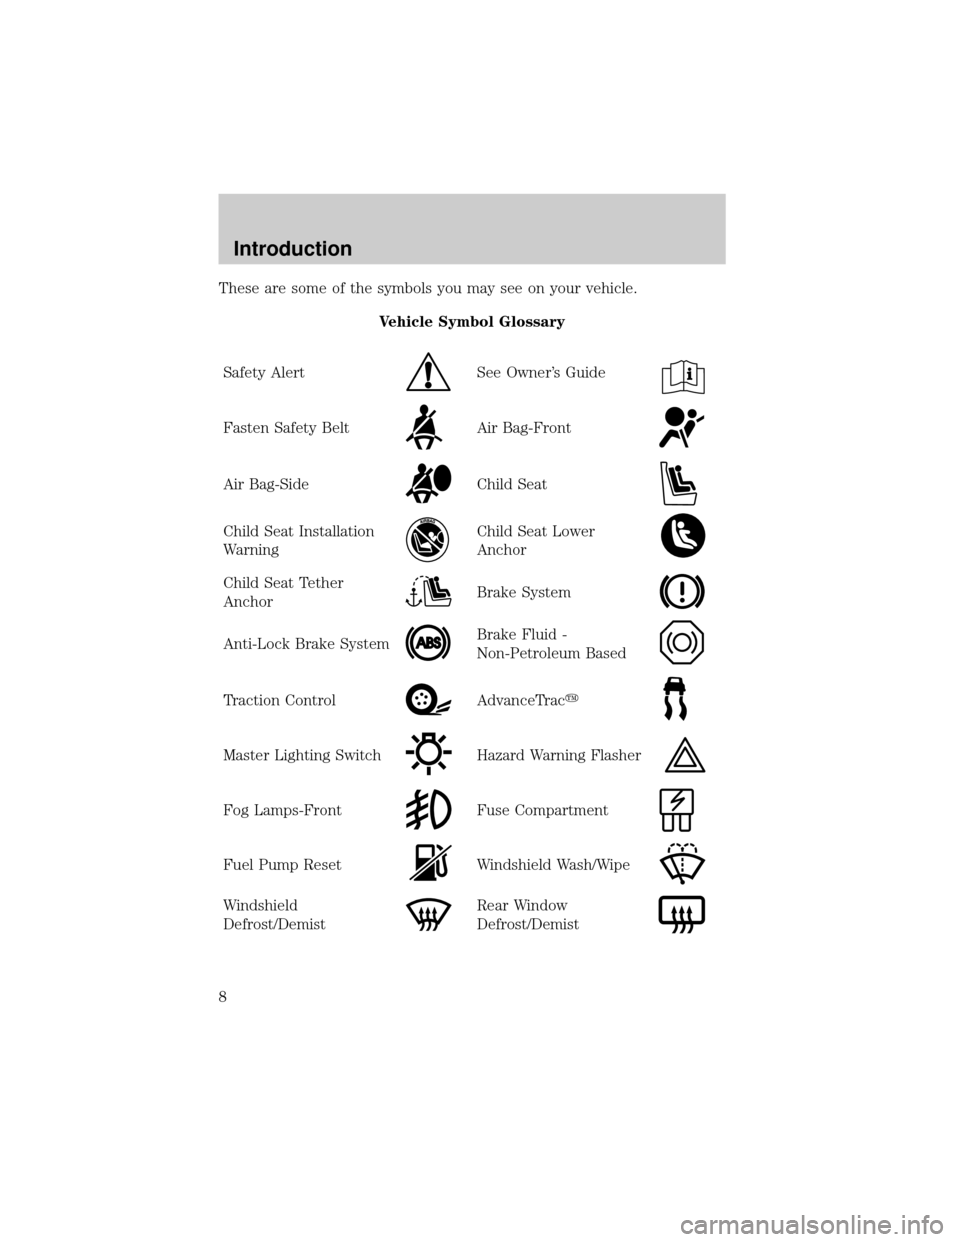
These are some of the symbols you may see on your vehicle.
Vehicle Symbol Glossary
Safety Alert
See Owner's Guide
Fasten Safety BeltAir Bag-Front
Air Bag-SideChild Seat
Child Seat Installation
WarningChild Seat Lower
Anchor
Child Seat Tether
AnchorBrake System
Anti-Lock Brake SystemBrake Fluid -
Non-Petroleum Based
Traction ControlAdvanceTracy
Master Lighting SwitchHazard Warning Flasher
Fog Lamps-FrontFuse Compartment
Fuel Pump ResetWindshield Wash/Wipe
Windshield
Defrost/DemistRear Window
Defrost/Demist
Introduction
8
Page 10 of 336
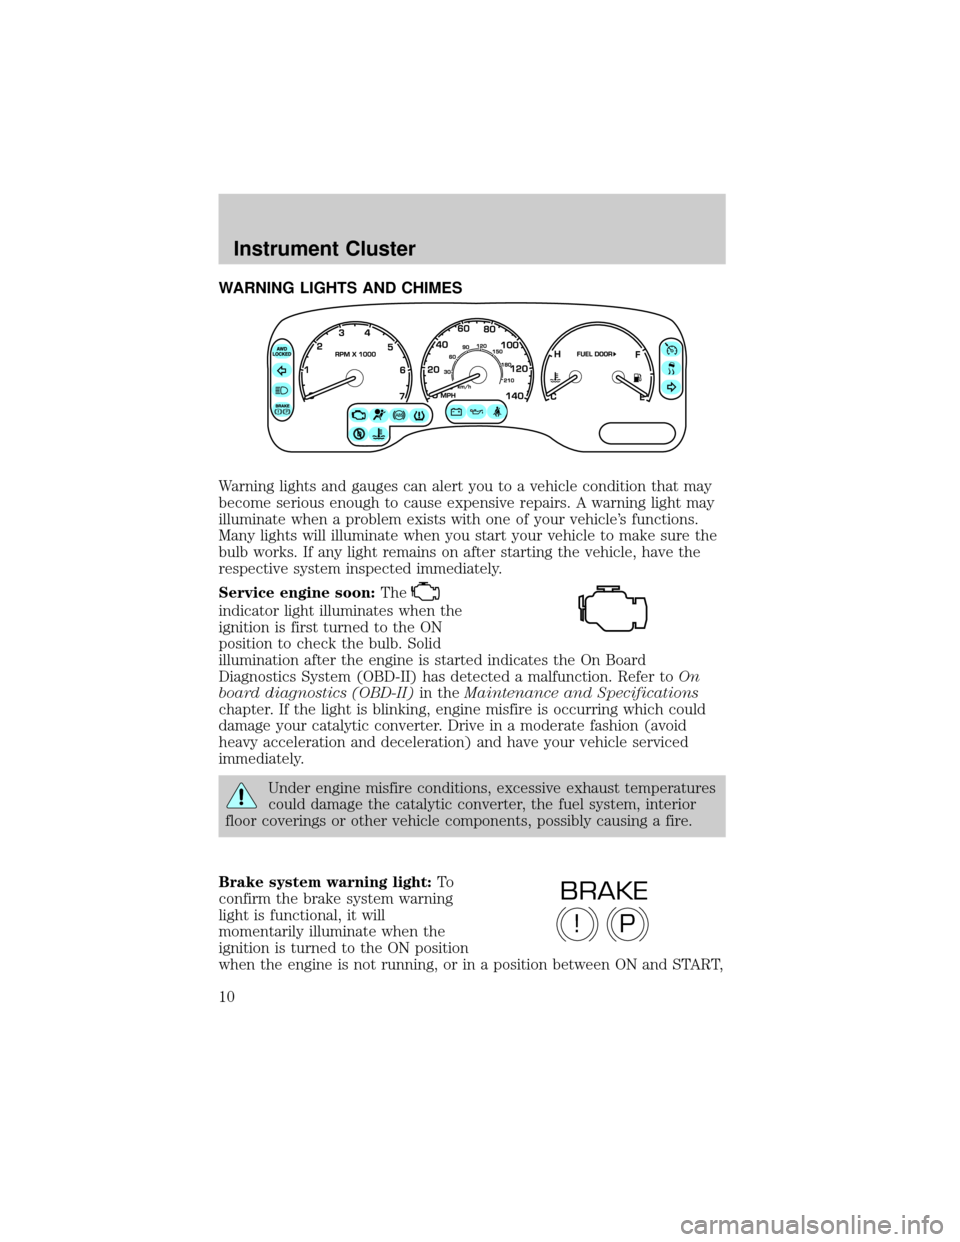
WARNING LIGHTS AND CHIMES
Warning lights and gauges can alert you to a vehicle condition that may
become serious enough to cause expensive repairs. A warning light may
illuminate when a problem exists with one of your vehicle's functions.
Many lights will illuminate when you start your vehicle to make sure the
bulb works. If any light remains on after starting the vehicle, have the
respective system inspected immediately.
Service engine soon:The
indicator light illuminates when the
ignition is first turned to the ON
position to check the bulb. Solid
illumination after the engine is started indicates the On Board
Diagnostics System (OBD-II) has detected a malfunction. Refer toOn
board diagnostics (OBD-II)in theMaintenance and Specifications
chapter. If the light is blinking, engine misfire is occurring which could
damage your catalytic converter. Drive in a moderate fashion (avoid
heavy acceleration and deceleration) and have your vehicle serviced
immediately.
Under engine misfire conditions, excessive exhaust temperatures
could damage the catalytic converter, the fuel system, interior
floor coverings or other vehicle components, possibly causing a fire.
Brake system warning light:To
confirm the brake system warning
light is functional, it will
momentarily illuminate when the
ignition is turned to the ON position
when the engine is not running, or in a position between ON and START,
P!
BRAKE
Instrument Cluster
Instrument Cluster
10
Page 11 of 336
or by applying the parking brake when the ignition is turned to the ON
position. If the brake system warning light does not illuminate at this
time, seek service immediately from your dealership. Illumination after
releasing the parking brake indicates low brake fluid level and the brake
system should be inspected immediately by your servicing dealership.
Driving a vehicle with the brake system warning light on is
dangerous. A significant decrease in braking performance may
occur. It will take you longer to stop the vehicle. Have the vehicle
checked by your dealer immediately.
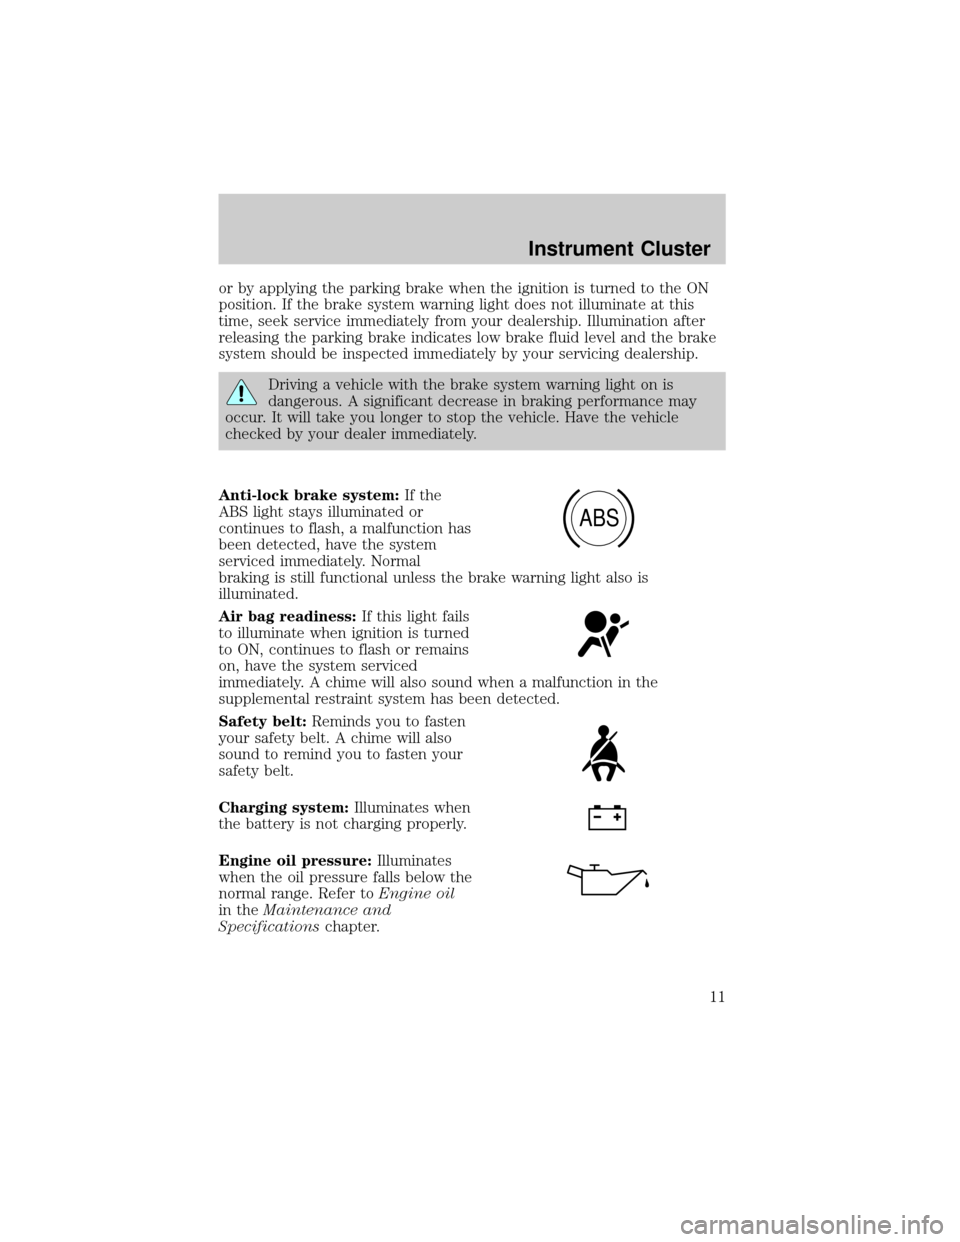
Anti-lock brake system:If the
ABS light stays illuminated or
continues to flash, a malfunction has
been detected, have the system
serviced immediately. Normal
braking is still functional unless the brake warning light also is
illuminated.
Air bag readiness:If this light fails
to illuminate when ignition is turned
to ON, continues to flash or remains
on, have the system serviced
immediately. A chime will also sound when a malfunction in the
supplemental restraint system has been detected.
Safety belt:Reminds you to fasten
your safety belt. A chime will also
sound to remind you to fasten your
safety belt.
Charging system:Illuminates when
the battery is not charging properly.
Engine oil pressure:Illuminates
when the oil pressure falls below the
normal range. Refer toEngine oil
in theMaintenance and
Specificationschapter.
ABS
Instrument Cluster
11
Page 84 of 336
²Press the setup button- The message center then displays the next
menu selection in its list.
²Press the reset button- The message center then proceeds to the
next sequence/step (3) below.
²The message center sends/issues the ªAutolamp Delay Commandº to
the body security module (BSM).
²The body security module responds within 100 milliseconds with next
auto lamp exit delay time.
3. Next sequence/step number is one (1) steps 1,2,3,4 & 5 are repeated
until exit via step 2.
4. The message center displays the next menu selection.
Daytime running lamps (DRL) (if equipped)
To activate DRL:
²the ignition must be in the ON position and
²the headlamp control is in the OFF or Parking lamps position
²the parking brake must be disengaged.
Always remember to turn on your headlamps at dusk or during
inclement weather. The Daytime Running Light (DRL) System
does not activate your tail lamps and generally may not provide
adequate lighting during these conditions. Failure to activate your
headlamps under these conditions may result in a collision.
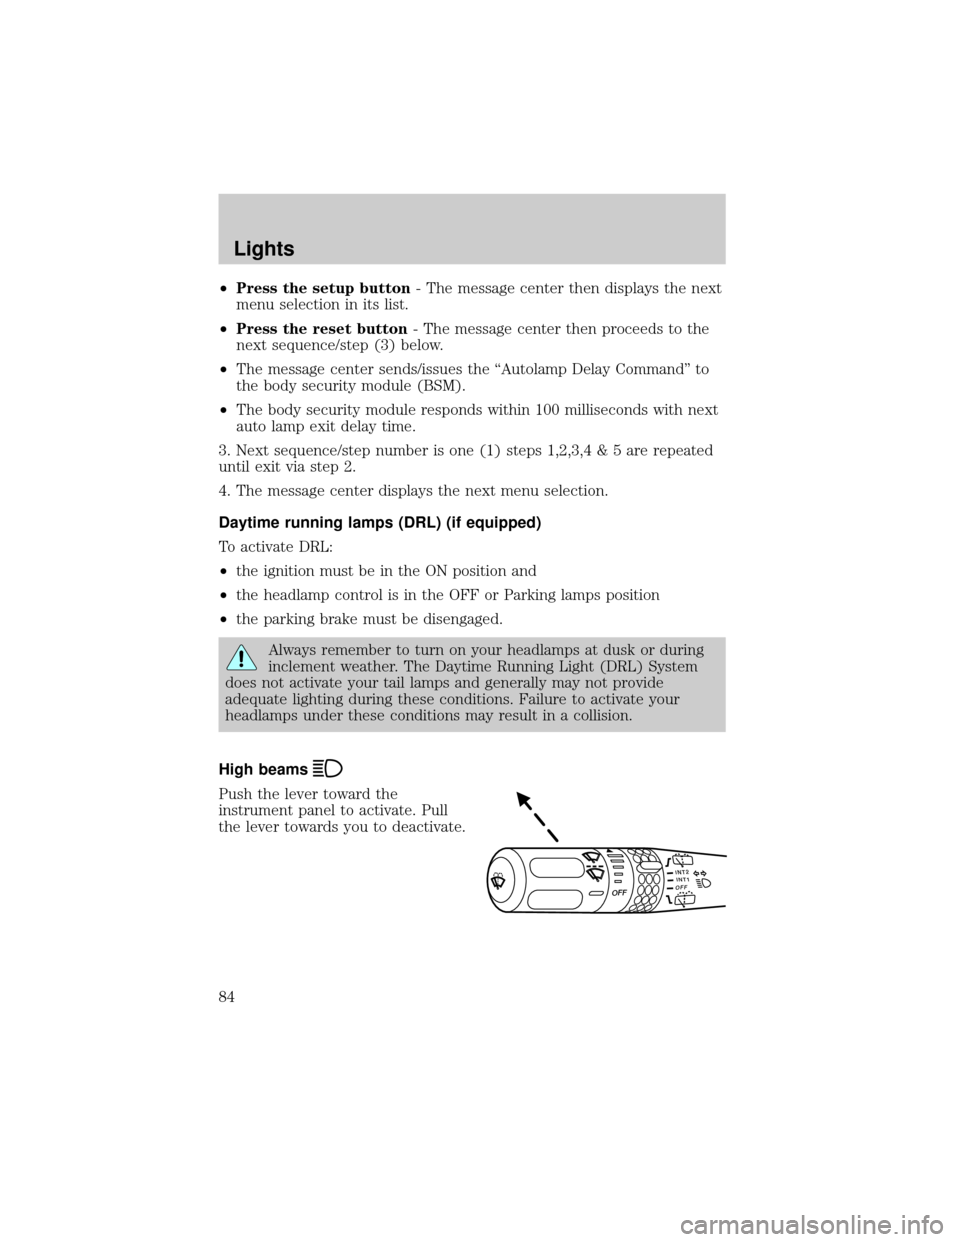
High beams
Push the lever toward the
instrument panel to activate. Pull
the lever towards you to deactivate.
INT2OFFOFFINT1
Lights
84
Page 94 of 336
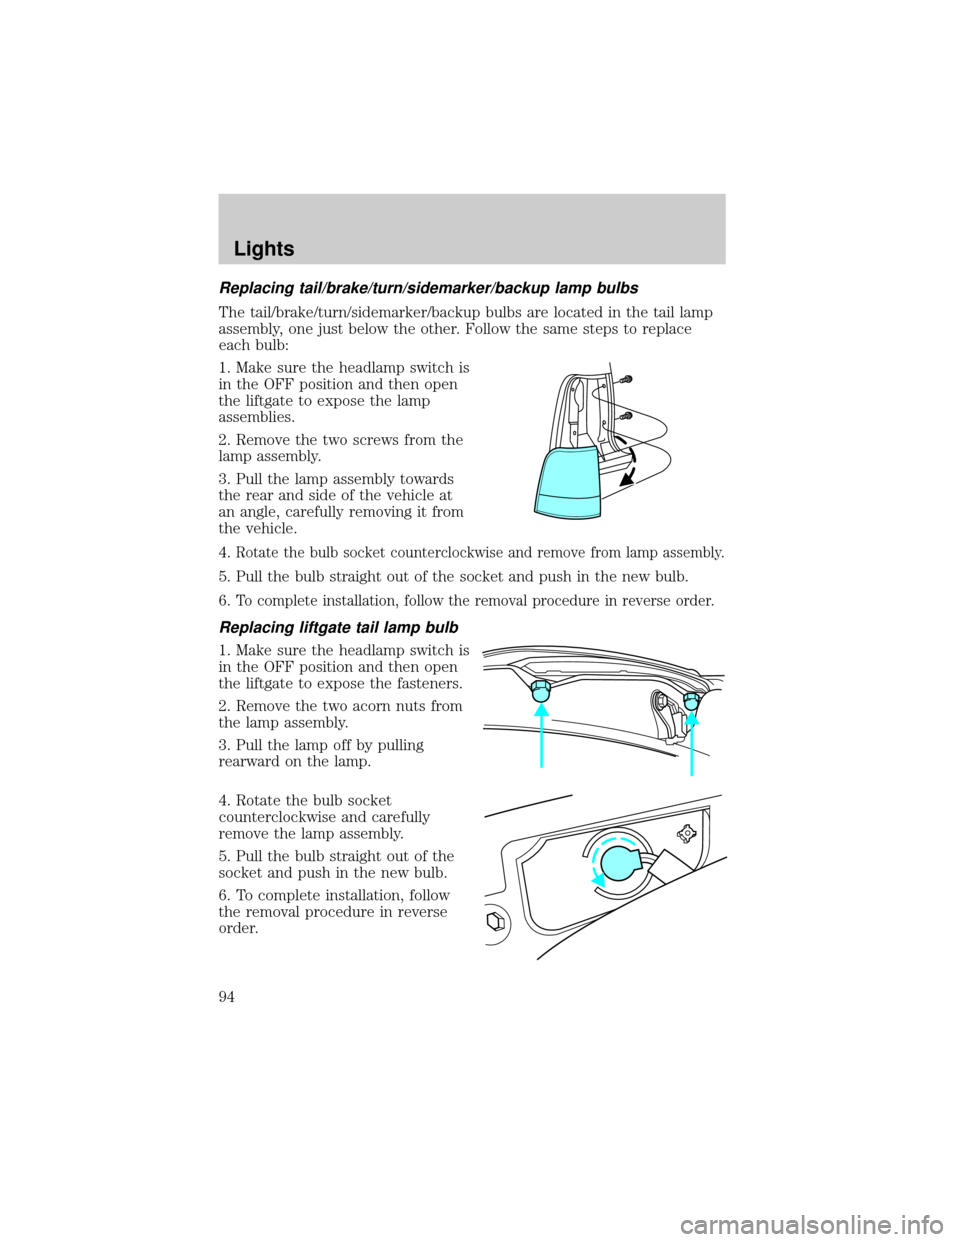
Replacing tail/brake/turn/sidemarker/backup lamp bulbs
The tail/brake/turn/sidemarker/backup bulbs are located in the tail lamp
assembly, one just below the other. Follow the same steps to replace
each bulb:
1. Make sure the headlamp switch is
in the OFF position and then open
the liftgate to expose the lamp
assemblies.
2. Remove the two screws from the
lamp assembly.
3. Pull the lamp assembly towards
the rear and side of the vehicle at
an angle, carefully removing it from
the vehicle.
4.
Rotate the bulb socket counterclockwise and remove from lamp assembly.
5. Pull the bulb straight out of the socket and push in the new bulb.
6.
To complete installation, follow the removal procedure in reverse order.
Replacing liftgate tail lamp bulb
1. Make sure the headlamp switch is
in the OFF position and then open
the liftgate to expose the fasteners.
2. Remove the two acorn nuts from
the lamp assembly.
3. Pull the lamp off by pulling
rearward on the lamp.
4. Rotate the bulb socket
counterclockwise and carefully
remove the lamp assembly.
5. Pull the bulb straight out of the
socket and push in the new bulb.
6. To complete installation, follow
the removal procedure in reverse
order.
Lights
94
Page 108 of 336
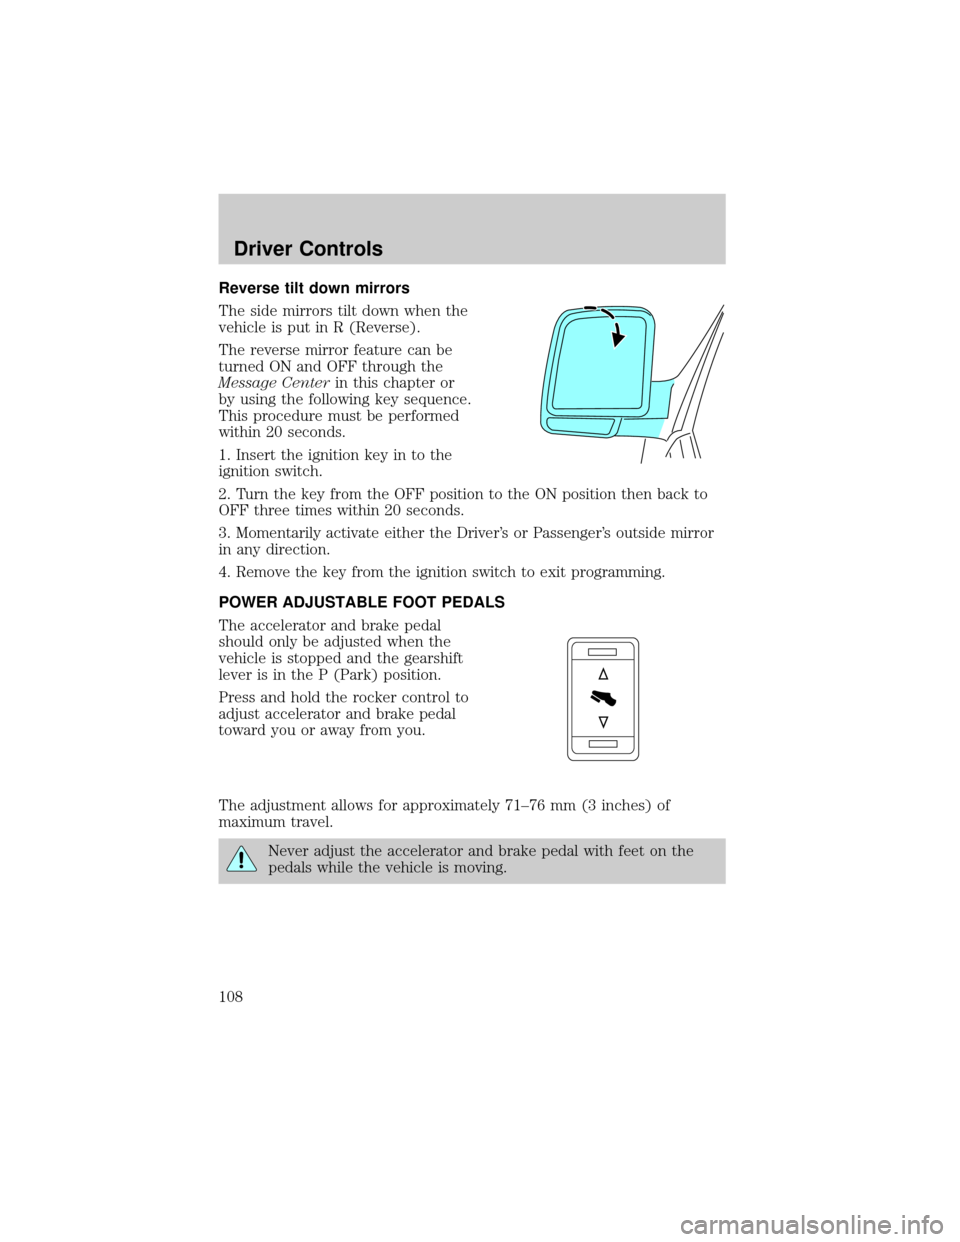
Reverse tilt down mirrors
The side mirrors tilt down when the
vehicle is put in R (Reverse).
The reverse mirror feature can be
turned ON and OFF through the
Message Centerin this chapter or
by using the following key sequence.
This procedure must be performed
within 20 seconds.
1. Insert the ignition key in to the
ignition switch.
2. Turn the key from the OFF position to the ON position then back to
OFF three times within 20 seconds.
3. Momentarily activate either the Driver's or Passenger's outside mirror
in any direction.
4. Remove the key from the ignition switch to exit programming.
POWER ADJUSTABLE FOOT PEDALS
The accelerator and brake pedal
should only be adjusted when the
vehicle is stopped and the gearshift
lever is in the P (Park) position.
Press and hold the rocker control to
adjust accelerator and brake pedal
toward you or away from you.
The adjustment allows for approximately 71±76 mm (3 inches) of
maximum travel.
Never adjust the accelerator and brake pedal with feet on the
pedals while the vehicle is moving.
Driver Controls
108
Page 109 of 336
SPEED CONTROL
With speed control set, you can maintain a speed of 48 km/h (30 mph)
or more without keeping your foot on the accelerator pedal. Speed
control does not work at speeds below 48 km/h (30 mph).
Do not use the speed control in heavy traffic or on roads that
are winding, slippery or unpaved.
Setting speed control
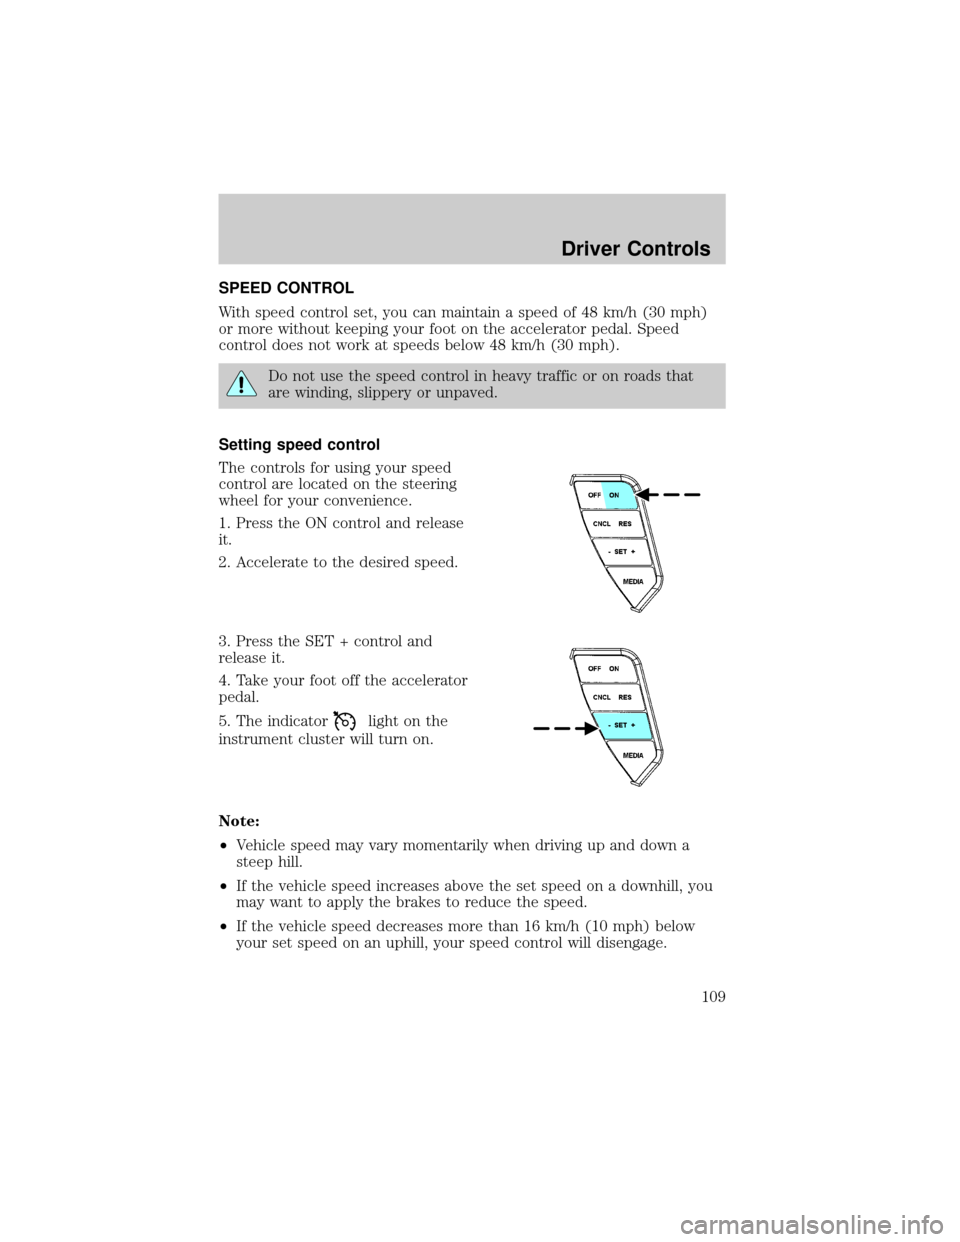
The controls for using your speed
control are located on the steering
wheel for your convenience.
1. Press the ON control and release
it.
2. Accelerate to the desired speed.
3. Press the SET + control and
release it.
4. Take your foot off the accelerator
pedal.
5. The indicator
light on the
instrument cluster will turn on.
Note:
²Vehicle speed may vary momentarily when driving up and down a
steep hill.
²If the vehicle speed increases above the set speed on a downhill, you
may want to apply the brakes to reduce the speed.
²If the vehicle speed decreases more than 16 km/h (10 mph) below
your set speed on an uphill, your speed control will disengage.
Driver Controls
109
Page 111 of 336
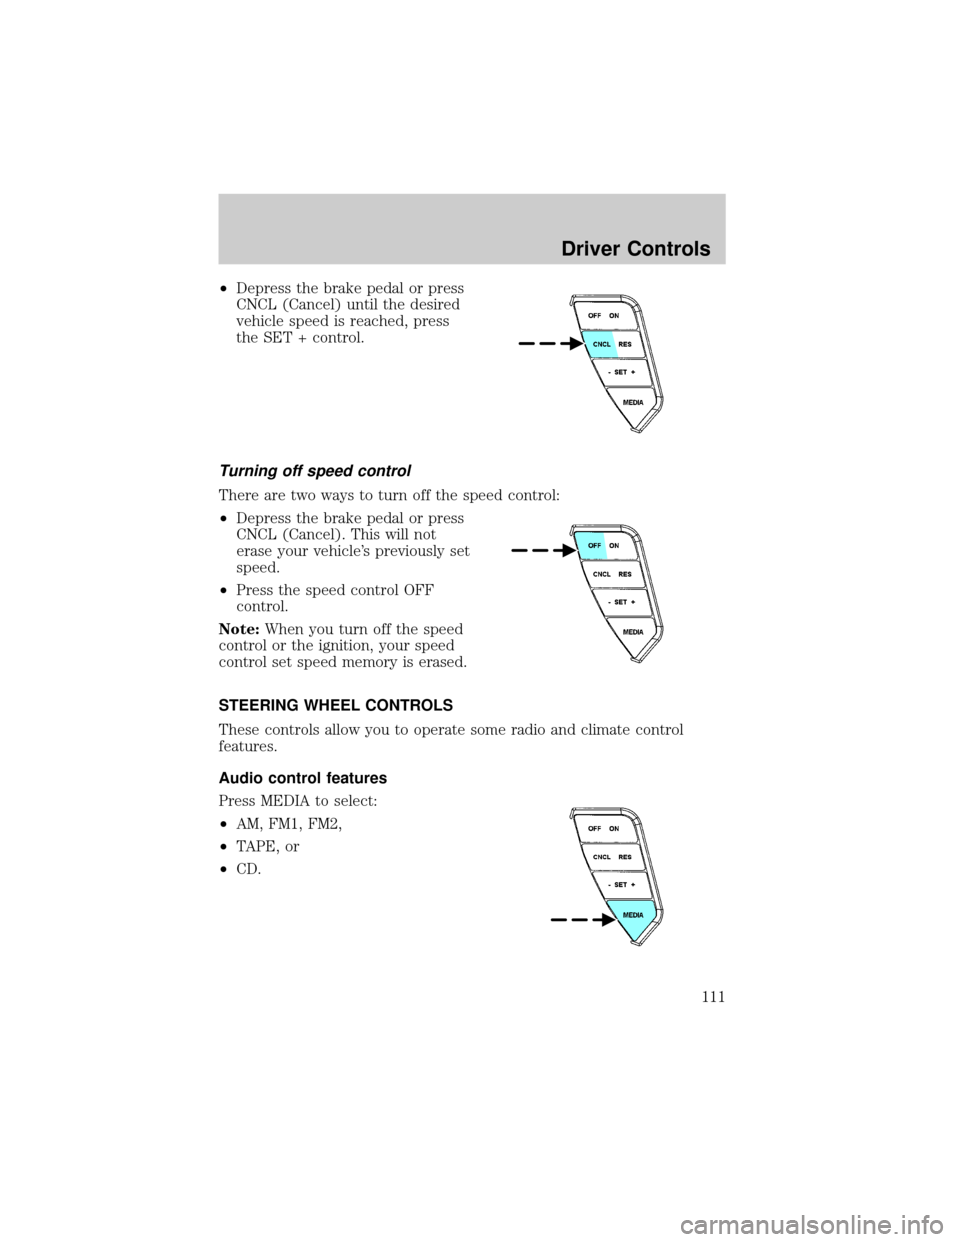
²Depress the brake pedal or press
CNCL (Cancel) until the desired
vehicle speed is reached, press
the SET + control.
Turning off speed control
There are two ways to turn off the speed control:
²Depress the brake pedal or press
CNCL (Cancel). This will not
erase your vehicle's previously set
speed.
²Press the speed control OFF
control.
Note:When you turn off the speed
control or the ignition, your speed
control set speed memory is erased.
STEERING WHEEL CONTROLS
These controls allow you to operate some radio and climate control
features.
Audio control features
Press MEDIA to select:
²AM, FM1, FM2,
²TAPE, or
²CD.
Driver Controls
111