buttons LINCOLN AVIATOR 2004 Owners Manual
[x] Cancel search | Manufacturer: LINCOLN, Model Year: 2004, Model line: AVIATOR, Model: LINCOLN AVIATOR 2004Pages: 336, PDF Size: 3.69 MB
Page 19 of 336
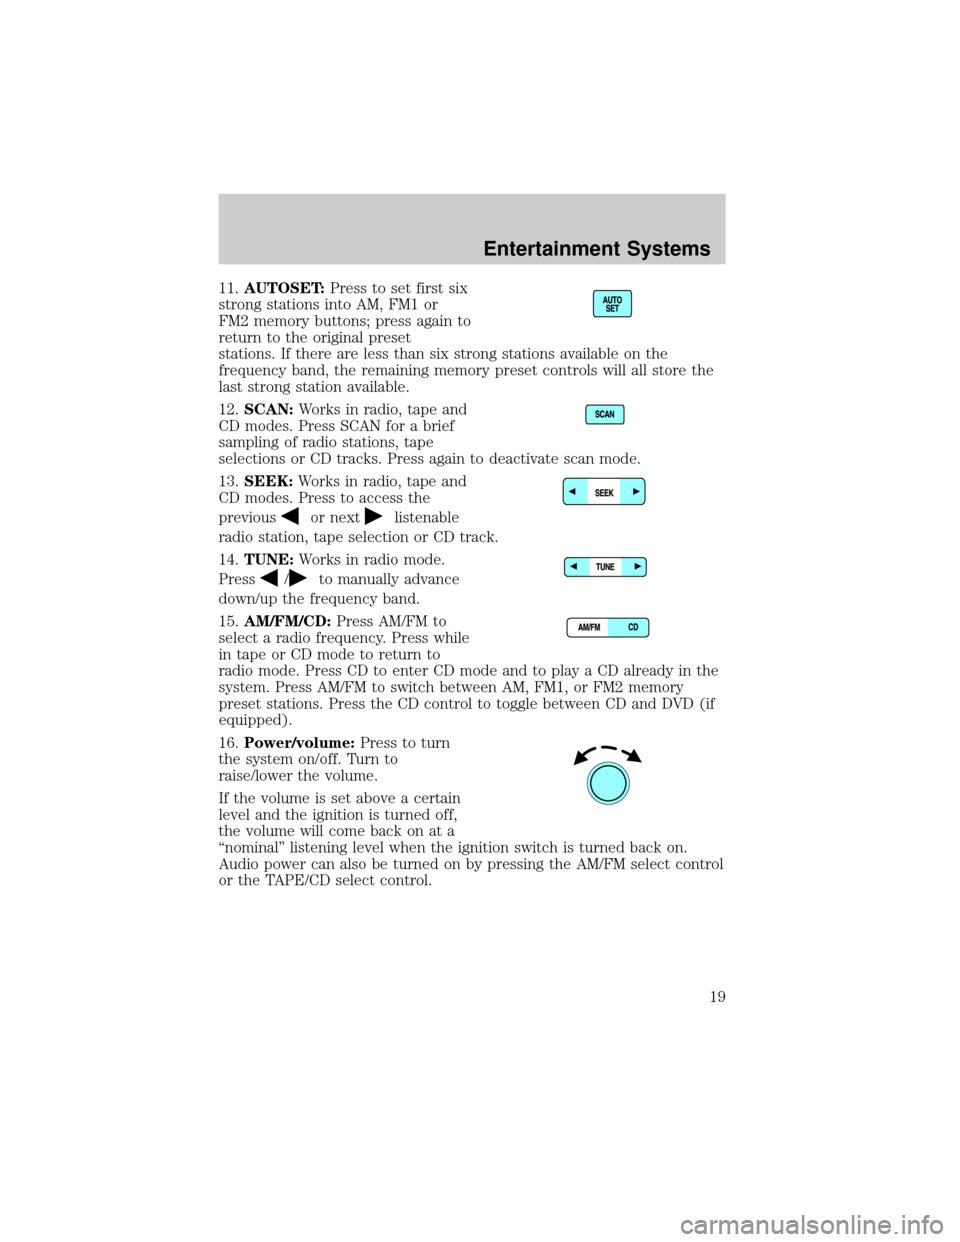
11.AUTOSET:Press to set first six
strong stations into AM, FM1 or
FM2 memory buttons; press again to
return to the original preset
stations. If there are less than six strong stations available on the
frequency band, the remaining memory preset controls will all store the
last strong station available.
12.SCAN:Works in radio, tape and
CD modes. Press SCAN for a brief
sampling of radio stations, tape
selections or CD tracks. Press again to deactivate scan mode.
13.SEEK:Works in radio, tape and
CD modes. Press to access the
previous
or nextlistenable
radio station, tape selection or CD track.
14.TUNE:Works in radio mode.
Press
/to manually advance
down/up the frequency band.
15.AM/FM/CD:Press AM/FM to
select a radio frequency. Press while
in tape or CD mode to return to
radio mode. Press CD to enter CD mode and to play a CD already in the
system. Press AM/FM to switch between AM, FM1, or FM2 memory
preset stations. Press the CD control to toggle between CD and DVD (if
equipped).
16.Power/volume:Press to turn
the system on/off. Turn to
raise/lower the volume.
If the volume is set above a certain
level and the ignition is turned off,
the volume will come back on at a
ªnominalº listening level when the ignition switch is turned back on.
Audio power can also be turned on by pressing the AM/FM select control
or the TAPE/CD select control.
Entertainment Systems
19
Page 46 of 336
Map mode
Map display information
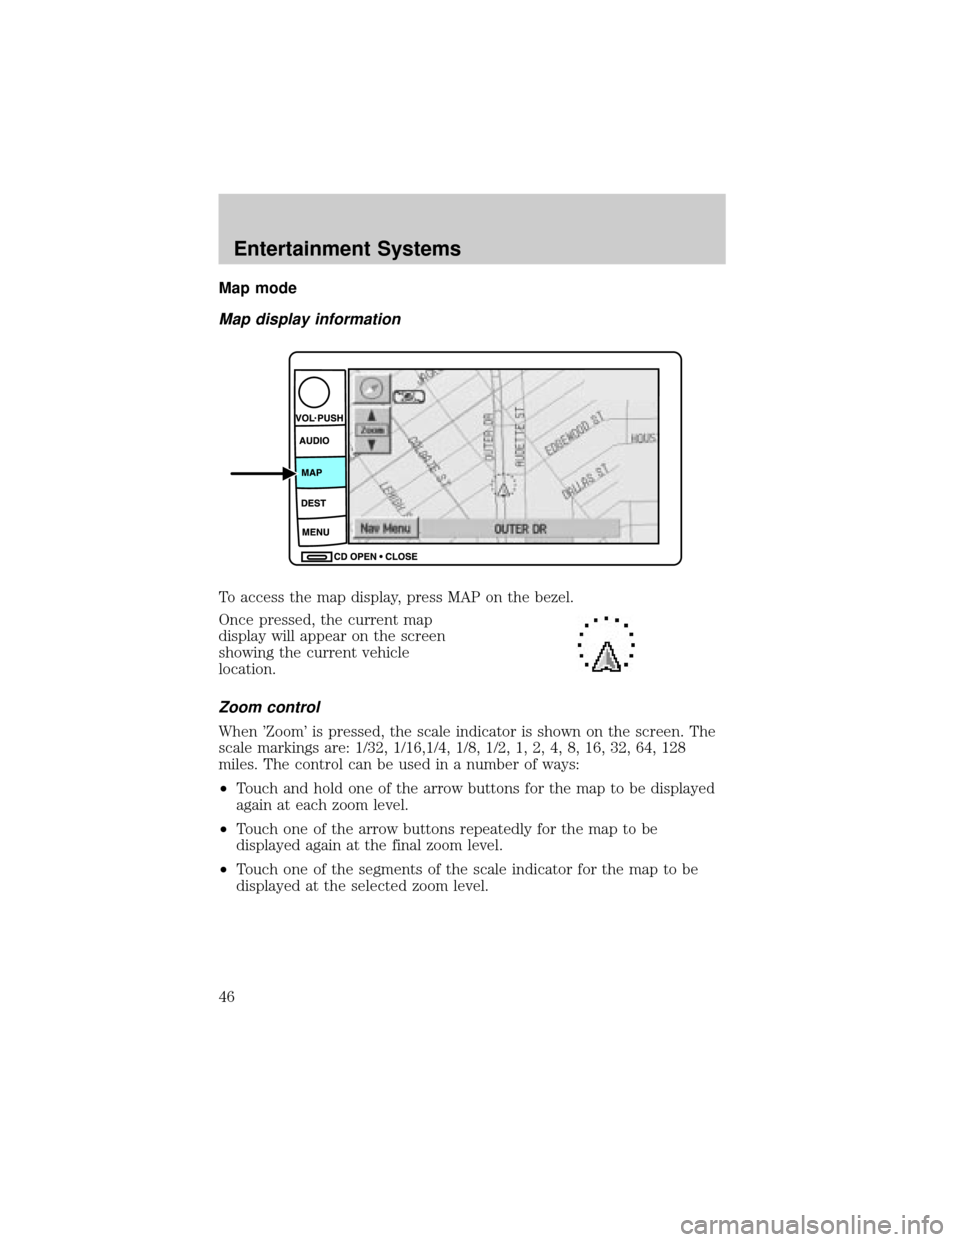
To access the map display, press MAP on the bezel.
Once pressed, the current map
display will appear on the screen
showing the current vehicle
location.
Zoom control
When 'Zoom' is pressed, the scale indicator is shown on the screen. The
scale markings are: 1/32, 1/16,1/4, 1/8, 1/2, 1, 2, 4, 8, 16, 32, 64, 128
miles. The control can be used in a number of ways:
²Touch and hold one of the arrow buttons for the map to be displayed
again at each zoom level.
²Touch one of the arrow buttons repeatedly for the map to be
displayed again at the final zoom level.
²Touch one of the segments of the scale indicator for the map to be
displayed at the selected zoom level.
Entertainment Systems
46
Page 47 of 336
Additional map function buttons
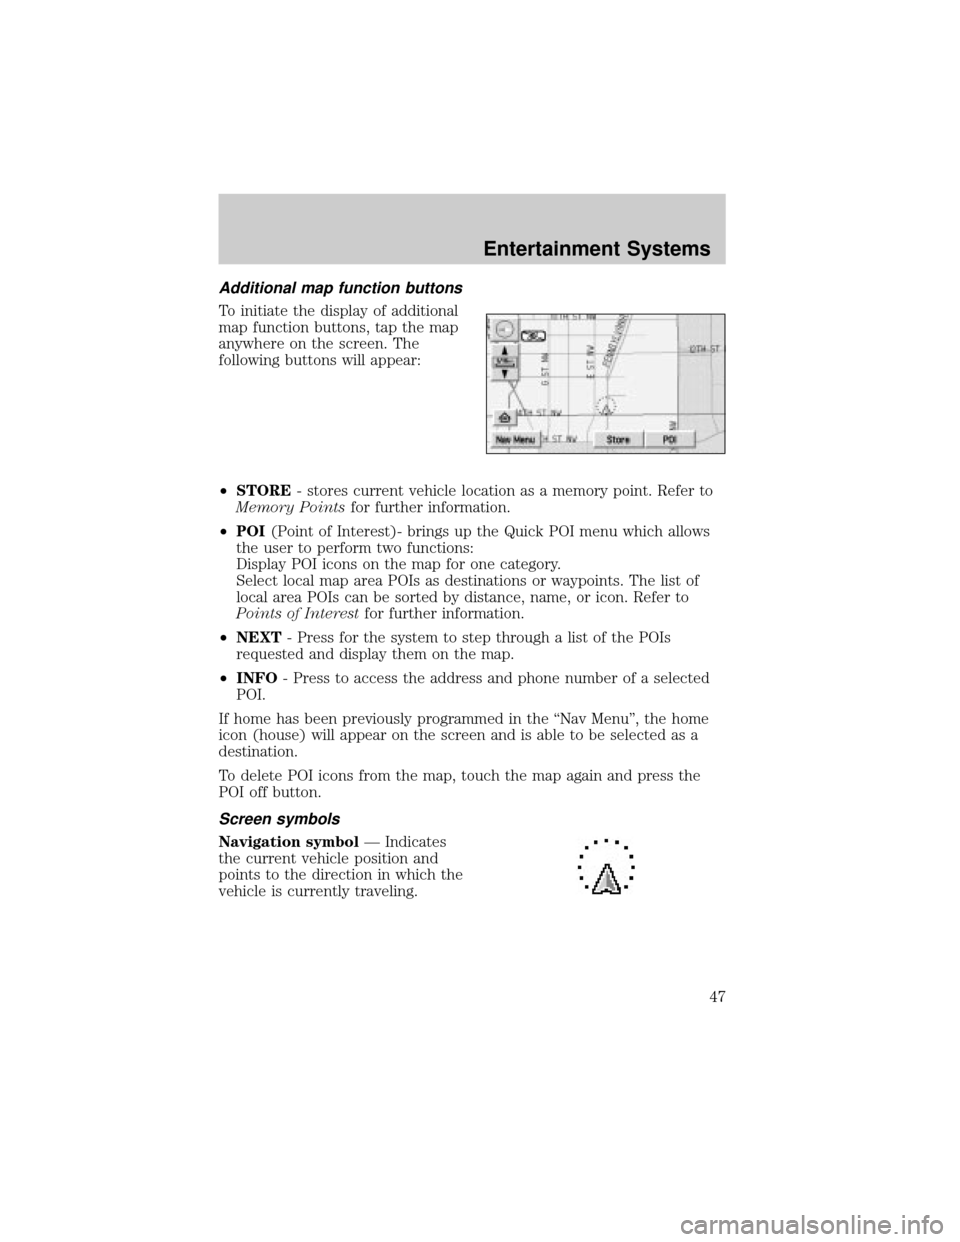
To initiate the display of additional
map function buttons, tap the map
anywhere on the screen. The
following buttons will appear:
²STORE- stores current vehicle location as a memory point. Refer to
Memory Pointsfor further information.
²POI(Point of Interest)- brings up the Quick POI menu which allows
the user to perform two functions:
Display POI icons on the map for one category.
Select local map area POIs as destinations or waypoints. The list of
local area POIs can be sorted by distance, name, or icon. Refer to
Points of Interestfor further information.
²NEXT- Press for the system to step through a list of the POIs
requested and display them on the map.
²INFO- Press to access the address and phone number of a selected
POI.
If home has been previously programmed in the ªNav Menuº, the home
icon (house) will appear on the screen and is able to be selected as a
destination.
To delete POI icons from the map, touch the map again and press the
POI off button.
Screen symbols
Navigation symbolÐ Indicates
the current vehicle position and
points to the direction in which the
vehicle is currently traveling.
Entertainment Systems
47
Page 55 of 336
On route scroll
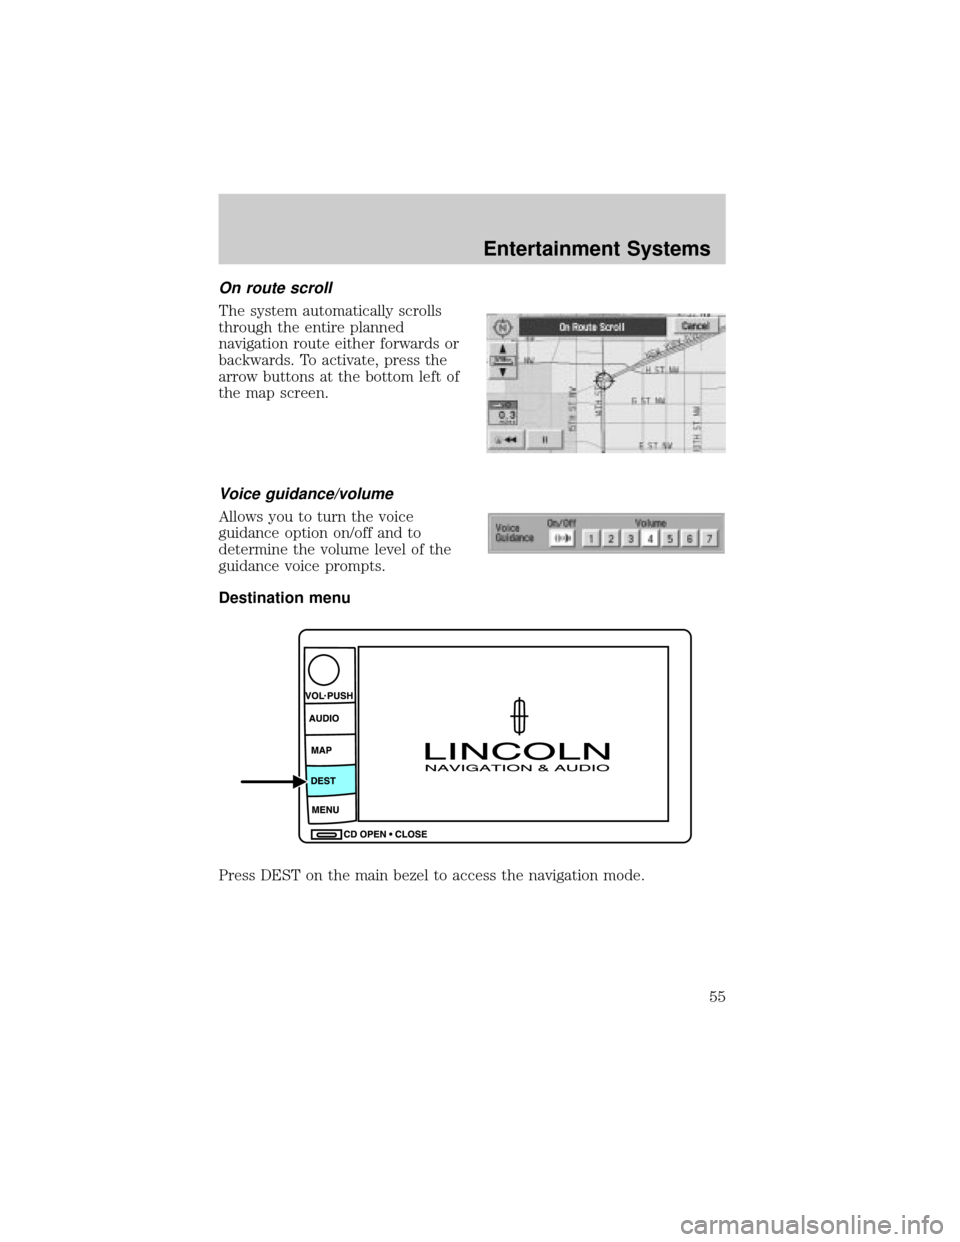
The system automatically scrolls
through the entire planned
navigation route either forwards or
backwards. To activate, press the
arrow buttons at the bottom left of
the map screen.
Voice guidance/volume
Allows you to turn the voice
guidance option on/off and to
determine the volume level of the
guidance voice prompts.
Destination menu
Press DEST on the main bezel to access the navigation mode.
Entertainment Systems
55
Page 115 of 336
When programming your HomeLinktWireless Control System to
a garage door or gate, be sure that people and objects are out of
the way to prevent potential harm or damage.
Do not use the HomeLinktWireless Control System with any garage
door opener that lacks safety stop and reverse features as required by
U.S. federal safety standards (this includes any garage door opener
model manufactured before April 1, 1982). A garage door which cannot
detect an object, signaling the door to stop and reverse, does not meet
current U.S. federal safety standards. For more information, contact
HomeLinktat:www.homelink.comor1±800±355±3515.
Retain the original transmitter for use in other vehicles as well as for
future programming procedures (i.e. new HomeLinktequipped vehicle
purchase). It is also suggested that upon the sale of the vehicle, the
programmed Homelinktbuttons be erased for security purposes, refer to
Programmingin this section.
Programming
Do not program HomeLinktwith the vehicle parked in the garage.
Note:Some vehicles may require the ignition switch to be turned to the
second (or ªACCº) position for programming and/or operation of the
HomeLinkt. It is also recommended that a new battery be placed in the
hand-held transmitter of the device being programmed to HomeLinktfor
quicker training and accurate transmission of the radio-frequency signal.
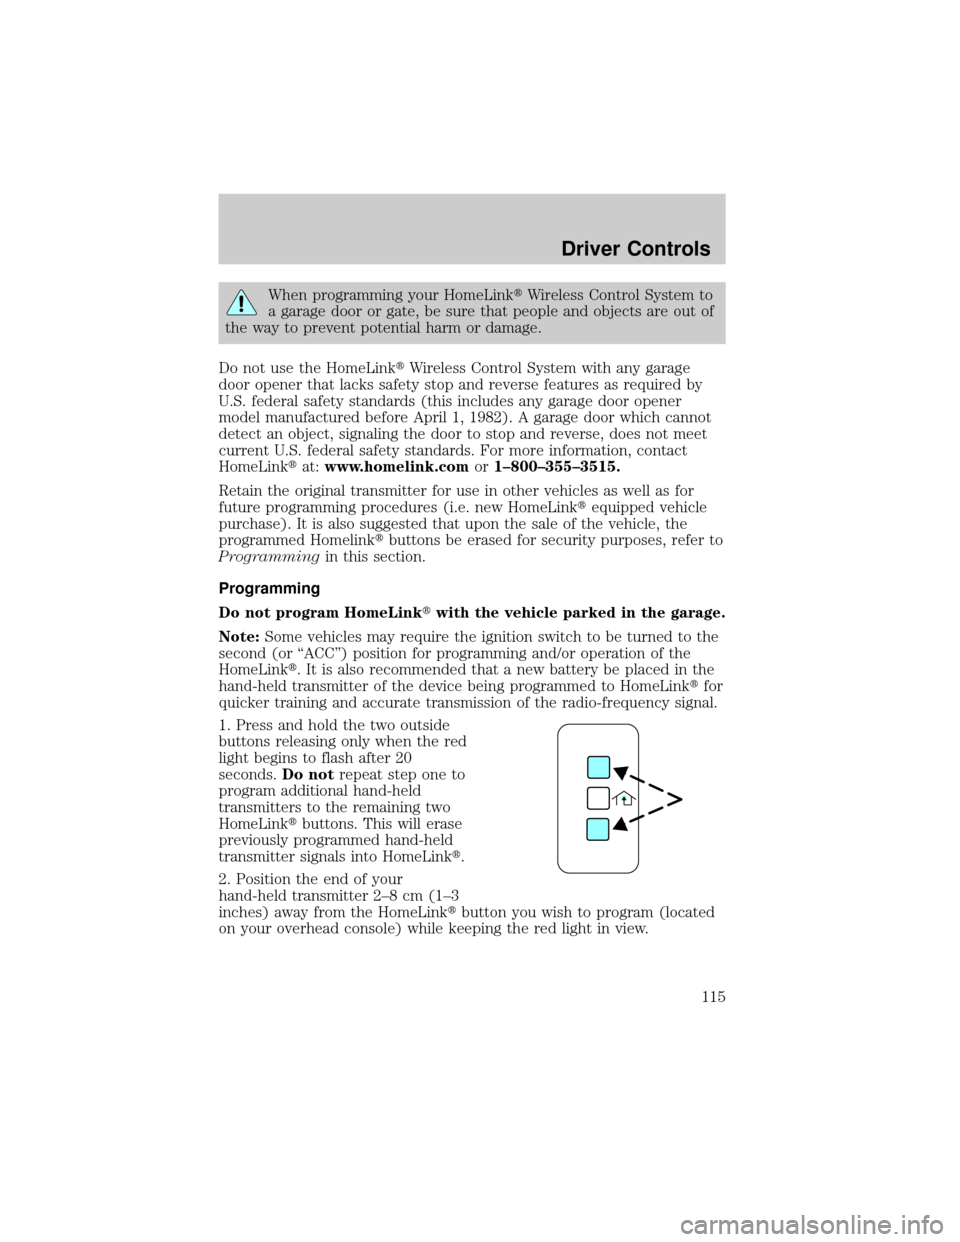
1. Press and hold the two outside
buttons releasing only when the red
light begins to flash after 20
seconds.Do notrepeat step one to
program additional hand-held
transmitters to the remaining two
HomeLinktbuttons. This will erase
previously programmed hand-held
transmitter signals into HomeLinkt.
2. Position the end of your
hand-held transmitter 2±8 cm (1±3
inches) away from the HomeLinktbutton you wish to program (located
on your overhead console) while keeping the red light in view.
Driver Controls
115
Page 116 of 336
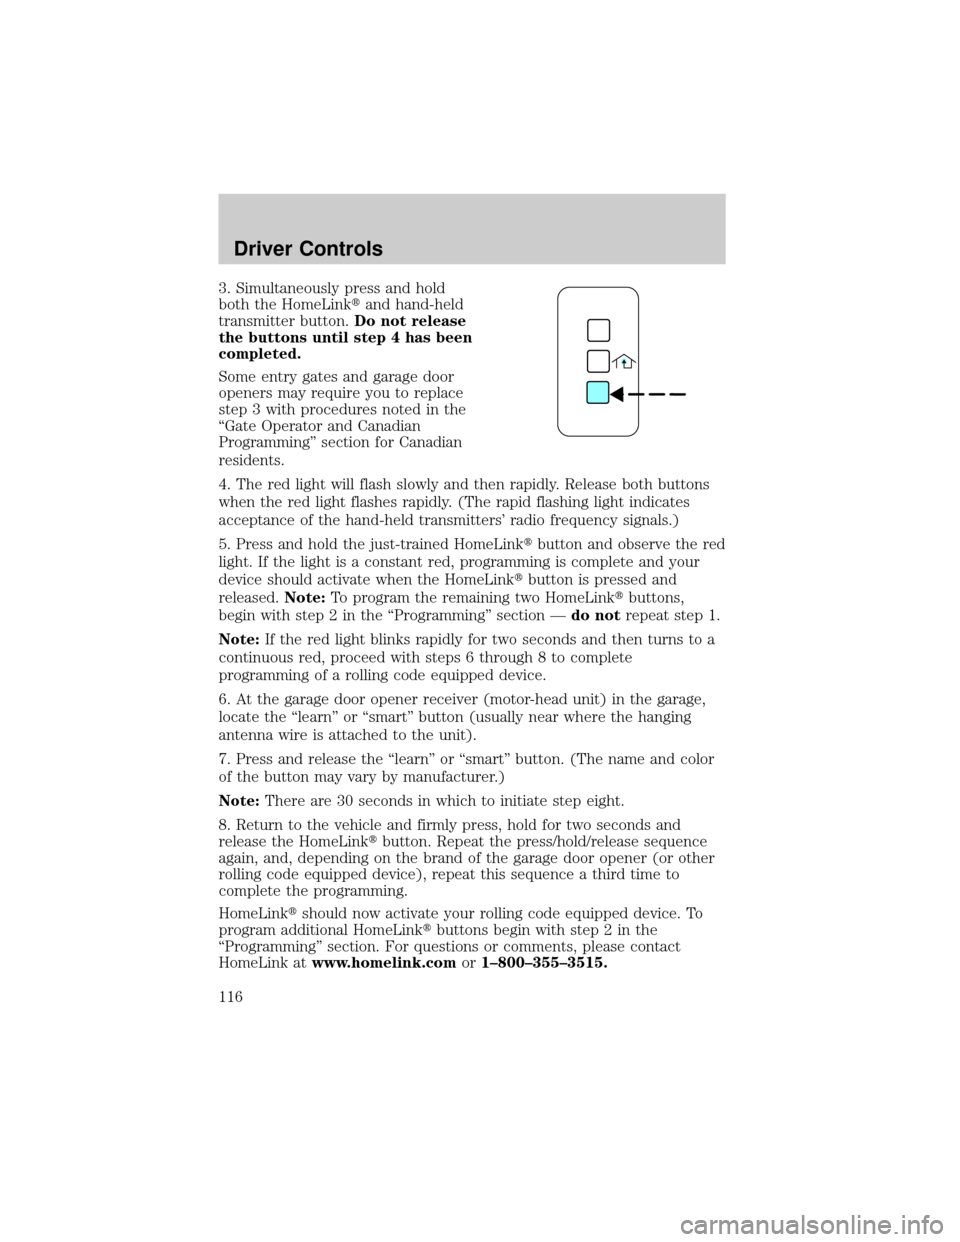
3. Simultaneously press and hold
both the HomeLinktand hand-held
transmitter button.Do not release
the buttons until step 4 has been
completed.
Some entry gates and garage door
openers may require you to replace
step 3 with procedures noted in the
ªGate Operator and Canadian
Programmingº section for Canadian
residents.
4. The red light will flash slowly and then rapidly. Release both buttons
when the red light flashes rapidly. (The rapid flashing light indicates
acceptance of the hand-held transmitters' radio frequency signals.)
5. Press and hold the just-trained HomeLinktbutton and observe the red
light. If the light is a constant red, programming is complete and your
device should activate when the HomeLinktbutton is pressed and
released.Note:To program the remaining two HomeLinktbuttons,
begin with step 2 in the ªProgrammingº section Ðdo notrepeat step 1.
Note:If the red light blinks rapidly for two seconds and then turns to a
continuous red, proceed with steps 6 through 8 to complete
programming of a rolling code equipped device.
6. At the garage door opener receiver (motor-head unit) in the garage,
locate the ªlearnº or ªsmartº button (usually near where the hanging
antenna wire is attached to the unit).
7. Press and release the ªlearnº or ªsmartº button. (The name and color
of the button may vary by manufacturer.)
Note:There are 30 seconds in which to initiate step eight.
8. Return to the vehicle and firmly press, hold for two seconds and
release the HomeLinktbutton. Repeat the press/hold/release sequence
again, and, depending on the brand of the garage door opener (or other
rolling code equipped device), repeat this sequence a third time to
complete the programming.
HomeLinktshould now activate your rolling code equipped device. To
program additional HomeLinktbuttons begin with step 2 in the
ªProgrammingº section. For questions or comments, please contact
HomeLink atwww.homelink.comor1±800±355±3515.
Driver Controls
116
Page 118 of 336
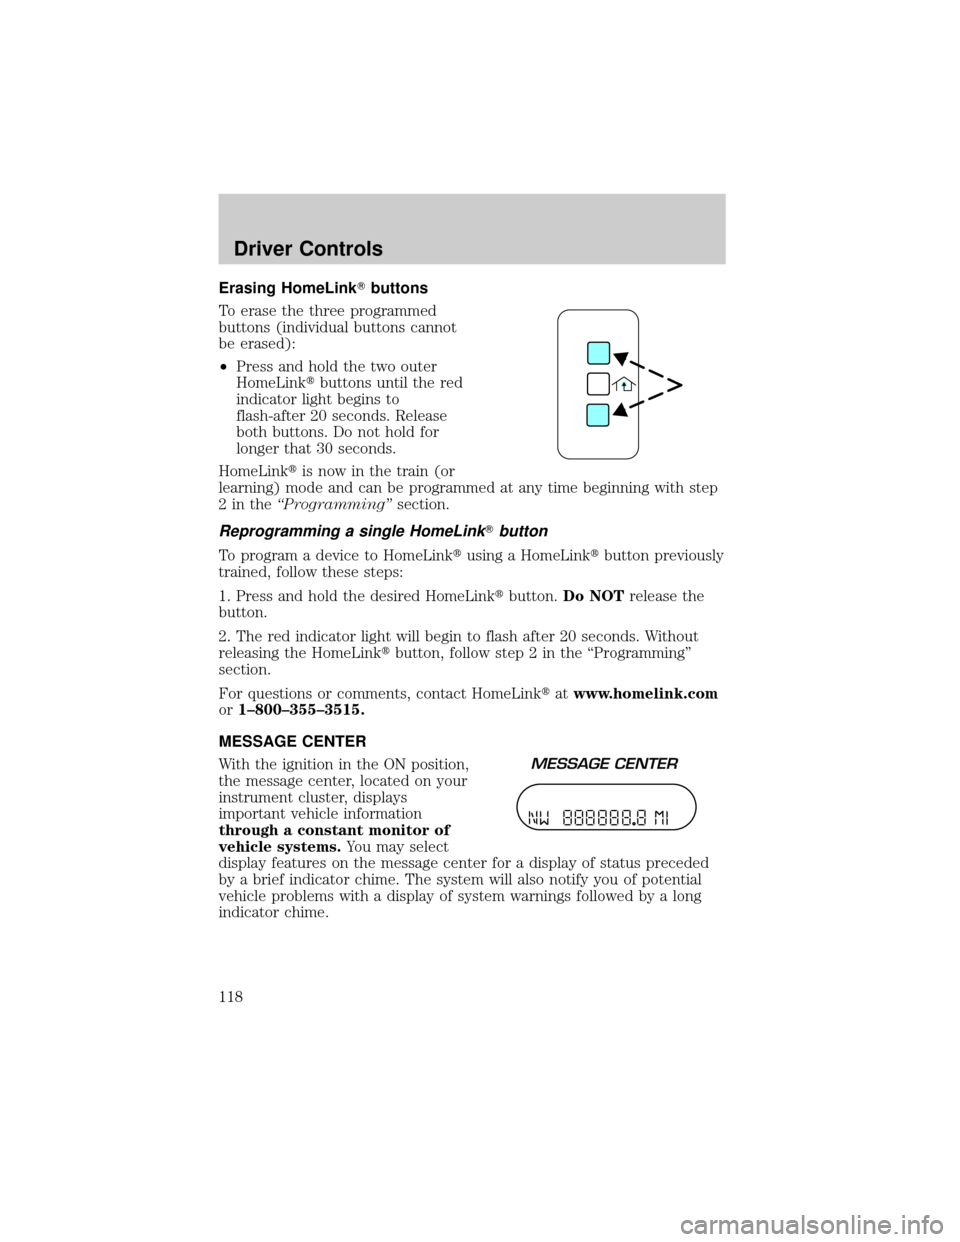
Erasing HomeLinkTbuttons
To erase the three programmed
buttons (individual buttons cannot
be erased):
²Press and hold the two outer
HomeLinktbuttons until the red
indicator light begins to
flash-after 20 seconds. Release
both buttons. Do not hold for
longer that 30 seconds.
HomeLinktis now in the train (or
learning) mode and can be programmed at any time beginning with step
2intheªProgrammingºsection.
Reprogramming a single HomeLinkTbutton
To program a device to HomeLinktusing a HomeLinktbutton previously
trained, follow these steps:
1. Press and hold the desired HomeLinktbutton.Do NOTrelease the
button.
2. The red indicator light will begin to flash after 20 seconds. Without
releasing the HomeLinktbutton, follow step 2 in the ªProgrammingº
section.
For questions or comments, contact HomeLinktatwww.homelink.com
or1±800±355±3515.
MESSAGE CENTER
With the ignition in the ON position,
the message center, located on your
instrument cluster, displays
important vehicle information
through a constant monitor of
vehicle systems.You may select
display features on the message center for a display of status preceded
by a brief indicator chime. The system will also notify you of potential
vehicle problems with a display of system warnings followed by a long
indicator chime.
Driver Controls
118