overhead console LINCOLN AVIATOR 2004 Owners Manual
[x] Cancel search | Manufacturer: LINCOLN, Model Year: 2004, Model line: AVIATOR, Model: LINCOLN AVIATOR 2004Pages: 336, PDF Size: 3.69 MB
Page 80 of 336

AUXILIARY CLIMATE CONTROLS
Your vehicle may be equipped with auxiliary climate controls. These
allow the front or rear seat passengers to control airflow direction,
temperature and fan level of the rear compartment to quickly heat or
cool the entire vehicle.
Front auxiliary controls:
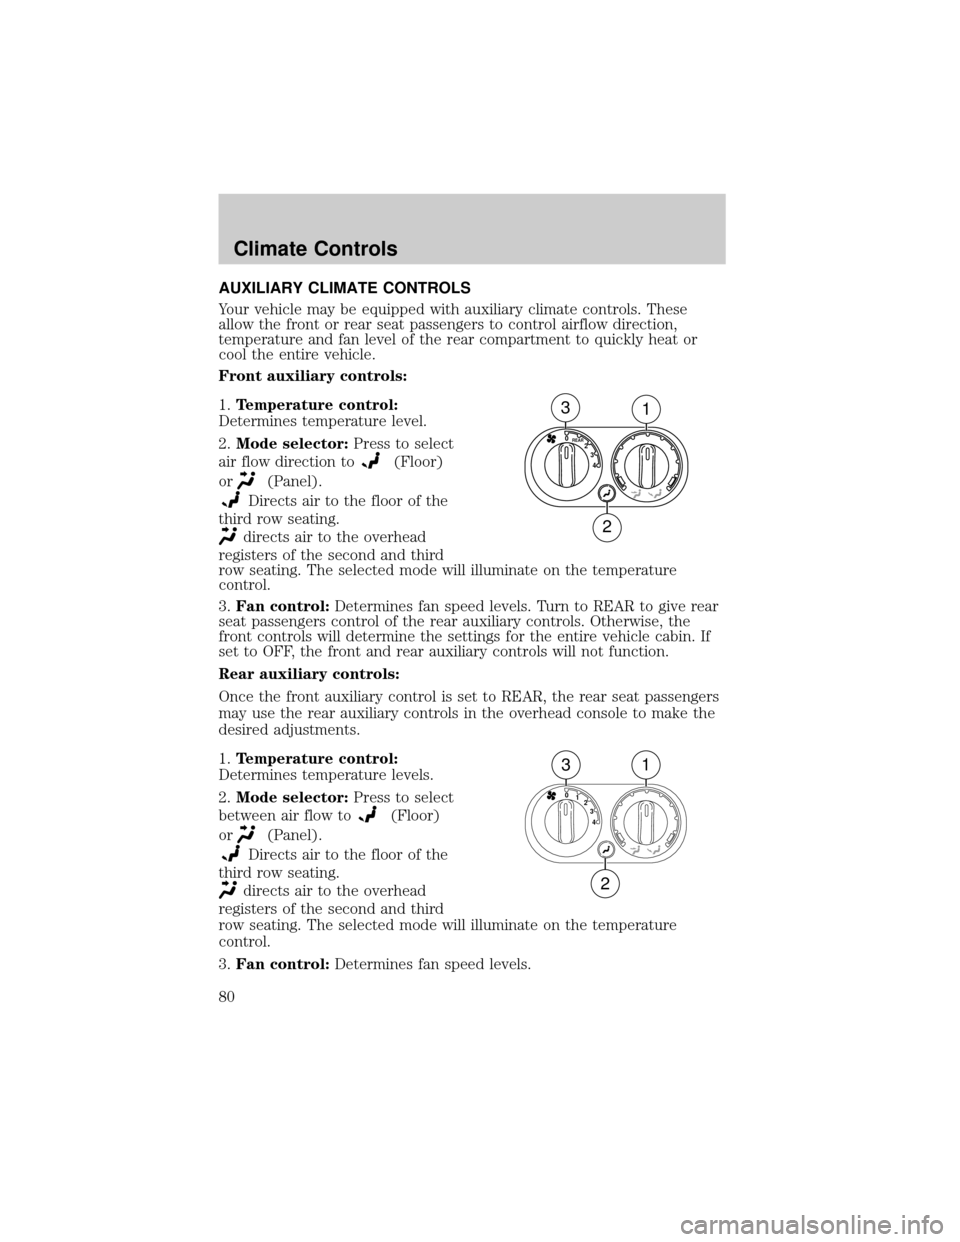
1.Temperature control:
Determines temperature level.
2.Mode selector:Press to select
air flow direction to
(Floor)
or
(Panel).
Directs air to the floor of the
third row seating.
directs air to the overhead
registers of the second and third
row seating. The selected mode will illuminate on the temperature
control.
3.Fan control:Determines fan speed levels. Turn to REAR to give rear
seat passengers control of the rear auxiliary controls. Otherwise, the
front controls will determine the settings for the entire vehicle cabin. If
set to OFF, the front and rear auxiliary controls will not function.
Rear auxiliary controls:
Once the front auxiliary control is set to REAR, the rear seat passengers
may use the rear auxiliary controls in the overhead console to make the
desired adjustments.
1.Temperature control:
Determines temperature levels.
2.Mode selector:Press to select
between air flow to
(Floor)
or
(Panel).
Directs air to the floor of the
third row seating.
directs air to the overhead
registers of the second and third
row seating. The selected mode will illuminate on the temperature
control.
3.Fan control:Determines fan speed levels.
4 3 2
REAR0
31
2
4 3 2 1 0
31
2
Climate Controls
80
Page 99 of 336

While holding the steering wheel,
find the nearest locking position
(gear mesh point) and pull the lever
up to its original position to lock the
steering column.
Never adjust the steering
column when the vehicle is
moving.
ILLUMINATED VISOR MIRROR
Lift the mirror cover to turn on the
visor mirror lamps.
OVERHEAD CONSOLE
The appearance of your vehicle's overhead console will vary according to
your option package.
Storage compartment
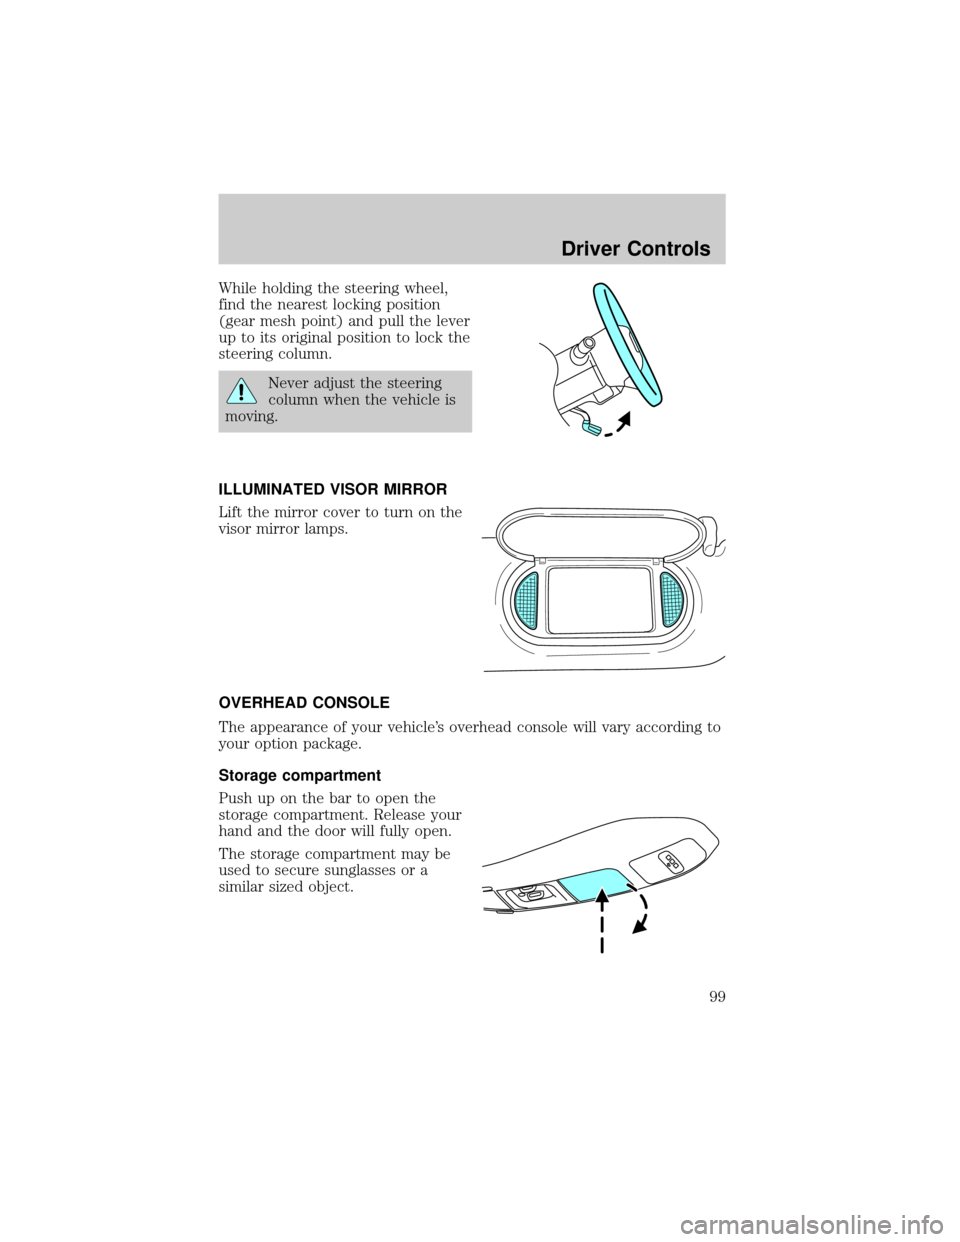
Push up on the bar to open the
storage compartment. Release your
hand and the door will fully open.
The storage compartment may be
used to secure sunglasses or a
similar sized object.
Driver Controls
99
Page 114 of 336

Navigation control features
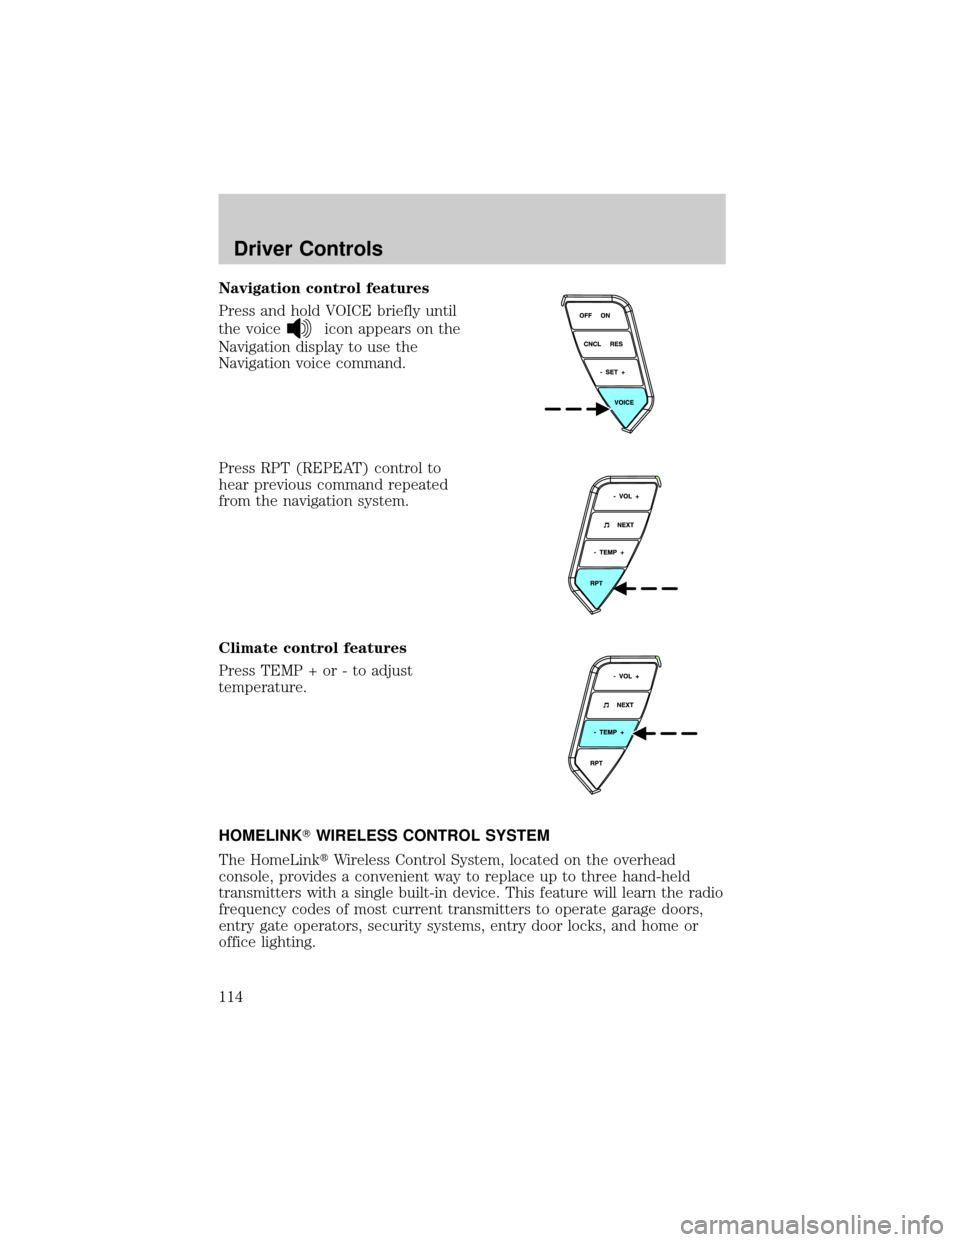
Press and hold VOICE briefly until
the voice
icon appears on the
Navigation display to use the
Navigation voice command.
Press RPT (REPEAT) control to
hear previous command repeated
from the navigation system.
Climate control features
Press TEMP + or - to adjust
temperature.
HOMELINKTWIRELESS CONTROL SYSTEM
The HomeLinktWireless Control System, located on the overhead
console, provides a convenient way to replace up to three hand-held
transmitters with a single built-in device. This feature will learn the radio
frequency codes of most current transmitters to operate garage doors,
entry gate operators, security systems, entry door locks, and home or
office lighting.
Driver Controls
114
Page 115 of 336

When programming your HomeLinktWireless Control System to
a garage door or gate, be sure that people and objects are out of
the way to prevent potential harm or damage.
Do not use the HomeLinktWireless Control System with any garage
door opener that lacks safety stop and reverse features as required by
U.S. federal safety standards (this includes any garage door opener
model manufactured before April 1, 1982). A garage door which cannot
detect an object, signaling the door to stop and reverse, does not meet
current U.S. federal safety standards. For more information, contact
HomeLinktat:www.homelink.comor1±800±355±3515.
Retain the original transmitter for use in other vehicles as well as for
future programming procedures (i.e. new HomeLinktequipped vehicle
purchase). It is also suggested that upon the sale of the vehicle, the
programmed Homelinktbuttons be erased for security purposes, refer to
Programmingin this section.
Programming
Do not program HomeLinktwith the vehicle parked in the garage.
Note:Some vehicles may require the ignition switch to be turned to the
second (or ªACCº) position for programming and/or operation of the
HomeLinkt. It is also recommended that a new battery be placed in the
hand-held transmitter of the device being programmed to HomeLinktfor
quicker training and accurate transmission of the radio-frequency signal.
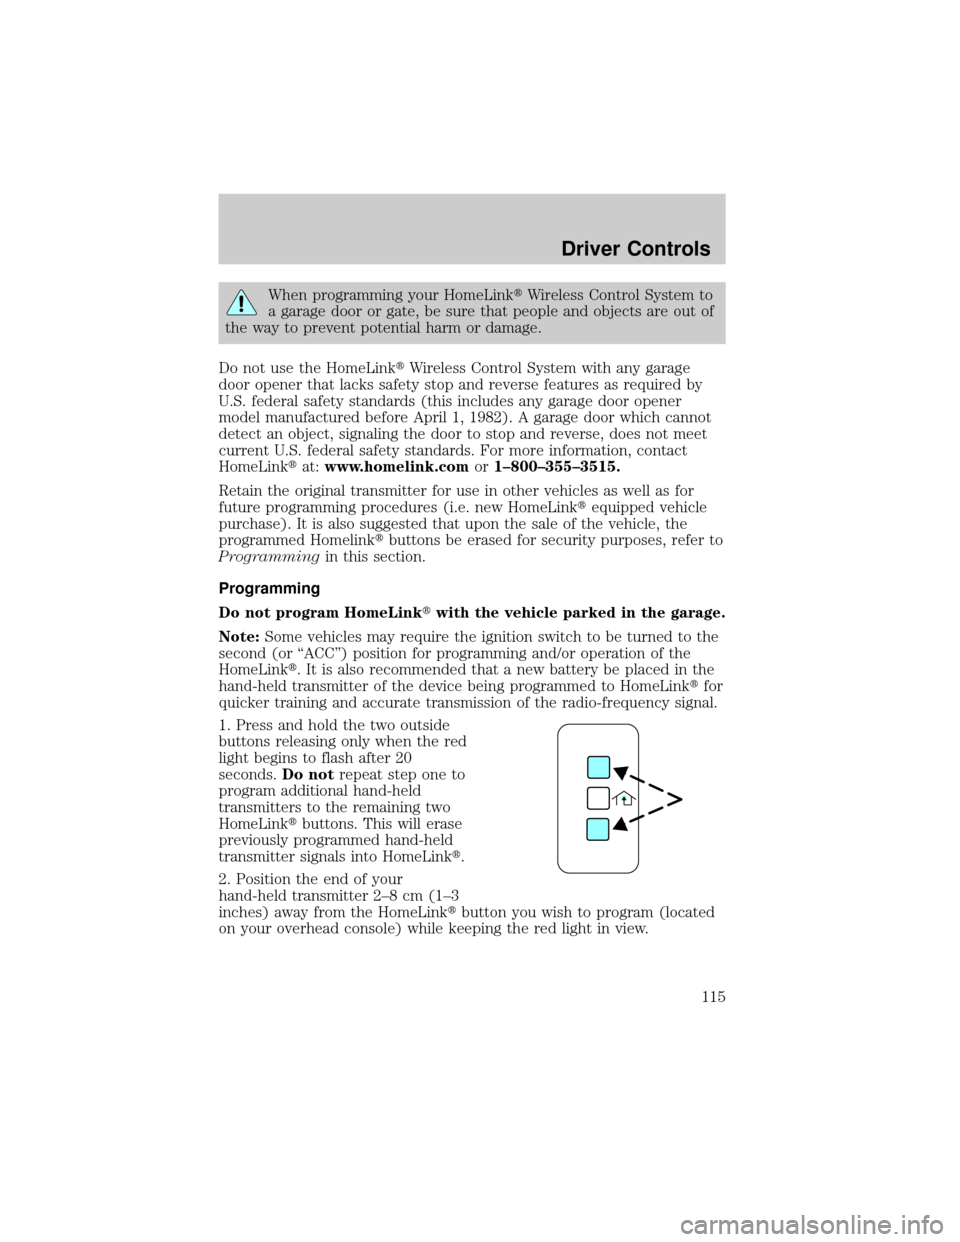
1. Press and hold the two outside
buttons releasing only when the red
light begins to flash after 20
seconds.Do notrepeat step one to
program additional hand-held
transmitters to the remaining two
HomeLinktbuttons. This will erase
previously programmed hand-held
transmitter signals into HomeLinkt.
2. Position the end of your
hand-held transmitter 2±8 cm (1±3
inches) away from the HomeLinktbutton you wish to program (located
on your overhead console) while keeping the red light in view.
Driver Controls
115
Page 325 of 336

Cleaning your vehicle
engine compartment ..............267
instrument panel ....................269
interior .............................269±270
interior trim ............................270
plastic parts ............................268
washing ....................................266
waxing .....................................266
wheels ......................................267
wiper blades ............................268
Clock ..........................................101
Compass, electronic
set zone adjustment ...............120
Console ......................................132
overhead ....................................99
rear ..........................................132
Controls
power seat ...............................154
steering column ......................111
Coolant
checking and adding ..............281
refill capacities ................283, 312
specifications ..................314, 316
Cruise control
(see Speed control) ..................109
Customer Assistance ................231
Ford accessories for your
vehicle .....................................271
Ford Extended Service
Plan ..........................................259
Getting assistance outside the
U.S. and Canada .....................263
Getting roadside assistance ...231
Getting the service you
need .........................................257
Ordering additional owner's
literature .................................264
The Dispute Settlement
Board .......................................259Utilizing the
Mediation/Arbitration
Program ...................................262
D
Daytime running lamps
(see Lamps) ................................84
Defrost
rear window ..............................81
Dipstick
automatic transmission
fluid ..........................................296
engine oil .................................276
Doors
lubricant specifications ..........314
Driving under special
conditions ..........................214, 217
sand .........................................216
snow and ice ...........................218
through water .................216, 221
E
Electronic message center .......118
Emergencies, roadside
jump-starting ..........................251
Emission control system ..........292
Engine ........................................316
cleaning ...................................267
coolant .....................................281
fail-safe coolant ......................284
idle speed control ...................279
lubrication
specifications ..................314, 316
refill capacities ........................312
service points ..........................274
starting after a collision .........232
Engine block heater .................196
Engine oil ..................................276
Index
325