door lock LINCOLN AVIATOR 2005 Quick Reference Guide
[x] Cancel search | Manufacturer: LINCOLN, Model Year: 2005, Model line: AVIATOR, Model: LINCOLN AVIATOR 2005Pages: 12, PDF Size: 1.24 MB
Page 2 of 12

Essential Information
FUEL TANK CAPACITY/FUEL RECOMMENDATIONS:Your Aviator’s fuel tank can accommodate 22.5
gallons of fuel. Your vehicle is designed to use “Premium” unleaded fuel with an (R+M)/2 octane
rating of 91 or higher for optimum performance. The use of fuel with lower octane ratings may
degrade performance.
FUSES:If electrical components in your vehicle stop working, a fuse may have blown. (You’ll notice a
broken wire within the fuse.) For information on changing fuses, please consult your Owner’s Guide.
TIRE PRESSURE: Your tire pressure is properly set at the dealership according to the
recommended specifications found on the Tire Pressure Label located on the driver door jamb. Please
check your tire pressure during routine maintenance and seasonal changes. If the Tire Pressure
Monitoring System light stays illuminated after starting, immediately check your tire pressure.
Warning : Improperly inflated tires can affect vehicle handling and can fail suddenly, possibly
resulting in loss of vehicle control.
CHANGING THE TIRES: Your spare tire is not equipped with a Tire Pressure Monitoring System
sensor. The Tire Pressure Monitoring System indicator light will illuminate when the spare is in
use. Replace the spare with the road tire as soon as possible. If your vehicle is equipped with AWD,
remember that a spare tire of a different size must not be used. It can make your vehicle difficult
to control and can result in damage to driveline components. If you get a flat tire while driving, do
not apply the brake heavily. Instead, gradually decrease your speed. Hold the steering wheel firmly
and slowly move to a safe place on the side of the road.
•SPARE TIRE: Under the vehicle, just in front of the rear bumper.
•SPARE TIRE WINCH DRIVE NUT: Rear center of the cargo area, under a lid.
•JACK, LUG NUT WRENCH, JACK HANDLE AND WHEEL CHOCK: Behind the rear seat under the
carpeted floor lid in the cargo door.
ROADSIDE EMERGENCIES:To fully assist you if you should have a vehicle concern, Lincoln offers
a complimentary roadside assistance program. This program is separate from the New Vehicle
Limited Warranty. The service is available 24 hours a day, seven days a week for the New Vehicle
Limited Warranty period of four years or 50,000 miles.
Roadside assistance will cover: Country: Phone Number:
•Changing a flat tire United States (800) 521�4140
•Lockout assistance Canada (800) 665�2006
•Jump�starts
•Towing of your vehicle
•Limited fuel delivery
For complete details on any roadside assistance concerns, see the Roadside Emergencies or Customer Assistance
sections of your Owner’s Guide.
Page 3 of 12

Heated and
Cooled Seats
(if equipped)
The controls are
located on the front door trim panels. Tocool the seats, push the icon on the rightside of the button; a blue light will
illuminate. Push again to disengage. Toheat the seats, push the icon on the left
side of the button; a red light will
illuminate. Push again to disengage. To
adjust the heating or cooling levels,
rotate the thumbwheel from 1 (MIN) to 5
(MAX). Allow five minutes for the
temperature to stabilize.
Tire Pressure
MonitoringSystem
Using radio�frequencypressure sensors, this systemmonitors
tire pressure on all road tires and
provides the driver with a yellow
warning light when air needs to beadded. Message Center equipped
vehicles provide additional warning
messages. The TPMS warning light will
reset itself (turn off) after the tires are
set to specification and the vehicle is
either parked up to 1 hour or the vehicle
is driven above 20 mph (30 km/h) for 10 seconds. Please note: Outside
temperature affects tire pressure. See
Owner’s Guide for more information.
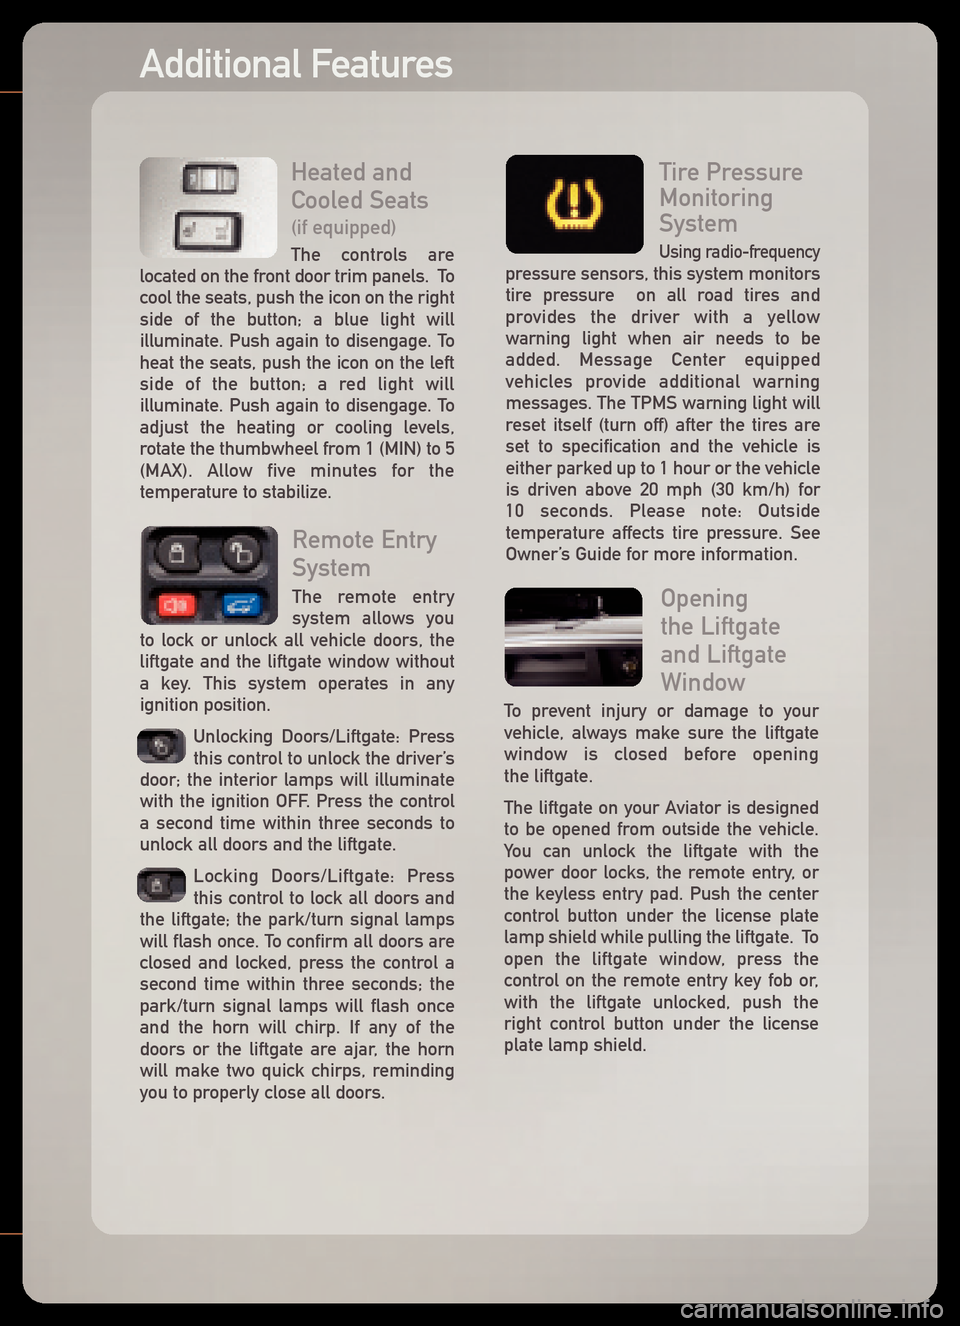
Remote Entry
System
The remote entry
system allows you
to lock or unlock all vehicle doors, theliftgate and the liftgate window without
a key. This system operates in anyignition position.
Unlocking Doors/Liftgate: Press
this control to unlock the driver’s
door; the interior lamps will illuminate
with the ignition OFF. Press the control
a second time within three seconds tounlock all doors and the liftgate.
Locking Doors/Liftgate: Press
this control to lock all doors and
the liftgate; the park/turn signal lamps
will flash once. To confirm all doors are
closed and locked, press the control a
second time within three seconds; the
park/turn signal lamps will flash once
and the horn will chirp. If any of the
doors or the liftgate are ajar, the horn
will make two quick chirps, reminding
you to properly close all doors.
Additional Features
Opening
the Liftgateand LiftgateWindow
To prevent injury or damage to your
vehicle, always make sure the liftgate
window is closed before opening the liftgate.
The liftgate on your Aviator is designed
to be opened from outside the vehicle.
You can unlock the liftgate with the
power door locks, the remote entry, or
the keyless entry pad. Push the center
control button under the license plate
lamp shield while pulling the liftgate. To
open the liftgate window, press the
control on the remote entry key fob or,
with the liftgate unlocked, push the
right control button under the licenseplate lamp shield.
Page 4 of 12

Audio System
(If your Aviator is equipped with a different audio
system, please refer to your Owner’s Guide.)
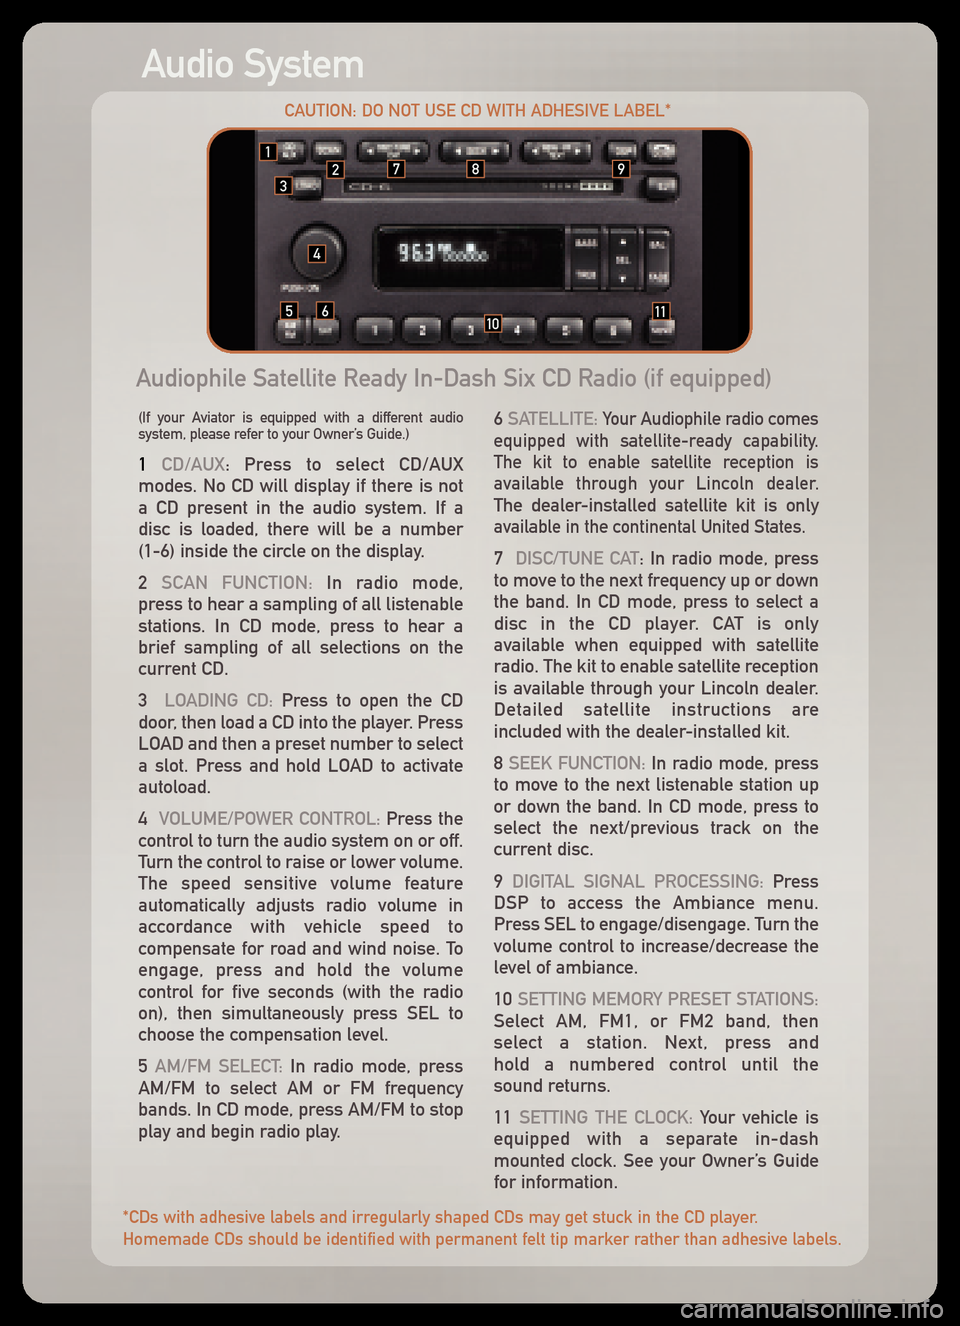
1 CD/AUX: Press to select CD/AUX
modes. No CD will display if there is not
a CD present in the audio system. If a
disc is loaded, there will be a number
(1�6) inside the circle on the display.
2 SCAN FUNCTION: In radio mode,
press to hear a sampling of all listenable
stations. In CD mode, press to hear abrief sampling of all selections on the
current CD.
3 LOADING CD:Press to open the CD
door, then load a CD into the player. Press
LOAD and then a preset number to select
a slot. Press and hold LOAD to activateautoload.
4 VOLUME/POWER CONTROL: Press the
control to turn the audio system on or off.
Turn the control to raise or lower volume.
The speed sensitive volume feature
automatically adjusts radio volume in
accordance with vehicle speed to
compensate for road and wind noise. To
engage, press and hold the volume
control for five seconds (with the radio
on), then simultaneously press SEL to
choose the compensation level.
5 AM/FM SELECT:In radio mode, press
AM/FM to select AM or FM frequency
bands. In CD mode, press AM/FM to stop
play and begin radio play. 6 SATELLITE:
Your Audiophile radio comes
equipped with satellite�ready capability.
The kit to enable satellite reception is
available through your Lincoln dealer.
The dealer�installed satellite kit is onlyavailable in the continental United States.
7 DISC/TUNE CAT: In radio mode, press
to move to the next frequency up or down
the band. In CD mode, press to select a
disc in the CD player. CAT is onlyavailable when equipped with satellite
radio. The kit to enable satellite reception
is available through your Lincoln dealer.
Detailed satellite instructions are
included with the dealer�installed kit.
8 SEEK FUNCTION: In radio mode, press
to move to the next listenable station up
or down the band. In CD mode, press to
select the next/previous track on the
current disc.
9 DIGITAL SIGNAL PROCESSING: Press
DSP to access the Ambiance menu.
Press SEL to engage/disengage. Turn the
volume control to increase/decrease the
level of ambiance.
10 SETTING MEMORY PRESET STATIONS:
Select AM, FM1, or FM2 band, then
select a station. Next, press and
hold a numbered control until the
sound returns.
11 SETTING THE CLOCK:Your vehicle is
equipped with a separate in�dash
mounted clock. See your Owner’s Guidefor information.
Audiophile Satellite Ready In�Dash Six CD Radio (if equipped)
123
4
56
789
1110
*CDs with adhesive labels and irregularly shaped CDs may get stuck in the CD player.
Homemade CDs should be identified with permanent felt tip marker rather than adhesive labels.CAUTION: DO NOT USE CD WITH ADHESIVE LABEL*