LINCOLN AVIATOR 2020 Owners Manual
Manufacturer: LINCOLN, Model Year: 2020, Model line: AVIATOR, Model: LINCOLN AVIATOR 2020Pages: 609, PDF Size: 5.4 MB
Page 101 of 609
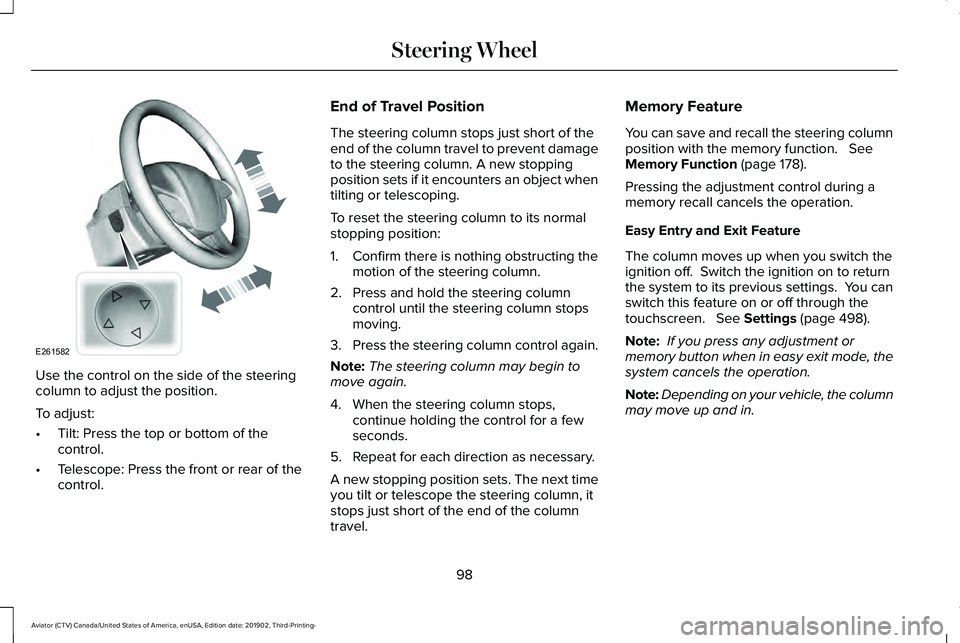
Use the control on the side of the steering
column to adjust the position.
To adjust:
•
Tilt: Press the top or bottom of the
control.
• Telescope: Press the front or rear of the
control. End of Travel Position
The steering column stops just short of the
end of the column travel to prevent damage
to the steering column. A new stopping
position sets if it encounters an object when
tilting or telescoping.
To reset the steering column to its normal
stopping position:
1. Confirm there is nothing obstructing the
motion of the steering column.
2. Press and hold the steering column control until the steering column stops
moving.
3. Press the steering column control again.
Note: The steering column may begin to
move again.
4. When the steering column stops, continue holding the control for a few
seconds.
5. Repeat for each direction as necessary.
A new stopping position sets. The next time
you tilt or telescope the steering column, it
stops just short of the end of the column
travel. Memory Feature
You can save and recall the steering column
position with the memory function. See
Memory Function (page 178).
Pressing the adjustment control during a
memory recall cancels the operation.
Easy Entry and Exit Feature
The column moves up when you switch the
ignition off. Switch the ignition on to return
the system to its previous settings. You can
switch this feature on or off through the
touchscreen.
See Settings (page 498).
Note: If you press any adjustment or
memory button when in easy exit mode, the
system cancels the operation.
Note: Depending on your vehicle, the column
may move up and in.
98
Aviator (CTV) Canada/United States of America, enUSA, Edition date: 201902, Third-Printing- Steering WheelE261582
Page 102 of 609
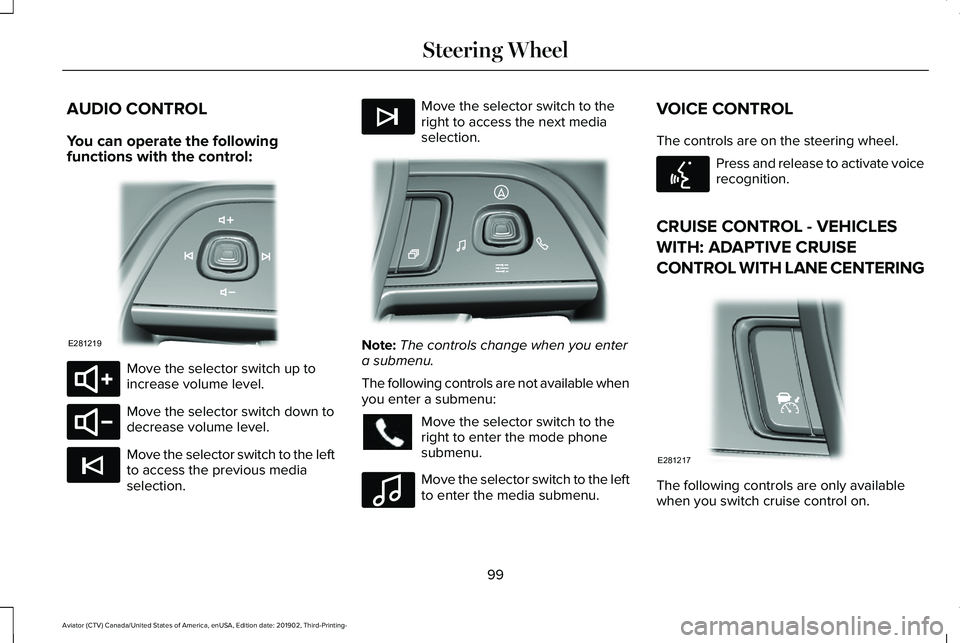
AUDIO CONTROL
You can operate the following
functions with the control:
Move the selector switch up to
increase volume level.
Move the selector switch down to
decrease volume level.
Move the selector switch to the left
to access the previous media
selection. Move the selector switch to the
right to access the next media
selection.
Note:
The controls change when you enter
a submenu.
The following controls are not available when
you enter a submenu: Move the selector switch to the
right to enter the mode phone
submenu.
Move the selector switch to the left
to enter the media submenu.VOICE CONTROL
The controls are on the steering wheel. Press and release to activate voice
recognition.
CRUISE CONTROL - VEHICLES
WITH: ADAPTIVE CRUISE
CONTROL WITH LANE CENTERING The following controls are only available
when you switch cruise control on.
99
Aviator (CTV) Canada/United States of America, enUSA, Edition date: 201902, Third-Printing- Steering WheelE281219 E280803 E280802 E265045 E265044 E281220 E100027 E142599 E281217
Page 103 of 609
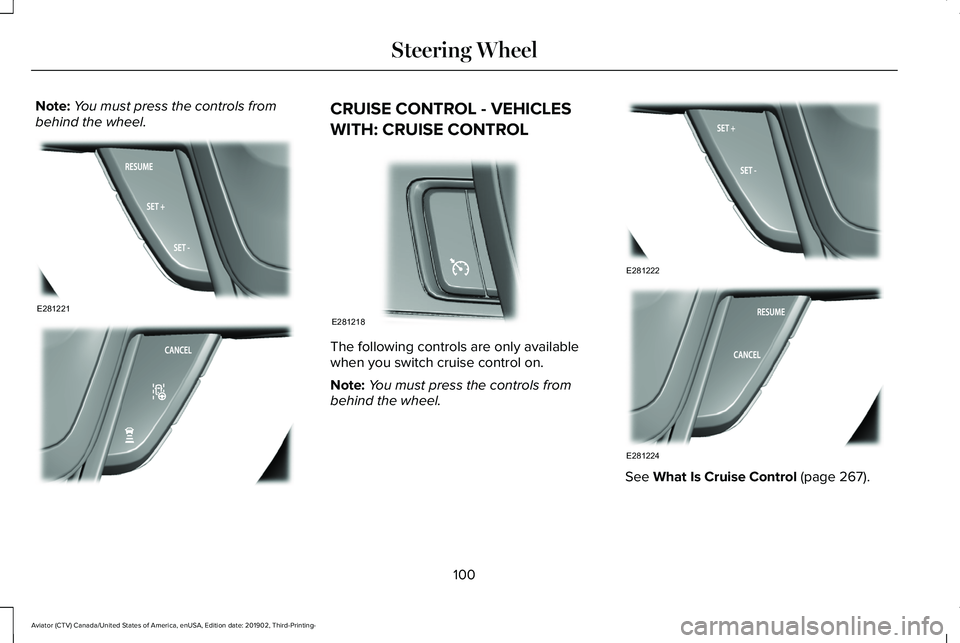
Note:
You must press the controls from
behind the wheel. CRUISE CONTROL - VEHICLES
WITH: CRUISE CONTROL
The following controls are only available
when you switch cruise control on.
Note:
You must press the controls from
behind the wheel. See What Is Cruise Control (page 267).
100
Aviator (CTV) Canada/United States of America, enUSA, Edition date: 201902, Third-Printing- Steering WheelE281221 E281225 E281218 E281222 E281224
Page 104 of 609
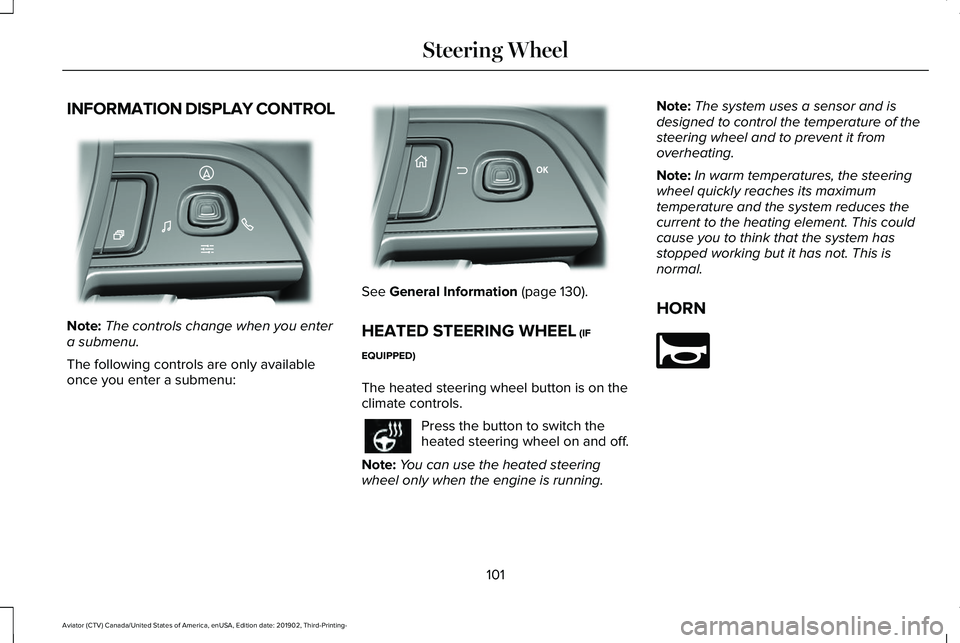
INFORMATION DISPLAY CONTROL
Note:
The controls change when you enter
a submenu.
The following controls are only available
once you enter a submenu: See General Information (page 130).
HEATED STEERING WHEEL
(IF
EQUIPPED)
The heated steering wheel button is on the
climate controls. Press the button to switch the
heated steering wheel on and off.
Note: You can use the heated steering
wheel only when the engine is running. Note:
The system uses a sensor and is
designed to control the temperature of the
steering wheel and to prevent it from
overheating.
Note: In warm temperatures, the steering
wheel quickly reaches its maximum
temperature and the system reduces the
current to the heating element. This could
cause you to think that the system has
stopped working but it has not. This is
normal.
HORN 101
Aviator (CTV) Canada/United States of America, enUSA, Edition date: 201902, Third-Printing- Steering WheelE281220 E299701 E270945
Page 105 of 609
WINDSHIELD WIPERS - VEHICLES
WITHOUT: HEATED WIPER
BLADES
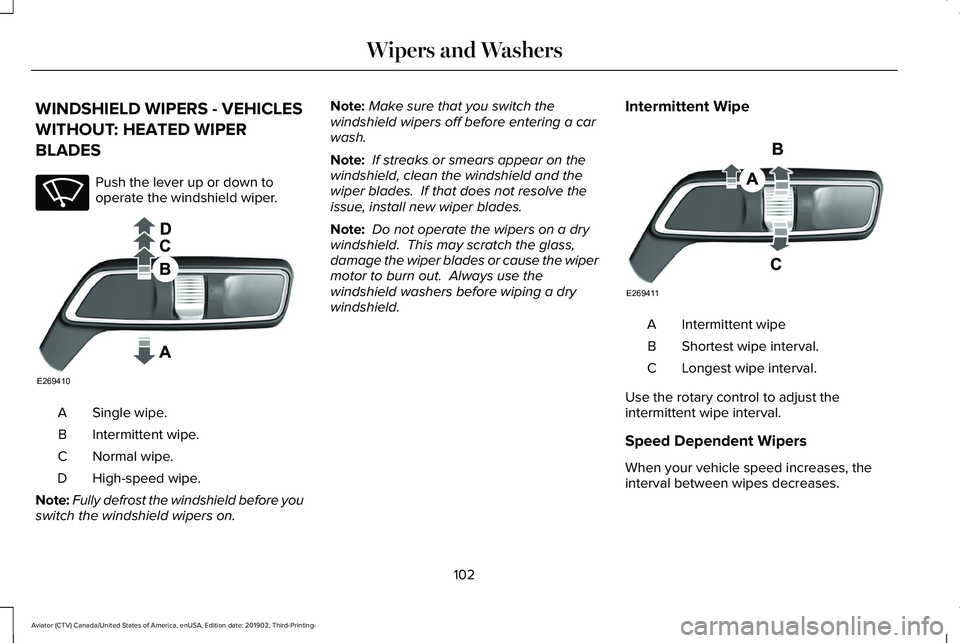
Push the lever up or down to
operate the windshield wiper.
Single wipe.
A
Intermittent wipe.
B
Normal wipe.
C
High-speed wipe.
D
Note: Fully defrost the windshield before you
switch the windshield wipers on. Note:
Make sure that you switch the
windshield wipers off before entering a car
wash.
Note: If streaks or smears appear on the
windshield, clean the windshield and the
wiper blades. If that does not resolve the
issue, install new wiper blades.
Note: Do not operate the wipers on a dry
windshield. This may scratch the glass,
damage the wiper blades or cause the wiper
motor to burn out. Always use the
windshield washers before wiping a dry
windshield. Intermittent Wipe Intermittent wipe
A
Shortest wipe interval.
B
Longest wipe interval.
C
Use the rotary control to adjust the
intermittent wipe interval.
Speed Dependent Wipers
When your vehicle speed increases, the
interval between wipes decreases.
102
Aviator (CTV) Canada/United States of America, enUSA, Edition date: 201902, Third-Printing- Wipers and WashersE270969 E269410 E269411
Page 106 of 609
WINDSHIELD WIPERS - VEHICLES
WITH: HEATED WIPER BLADES
Heated Wiper Blade
The heated wiper blades turn on in low
temperature when the windshield wipers are
active or defrost is on. See Automatic
Climate Control (page 160).
Note: In below freezing temperatures, the
heated wiper blades turn on when the wipers
are inactive.
AUTOWIPERS
Wet or winter driving conditions with ice,
snow or salty road mist can cause
inconsistent and unexpected wiping or
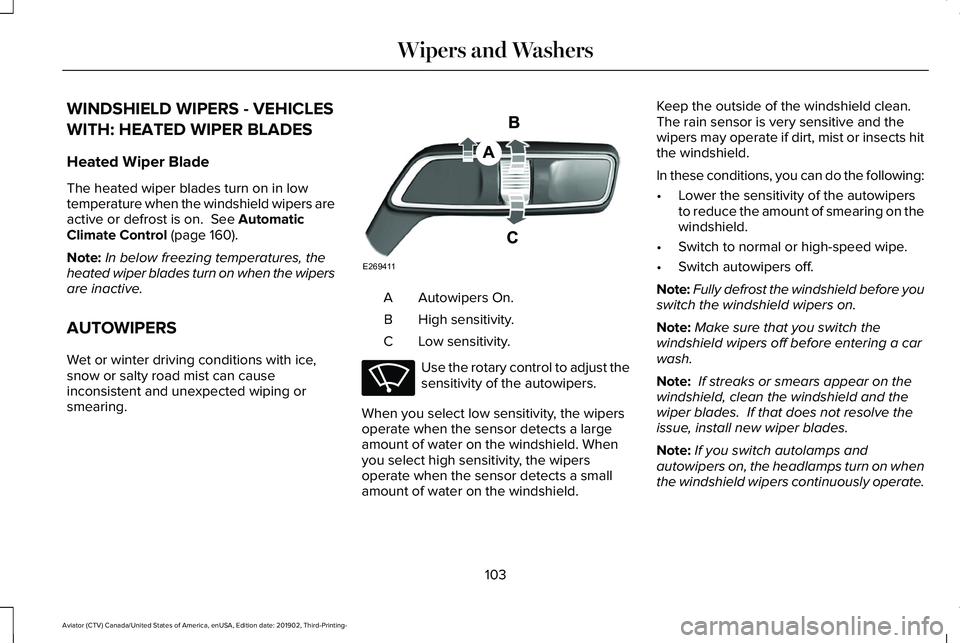
smearing. Autowipers On.
A
High sensitivity.
B
Low sensitivity.
C Use the rotary control to adjust the
sensitivity of the autowipers.
When you select low sensitivity, the wipers
operate when the sensor detects a large
amount of water on the windshield. When
you select high sensitivity, the wipers
operate when the sensor detects a small
amount of water on the windshield. Keep the outside of the windshield clean.
The rain sensor is very sensitive and the
wipers may operate if dirt, mist or insects hit
the windshield.
In these conditions, you can do the following:
•
Lower the sensitivity of the autowipers
to reduce the amount of smearing on the
windshield.
• Switch to normal or high-speed wipe.
• Switch autowipers off.
Note: Fully defrost the windshield before you
switch the windshield wipers on.
Note: Make sure that you switch the
windshield wipers off before entering a car
wash.
Note: If streaks or smears appear on the
windshield, clean the windshield and the
wiper blades. If that does not resolve the
issue, install new wiper blades.
Note: If you switch autolamps and
autowipers on, the headlamps turn on when
the windshield wipers continuously operate.
103
Aviator (CTV) Canada/United States of America, enUSA, Edition date: 201902, Third-Printing- Wipers and WashersE269411 E270969
Page 107 of 609
Autowipers Settings
This setting defaults to on and remains on
until you switch it off in the touchscreen.
When you switch off autowipers, the wipers
operate in intermittent mode.
Low Temperature Wipe Inhibit
The rain sensing feature will not operate
immediately after starting your vehicle when
it is in park (P) and the outside temperature
is below 32°F (0°C). You can switch on the
wipers by adjusting the rain sensor sensitivity
or adjusting the wiper speed.
This prevents damage to the wiper blades
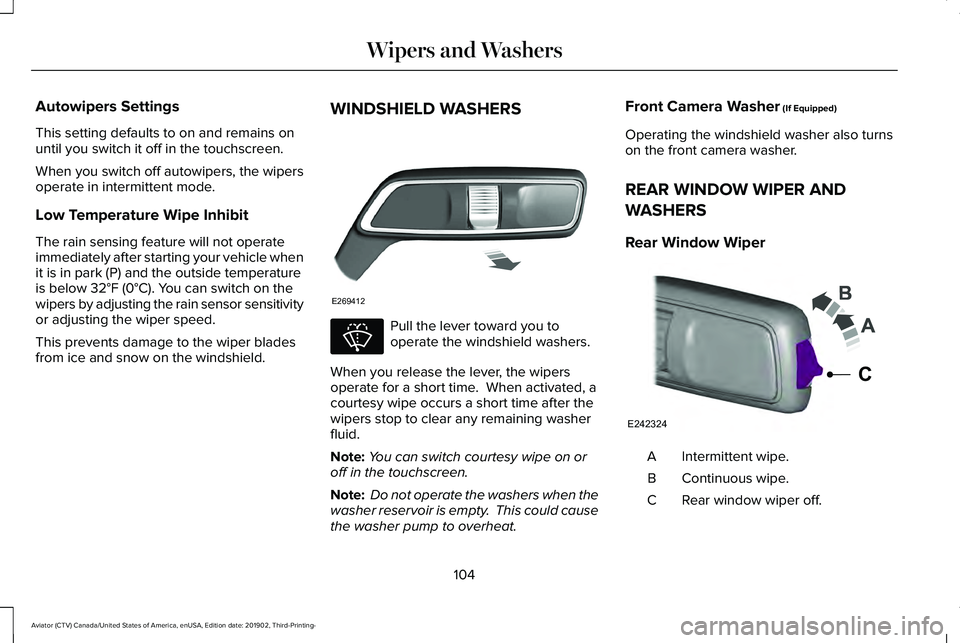
from ice and snow on the windshield. WINDSHIELD WASHERS Pull the lever toward you to
operate the windshield washers.
When you release the lever, the wipers
operate for a short time. When activated, a
courtesy wipe occurs a short time after the
wipers stop to clear any remaining washer
fluid.
Note: You can switch courtesy wipe on or
off in the touchscreen.
Note: Do not operate the washers when the
washer reservoir is empty. This could cause
the washer pump to overheat. Front Camera Washer
(If Equipped)
Operating the windshield washer also turns
on the front camera washer.
REAR WINDOW WIPER AND
WASHERS
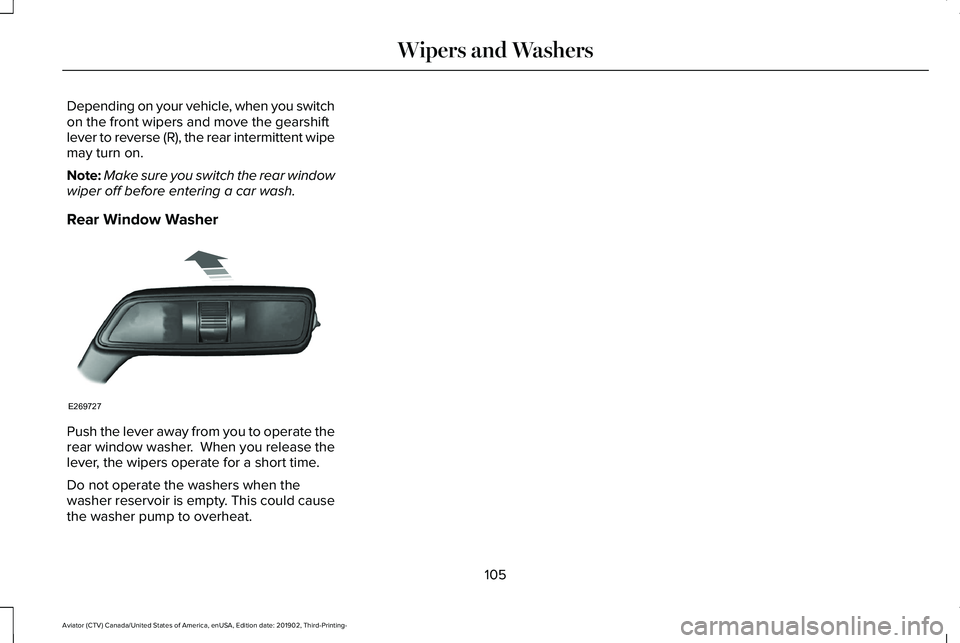
Rear Window Wiper Intermittent wipe.
A
Continuous wipe.
B
Rear window wiper off.
C
104
Aviator (CTV) Canada/United States of America, enUSA, Edition date: 201902, Third-Printing- Wipers and WashersE269412 E270967 E242324
C
Page 108 of 609
Depending on your vehicle, when you switch
on the front wipers and move the gearshift
lever to reverse (R), the rear intermittent wipe
may turn on.
Note:
Make sure you switch the rear window
wiper off before entering a car wash.
Rear Window Washer Push the lever away from you to operate the
rear window washer. When you release the
lever, the wipers operate for a short time.
Do not operate the washers when the
washer reservoir is empty. This could cause
the washer pump to overheat.
105
Aviator (CTV) Canada/United States of America, enUSA, Edition date: 201902, Third-Printing- Wipers and WashersE269727
Page 109 of 609
GENERAL INFORMATION
Condensation in the Exterior Front
Lamps and Rear Lamps
Exterior front lamps and rear lamps have
vents to accommodate normal changes in
air pressure.
Condensation can be a natural by-product
of this design. When moist air enters the
lamp assembly through the vents, there is a
possibility that condensation can occur when
the temperature is cold. When normal
condensation occurs, a fine mist can form on
the interior of the lens. The fine mist
eventually clears and exits through the vents
during normal operation.
Clearing time may take as long as 48 hours
under dry weather conditions.
Examples of acceptable condensation are:
•
The presence of a fine mist (no streaks,
drip marks or large droplets).
• A fine mist covers less than 50% of the
lens. Examples of unacceptable condensation are:
•
A water puddle inside the lamp.
• Streaks, drip marks or large droplets
present on the interior of the lens.
If you see any unacceptable condensation,
have your vehicle checked by an authorized
dealer.
LIGHTING CONTROL
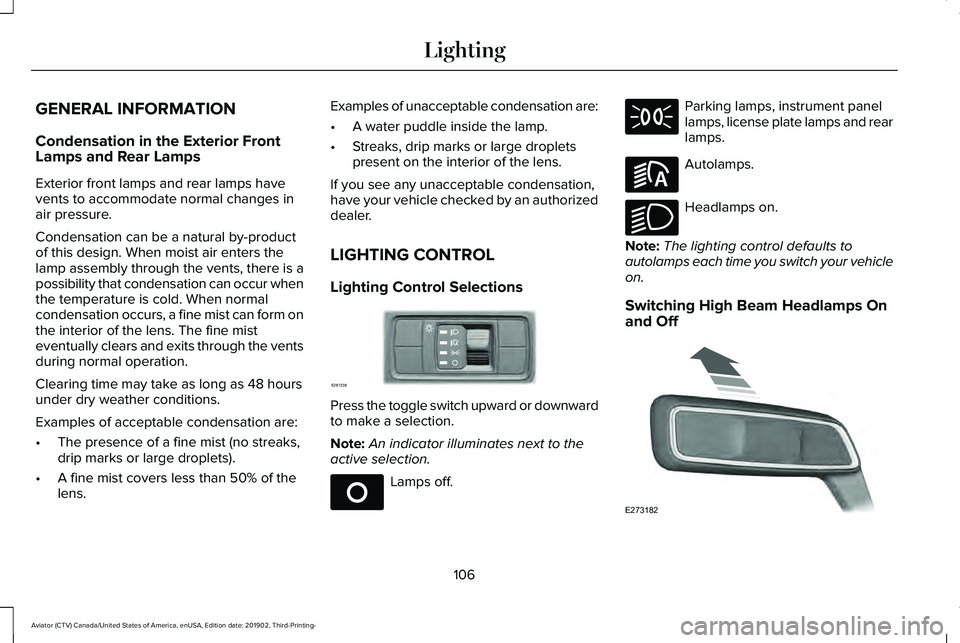
Lighting Control Selections Press the toggle switch upward or downward
to make a selection.
Note:
An indicator illuminates next to the
active selection. Lamps off. Parking lamps, instrument panel
lamps, license plate lamps and rear
lamps.
Autolamps.
Headlamps on.
Note: The lighting control defaults to
autolamps each time you switch your vehicle
on.
Switching High Beam Headlamps On
and Off 106
Aviator (CTV) Canada/United States of America, enUSA, Edition date: 201902, Third-Printing- LightingE281338 E265031 E281240 E270968 E273182
Page 110 of 609
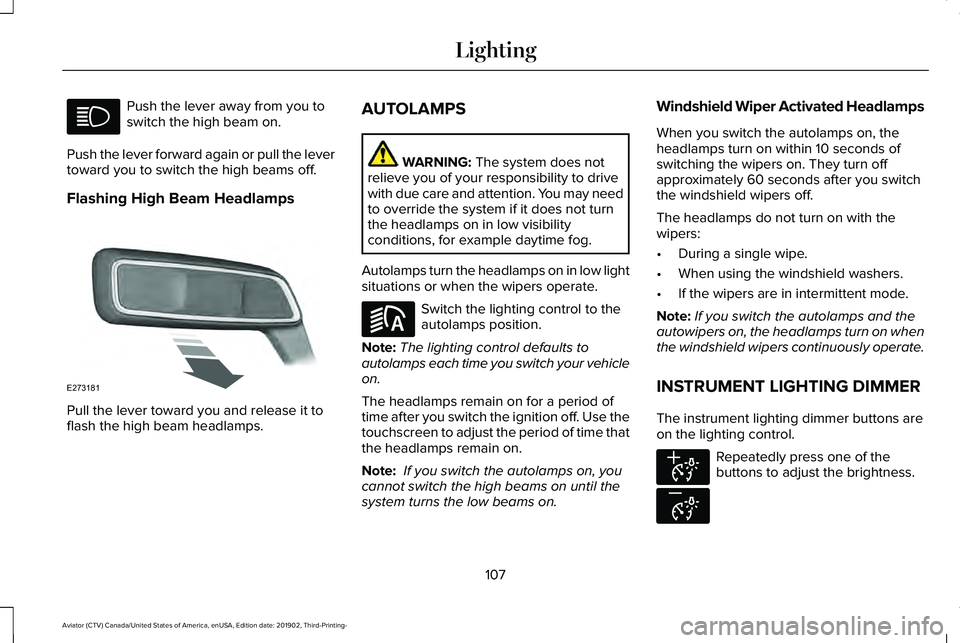
Push the lever away from you to
switch the high beam on.
Push the lever forward again or pull the lever
toward you to switch the high beams off.
Flashing High Beam Headlamps Pull the lever toward you and release it to
flash the high beam headlamps. AUTOLAMPS WARNING: The system does not
relieve you of your responsibility to drive
with due care and attention. You may need
to override the system if it does not turn
the headlamps on in low visibility
conditions, for example daytime fog.
Autolamps turn the headlamps on in low light
situations or when the wipers operate. Switch the lighting control to the
autolamps position.
Note: The lighting control defaults to
autolamps each time you switch your vehicle
on.
The headlamps remain on for a period of
time after you switch the ignition off. Use the
touchscreen to adjust the period of time that
the headlamps remain on.
Note: If you switch the autolamps on, you
cannot switch the high beams on until the
system turns the low beams on. Windshield Wiper Activated Headlamps
When you switch the autolamps on, the
headlamps turn on within 10 seconds of
switching the wipers on. They turn off
approximately 60 seconds after you switch
the windshield wipers off.
The headlamps do not turn on with the
wipers:
•
During a single wipe.
• When using the windshield washers.
• If the wipers are in intermittent mode.
Note: If you switch the autolamps and the
autowipers on, the headlamps turn on when
the windshield wipers continuously operate.
INSTRUMENT LIGHTING DIMMER
The instrument lighting dimmer buttons are
on the lighting control. Repeatedly press one of the
buttons to adjust the brightness.
107
Aviator (CTV) Canada/United States of America, enUSA, Edition date: 201902, Third-Printing- Lighting E273181 E281240 E291299 E296433