display LINCOLN AVIATOR 2020 Owner's Manual
[x] Cancel search | Manufacturer: LINCOLN, Model Year: 2020, Model line: AVIATOR, Model: LINCOLN AVIATOR 2020Pages: 609, PDF Size: 5.4 MB
Page 104 of 609
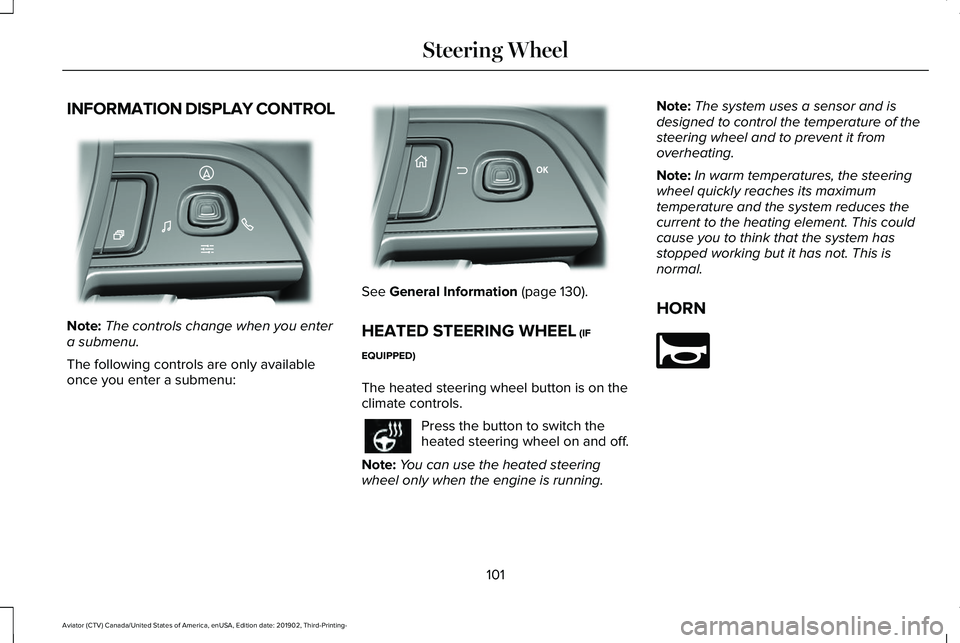
INFORMATION DISPLAY CONTROL
Note:
The controls change when you enter
a submenu.
The following controls are only available
once you enter a submenu: See General Information (page 130).
HEATED STEERING WHEEL
(IF
EQUIPPED)
The heated steering wheel button is on the
climate controls. Press the button to switch the
heated steering wheel on and off.
Note: You can use the heated steering
wheel only when the engine is running. Note:
The system uses a sensor and is
designed to control the temperature of the
steering wheel and to prevent it from
overheating.
Note: In warm temperatures, the steering
wheel quickly reaches its maximum
temperature and the system reduces the
current to the heating element. This could
cause you to think that the system has
stopped working but it has not. This is
normal.
HORN 101
Aviator (CTV) Canada/United States of America, enUSA, Edition date: 201902, Third-Printing- Steering WheelE281220 E299701 E270945
Page 111 of 609
HEADLAMP EXIT DELAY (IF EQUIPPED)
After you switch the ignition off, you can
switch the headlamps on by pulling the
direction indicator lever toward you. You will
hear a short tone. The headlamps will switch
off automatically after three minutes with any
door open or 30 seconds after the last door
has been closed. You can cancel this feature
by pulling the direction indicator toward you
again or switching the ignition on.
DAYTIME RUNNING LAMPS -
VEHICLES WITH: CONFIGURABLE
DAYTIME RUNNING LAMPS WARNING:
The daytime running
lamps system does not activate the rear
lamps and may not provide adequate
lighting during low visibility driving
conditions. Make sure you switch the
headlamps on, as appropriate, during all
low visibility conditions. Failure to do so
may result in a crash. Switch the daytime running lamps on or off
using the touchscreen:
1.
Select Settings. See Settings (page 498).
2. Select
Vehicle.
3. Select
Lighting.
The daytime running lamps turn on when:
1. The lamps are on in the information display.
2. You switch the ignition on.
3. The transmission is not in park (P) for vehicles with automatic transmissions or
you release the parking brake for
vehicles with manual transmissions.
4. The lighting control is in the autolamps position.
5. The headlamps are off.
The other lighting control switch positions
do not turn on the daytime running lamps.
If the daytime running lamps are off in the
information display, the lamps stay off in all
switch positions. DAYTIME RUNNING LAMPS -
VEHICLES WITH: DAYTIME
RUNNING LAMPS (DRL) WARNING:
The daytime running
lamps system does not activate the rear
lamps and may not provide adequate
lighting during low visibility driving
conditions. Make sure you switch the
headlamps on, as appropriate, during all
low visibility conditions. Failure to do so
may result in a crash.
The system turns the lamps on in daylight
conditions.
To switch the system on, switch the lighting
control to any position except headlamps.
FRONT FOG LAMPS
(IF EQUIPPED)
Switching the Front Fog Lamps On or
Off
Only switch the front fog lamps on during
reduced visibility.
108
Aviator (CTV) Canada/United States of America, enUSA, Edition date: 201902, Third-Printing- Lighting
Page 117 of 609
WHAT IS AUTOMATIC HIGH BEAM
CONTROL
The system turns on high beams if it is dark
enough and no other traffic is present. If it
detects an approaching vehicle
’s headlamps
or tail lamps, or street lighting ahead, the
system turns the high beams off. Low beams
remain on.
A camera sensor, centrally mounted behind
the windshield of your vehicle, continuously
monitors conditions to turn the high beams
on and off.
SWITCHING AUTOMATIC HIGH
BEAM CONTROL ON AND OFF WARNING: Do not use the system in
poor visibility, for example fog, heavy rain,
spray or snow.
1. Press
Settings on the touchscreen.
2. Press
Vehicle.
3. Press
Lighting. Activating the Automatic High Beam
Control Switch the lighting control to the
autolamps position.
See
Autolamps (page 107).
Note: The lighting control defaults to
autolamps each time you switch your vehicle
on.
When active, the high beams turn on if:
• The ambient light level is low enough.
• There is no traffic in front of your vehicle.
• The vehicle speed is greater than
approximately
32 mph (51 km/h).
When active, the high beams turn off if:
• The ambient light level is high enough
that high beams are not required.
• The system detects an approaching
vehicle's headlamps or tail lamps.
• The system detects severe rain, snow or
fog.
• The camera is blocked.
• The vehicle speed falls below
approximately
27 mph (44 km/h). Note:
The deactivation speed is lower on
curves.
Note: High beam reactivation may be
delayed in certain curvy road situations.
Note: The system may not operate properly
if the sensor is blocked. Keep the windshield
free from obstruction or damage.
Note: The system may not operate properly
in cold or inclement conditions. You can
switch on the high beams by overriding the
system.
Note: If the system detects a blockage, for
example bird droppings, bug splatter, snow
or ice, the system goes into low beam mode
until you clear the blockage. A message may
appear in the information display if the
camera is blocked.
Note: Using much larger tires or equipping
vehicle accessories such as snowplows can
modify your vehicle's ride height and
degrade automatic high beam control
performance.
114
Aviator (CTV) Canada/United States of America, enUSA, Edition date: 201902, Third-Printing- Automatic High Beam ControlE281240
Page 120 of 609
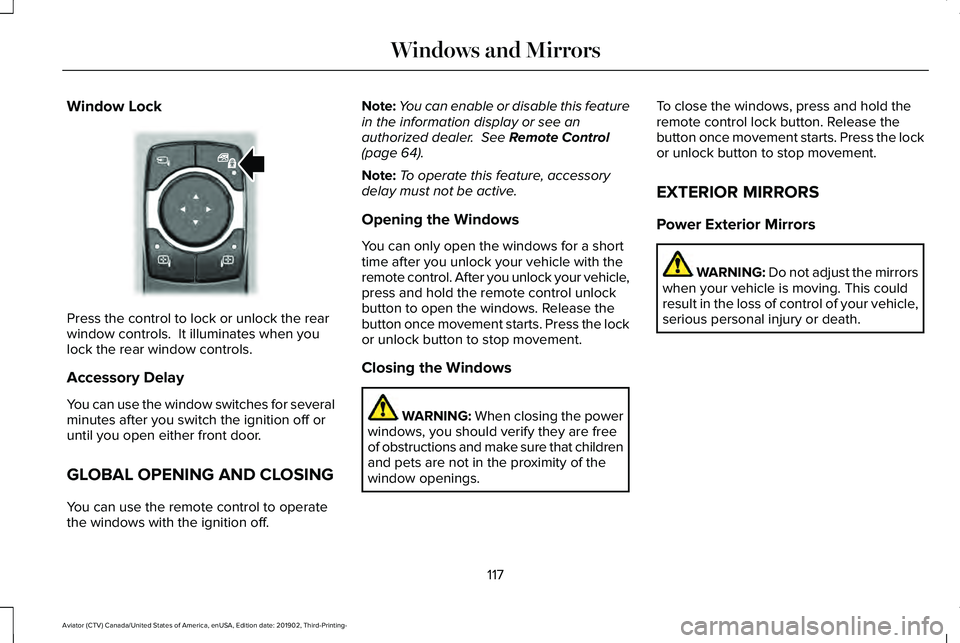
Window Lock
Press the control to lock or unlock the rear
window controls. It illuminates when you
lock the rear window controls.
Accessory Delay
You can use the window switches for several
minutes after you switch the ignition off or
until you open either front door.
GLOBAL OPENING AND CLOSING
You can use the remote control to operate
the windows with the ignition off. Note:
You can enable or disable this feature
in the information display or see an
authorized dealer. See Remote Control
(page 64).
Note: To operate this feature, accessory
delay must not be active.
Opening the Windows
You can only open the windows for a short
time after you unlock your vehicle with the
remote control. After you unlock your vehicle,
press and hold the remote control unlock
button to open the windows. Release the
button once movement starts. Press the lock
or unlock button to stop movement.
Closing the Windows WARNING:
When closing the power
windows, you should verify they are free
of obstructions and make sure that children
and pets are not in the proximity of the
window openings. To close the windows, press and hold the
remote control lock button. Release the
button once movement starts. Press the lock
or unlock button to stop movement.
EXTERIOR MIRRORS
Power Exterior Mirrors
WARNING: Do not adjust the mirrors
when your vehicle is moving. This could
result in the loss of control of your vehicle,
serious personal injury or death.
117
Aviator (CTV) Canada/United States of America, enUSA, Edition date: 201902, Third-Printing- Windows and MirrorsE295318
Page 127 of 609
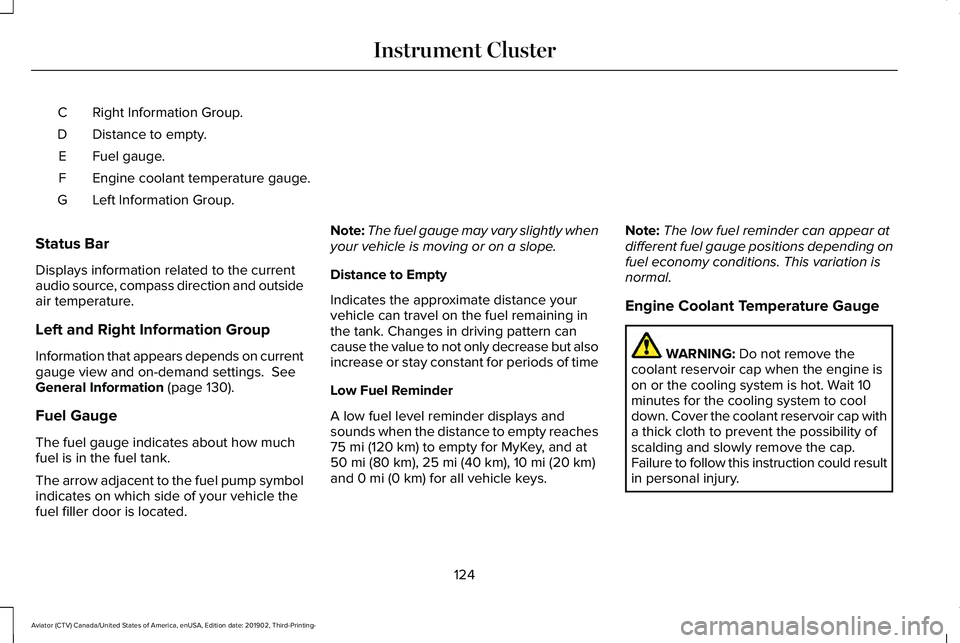
Right Information Group.
C
Distance to empty.
D
Fuel gauge.
E
Engine coolant temperature gauge.
F
Left Information Group.
G
Status Bar
Displays information related to the current
audio source, compass direction and outside
air temperature.
Left and Right Information Group
Information that appears depends on current
gauge view and on-demand settings. See
General Information (page 130).
Fuel Gauge
The fuel gauge indicates about how much
fuel is in the fuel tank.
The arrow adjacent to the fuel pump symbol
indicates on which side of your vehicle the
fuel filler door is located. Note:
The fuel gauge may vary slightly when
your vehicle is moving or on a slope.
Distance to Empty
Indicates the approximate distance your
vehicle can travel on the fuel remaining in
the tank. Changes in driving pattern can
cause the value to not only decrease but also
increase or stay constant for periods of time
Low Fuel Reminder
A low fuel level reminder displays and
sounds when the distance to empty reaches
75 mi (120 km)
to empty for MyKey, and at
50 mi (80 km), 25 mi (40 km), 10 mi (20 km)
and 0 mi (0 km) for all vehicle keys. Note:
The low fuel reminder can appear at
different fuel gauge positions depending on
fuel economy conditions. This variation is
normal.
Engine Coolant Temperature Gauge WARNING:
Do not remove the
coolant reservoir cap when the engine is
on or the cooling system is hot. Wait 10
minutes for the cooling system to cool
down. Cover the coolant reservoir cap with
a thick cloth to prevent the possibility of
scalding and slowly remove the cap.
Failure to follow this instruction could result
in personal injury.
124
Aviator (CTV) Canada/United States of America, enUSA, Edition date: 201902, Third-Printing- Instrument Cluster
Page 128 of 609
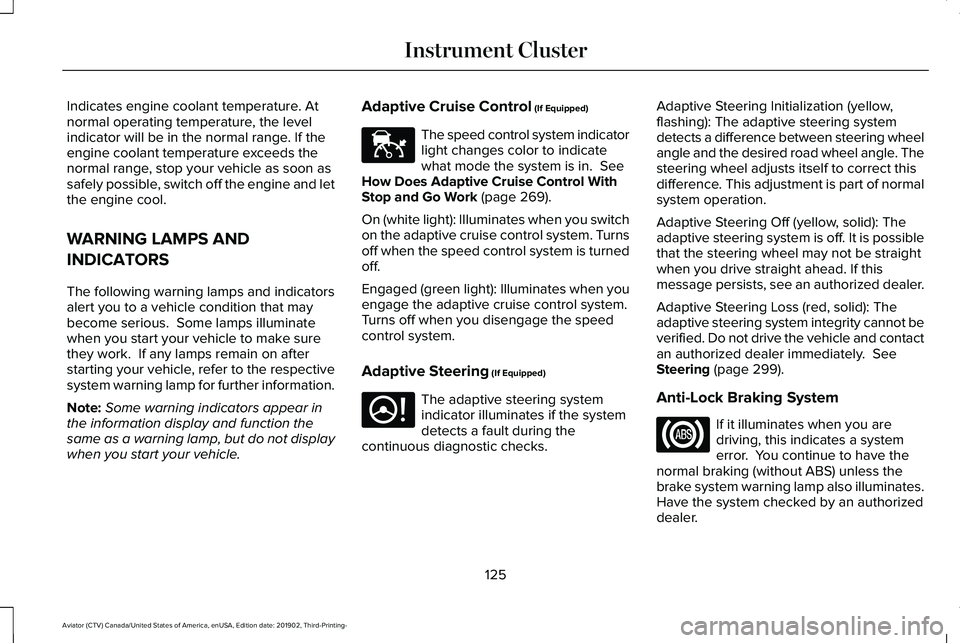
Indicates engine coolant temperature. At
normal operating temperature, the level
indicator will be in the normal range. If the
engine coolant temperature exceeds the
normal range, stop your vehicle as soon as
safely possible, switch off the engine and let
the engine cool.
WARNING LAMPS AND
INDICATORS
The following warning lamps and indicators
alert you to a vehicle condition that may
become serious. Some lamps illuminate
when you start your vehicle to make sure
they work. If any lamps remain on after
starting your vehicle, refer to the respective
system warning lamp for further information.
Note:
Some warning indicators appear in
the information display and function the
same as a warning lamp, but do not display
when you start your vehicle. Adaptive Cruise Control (If Equipped) The speed control system indicator
light changes color to indicate
what mode the system is in.
See
How Does Adaptive Cruise Control With
Stop and Go Work
(page 269).
On (white light): Illuminates when you switch
on the adaptive cruise control system. Turns
off when the speed control system is turned
off.
Engaged (green light): Illuminates when you
engage the adaptive cruise control system.
Turns off when you disengage the speed
control system.
Adaptive Steering
(If Equipped) The adaptive steering system
indicator illuminates if the system
detects a fault during the
continuous diagnostic checks. Adaptive Steering Initialization (yellow,
flashing): The adaptive steering system
detects a difference between steering wheel
angle and the desired road wheel angle. The
steering wheel adjusts itself to correct this
difference. This adjustment is part of normal
system operation.
Adaptive Steering Off (yellow, solid): The
adaptive steering system is off. It is possible
that the steering wheel may not be straight
when you drive straight ahead. If this
message persists, see an authorized dealer.
Adaptive Steering Loss (red, solid): The
adaptive steering system integrity cannot be
verified. Do not drive the vehicle and contact
an authorized dealer immediately.
See
Steering (page 299).
Anti-Lock Braking System If it illuminates when you are
driving, this indicates a system
error. You continue to have the
normal braking (without ABS) unless the
brake system warning lamp also illuminates.
Have the system checked by an authorized
dealer.
125
Aviator (CTV) Canada/United States of America, enUSA, Edition date: 201902, Third-Printing- Instrument ClusterE144524 E223375
Page 133 of 609
GENERAL INFORMATION
WARNING: Driving while distracted
can result in loss of vehicle control, crash
and injury. We strongly recommend that
you use extreme caution when using any
device that may take your focus off the
road. Your primary responsibility is the safe
operation of your vehicle. We recommend
against the use of any hand-held device
while driving and encourage the use of
voice-operated systems when possible.
Make sure you are aware of all applicable
local laws that may affect the use of
electronic devices while driving.
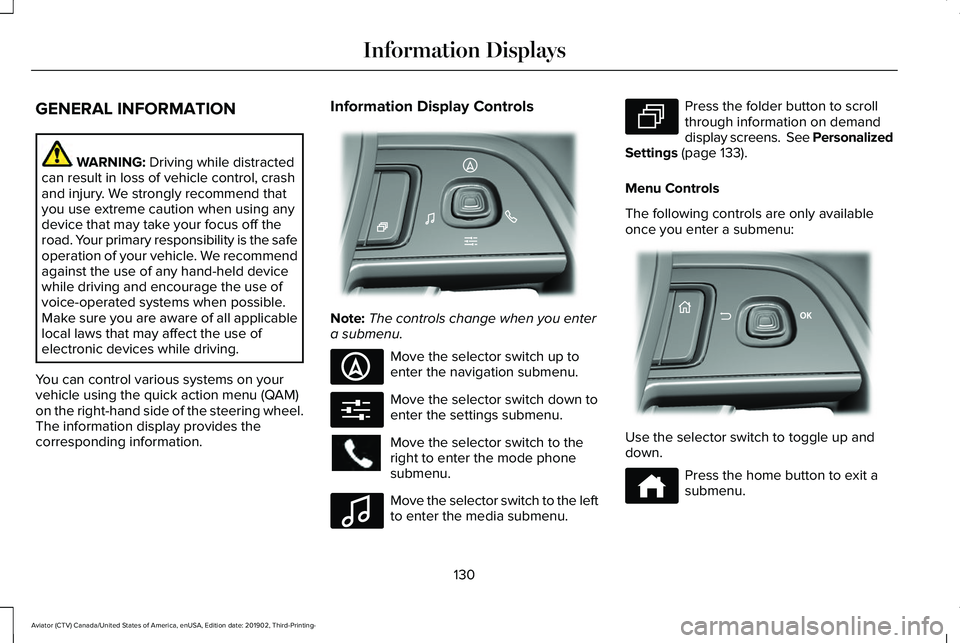
You can control various systems on your
vehicle using the quick action menu (QAM)
on the right-hand side of the steering wheel.
The information display provides the
corresponding information. Information Display Controls
Note:
The controls change when you enter
a submenu. Move the selector switch up to
enter the navigation submenu.
Move the selector switch down to
enter the settings submenu.
Move the selector switch to the
right to enter the mode phone
submenu.
Move the selector switch to the left
to enter the media submenu. Press the folder button to scroll
through information on demand
display screens. See Personalized
Settings (page 133).
Menu Controls
The following controls are only available
once you enter a submenu: Use the selector switch to toggle up and
down.
Press the home button to exit a
submenu.
130
Aviator (CTV) Canada/United States of America, enUSA, Edition date: 201902, Third-Printing- Information DisplaysE281220 E281481 E280315 E100027 E281483 E299701 E272621
Page 134 of 609
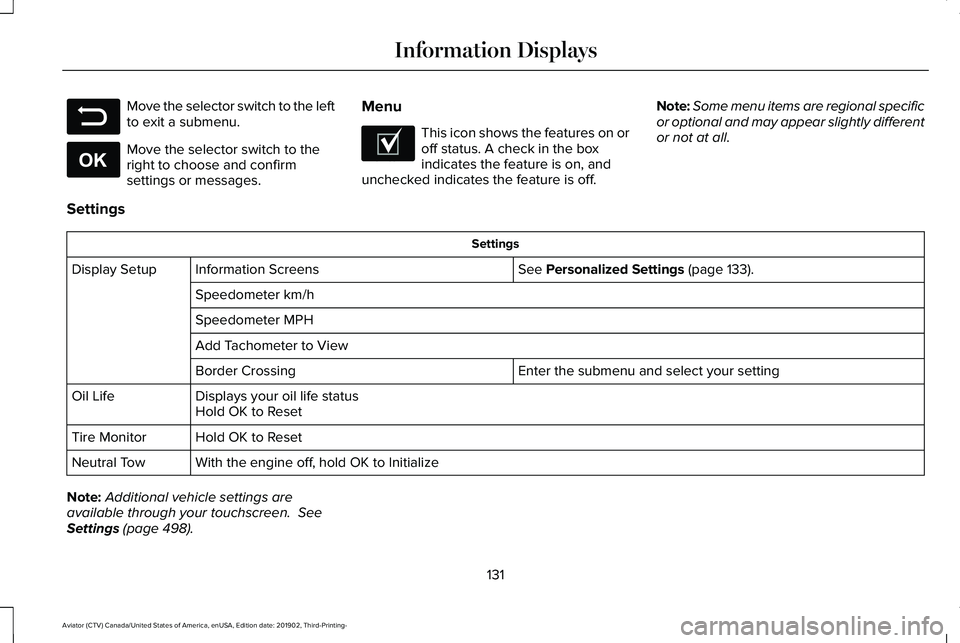
Move the selector switch to the left
to exit a submenu.
Move the selector switch to the
right to choose and confirm
settings or messages.
Menu This icon shows the features on or
off status. A check in the box
indicates the feature is on, and
unchecked indicates the feature is off. Note:
Some menu items are regional specific
or optional and may appear slightly different
or not at all.
Settings Settings
See Personalized Settings (page 133).
Information Screens
Display Setup
Speedometer km/h
Speedometer MPH
Add Tachometer to View Enter the submenu and select your setting
Border Crossing
Displays your oil life status
Oil Life
Hold OK to Reset
Hold OK to Reset
Tire Monitor
With the engine off, hold OK to Initialize
Neutral Tow
Note: Additional vehicle settings are
available through your touchscreen.
See
Settings (page 498).
131
Aviator (CTV) Canada/United States of America, enUSA, Edition date: 201902, Third-Printing- Information DisplaysE281480 E265041 E204495
Page 135 of 609
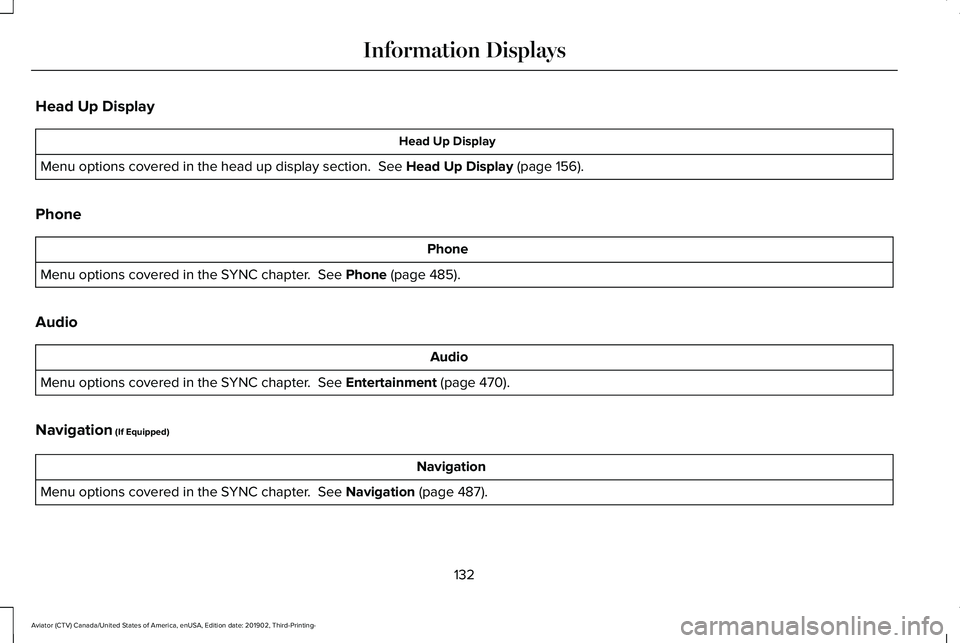
Head Up Display
Head Up Display
Menu options covered in the head up display section. See Head Up Display (page 156).
Phone Phone
Menu options covered in the SYNC chapter.
See Phone (page 485).
Audio Audio
Menu options covered in the SYNC chapter.
See Entertainment (page 470).
Navigation
(If Equipped) Navigation
Menu options covered in the SYNC chapter.
See Navigation (page 487).
132
Aviator (CTV) Canada/United States of America, enUSA, Edition date: 201902, Third-Printing- Information Displays
Page 136 of 609
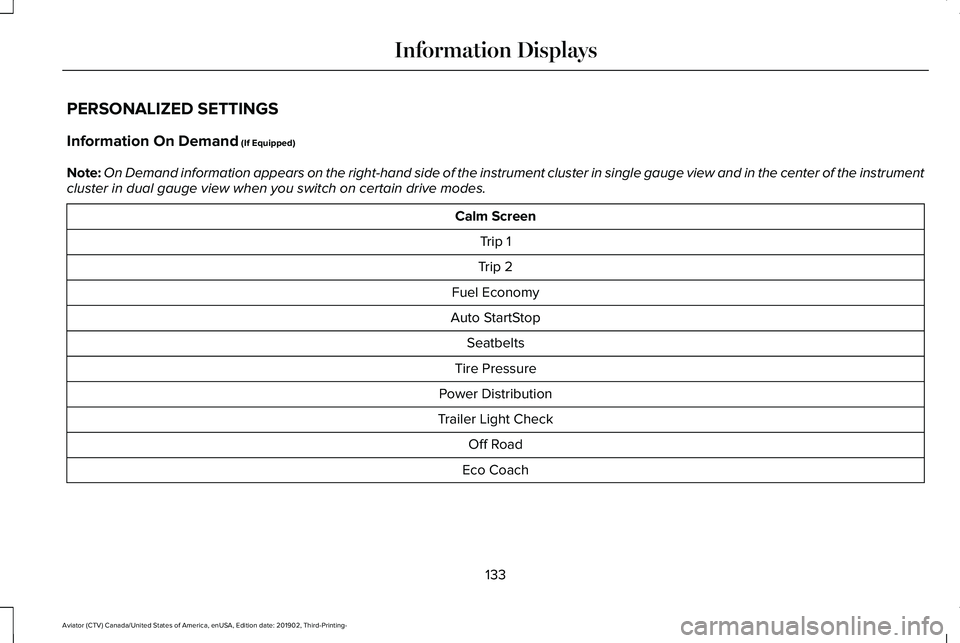
PERSONALIZED SETTINGS
Information On Demand (If Equipped)
Note: On Demand information appears on the right-hand side of the instrument c\
luster in single gauge view and in the center of the instrument
cluster in dual gauge view when you switch on certain drive modes. Calm Screen
Trip 1
Trip 2
Fuel Economy
Auto StartStop Seatbelts
Tire Pressure
Power Distribution
Trailer Light Check Off Road
Eco Coach
133
Aviator (CTV) Canada/United States of America, enUSA, Edition date: 201902, Third-Printing- Information Displays