key LINCOLN CONTINENTAL 1998 Owner's Manual
[x] Cancel search | Manufacturer: LINCOLN, Model Year: 1998, Model line: CONTINENTAL, Model: LINCOLN CONTINENTAL 1998Pages: 176, PDF Size: 1.32 MB
Page 99 of 176

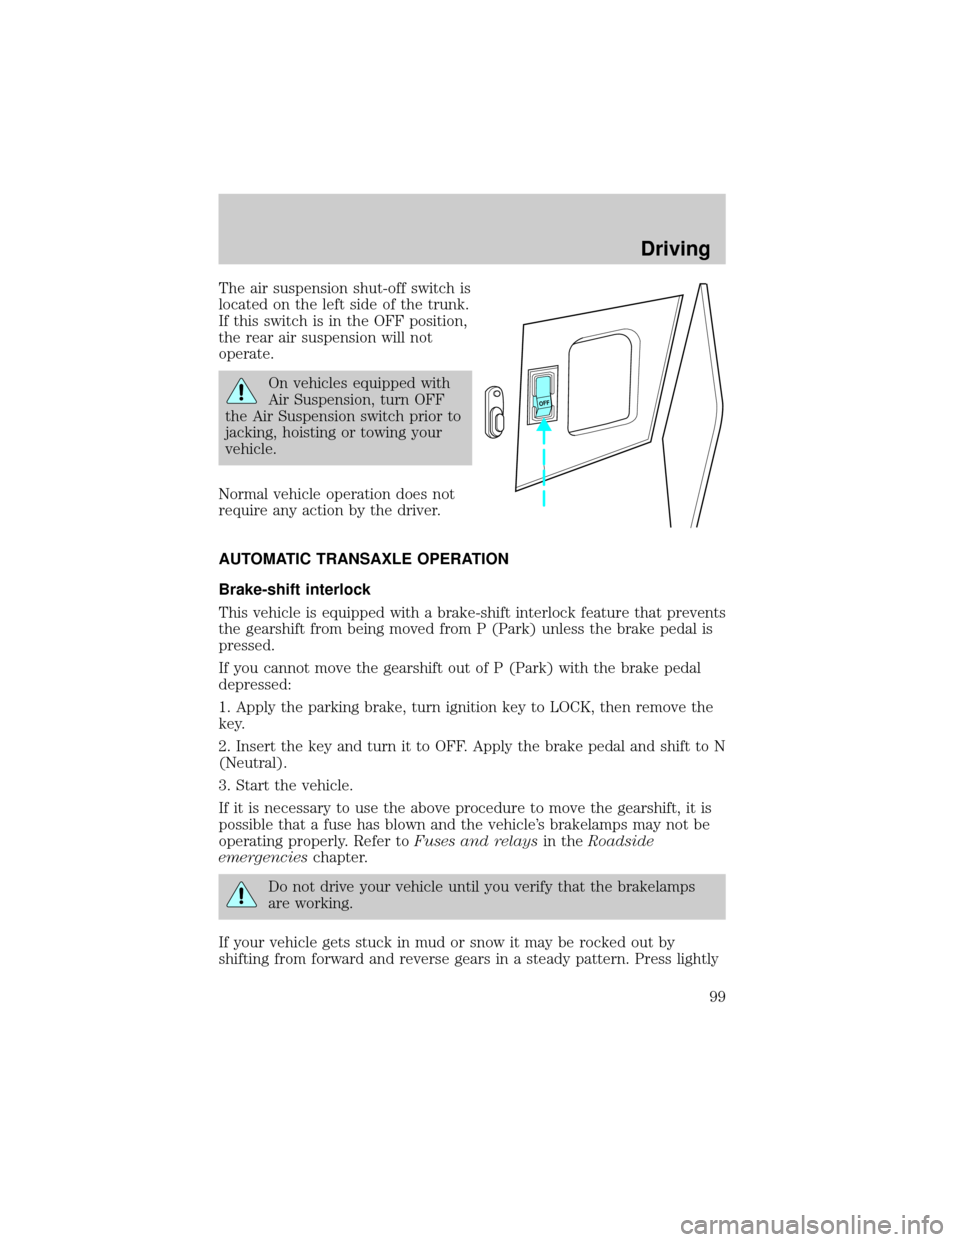
The air suspension shut-off switch is
located on the left side of the trunk.
If this switch is in the OFF position,
the rear air suspension will not
operate.
On vehicles equipped with
Air Suspension, turn OFF
the Air Suspension switch prior to
jacking, hoisting or towing your
vehicle.
Normal vehicle operation does not
require any action by the driver.
AUTOMATIC TRANSAXLE OPERATION
Brake-shift interlock
This vehicle is equipped with a brake-shift interlock feature that prevents
the gearshift from being moved from P (Park) unless the brake pedal is
pressed.
If you cannot move the gearshift out of P (Park) with the brake pedal
depressed:
1. Apply the parking brake, turn ignition key to LOCK, then remove the
key.
2. Insert the key and turn it to OFF. Apply the brake pedal and shift to N
(Neutral).
3. Start the vehicle.
If it is necessary to use the above procedure to move the gearshift, it is
possible that a fuse has blown and the vehicle's brakelamps may not be
operating properly. Refer toFuses and relaysin theRoadside
emergencieschapter.
Do not drive your vehicle until you verify that the brakelamps
are working.
If your vehicle gets stuck in mud or snow it may be rocked out by
shifting from forward and reverse gears in a steady pattern. Press lightly
OFF
Driving
99
Page 109 of 176

HAZARD FLASHER
For information on the hazard flasher control, refer toHazard lights
controlin theRoadside emergencieschapter.
FUEL PUMP SHUT-OFF SWITCH
If the engine cranks but does not start after a collision, the fuel pump
shut-off switch may have been activated. The shut-off switch is a device
intended to stop the electric fuel pump when your vehicle has been
involved in a substantial jolt.
1. Turn the ignition to the OFF position.
2. Check the fuel system for leaks.
3. If no fuel leak is apparent, reset the fuel pump shut-off switch by
pushing in the button on the switch.
4. Turn the ignition to the ON position. Pause for a few seconds and
return the key to the OFF position.
5. Make a further check for leaks in the fuel system.
The fuel pump shut-off switch is
located behind an access door to the
left of the driver's seat on the
B-pillar.
FUSES AND RELAYS
Fuses
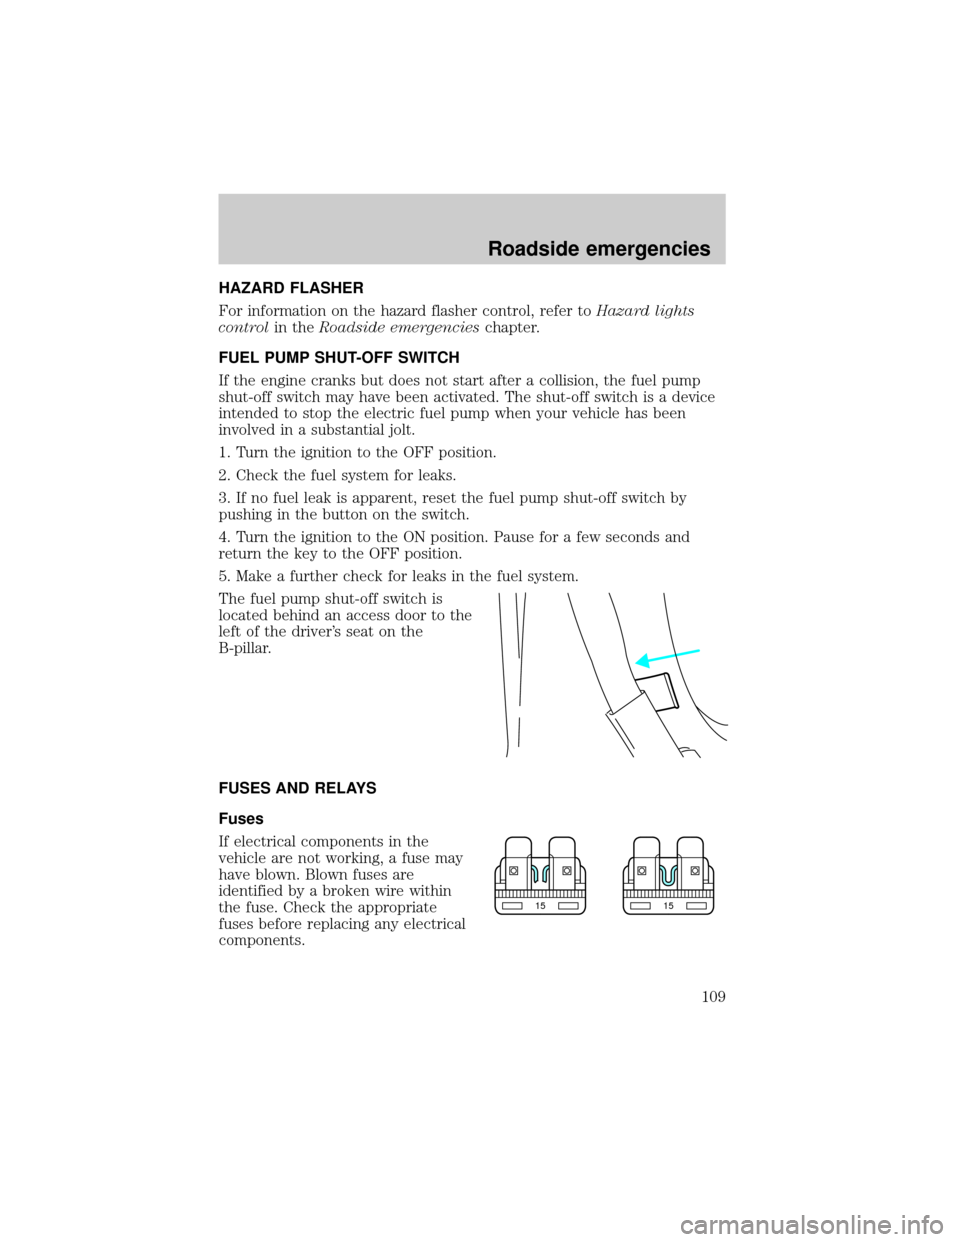
If electrical components in the
vehicle are not working, a fuse may
have blown. Blown fuses are
identified by a broken wire within
the fuse. Check the appropriate
fuses before replacing any electrical
components.
1515
Roadside emergencies
109
Page 116 of 176

Fuse/Relay Location Fuse Amp Rating Description
34 15A Console Shift
Illumination, A/C
Clutch Cycling
Pressure Switch, A/C
Clutch Relay (DTR)
Sensor, Intake
Manifold Runner
Control, Backup
Lamps
35 - NOT USED
36 - NOT USED
37 30A Subwoofer Amplifier,
Radio
38 10A Analog Clock, CD
Player, Mobile
Telephone Transceiver,
RESCU
39 10A Power Door Locks,
Power Seats, Power
Mirrors, Keyless Entry,
LF Seat Module, LF
Door Module
40 10A Cornering Lamps
41 20A Door Locks
Roadside emergencies
116
Page 121 of 176

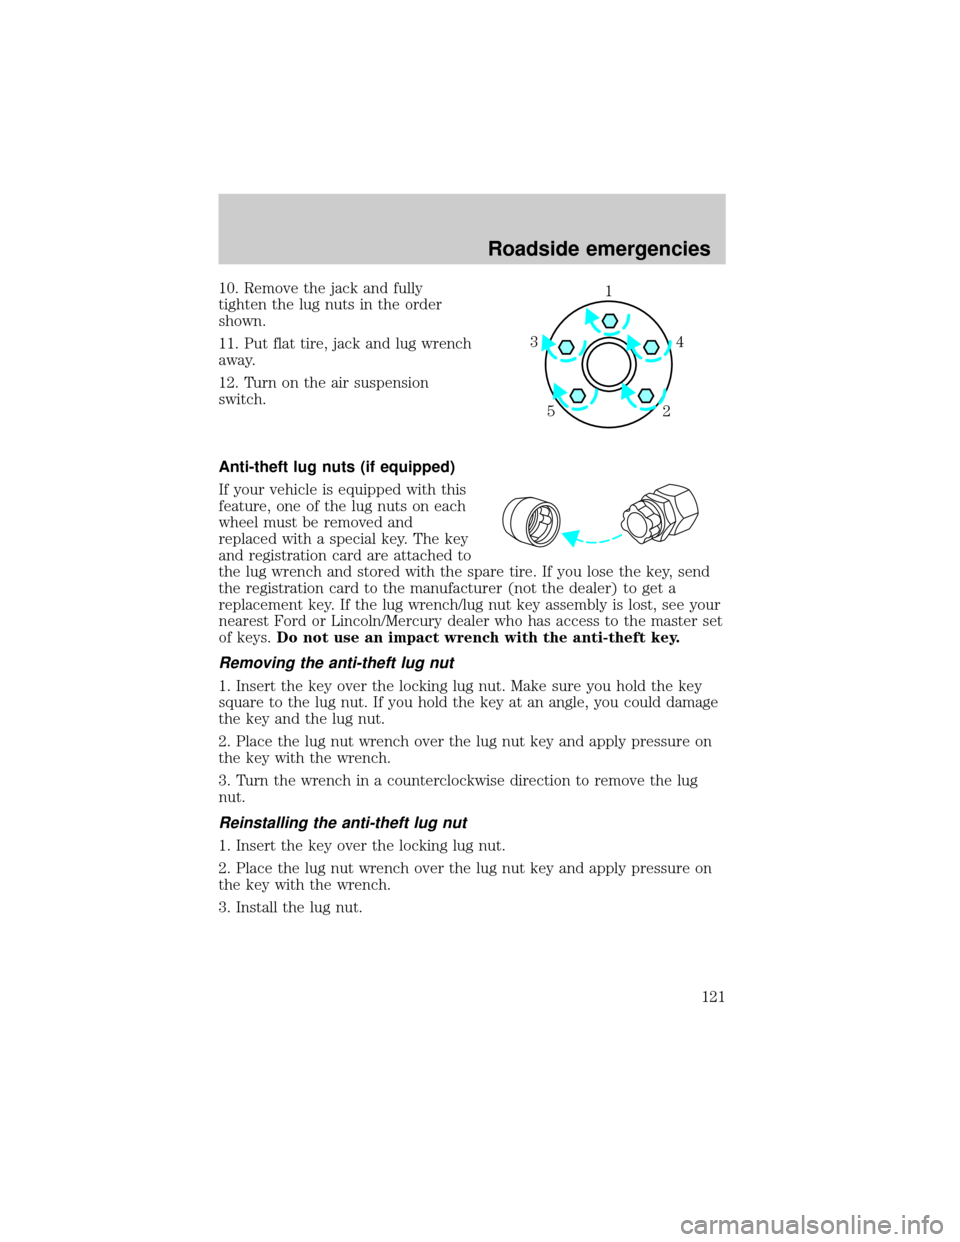
10. Remove the jack and fully
tighten the lug nuts in the order
shown.
11. Put flat tire, jack and lug wrench
away.
12. Turn on the air suspension
switch.
Anti-theft lug nuts (if equipped)
If your vehicle is equipped with this
feature, one of the lug nuts on each
wheel must be removed and
replaced with a special key. The key
and registration card are attached to
the lug wrench and stored with the spare tire. If you lose the key, send
the registration card to the manufacturer (not the dealer) to get a
replacement key. If the lug wrench/lug nut key assembly is lost, see your
nearest Ford or Lincoln/Mercury dealer who has access to the master set
of keys.Do not use an impact wrench with the anti-theft key.
Removing the anti-theft lug nut
1. Insert the key over the locking lug nut. Make sure you hold the key
square to the lug nut. If you hold the key at an angle, you could damage
the key and the lug nut.
2. Place the lug nut wrench over the lug nut key and apply pressure on
the key with the wrench.
3. Turn the wrench in a counterclockwise direction to remove the lug
nut.
Reinstalling the anti-theft lug nut
1. Insert the key over the locking lug nut.
2. Place the lug nut wrench over the lug nut key and apply pressure on
the key with the wrench.
3. Install the lug nut.
1
4 3
52
Roadside emergencies
121
Page 126 of 176

SERVICE RECOMMENDATIONS
To help you service your vehicle:
²We highlight do-it-yourself items in the engine compartment for easy
location.
²We provide a ªService Guideº which makes tracking routine service
easy.
If your vehicle requires professional service, your dealership can provide
necessary parts and service. Check your ªWarranty Guideº to find out
which parts and services are covered.
Use only recommended fuels, lubricants, fluids and service parts
conforming to specifications. Motorcraft parts are designed and built to
provide the best performance in your vehicle.
PRECAUTIONS WHEN SERVICING YOUR VEHICLE
Be especially careful when inspecting or servicing your vehicle.
²Do not work on a hot engine.
²When the engine is running, avoid wearing loose clothing, jewelry or
long hair that could get caught up in moving parts.
²Do not work on a vehicle with the engine running in an enclosed
space, unless you are sure you have enough ventilation.
²Keep all lit cigarettes, open flames and other lit material away from
the battery and all fuel related parts.
If you disconnect the battery, the engine must ªrelearnº its idle
conditions before your vehicle will drive properly, as explained in
theBatterysection in this chapter.
Working with the engine off
1. Set the parking brake, and ensure the gearshift is securely latched in
park.
2. Turn off the engine and remove the key.
3. Block the wheels to prevent the vehicle from moving unexpectedly.
Working with the engine on
1. Set the parking brake and
ensure the gearshift is securely latched in P (Park).
2. Block the wheels to prevent the vehicle from moving unexpectedly.
Maintenance and care
126
Page 138 of 176

CABIN AIR FILTER
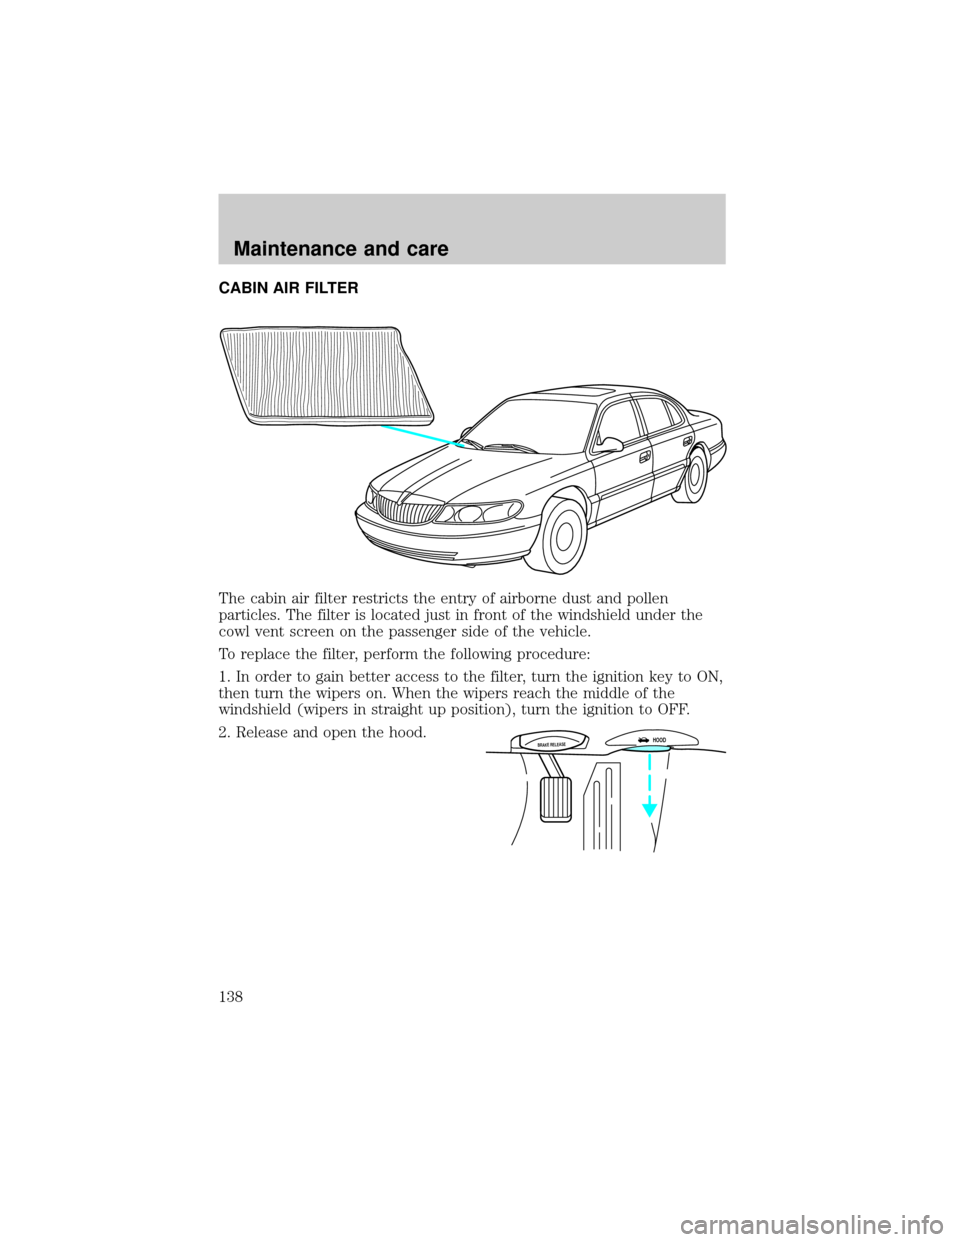
The cabin air filter restricts the entry of airborne dust and pollen
particles. The filter is located just in front of the windshield under the
cowl vent screen on the passenger side of the vehicle.
To replace the filter, perform the following procedure:
1. In order to gain better access to the filter, turn the ignition key to ON,
then turn the wipers on. When the wipers reach the middle of the
windshield (wipers in straight up position), turn the ignition to OFF.
2. Release and open the hood.
BRAKE RELEASEHOOD
Maintenance and care
138
Page 168 of 176

high beam .................................26
Heating ........................................27
High beams
indicator light .............................8
Hood
release lever ............................127
Ignition
positions of the ignition ...........34
Jump-starting your vehicle .....122,
123
attaching cables ......................123
disconnecting cables ..............124
Keyless entry system
autolock .....................................70
keypad .......................................68
programming entry code ........68,
69,70
Keys
key in ignition chime .................9
Lamps
interior lamps ....................40,154
map lamps .................................40
Lights, warning and indicator
air bag ..........................................7
anti-lock brakes (ABS) ..............8
brake ............................................7
charging system ..........................8
oil pressure .................................9
safety belt ...................................7
service engine soon ....................6
turn signal indicator ...................8
Lubricant specifications ...........161
Message center ...........................12
date/economy button ...............15
menu button ..............16,17,18,19
reset button ..............................16
system check button ................13
warning messages .....................13
Mirrors
automatic dimming rearview
mirror ........................................57
cleaning ...................................159heated ........................................61
side view mirrors (power) .......60
Moon roof ....................................52
Odometer .....................................10
Panic alarm feature, remote
entry system ................................66
Parking brake ..............................96
Parts (see Motorcraft parts) ....160
Power door locks ........................58
Power steering
fluid, checking and adding ....134
Refill capacities for fluids ........160
Relays ........................................109
Remote entry system .................65
illuminated entry ......................67
locking/unlocking doors ...........65
replacement/additional
transmitters ...............................67
replacing the batteries .............66
Reporting safety defects ..........166
Safety restraints
automatic locking mode
(retractor) ............................75,76
extension assembly ..................78
for children ...............................83
lap and shoulder belts ........74,75
maintenance ..............................79
proper use .................................73
warning light and chime ..9,78,79
Safety seats for children
attaching with tether straps ....88
automatic locking mode
(retractor) .................................85
in rear seat ................................88
tether anchorage hardware .....88
Seats ............................................71
adjusting the seat, power ........71
head restraints ..........................71
heated seats ..............................73
lumbar support .........................73
Servicing your vehicle ..............126
precautions when servicing ...126
Index
168