Remove rear seat LINCOLN CONTINENTAL 2001 Owners Manual
[x] Cancel search | Manufacturer: LINCOLN, Model Year: 2001, Model line: CONTINENTAL, Model: LINCOLN CONTINENTAL 2001Pages: 224, PDF Size: 1.82 MB
Page 14 of 224
Never remove the coolant reservoir cap while the engine is
running or hot.
This gauge indicates the temperature of the engine coolant, not the
coolant level. If the coolant is not at its proper level the gauge indication
will not be accurate.
ELECTRONIC MESSAGE CENTER
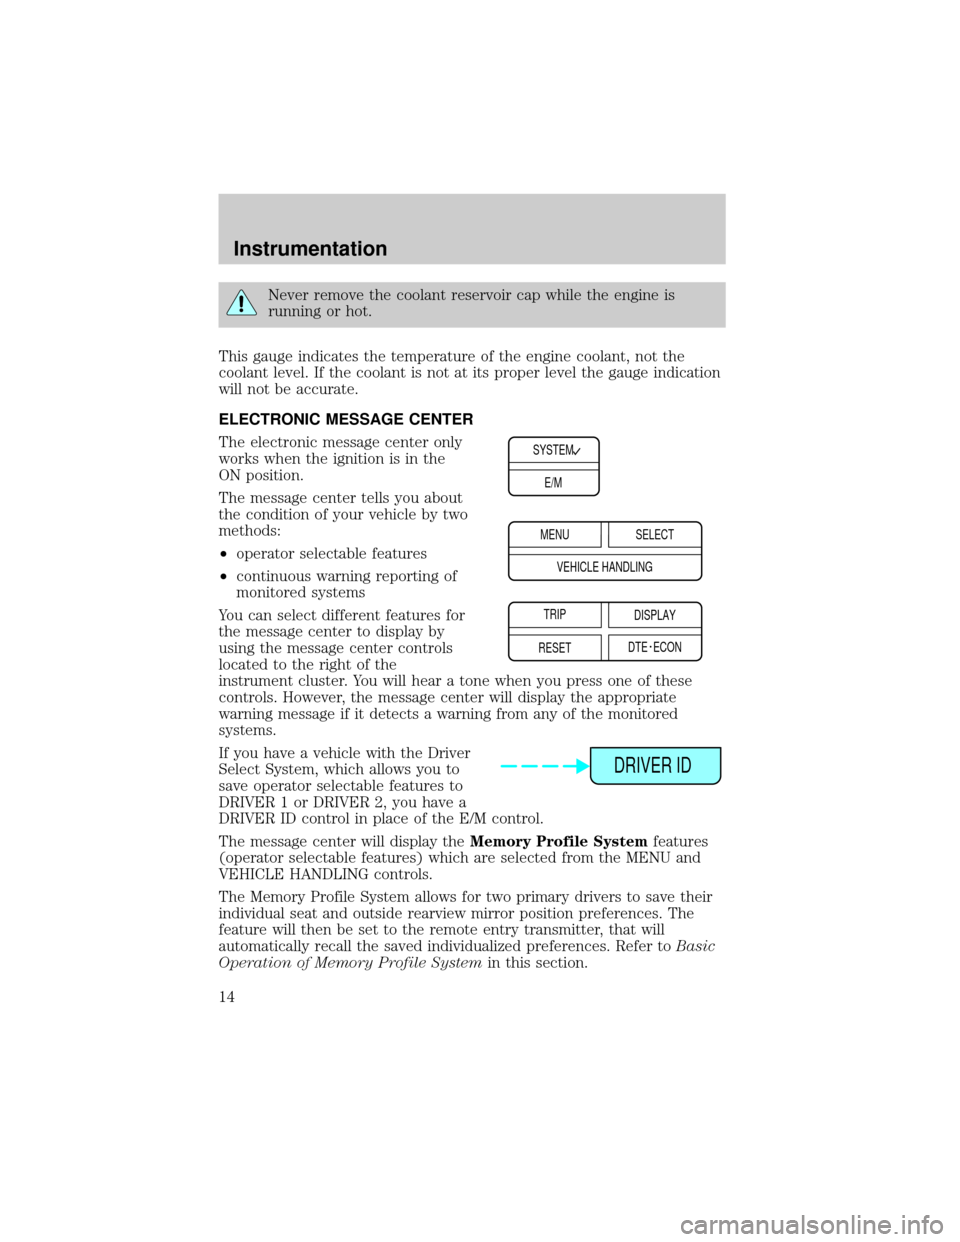
The electronic message center only
works when the ignition is in the
ON position.
The message center tells you about
the condition of your vehicle by two
methods:
²operator selectable features
²continuous warning reporting of
monitored systems
You can select different features for
the message center to display by
using the message center controls
located to the right of the
instrument cluster. You will hear a tone when you press one of these
controls. However, the message center will display the appropriate
warning message if it detects a warning from any of the monitored
systems.
If you have a vehicle with the Driver
Select System, which allows you to
save operator selectable features to
DRIVER 1 or DRIVER 2, you have a
DRIVER ID control in place of the E/M control.
The message center will display theMemory Profile Systemfeatures
(operator selectable features) which are selected from the MENU and
VEHICLE HANDLING controls.
The Memory Profile System allows for two primary drivers to save their
individual seat and outside rearview mirror position preferences. The
feature will then be set to the remote entry transmitter, that will
automatically recall the saved individualized preferences. Refer toBasic
Operation of Memory Profile Systemin this section.
SYSTEM
E/M
MENU
TRIP
RESETSELECT
DISPLAY
DTE ECON VEHICLE HANDLING
DRIVER ID
Instrumentation
14
Page 88 of 224
In a rollover crash, an unbelted person is significantly more likely
to die than a person wearing a safety belt.
Each seating position in your vehicle has a specific safety belt
assembly which is made up of one buckle and one tongue that
are designed to be used as a pair. 1) Use the shoulder belt on the
outside shoulder only. Never wear the shoulder belt under the arm.
2) Never swing the safety belt around your neck over the inside
shoulder. 3) Never use a single belt for more than one person.
Always transport children 12 years old and under in the back
seat and always properly use appropriate child restraints.
Combination lap and shoulder belts
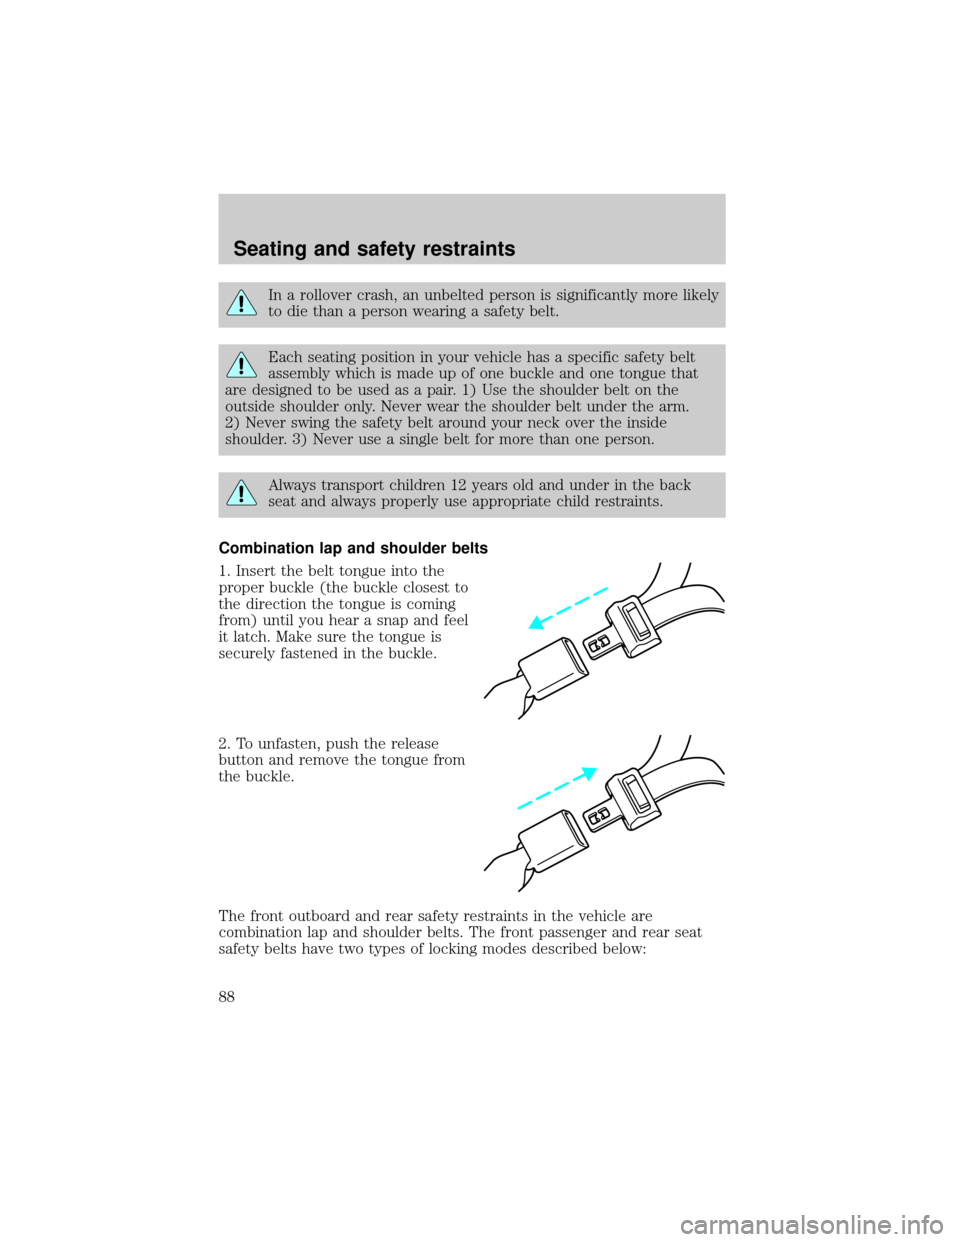
1. Insert the belt tongue into the
proper buckle (the buckle closest to
the direction the tongue is coming
from) until you hear a snap and feel
it latch. Make sure the tongue is
securely fastened in the buckle.
2. To unfasten, push the release
button and remove the tongue from
the buckle.
The front outboard and rear safety restraints in the vehicle are
combination lap and shoulder belts. The front passenger and rear seat
safety belts have two types of locking modes described below:
Seating and safety restraints
88
Page 89 of 224
Vehicle sensitive mode
The vehicle sensitive mode is the normal retractor mode, allowing free
shoulder belt length adjustment to your movements and locking in
response to vehicle movement. For example, if the driver brakes
suddenly or turns a corner sharply, or the vehicle receives an impact of
approximately 8 km/h (5 mph) or more, the combination safety belts will
lock to help reduce forward movement of the driver and passengers.
Automatic locking mode
In this mode, the shoulder belt is automatically pre-locked. The belt will
still retract to remove any slack in the shoulder belt.
The automatic locking mode is not available on the driver safety belt.
When to use the automatic locking mode
²Anytimea child safety seat is installed in the vehicle. Children 12
years old and under should be properly restrained in the rear seat
whenever possible. Refer toSafety Restraints for ChildrenorSafety
Seats for Childrenlater in this chapter.
How to use the automatic locking mode
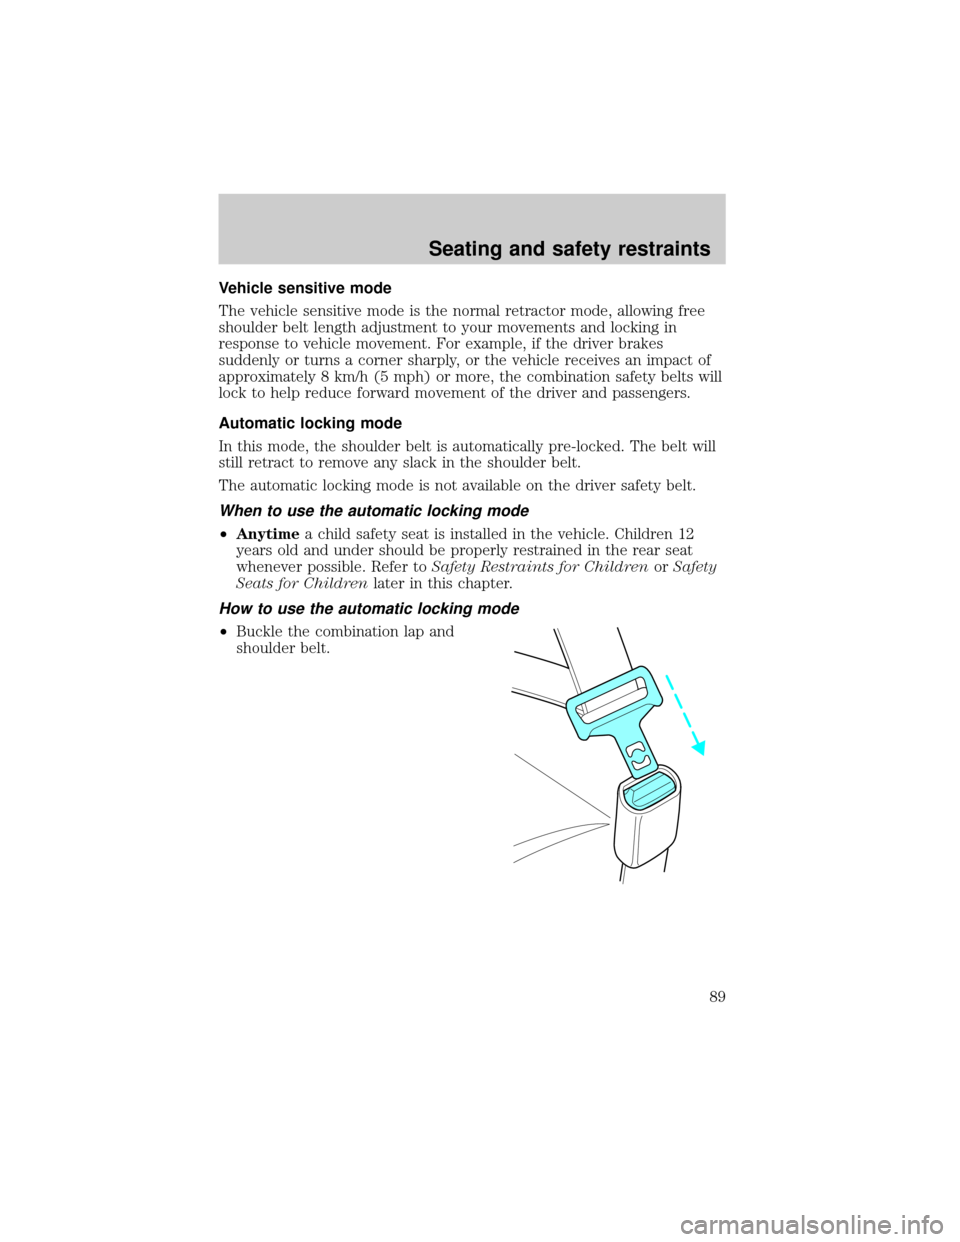
²Buckle the combination lap and
shoulder belt.
Seating and safety restraints
89
Page 109 of 224
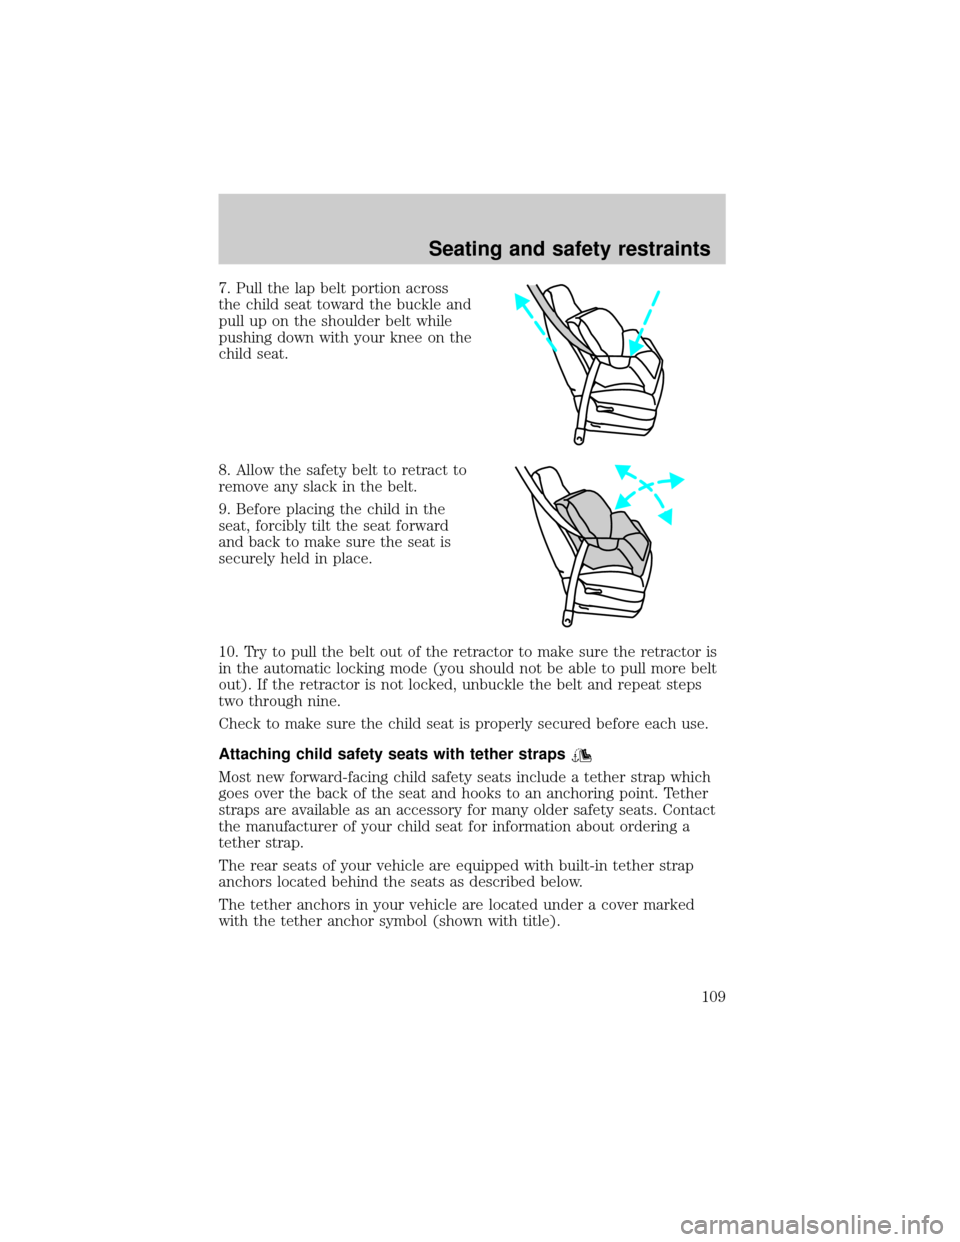
7. Pull the lap belt portion across
the child seat toward the buckle and
pull up on the shoulder belt while
pushing down with your knee on the
child seat.
8. Allow the safety belt to retract to
remove any slack in the belt.
9. Before placing the child in the
seat, forcibly tilt the seat forward
and back to make sure the seat is
securely held in place.
10. Try to pull the belt out of the retractor to make sure the retractor is
in the automatic locking mode (you should not be able to pull more belt
out). If the retractor is not locked, unbuckle the belt and repeat steps
two through nine.
Check to make sure the child seat is properly secured before each use.
Attaching child safety seats with tether straps
Most new forward-facing child safety seats include a tether strap which
goes over the back of the seat and hooks to an anchoring point. Tether
straps are available as an accessory for many older safety seats. Contact
the manufacturer of your child seat for information about ordering a
tether strap.
The rear seats of your vehicle are equipped with built-in tether strap
anchors located behind the seats as described below.
The tether anchors in your vehicle are located under a cover marked
with the tether anchor symbol (shown with title).
Seating and safety restraints
109
Page 188 of 224
To install the new bulb:
Handle a halogen headlamp bulb carefully and keep out of
children's reach. Grasp the bulb only by its plastic base and do
not touch the glass. The oil from your hand could cause the bulb to
break the next time the headlamps are operated.
1. Install the new bulb in lamp assembly by pushing straight in with the
bulb's plastic base facing upward. You may need to turn the bulb slightly
to align the grooves in the plastic base with the tabs in the lamp
assembly.
2. Install the bulb retaining ring over the plastic base and lock the ring
by rotating clockwise until it snaps into place.
3. Connect the electrical connector to the bulb.
4. Install the protective dust shield and lock the shield by rotating it
clockwise until it locks into position.
5. Carefully position the headlamp assembly onto the vehicle making sure
the alignment pins are inserted into the proper holes.
6. Hold the headlamp assembly snugly against the vehicle and push down
on the retainer pins to lock the lamp into place.
7. Before reinstalling the protective cover, make sure the cover tabs are
fully seated under the grille molding.
8. Turn the headlamps on and make sure they work properly. If the
headlamp was correctly aligned before you changed the bulb, you should
not need to align it again.
Replacing front parking lamp/turn signal/cornering lamp bulbs
1. Make sure the headlamp control is in the OFF position.
2. Open the hood and remove the protective cover from the top of the
headlamps by lifting up on the rear corners and release the velcro
attachments. Lift the cover and pull towards the windshield.
Maintenance and care
188