lock LINCOLN CONTINENTAL 2002 User Guide
[x] Cancel search | Manufacturer: LINCOLN, Model Year: 2002, Model line: CONTINENTAL, Model: LINCOLN CONTINENTAL 2002Pages: 240, PDF Size: 1.79 MB
Page 55 of 240
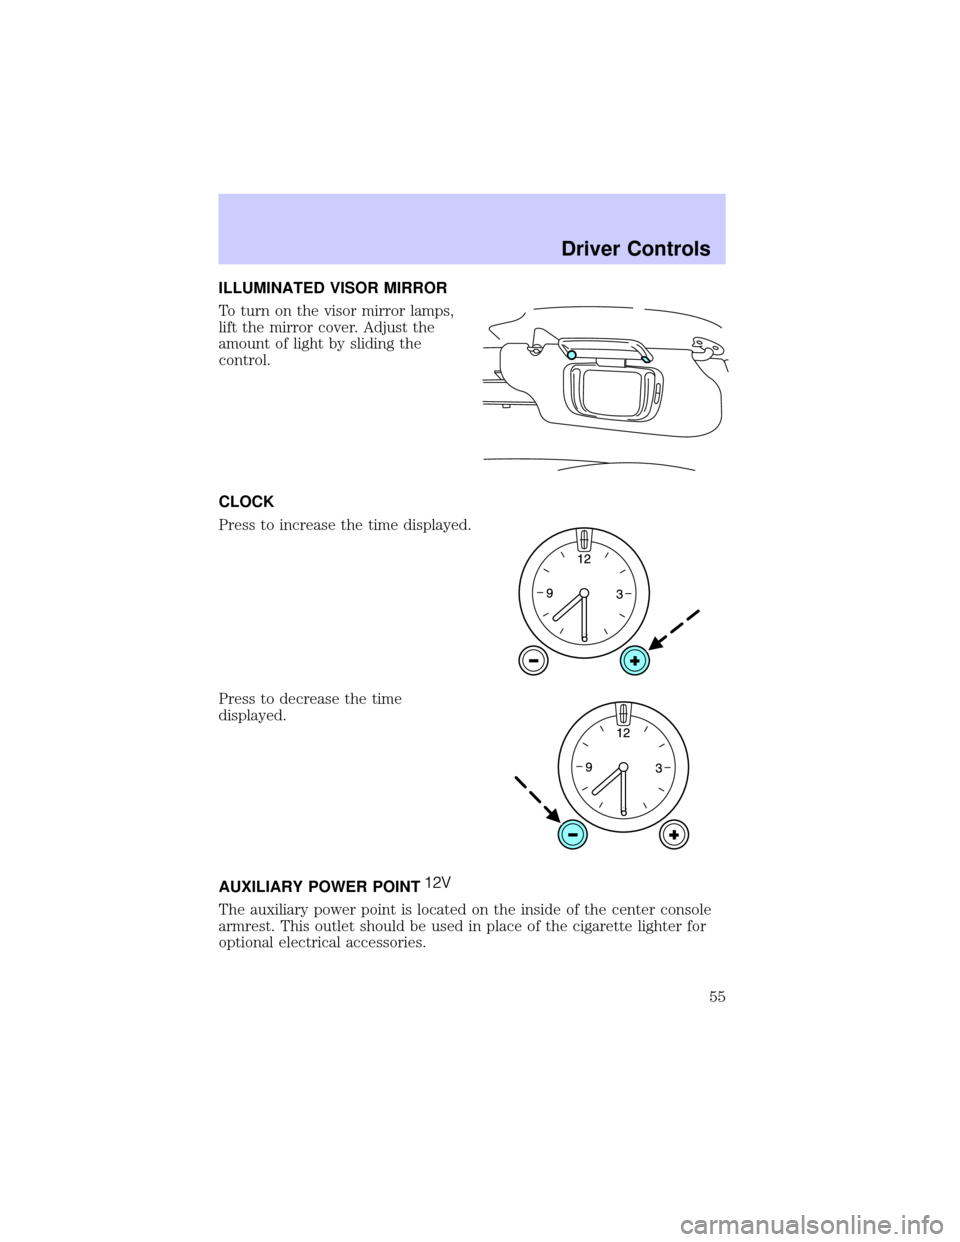
ILLUMINATED VISOR MIRROR
To turn on the visor mirror lamps,
lift the mirror cover. Adjust the
amount of light by sliding the
control.
CLOCK
Press to increase the time displayed.
Press to decrease the time
displayed.
AUXILIARY POWER POINT
The auxiliary power point is located on the inside of the center console
armrest. This outlet should be used in place of the cigarette lighter for
optional electrical accessories.
Driver Controls
55
Page 57 of 240

Use only soft cups in the cupholder. Hard objects can injure you
in a collision.
POSITIVE RETENTION FLOOR MAT
Position the floor mat so that the
eyelet is over the pointed end of the
retention post and rotate forward to
lock in. Make sure that the mat does
not interfere with the operation of
the accelerator or the brake pedal.
To remove the floor mat, reverse the
installation procedure.
POWER WINDOWS
Press and pull the rocker switches to open and close windows.
²Press the top portion of the
rocker switch to open.
²Pull the top portion of the rocker
switch to close.
WINDOW
LOCK
WINDOW
LOCK
Driver Controls
57
Page 58 of 240
Express down
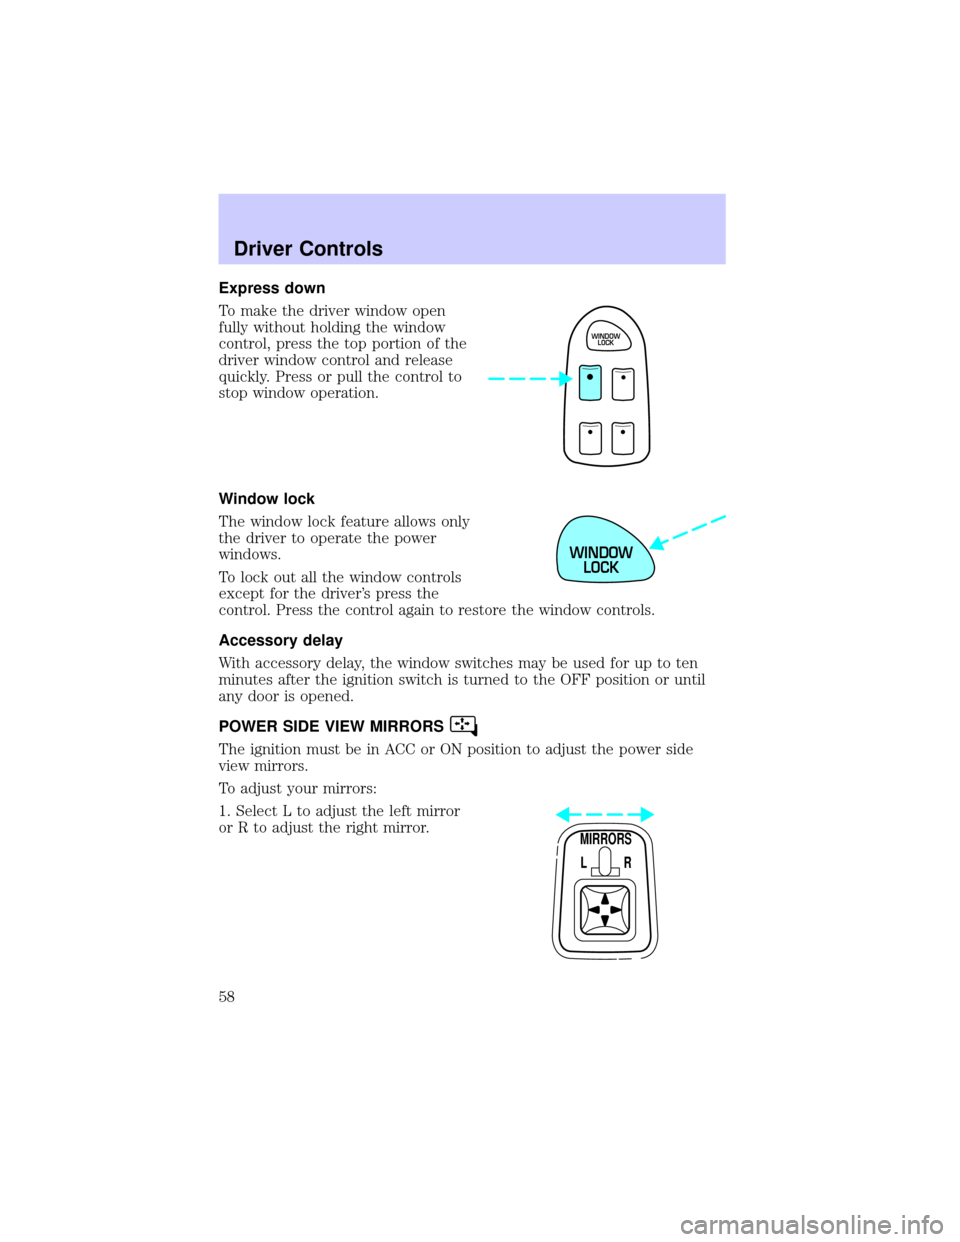
To make the driver window open
fully without holding the window
control, press the top portion of the
driver window control and release
quickly. Press or pull the control to
stop window operation.
Window lock
The window lock feature allows only
the driver to operate the power
windows.
To lock out all the window controls
except for the driver's press the
control. Press the control again to restore the window controls.
Accessory delay
With accessory delay, the window switches may be used for up to ten
minutes after the ignition switch is turned to the OFF position or until
any door is opened.
POWER SIDE VIEW MIRRORS
The ignition must be in ACC or ON position to adjust the power side
view mirrors.
To adjust your mirrors:
1. Select L to adjust the left mirror
or R to adjust the right mirror.
WINDOW
LOCK
WINDOW
LOCK
MIRRORS
L R
Driver Controls
58
Page 59 of 240

2. Move the control in the direction
you wish to tilt the mirror.
3. Return to the center position to lock mirrors in place.
Heated outside mirrors
Both mirrors are heated
automatically to remove ice, mist
and fog when the rear window
defrost is activated.
Do not remove ice from the mirrors
with a scraper or attempt to
readjust the mirror glass if it is
frozen in place. These actions could
cause damage to the glass and
mirrors.
Automatic dimming rear view mirror
Your vehicle is equipped with an inside rear view mirror and a driver's
outside mirror that has an auto-dimming function. The electronic
day/night mirrors will change from the normal state to the non-glare
state when bright lights (glare) reach the mirrors. When the inside rear
view mirror detects bright light from in front of or behind the vehicle,
the inside and driver side outside rear view mirrors will automatically
adjust (darken) to minimize glare.
MIRRORS
L R
Driver Controls
59
Page 68 of 240
MOON ROOF (IF EQUIPPED)
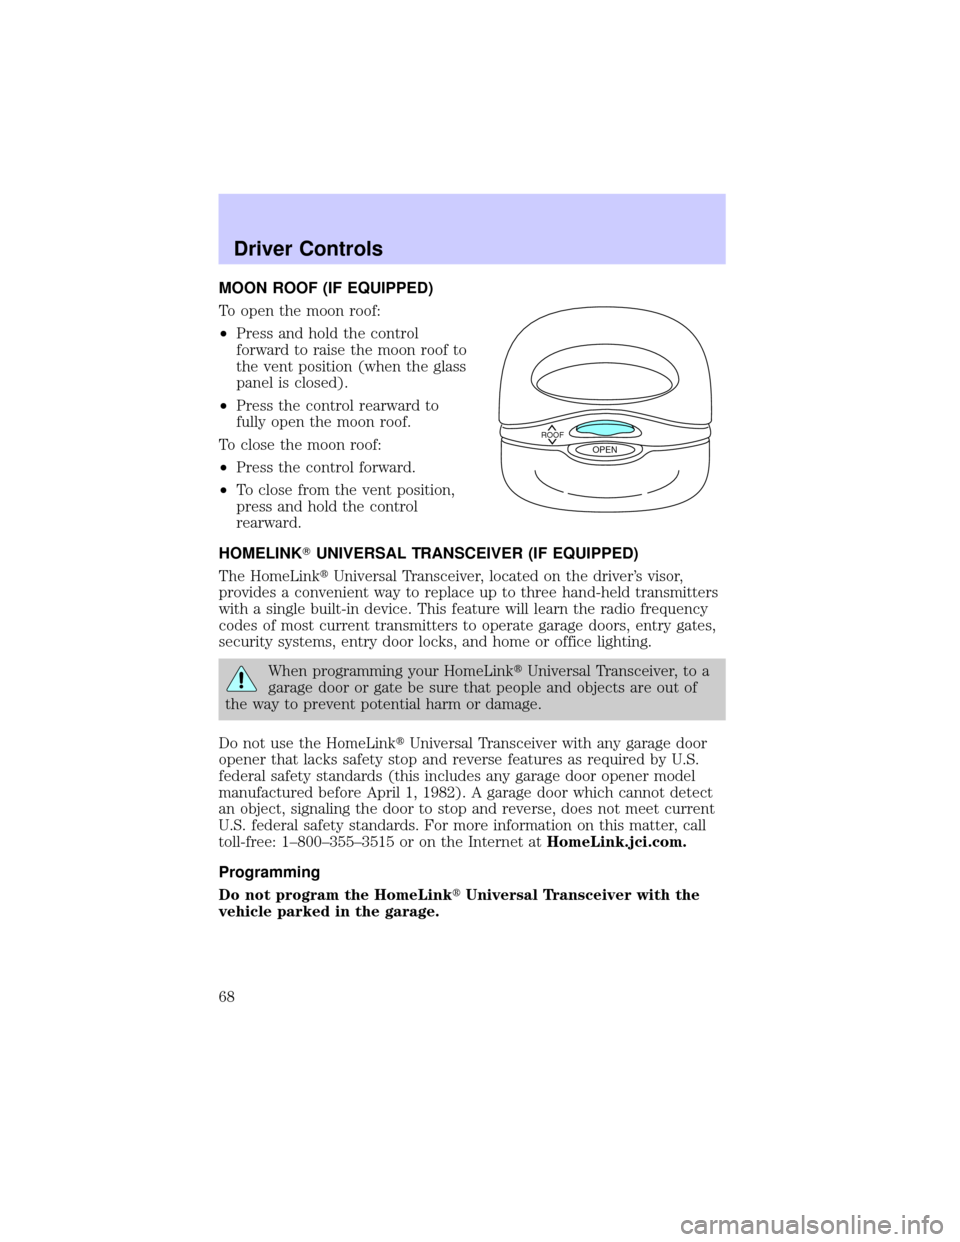
To open the moon roof:
²Press and hold the control
forward to raise the moon roof to
the vent position (when the glass
panel is closed).
²Press the control rearward to
fully open the moon roof.
To close the moon roof:
²Press the control forward.
²To close from the vent position,
press and hold the control
rearward.
HOMELINKTUNIVERSAL TRANSCEIVER (IF EQUIPPED)
The HomeLinktUniversal Transceiver, located on the driver's visor,
provides a convenient way to replace up to three hand-held transmitters
with a single built-in device. This feature will learn the radio frequency
codes of most current transmitters to operate garage doors, entry gates,
security systems, entry door locks, and home or office lighting.
When programming your HomeLinktUniversal Transceiver, to a
garage door or gate be sure that people and objects are out of
the way to prevent potential harm or damage.
Do not use the HomeLinktUniversal Transceiver with any garage door
opener that lacks safety stop and reverse features as required by U.S.
federal safety standards (this includes any garage door opener model
manufactured before April 1, 1982). A garage door which cannot detect
an object, signaling the door to stop and reverse, does not meet current
U.S. federal safety standards. For more information on this matter, call
toll-free: 1±800±355±3515 or on the Internet atHomeLink.jci.com.
Programming
Do not program the HomeLinktUniversal Transceiver with the
vehicle parked in the garage.
ROOFOPEN
Driver Controls
68
Page 77 of 240
The message center will display theMemory Profile Systemfeatures
(operator selectable features) which are selected from the MENU and
VEHICLE HANDLING controls.
The Memory Profile System allows for two primary drivers to save their
individual seat and outside rearview mirror position preferences. The
feature will then be set to the remote entry transmitter, that will
automatically recall the saved individualized preferences. Refer toBasic
Operation of Memory Profile Systemin this section.
Basic operation of Memory Profile System
In order for the system to be able to store or recall an individual's seat
and mirror position preferences, the Memory Profile must first recognize
who will be driving the vehicle. Drivers may identify themselves to the
system one of two ways:
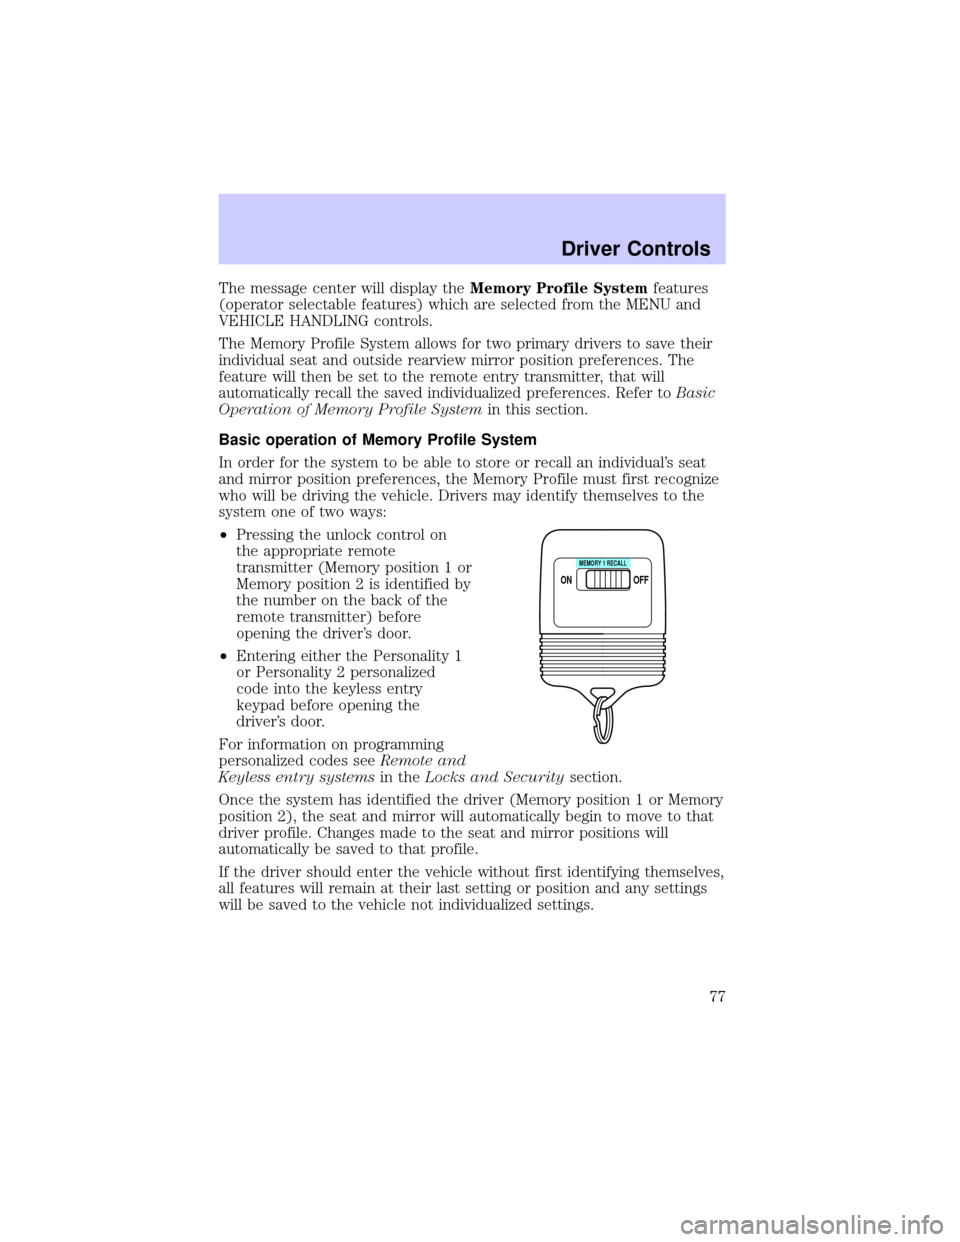
²Pressing the unlock control on
the appropriate remote
transmitter (Memory position 1 or
Memory position 2 is identified by
the number on the back of the
remote transmitter) before
opening the driver's door.
²Entering either the Personality 1
or Personality 2 personalized
code into the keyless entry
keypad before opening the
driver's door.
For information on programming
personalized codes seeRemote and
Keyless entry systemsin theLocks and Securitysection.
Once the system has identified the driver (Memory position 1 or Memory
position 2), the seat and mirror will automatically begin to move to that
driver profile. Changes made to the seat and mirror positions will
automatically be saved to that profile.
If the driver should enter the vehicle without first identifying themselves,
all features will remain at their last setting or position and any settings
will be saved to the vehicle not individualized settings.
ON
MEMORY 1 RECALL
OFF
Driver Controls
77
Page 78 of 240
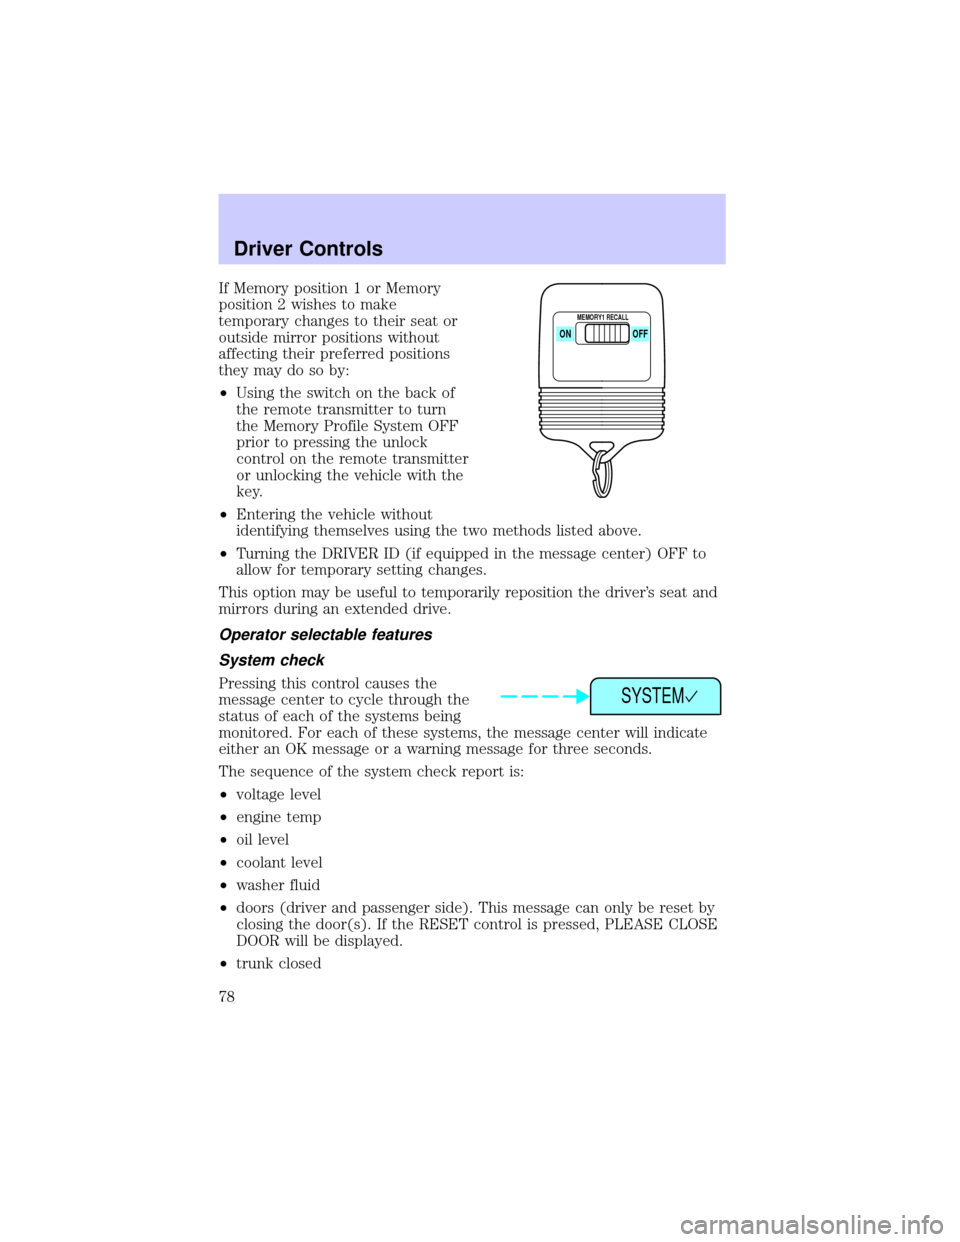
If Memory position 1 or Memory
position 2 wishes to make
temporary changes to their seat or
outside mirror positions without
affecting their preferred positions
they may do so by:
²Using the switch on the back of
the remote transmitter to turn
the Memory Profile System OFF
prior to pressing the unlock
control on the remote transmitter
or unlocking the vehicle with the
key.
²Entering the vehicle without
identifying themselves using the two methods listed above.
²Turning the DRIVER ID (if equipped in the message center) OFF to
allow for temporary setting changes.
This option may be useful to temporarily reposition the driver's seat and
mirrors during an extended drive.
Operator selectable features
System check
Pressing this control causes the
message center to cycle through the
status of each of the systems being
monitored. For each of these systems, the message center will indicate
either an OK message or a warning message for three seconds.
The sequence of the system check report is:
²voltage level
²engine temp
²oil level
²coolant level
²washer fluid
²doors (driver and passenger side). This message can only be reset by
closing the door(s). If the RESET control is pressed, PLEASE CLOSE
DOOR will be displayed.
²trunk closed
ON
MEMORY1 RECALL
OFF
SYSTEM
Driver Controls
78
Page 83 of 240
DRIVER ID (if equipped)
Press this control and use SELECT
to choose DRIVER 1 or DRIVER 2
when choosing operator selectable
features. Seat and mirror positions
and nine operator selectable features, found under the MENU and
VEHICLE HANDLING controls, will be saved to DRIVER 1 or DRIVER 2.
These will be automatically recalled when the drivers identify themselves
to the system with the remote entry transmitter (refer toBasic
Operation of Memory Profile Systemin this section) or selecting
DRIVER 1 or DRIVER 2 in the message center. When a vehicle setting is
changed, the message center will display ªSAVED TO DRIVER 1 or
DRIVER 2º for 5 seconds to confirm the change has been made. Press
the SELECT to choose ªOFFº for temporary position/setting changes
which will not be stored.
MENU
Press this control to change various
convenience settings throughout the
vehicle. Each press of the MENU
control will display the following:
²Traction control (returns to ªONº everytime vehicle is started).
²Express window (completely goes down with one touch on the power
switch).
²Auto lock (locks the doors when the vehicle reaches 5 km/h [3 mph]).
²Horn chirp (sounds horn one time whenever the doors are locked
using the remote transmitter).
²Seat access (moves seat back to aid entry/exit from the vehicle).
²Reverse mirrors (tilts the exterior mirrors downward to assist parking
using reverse).
²English/metric (changes the odometer and display readouts)
Press the SELECT control to change the settings to ON or OFF.
These settings will be saved to the vehicle not individualized settings.
Vehicles equipped with the DRIVER ID control, the settings will be saved
to DRIVER 1 or DRIVER 2.
DRIVER ID
MENU
Driver Controls
83
Page 87 of 240
KEYS
The vehicle is equipped with a master key and valet key lock system.
The master key will access doors, trunk, glove box, ignition and remote
trunk release. The valet key (marked ªvaletº) will access doors and
ignition only. Before using this key, lock the trunk remote control to
disable theTrunk remote controlon the drivers door, then lock the
glove compartment with your master key.
Refer to theSecurilockyPassive Anti-Theft Systemsection in the
Locks and securitychapter for information on Securilockykeys.
POWER DOOR LOCKS
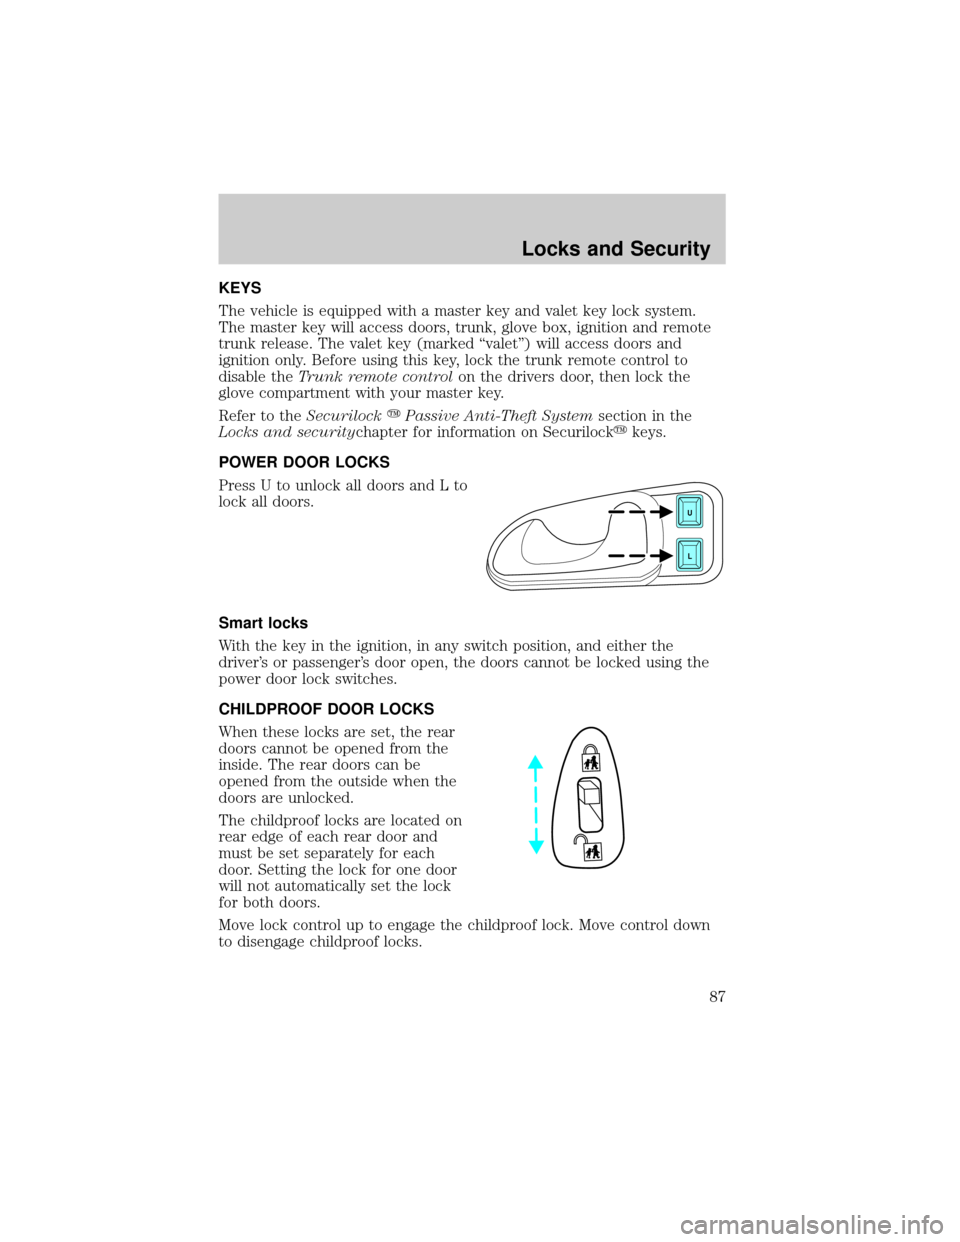
Press U to unlock all doors and L to
lock all doors.
Smart locks
With the key in the ignition, in any switch position, and either the
driver's or passenger's door open, the doors cannot be locked using the
power door lock switches.
CHILDPROOF DOOR LOCKS
When these locks are set, the rear
doors cannot be opened from the
inside. The rear doors can be
opened from the outside when the
doors are unlocked.
The childproof locks are located on
rear edge of each rear door and
must be set separately for each
door. Setting the lock for one door
will not automatically set the lock
for both doors.
Move lock control up to engage the childproof lock. Move control down
to disengage childproof locks.
U
L
Locks and Security
87
Page 88 of 240
TRUNK REMOTE CONTROL
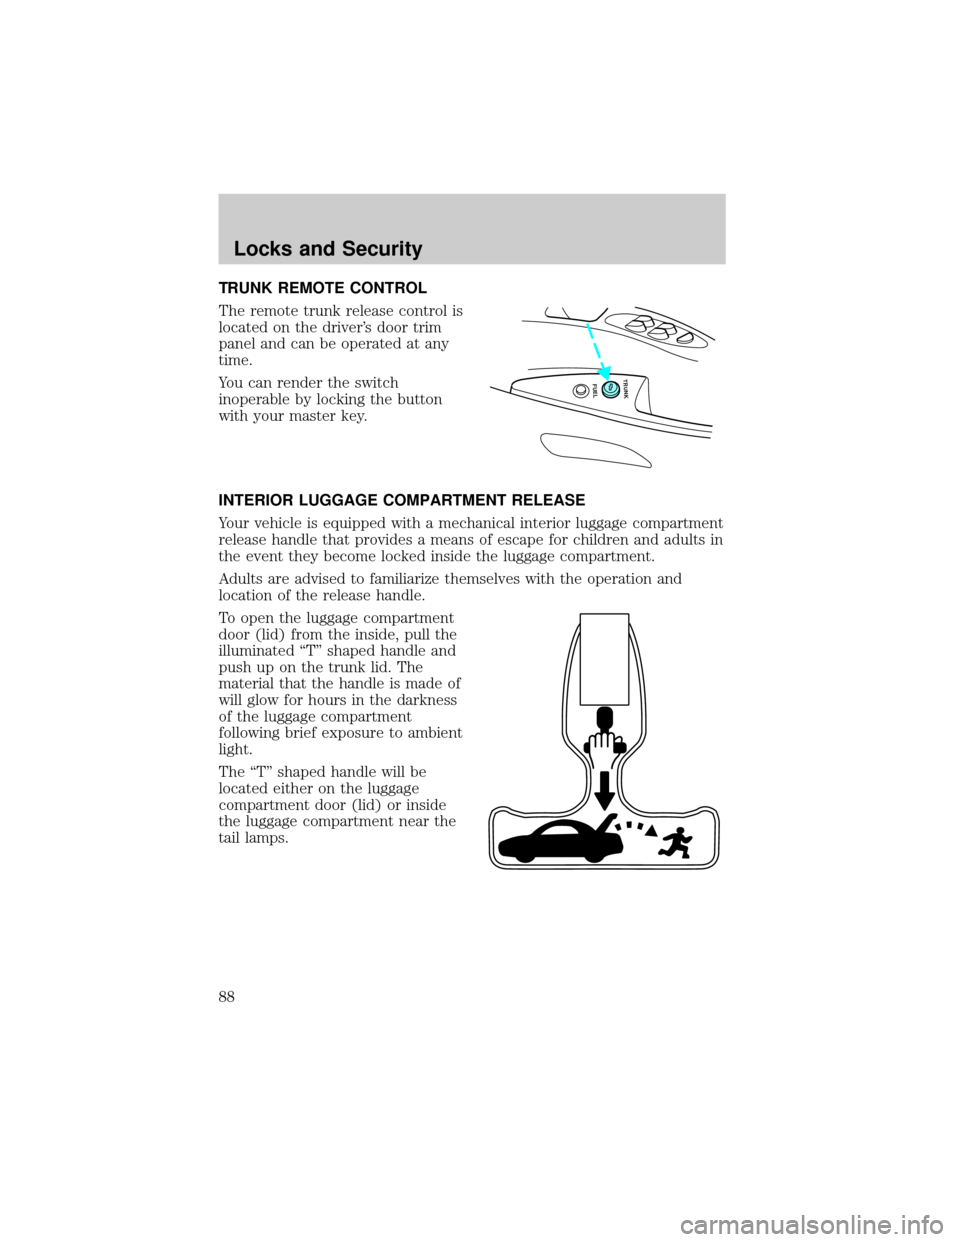
The remote trunk release control is
located on the driver's door trim
panel and can be operated at any
time.
You can render the switch
inoperable by locking the button
with your master key.
INTERIOR LUGGAGE COMPARTMENT RELEASE
Your vehicle is equipped with a mechanical interior luggage compartment
release handle that provides a means of escape for children and adults in
the event they become locked inside the luggage compartment.
Adults are advised to familiarize themselves with the operation and
location of the release handle.
To open the luggage compartment
door (lid) from the inside, pull the
illuminated ªTº shaped handle and
push up on the trunk lid. The
material that the handle is made of
will glow for hours in the darkness
of the luggage compartment
following brief exposure to ambient
light.
The ªTº shaped handle will be
located either on the luggage
compartment door (lid) or inside
the luggage compartment near the
tail lamps.
FUEL TRUNK
Locks and Security
88