LINCOLN CONTINENTAL 2002 Workshop Manual
Manufacturer: LINCOLN, Model Year: 2002, Model line: CONTINENTAL, Model: LINCOLN CONTINENTAL 2002Pages: 240, PDF Size: 1.79 MB
Page 51 of 240

Replacing high-mount brakelamp bulbs
1. Open luggage compartment.
Note the number of the pin-type
retainers before removal.
2. Remove the pin-type retainers
from the lower back trim panel.
3. Carefully pull down the lower
back trim panel.
4. Lower the bracket and module
tray assembly.
Lights
51
Page 52 of 240

5. Carefully remove the bulb socket
from the lamp assembly.
6. Carefully pull the bulb from the
socket and push in the new bulb.
To install, reverse the removal
procedure.
Replacing backup lamp bulbs
For bulb replacement, see a dealer or qualified technician.
Replacing tail lamp/turn lamp bulbs
For bulb replacement, see a dealer or qualified technician.
Lights
52
Page 53 of 240
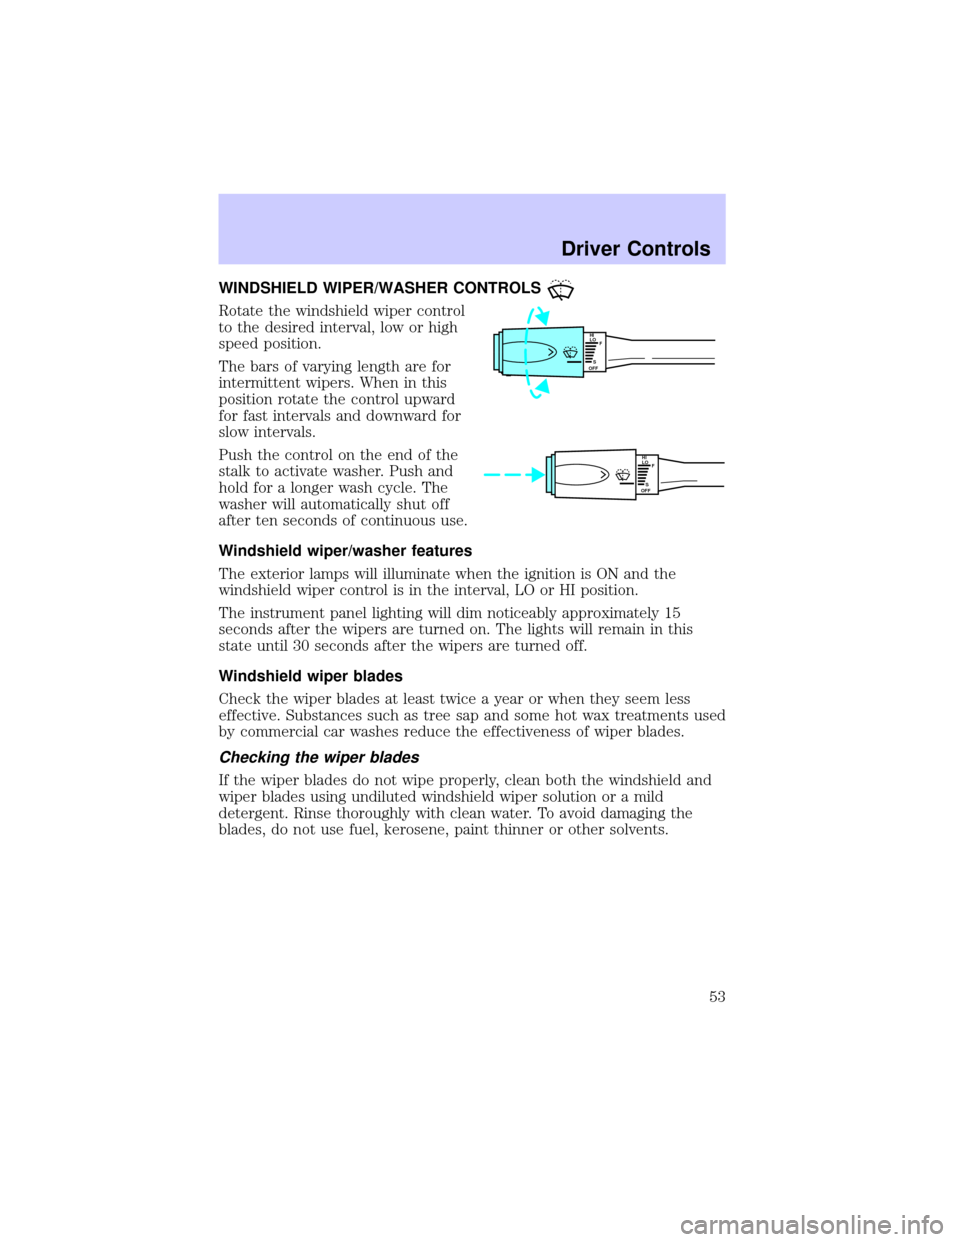
WINDSHIELD WIPER/WASHER CONTROLS
Rotate the windshield wiper control
to the desired interval, low or high
speed position.
The bars of varying length are for
intermittent wipers. When in this
position rotate the control upward
for fast intervals and downward for
slow intervals.
Push the control on the end of the
stalk to activate washer. Push and
hold for a longer wash cycle. The
washer will automatically shut off
after ten seconds of continuous use.
Windshield wiper/washer features
The exterior lamps will illuminate when the ignition is ON and the
windshield wiper control is in the interval, LO or HI position.
The instrument panel lighting will dim noticeably approximately 15
seconds after the wipers are turned on. The lights will remain in this
state until 30 seconds after the wipers are turned off.
Windshield wiper blades
Check the wiper blades at least twice a year or when they seem less
effective. Substances such as tree sap and some hot wax treatments used
by commercial car washes reduce the effectiveness of wiper blades.
Checking the wiper blades
If the wiper blades do not wipe properly, clean both the windshield and
wiper blades using undiluted windshield wiper solution or a mild
detergent. Rinse thoroughly with clean water. To avoid damaging the
blades, do not use fuel, kerosene, paint thinner or other solvents.
HI
LO
F
S
OFF
HI
LO
F
S
OFF
Driver Controls
53
Page 54 of 240
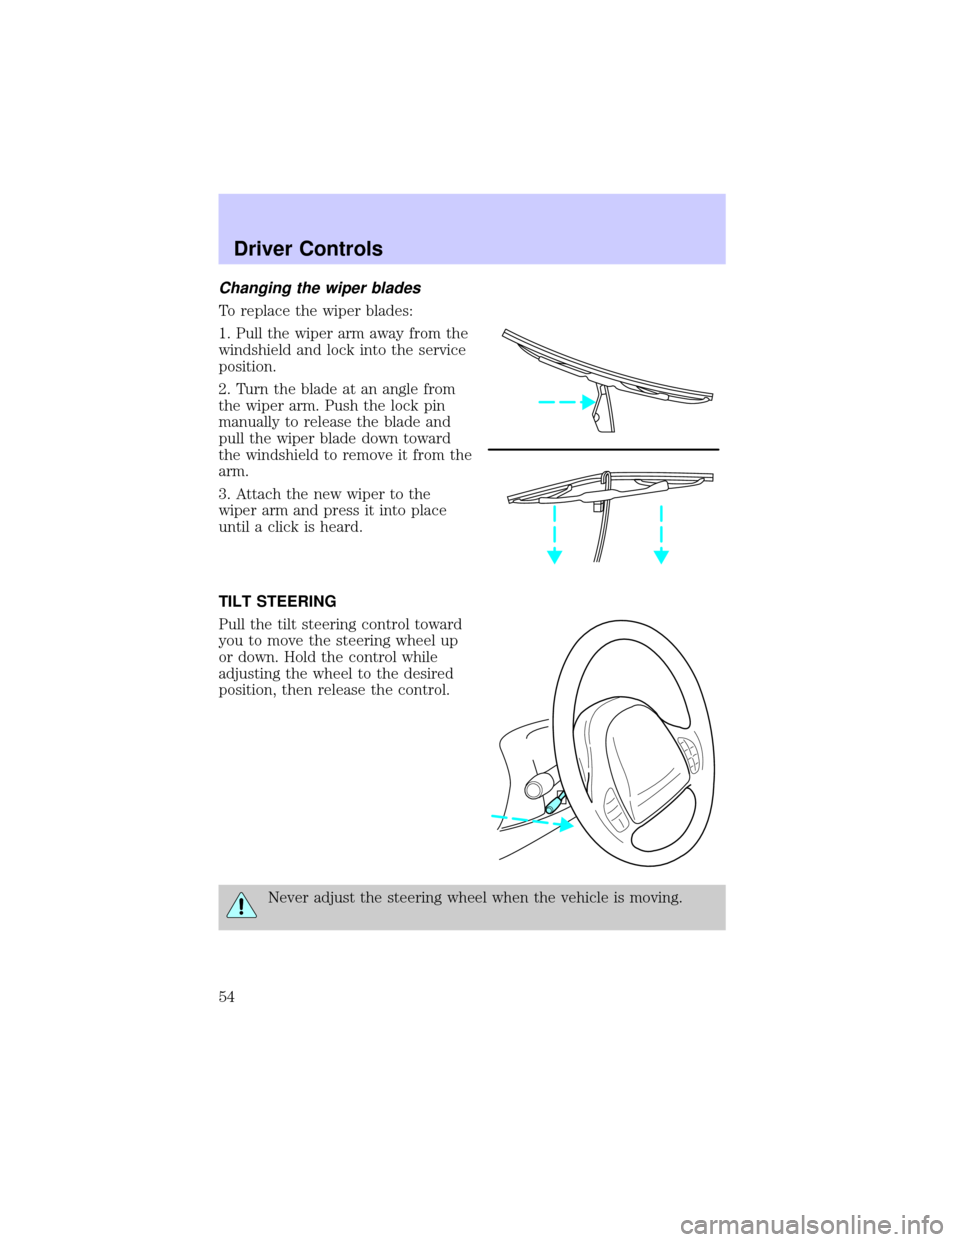
Changing the wiper blades
To replace the wiper blades:
1. Pull the wiper arm away from the
windshield and lock into the service
position.
2. Turn the blade at an angle from
the wiper arm. Push the lock pin
manually to release the blade and
pull the wiper blade down toward
the windshield to remove it from the
arm.
3. Attach the new wiper to the
wiper arm and press it into place
until a click is heard.
TILT STEERING
Pull the tilt steering control toward
you to move the steering wheel up
or down. Hold the control while
adjusting the wheel to the desired
position, then release the control.
Never adjust the steering wheel when the vehicle is moving.
Driver Controls
54
Page 55 of 240
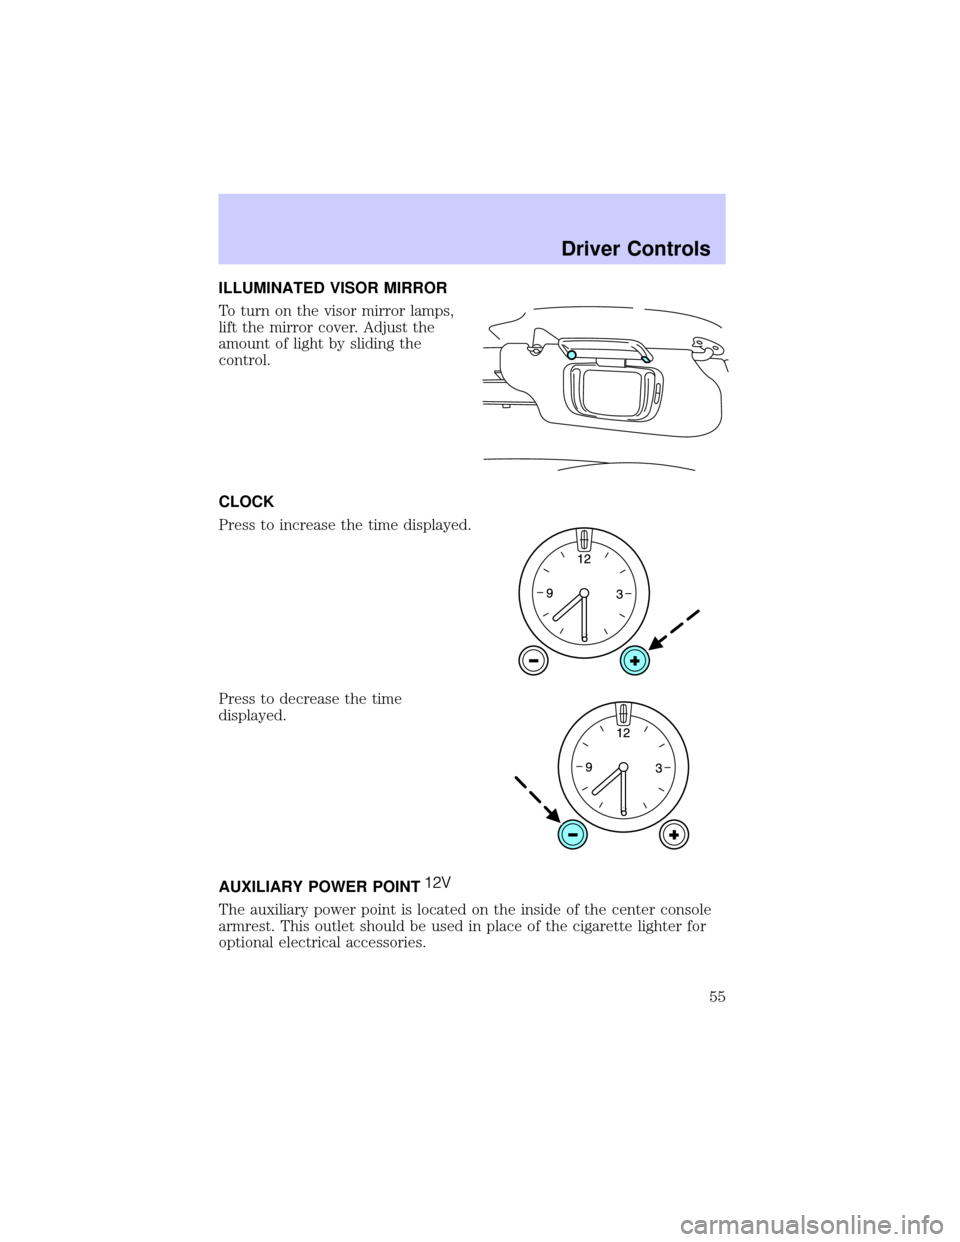
ILLUMINATED VISOR MIRROR
To turn on the visor mirror lamps,
lift the mirror cover. Adjust the
amount of light by sliding the
control.
CLOCK
Press to increase the time displayed.
Press to decrease the time
displayed.
AUXILIARY POWER POINT
The auxiliary power point is located on the inside of the center console
armrest. This outlet should be used in place of the cigarette lighter for
optional electrical accessories.
Driver Controls
55
Page 56 of 240
Power outlets are designed for accessory plugs only. Do not hang
any type of accessory or accessory bracket from the plug.
Improper use of the power outlet can cause damage not covered
by your warranty.
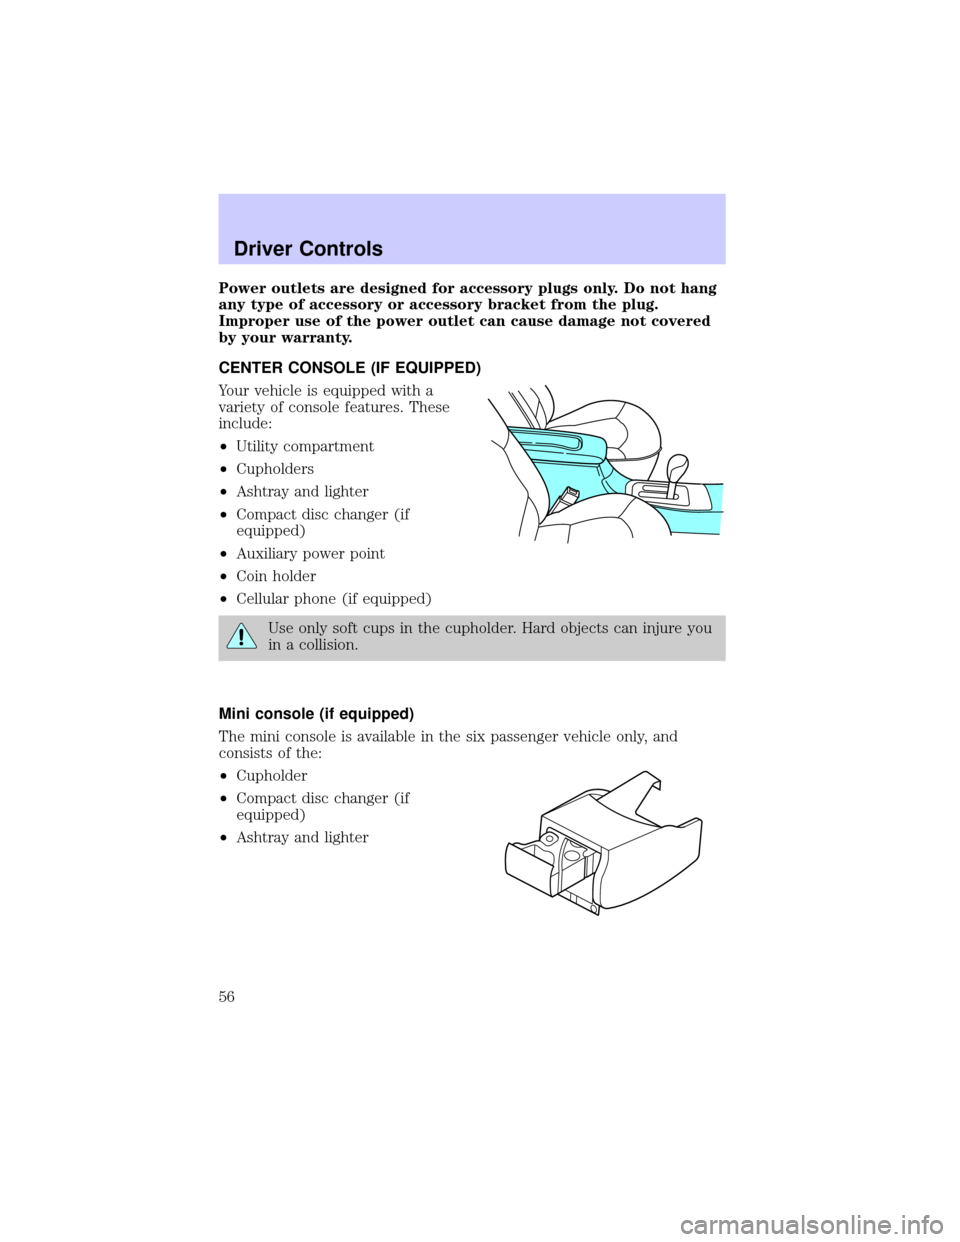
CENTER CONSOLE (IF EQUIPPED)
Your vehicle is equipped with a
variety of console features. These
include:
²Utility compartment
²Cupholders
²Ashtray and lighter
²Compact disc changer (if
equipped)
²Auxiliary power point
²Coin holder
²Cellular phone (if equipped)
Use only soft cups in the cupholder. Hard objects can injure you
in a collision.
Mini console (if equipped)
The mini console is available in the six passenger vehicle only, and
consists of the:
²Cupholder
²Compact disc changer (if
equipped)
²Ashtray and lighter
Driver Controls
56
Page 57 of 240

Use only soft cups in the cupholder. Hard objects can injure you
in a collision.
POSITIVE RETENTION FLOOR MAT
Position the floor mat so that the
eyelet is over the pointed end of the
retention post and rotate forward to
lock in. Make sure that the mat does
not interfere with the operation of
the accelerator or the brake pedal.
To remove the floor mat, reverse the
installation procedure.
POWER WINDOWS
Press and pull the rocker switches to open and close windows.
²Press the top portion of the
rocker switch to open.
²Pull the top portion of the rocker
switch to close.
WINDOW
LOCK
WINDOW
LOCK
Driver Controls
57
Page 58 of 240
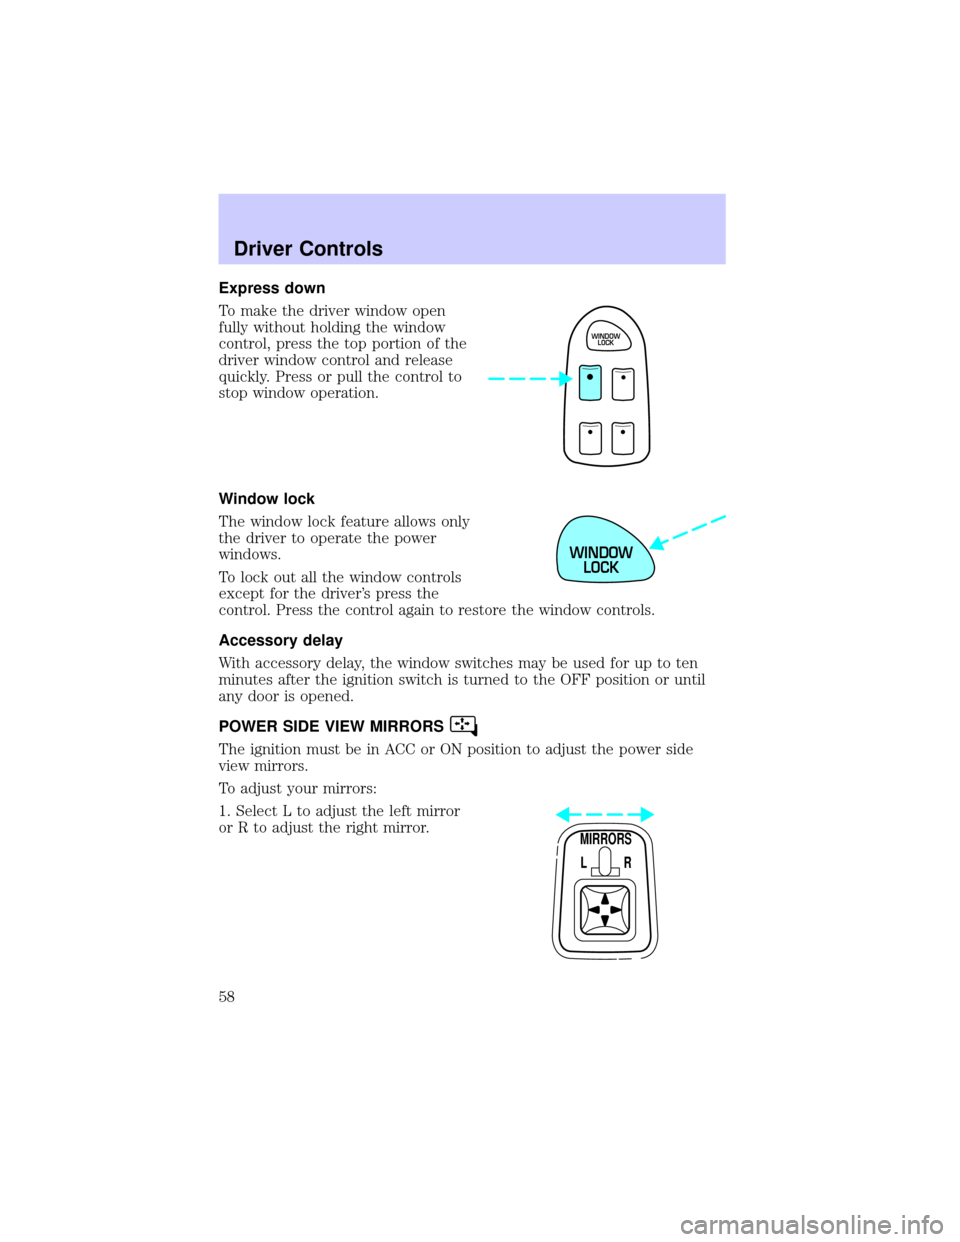
Express down
To make the driver window open
fully without holding the window
control, press the top portion of the
driver window control and release
quickly. Press or pull the control to
stop window operation.
Window lock
The window lock feature allows only
the driver to operate the power
windows.
To lock out all the window controls
except for the driver's press the
control. Press the control again to restore the window controls.
Accessory delay
With accessory delay, the window switches may be used for up to ten
minutes after the ignition switch is turned to the OFF position or until
any door is opened.
POWER SIDE VIEW MIRRORS
The ignition must be in ACC or ON position to adjust the power side
view mirrors.
To adjust your mirrors:
1. Select L to adjust the left mirror
or R to adjust the right mirror.
WINDOW
LOCK
WINDOW
LOCK
MIRRORS
L R
Driver Controls
58
Page 59 of 240

2. Move the control in the direction
you wish to tilt the mirror.
3. Return to the center position to lock mirrors in place.
Heated outside mirrors
Both mirrors are heated
automatically to remove ice, mist
and fog when the rear window
defrost is activated.
Do not remove ice from the mirrors
with a scraper or attempt to
readjust the mirror glass if it is
frozen in place. These actions could
cause damage to the glass and
mirrors.
Automatic dimming rear view mirror
Your vehicle is equipped with an inside rear view mirror and a driver's
outside mirror that has an auto-dimming function. The electronic
day/night mirrors will change from the normal state to the non-glare
state when bright lights (glare) reach the mirrors. When the inside rear
view mirror detects bright light from in front of or behind the vehicle,
the inside and driver side outside rear view mirrors will automatically
adjust (darken) to minimize glare.
MIRRORS
L R
Driver Controls
59
Page 60 of 240
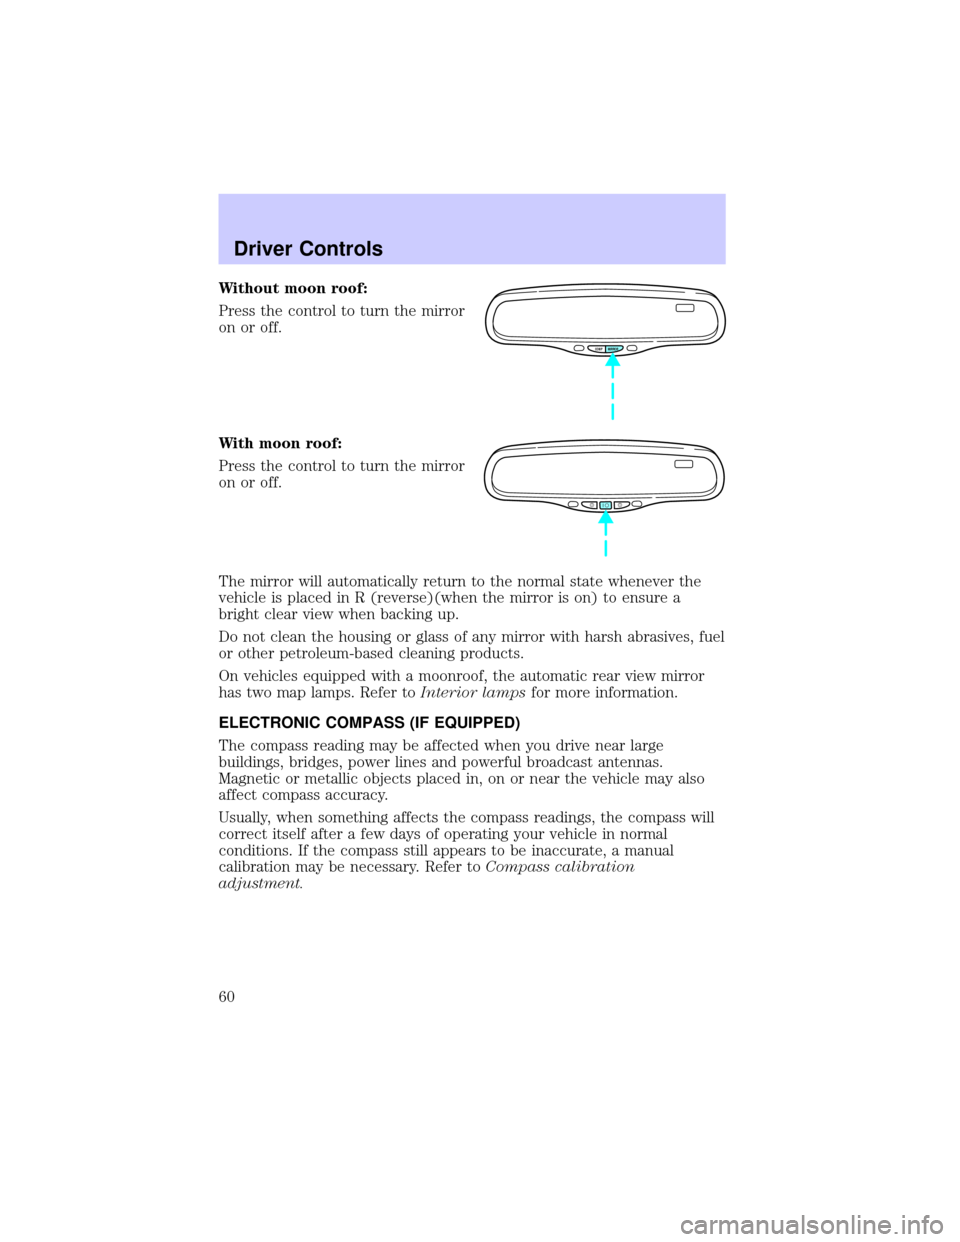
Without moon roof:
Press the control to turn the mirror
on or off.
With moon roof:
Press the control to turn the mirror
on or off.
The mirror will automatically return to the normal state whenever the
vehicle is placed in R (reverse)(when the mirror is on) to ensure a
bright clear view when backing up.
Do not clean the housing or glass of any mirror with harsh abrasives, fuel
or other petroleum-based cleaning products.
On vehicles equipped with a moonroof, the automatic rear view mirror
has two map lamps. Refer toInterior lampsfor more information.
ELECTRONIC COMPASS (IF EQUIPPED)
The compass reading may be affected when you drive near large
buildings, bridges, power lines and powerful broadcast antennas.
Magnetic or metallic objects placed in, on or near the vehicle may also
affect compass accuracy.
Usually, when something affects the compass readings, the compass will
correct itself after a few days of operating your vehicle in normal
conditions. If the compass still appears to be inaccurate, a manual
calibration may be necessary. Refer toCompass calibration
adjustment.
COMP MIRROR
Driver Controls
60