display LINCOLN LS 2002 Owners Manual
[x] Cancel search | Manufacturer: LINCOLN, Model Year: 2002, Model line: LS, Model: LINCOLN LS 2002Pages: 288, PDF Size: 2.44 MB
Page 13 of 288
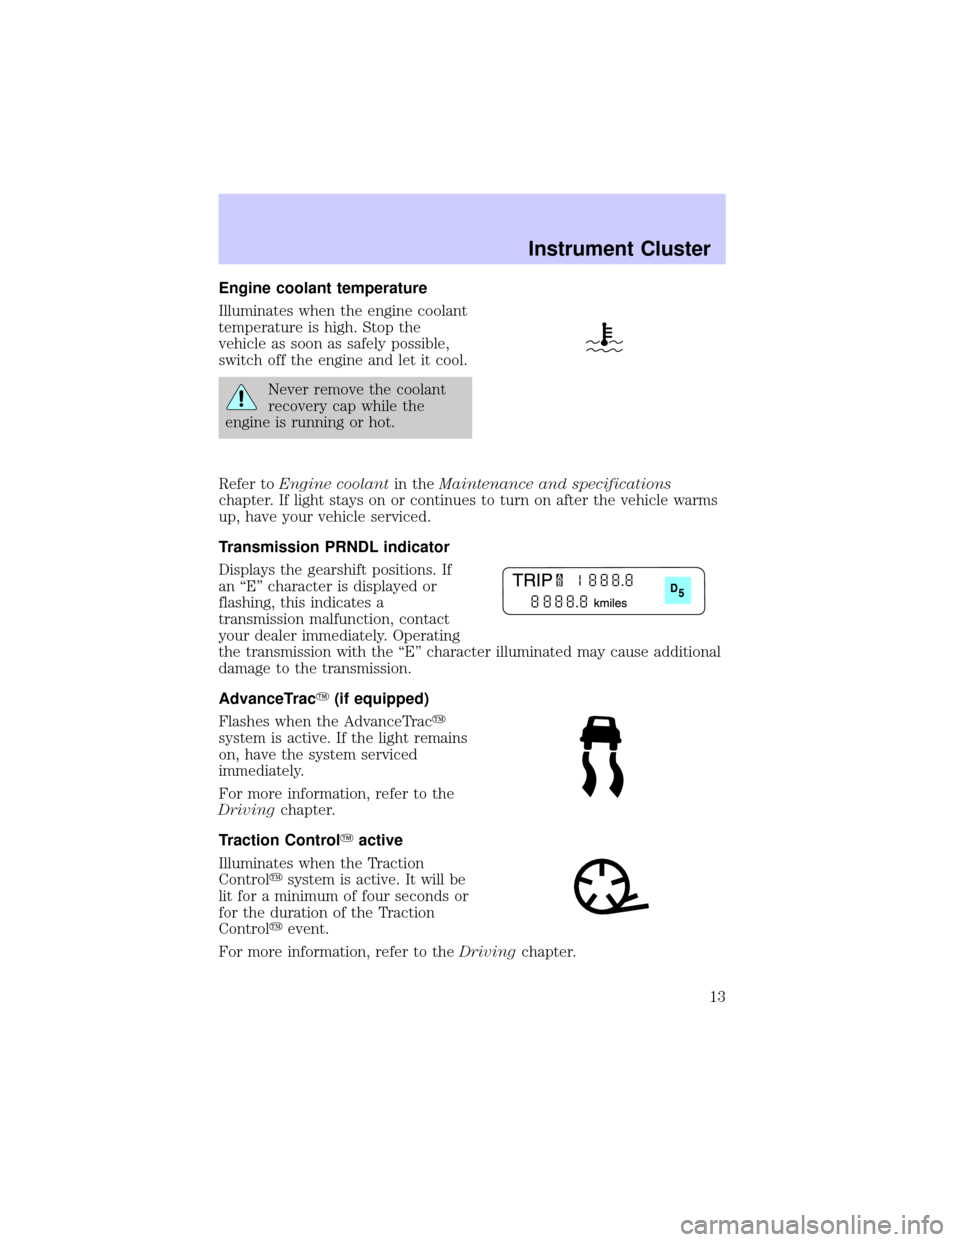
Engine coolant temperature
Illuminates when the engine coolant
temperature is high. Stop the
vehicle as soon as safely possible,
switch off the engine and let it cool.
Never remove the coolant
recovery cap while the
engine is running or hot.
Refer toEngine coolantin theMaintenance and specifications
chapter. If light stays on or continues to turn on after the vehicle warms
up, have your vehicle serviced.
Transmission PRNDL indicator
Displays the gearshift positions. If
an ªEº character is displayed or
flashing, this indicates a
transmission malfunction, contact
your dealer immediately. Operating
the transmission with the ªEº character illuminated may cause additional
damage to the transmission.
AdvanceTracY(if equipped)
Flashes when the AdvanceTracy
system is active. If the light remains
on, have the system serviced
immediately.
For more information, refer to the
Drivingchapter.
Traction ControlYactive
Illuminates when the Traction
Controlysystem is active. It will be
lit for a minimum of four seconds or
for the duration of the Traction
Controlyevent.
For more information, refer to theDrivingchapter.
Instrument Cluster
13
Page 17 of 288
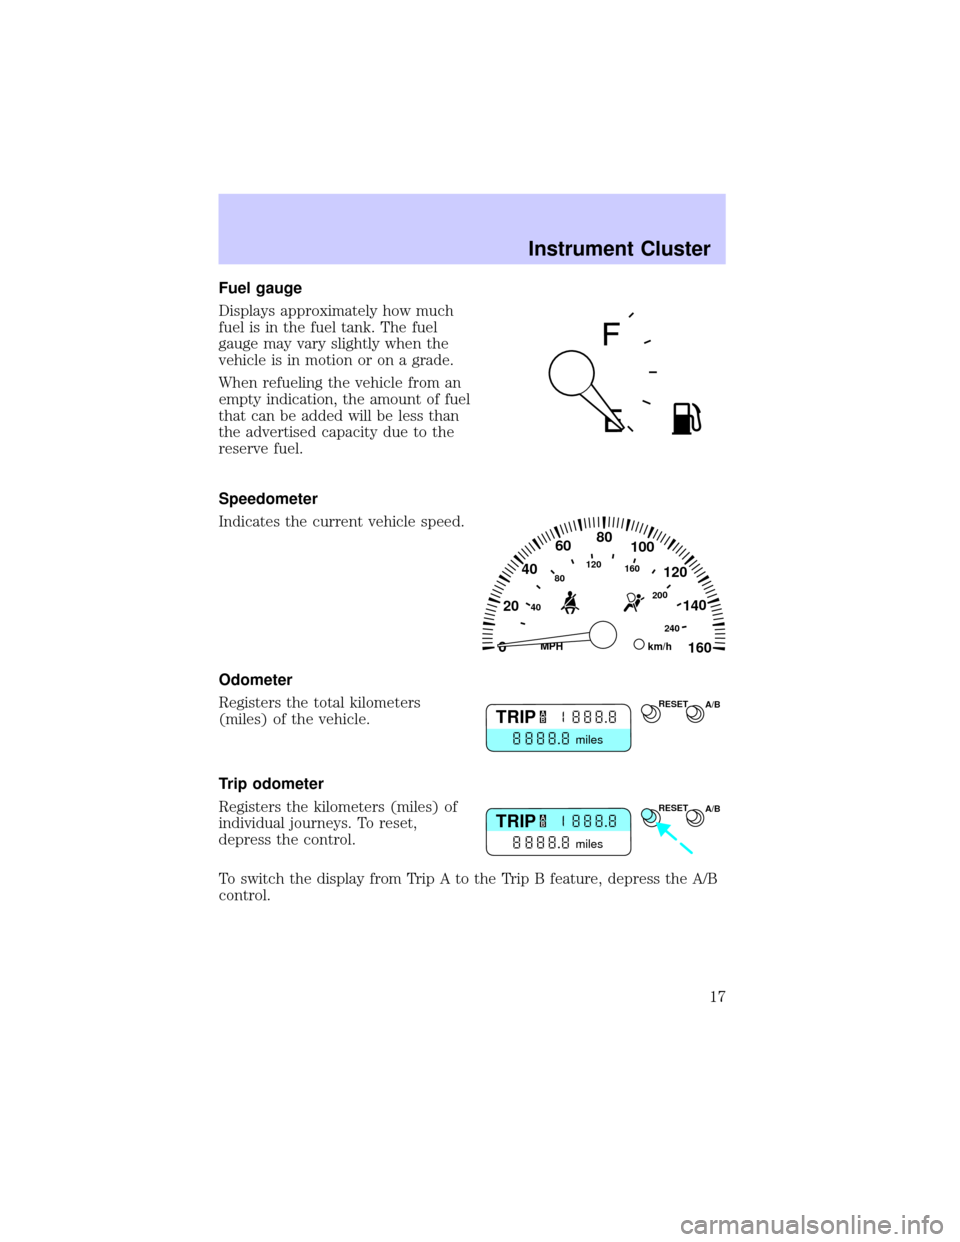
Fuel gauge
Displays approximately how much
fuel is in the fuel tank. The fuel
gauge may vary slightly when the
vehicle is in motion or on a grade.
When refueling the vehicle from an
empty indication, the amount of fuel
that can be added will be less than
the advertised capacity due to the
reserve fuel.
Speedometer
Indicates the current vehicle speed.
Odometer
Registers the total kilometers
(miles) of the vehicle.
Trip odometer
Registers the kilometers (miles) of
individual journeys. To reset,
depress the control.
To switch the display from Trip A to the Trip B feature, depress the A/B
control.
0
20
40
6080100
120
140
160
40
80120160
200
240
km/hMPH
RESETA/BTRIP
miles
A
B
RESETA/BTRIP
miles
A
B
Instrument Cluster
17
Page 24 of 288
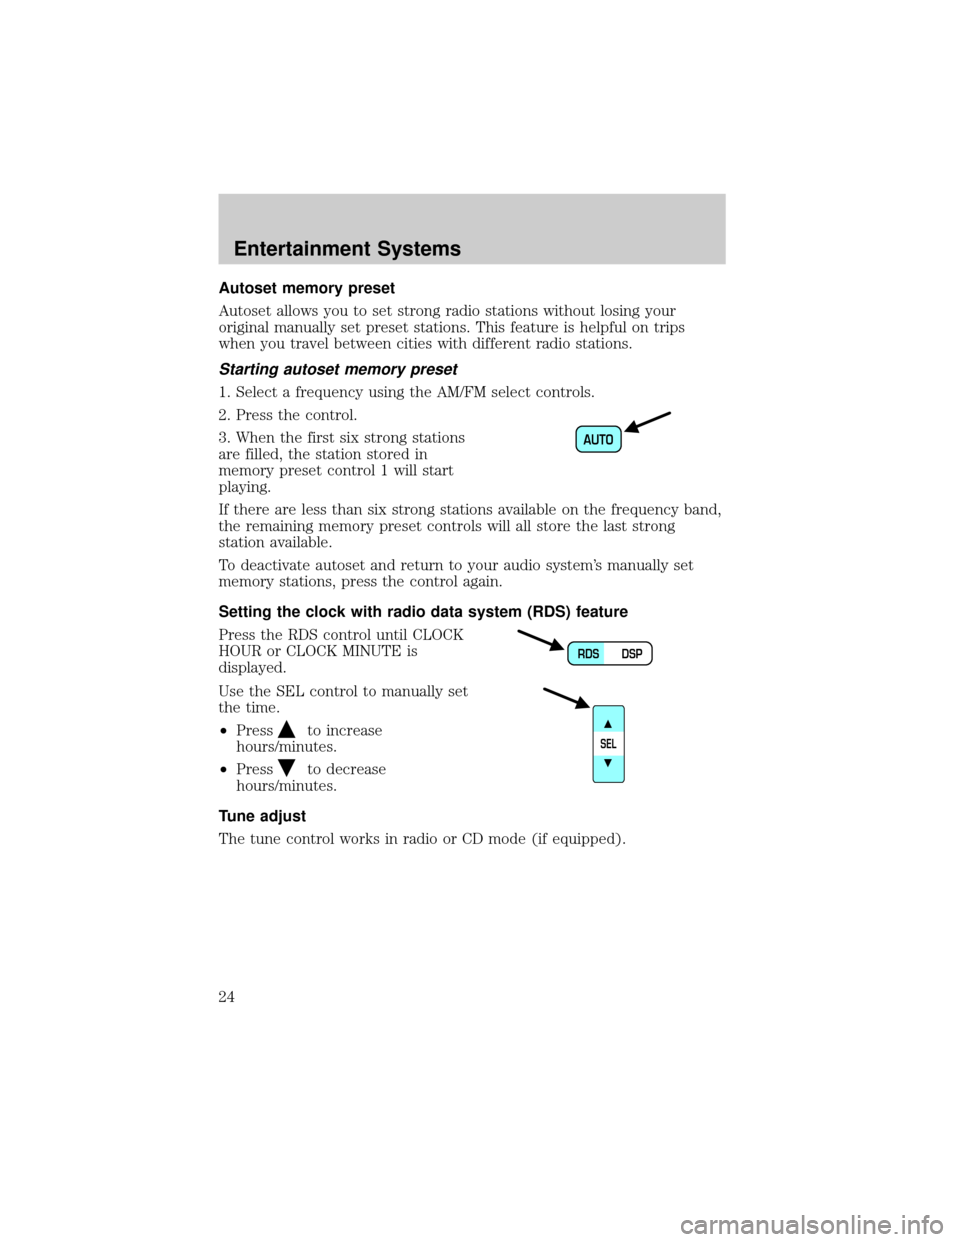
Autoset memory preset
Autoset allows you to set strong radio stations without losing your
original manually set preset stations. This feature is helpful on trips
when you travel between cities with different radio stations.
Starting autoset memory preset
1. Select a frequency using the AM/FM select controls.
2. Press the control.
3. When the first six strong stations
are filled, the station stored in
memory preset control 1 will start
playing.
If there are less than six strong stations available on the frequency band,
the remaining memory preset controls will all store the last strong
station available.
To deactivate autoset and return to your audio system's manually set
memory stations, press the control again.
Setting the clock with radio data system (RDS) feature
Press the RDS control until CLOCK
HOUR or CLOCK MINUTE is
displayed.
Use the SEL control to manually set
the time.
²Press
to increase
hours/minutes.
²Press
to decrease
hours/minutes.
Tune adjust
The tune control works in radio or CD mode (if equipped).
AUTO
DSP RDS
SEL
Entertainment Systems
24
Page 28 of 288
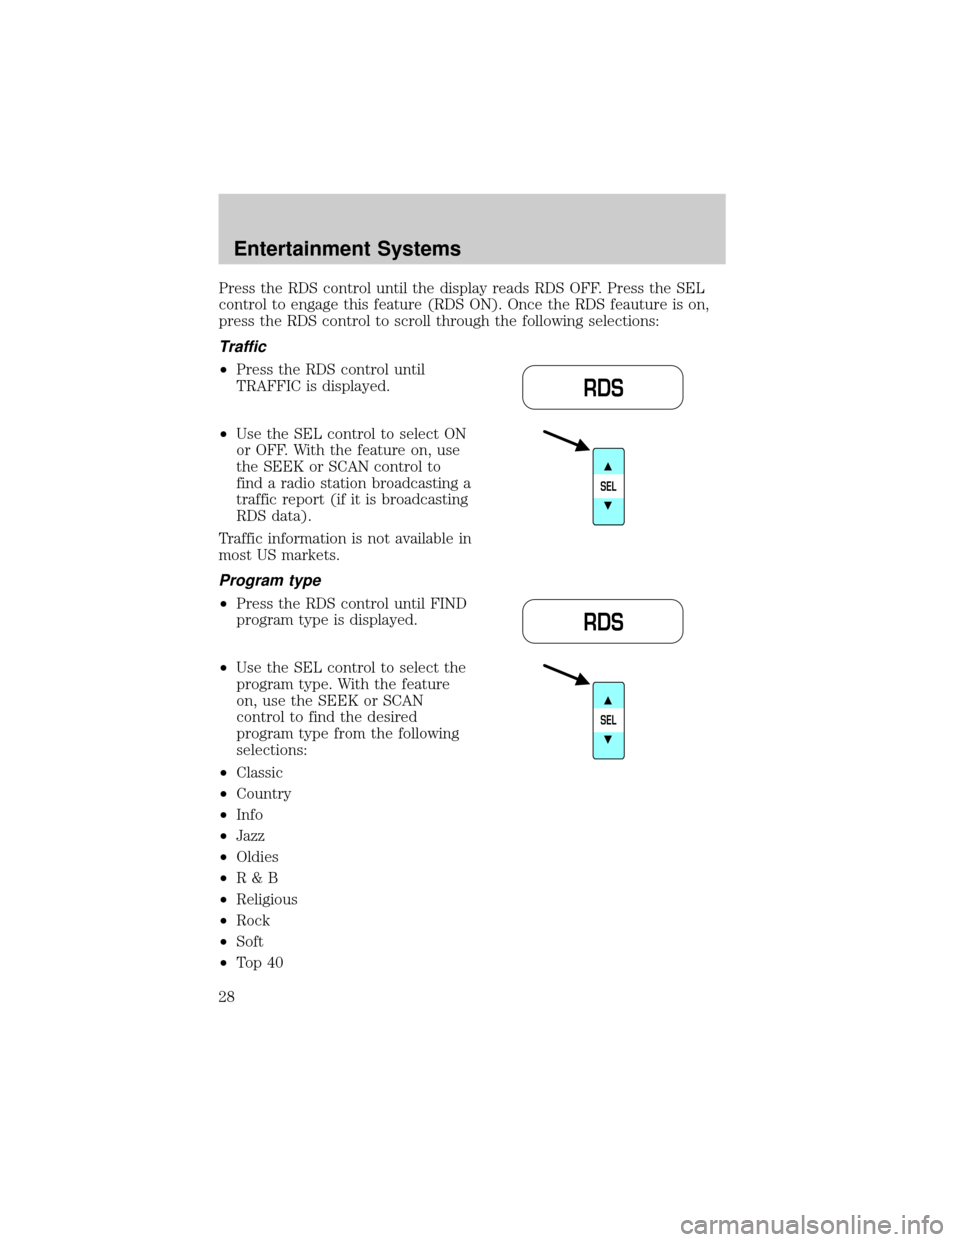
Press the RDS control until the display reads RDS OFF. Press the SEL
control to engage this feature (RDS ON). Once the RDS feauture is on,
press the RDS control to scroll through the following selections:
Traffic
²Press the RDS control until
TRAFFIC is displayed.
²Use the SEL control to select ON
or OFF. With the feature on, use
the SEEK or SCAN control to
find a radio station broadcasting a
traffic report (if it is broadcasting
RDS data).
Traffic information is not available in
most US markets.
Program type
²Press the RDS control until FIND
program type is displayed.
²Use the SEL control to select the
program type. With the feature
on, use the SEEK or SCAN
control to find the desired
program type from the following
selections:
²Classic
²Country
²Info
²Jazz
²Oldies
²R&B
²Religious
²Rock
²Soft
²To p 4 0
RDS
SEL
RDS
SEL
Entertainment Systems
28
Page 29 of 288
Show
²With RDS activated, press the
RDS control until SHOW is
displayed.
²Use the SEL control to select
TYPE, NAME or NONE.
Phone/mute mode
This feature allows you to control
the factory-installed cellular phone
(if equipped) through the radio
controls.
²Press the phone/mute control to enter phone mode.
²Use SEEK or radio presets 1 through 6 to select a phone number.
²Press the phone/mute control again to send and end calls.
Press the control again to return to the playing media.
This control will mute the playing media even if your vehicle is not
equipped with a factory-installed cellular phone.
Digital signal processing (if equipped)
The digital signal processing (DSP)
feature allows you to change the
signal mode to suit your listening
tastes.
Press the control to turn the feature on or off.
RDS
SEL
MUTE
DSP RDS
Entertainment Systems
29
Page 30 of 288
Use the SEL control to select the
desired signal mode (the selected
mode will appear in the display).
The following signal modes can be
selected:
²JAZZ CLUBÐjazz club with
clearly reflected sounds
²HALLÐrectangular concert hall capacity of about 2 000
²CHURCHÐchurch with a high vault
²STADIUMÐoutdoor stadium with a capacity of about 30 000
²NEWSкvoice-onlyº type of sound with a limited audio band
Press the DSP control until one of
the following appears:
²ALL SEATS
²DRIVER SEAT
²REAR SEATS
Use the SEL control to change the
equalization to the desired mode.
SEL
DSP RDS
SEL
Entertainment Systems
30
Page 33 of 288
Speaker balance adjust
Speaker sound distribution can be
adjusted between the right and left
speakers.
Press the BAL control. Use the SEL
control to adjust the sound between
the speakers.
Speaker fade adjust
Speaker sound can be adjusted
between the front and rear
speakers.
Press the FADE control. Use the
SEL control to adjust the sound
between the front and rear speakers.
Seek function
The seek function works in radio or CD mode.
Seek function in radio mode
²Pressto find the next
listenable station down the
frequency band. SEEK DOWN
will display.
²Press
to find the next listenable station up the frequency band.
SEEK UP will display.
Seek function in CD mode
²Pressto seek to the previous
track of the current disc. If the
beginning of the disc is reached,
the CD player seeks to the
beginning of the last track on the
current disc and begins playing.
²Press
to seek forward to the next track of the current disc. After
the last track has been completed, the first track of the current disc
will automatically replay.
BAL
FADE
SEL+
BAL
FADE
SEL+
Entertainment Systems
33
Page 35 of 288
Setting memory preset stations
1. Select the frequency band with the AM/FM select control. Press the
AM/FM control to toggle between AM, FM1, or FM2.
2. Press the SEEK control to access the next listenable station up or
down the frequency band. Press the TUNE control to go up or down the
listening band in individual increments.
3. Select a station. Refer toSeek functionfor more information on
selecting a station.
4. Press and hold a memory preset control. The playing media will mute
momentarily. When the sound returns, the station is held in memory on
the control you selected. The display will read SAVED.
Autostore
Autostore allows you to set the strongest local radio stations without
losing your original manually set preset stations. This feature is helpful
on trips when you travel between cities with different radio stations.
Starting autostore
1. Press and momentarily hold the AM/FM control.
2. AUTOSET will flash in the display
as the frequency band is scrolled
through.
3. When the six strongest stations
are filled, the station stored in
memory preset control 1 will start playing.
If there are less than six strong stations available on the frequency band,
the remaining memory preset controls will all store the last strong
station available.
To deactivate autoset and return to your audio system's manually set
memory stations, press the AM/FM control again.
Entertainment Systems
35
Page 36 of 288
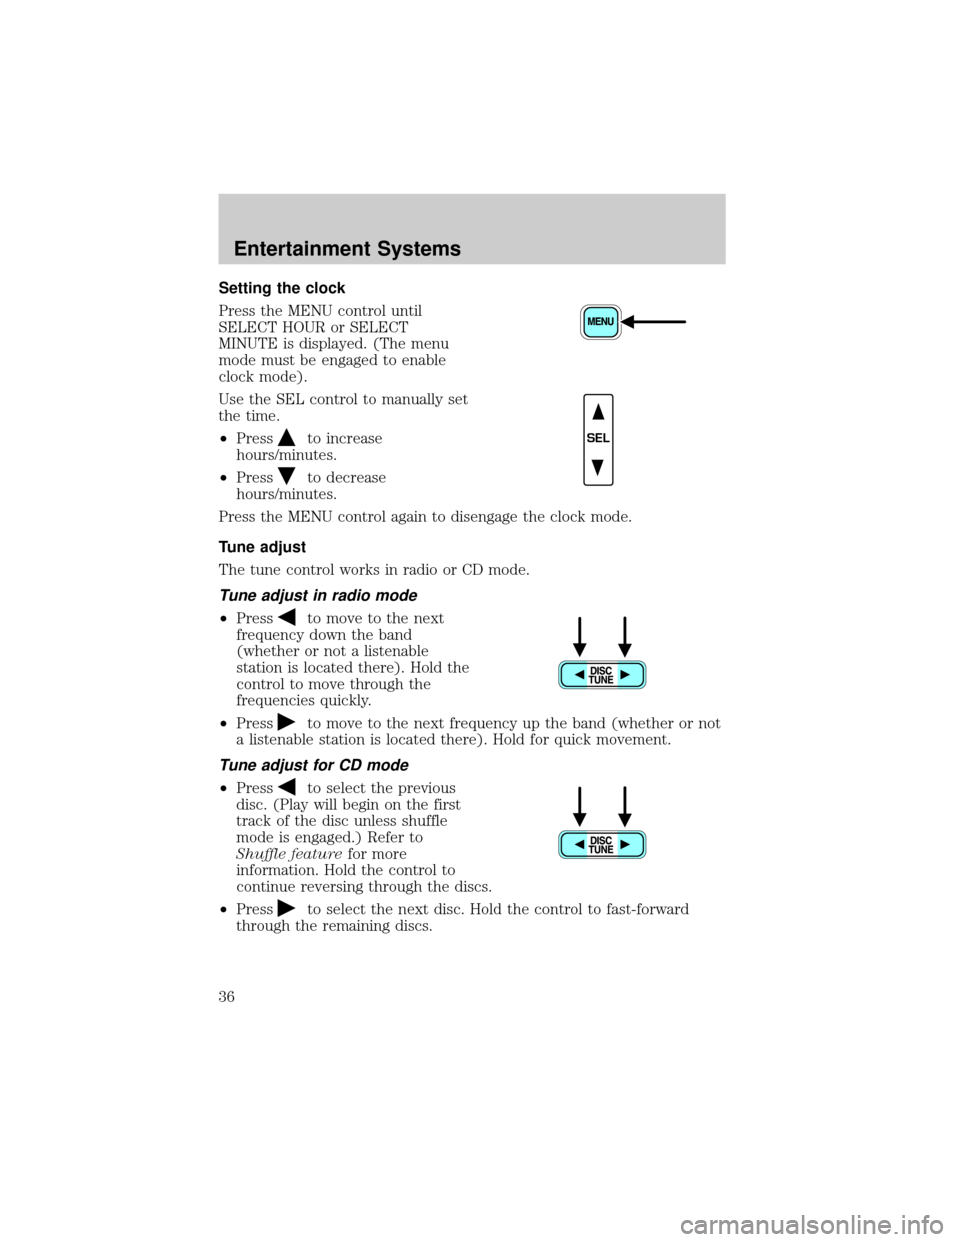
Setting the clock
Press the MENU control until
SELECT HOUR or SELECT
MINUTE is displayed. (The menu
mode must be engaged to enable
clock mode).
Use the SEL control to manually set
the time.
²Press
to increase
hours/minutes.
²Press
to decrease
hours/minutes.
Press the MENU control again to disengage the clock mode.
Tune adjust
The tune control works in radio or CD mode.
Tune adjust in radio mode
²Pressto move to the next
frequency down the band
(whether or not a listenable
station is located there). Hold the
control to move through the
frequencies quickly.
²Press
to move to the next frequency up the band (whether or not
a listenable station is located there). Hold for quick movement.
Tune adjust for CD mode
²Pressto select the previous
disc. (Play will begin on the first
track of the disc unless shuffle
mode is engaged.) Refer to
Shuffle featurefor more
information. Hold the control to
continue reversing through the discs.
²Press
to select the next disc. Hold the control to fast-forward
through the remaining discs.
SEL
Entertainment Systems
36
Page 37 of 288
CD select
CD mode may be entered by
pressing the CD control and the
LOAD control. Load the CD into the
audio system. The first track of the
disc will begin playing. After that,
CD play will begin where it stopped last.
If an alternative CD is desired, press the corresponding preset control
(1±6) of a loaded CD, or press the TUNE control to access the other
loaded CDs.
NO CD will display if the CD control is activated when there is not a CD
present in the audio system.
If the CD control is pressed followed by with a preset number and that
particular slot is empty, NO CD will display and the system will begin the
play the next available disc.
Do not insert any promotional (odd shaped or sized) discs, or
discs with removable labels into the CD player as jamming may
occur.
Display description
Six circles are always lit in the digital display. These signify the six CD
slots in the audio system. When a disc is loaded into a particular slot
(1±6), the number inside that specific circle lights. If the circle is empty,
there is no CD in that particular slot.
Load
The load feature allows you to load
single CDs into the player internal
to the radio.
This six disc CD player is equipped with a CD door. Compact
discs should only be inserted into the player after the door has
been opened by the player. Do not attempt to force the door
open. Compact discs should only be loaded by pressing the LOAD
control.
Press the LOAD control. (You can choose which slot will be loaded by
pressing the desired preset number. If you do not choose a slot, the
system will choose the next available one.) Wait until the CD door opens.
Load the CD into the player. LOADING CD# is displayed. When the CD
Entertainment Systems
37