key LINCOLN LS 2002 Owner's Manual
[x] Cancel search | Manufacturer: LINCOLN, Model Year: 2002, Model line: LS, Model: LINCOLN LS 2002Pages: 288, PDF Size: 2.44 MB
Page 167 of 288
Aggressive driving in any road conditions can cause you to lose
control of your vehicle increasing the risk of severe personal
injury or property damage. The occurrence of an AdvanceTracyevent
is an indication that at least some of the tires have exceeded their
ability to grip the road and that you may lose control of the vehicle. If
you experience a severe road event, SLOW DOWN.
If you find yourself regularly experiencing AdvanceTracyevents,
you are driving too fast for conditions, you should reduce your
speed, and drive less aggressively. AdvanceTracyis limited by the laws
of physics. It is always possible to lose control of a vehicle due to
inappropriate driver inputs for the conditions. The occurrence of an
AdvanceTracyevent is an indication that at least some of the tires
have exceeded their ability to grip the road; this may cause you to lose
control of the vehicle increasing the risk of severe personal injury or
property damage.
AUTOMATIC TRANSMISSION OPERATION (IF EQUIPPED)
Brake-shift interlock
This vehicle is equipped with a brake-shift interlock feature that prevents
the gearshift lever from being moved from P (Park) when the ignition is
in the RUN position unless brake pedal is depressed.
If you cannot move the gearshift lever out of P (Park) with ignition in
the RUN position and the brake pedal depressed:
1. Apply the parking brake, turn ignition key to LOCK, then remove the
key.
2. Insert the key and turn it to OFF.Apply the brake pedal and shift
to N (Neutral).
In the ignition OFF position, the automatic transmission shift
lever can be moved from the P (Park) position without the brake
pedal depressed. To avoid unwanted vehicle movement, always set the
parking brake.
3. Start the vehicle.
Driving
167
Page 180 of 288
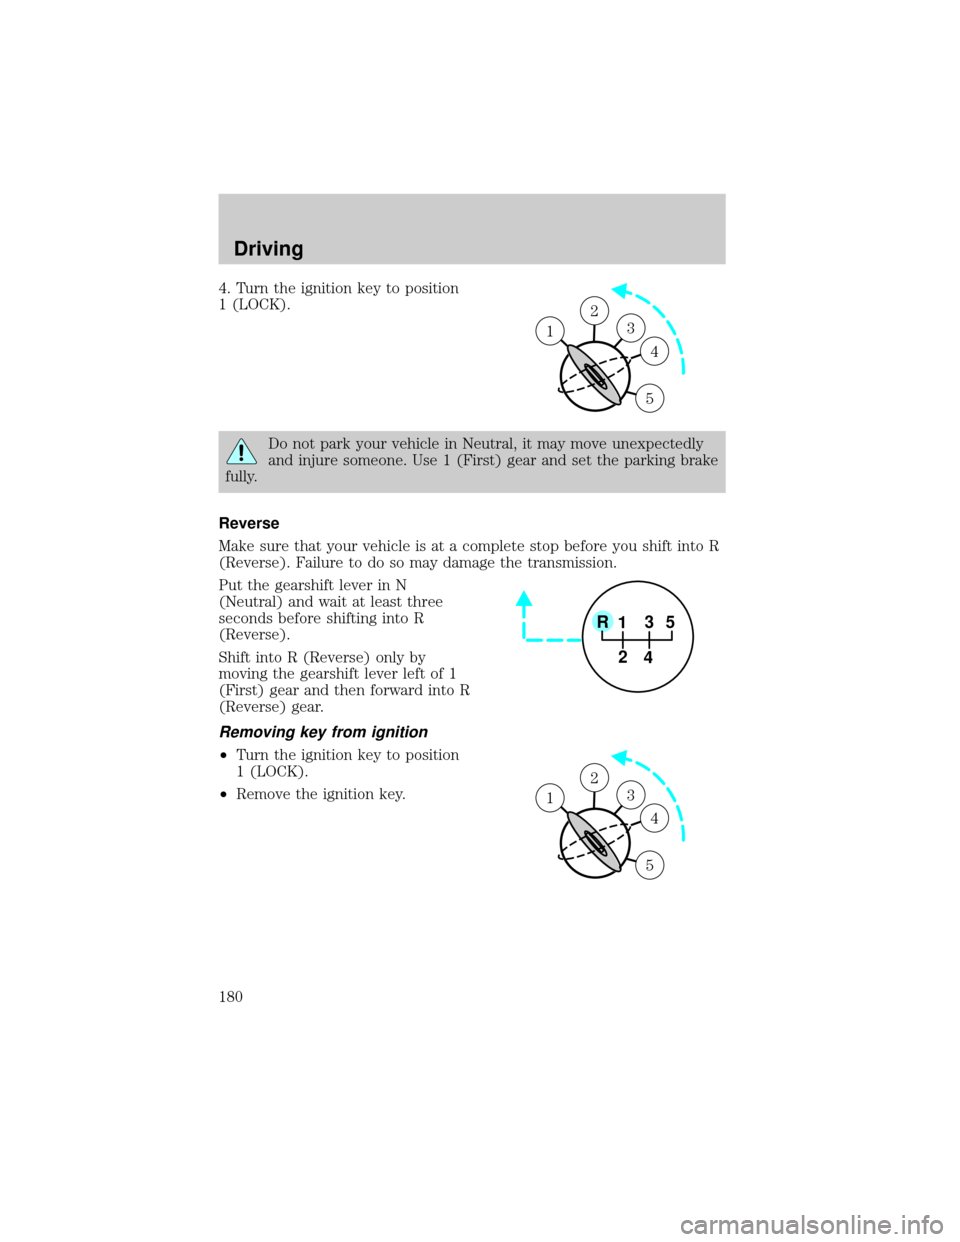
4. Turn the ignition key to position
1 (LOCK).
Do not park your vehicle in Neutral, it may move unexpectedly
and injure someone. Use 1 (First) gear and set the parking brake
fully.
Reverse
Make sure that your vehicle is at a complete stop before you shift into R
(Reverse). Failure to do so may damage the transmission.
Put the gearshift lever in N
(Neutral) and wait at least three
seconds before shifting into R
(Reverse).
Shift into R (Reverse) only by
moving the gearshift lever left of 1
(First) gear and then forward into R
(Reverse) gear.
Removing key from ignition
²Turn the ignition key to position
1 (LOCK).
²Remove the ignition key.
1
2
3
4
5
1
1
2
45
R3
1
2
3
4
5
1
Driving
180
Page 189 of 288
FUEL PUMP SHUT-OFF SWITCHFUEL
RESET
The fuel pump shut-off switch is a device intended to stop the electric
fuel pump when your vehicle has been involved in a substantial jolt.
After a collision, if the engine cranks but does not start, the fuel pump
shut-off switch may have been activated.
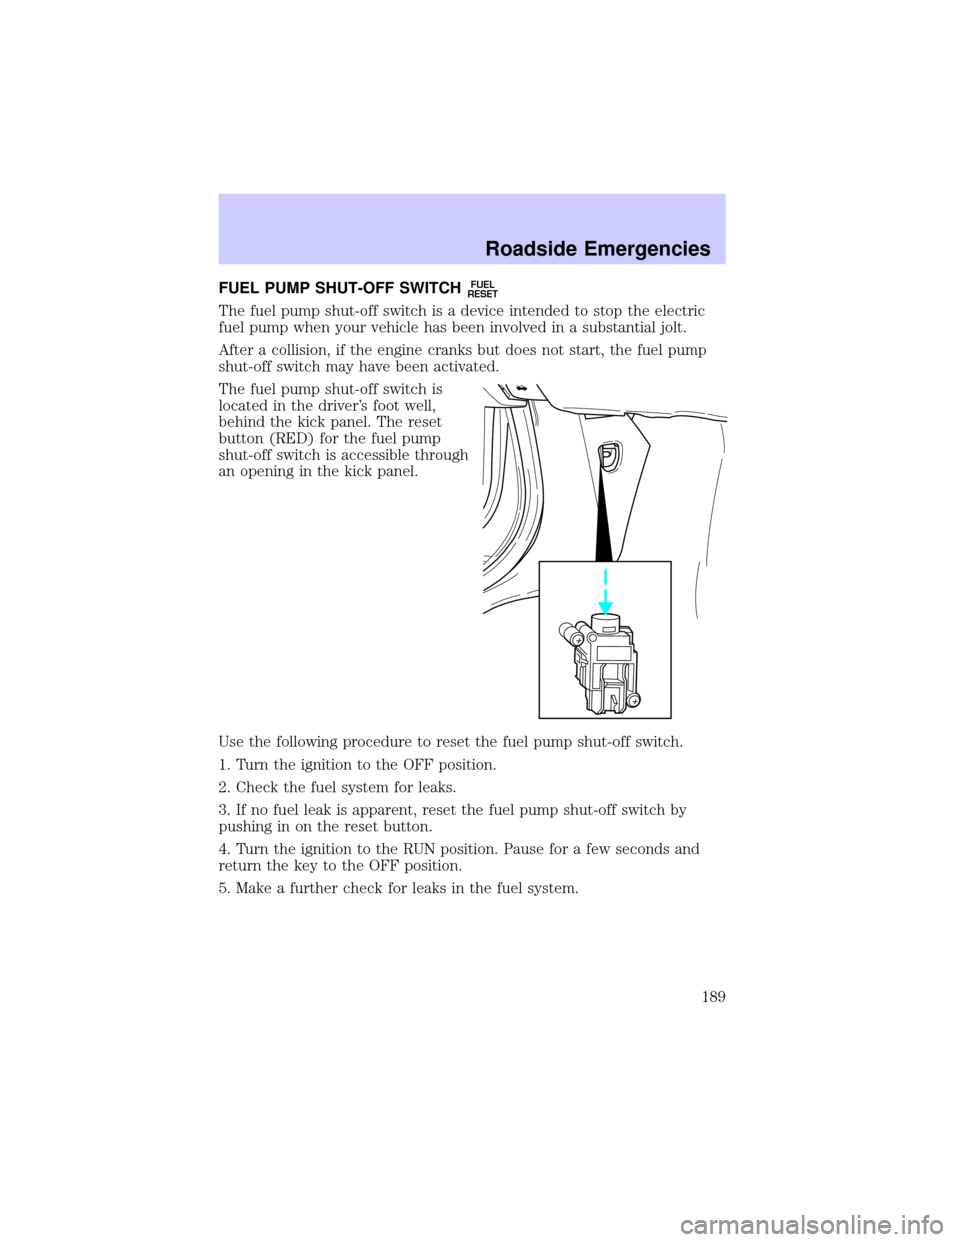
The fuel pump shut-off switch is
located in the driver's foot well,
behind the kick panel. The reset
button (RED) for the fuel pump
shut-off switch is accessible through
an opening in the kick panel.
Use the following procedure to reset the fuel pump shut-off switch.
1. Turn the ignition to the OFF position.
2. Check the fuel system for leaks.
3. If no fuel leak is apparent, reset the fuel pump shut-off switch by
pushing in on the reset button.
4. Turn the ignition to the RUN position. Pause for a few seconds and
return the key to the OFF position.
5. Make a further check for leaks in the fuel system.
Roadside Emergencies
189
Page 201 of 288
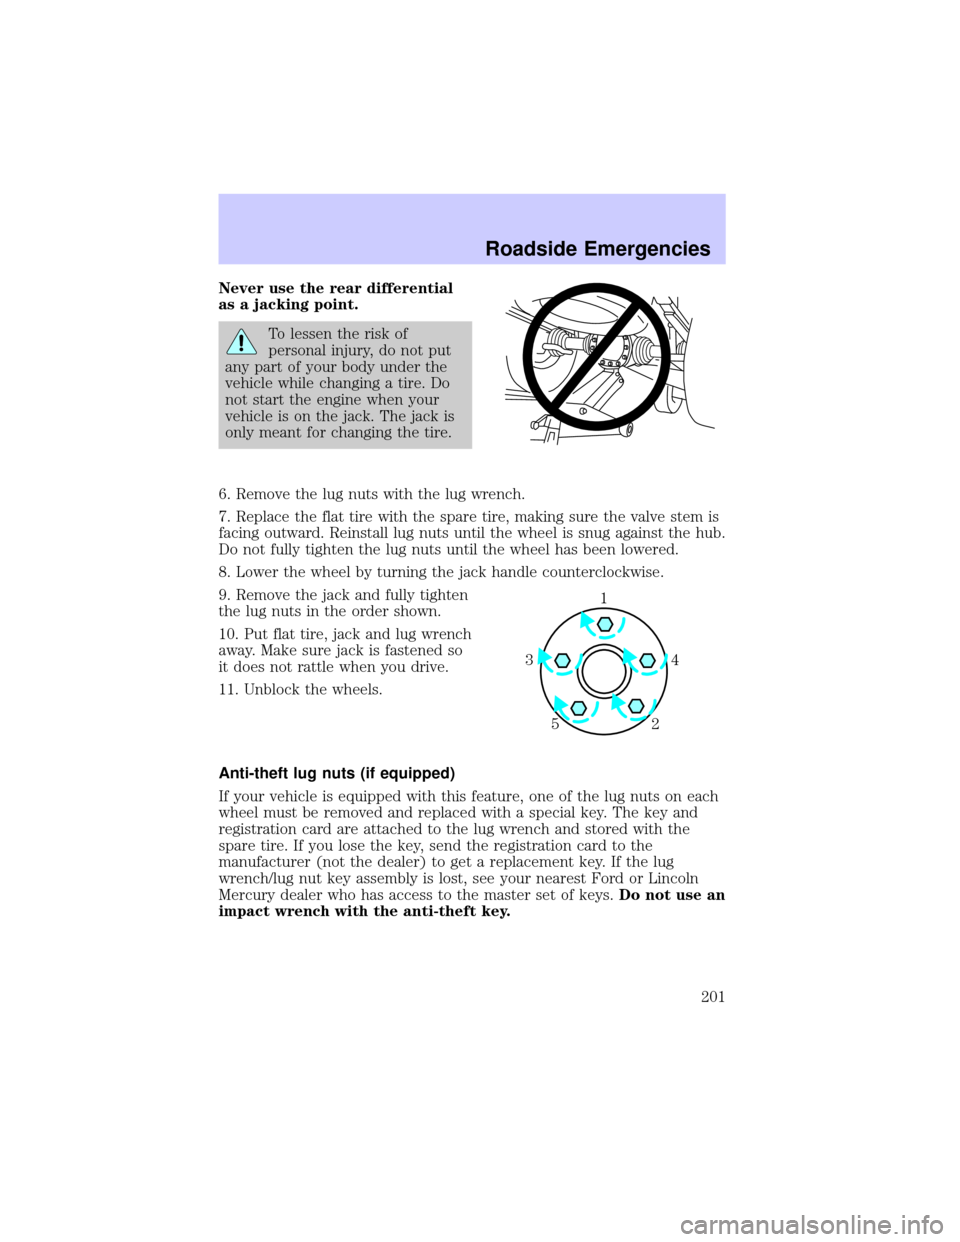
Never use the rear differential
as a jacking point.
To lessen the risk of
personal injury, do not put
any part of your body under the
vehicle while changing a tire. Do
not start the engine when your
vehicle is on the jack. The jack is
only meant for changing the tire.
6. Remove the lug nuts with the lug wrench.
7. Replace the flat tire with the spare tire, making sure the valve stem is
facing outward. Reinstall lug nuts until the wheel is snug against the hub.
Do not fully tighten the lug nuts until the wheel has been lowered.
8. Lower the wheel by turning the jack handle counterclockwise.
9. Remove the jack and fully tighten
the lug nuts in the order shown.
10. Put flat tire, jack and lug wrench
away. Make sure jack is fastened so
it does not rattle when you drive.
11. Unblock the wheels.
Anti-theft lug nuts (if equipped)
If your vehicle is equipped with this feature, one of the lug nuts on each
wheel must be removed and replaced with a special key. The key and
registration card are attached to the lug wrench and stored with the
spare tire. If you lose the key, send the registration card to the
manufacturer (not the dealer) to get a replacement key. If the lug
wrench/lug nut key assembly is lost, see your nearest Ford or Lincoln
Mercury dealer who has access to the master set of keys.Do not use an
impact wrench with the anti-theft key.
1
4 3
2 5
Roadside Emergencies
201
Page 202 of 288
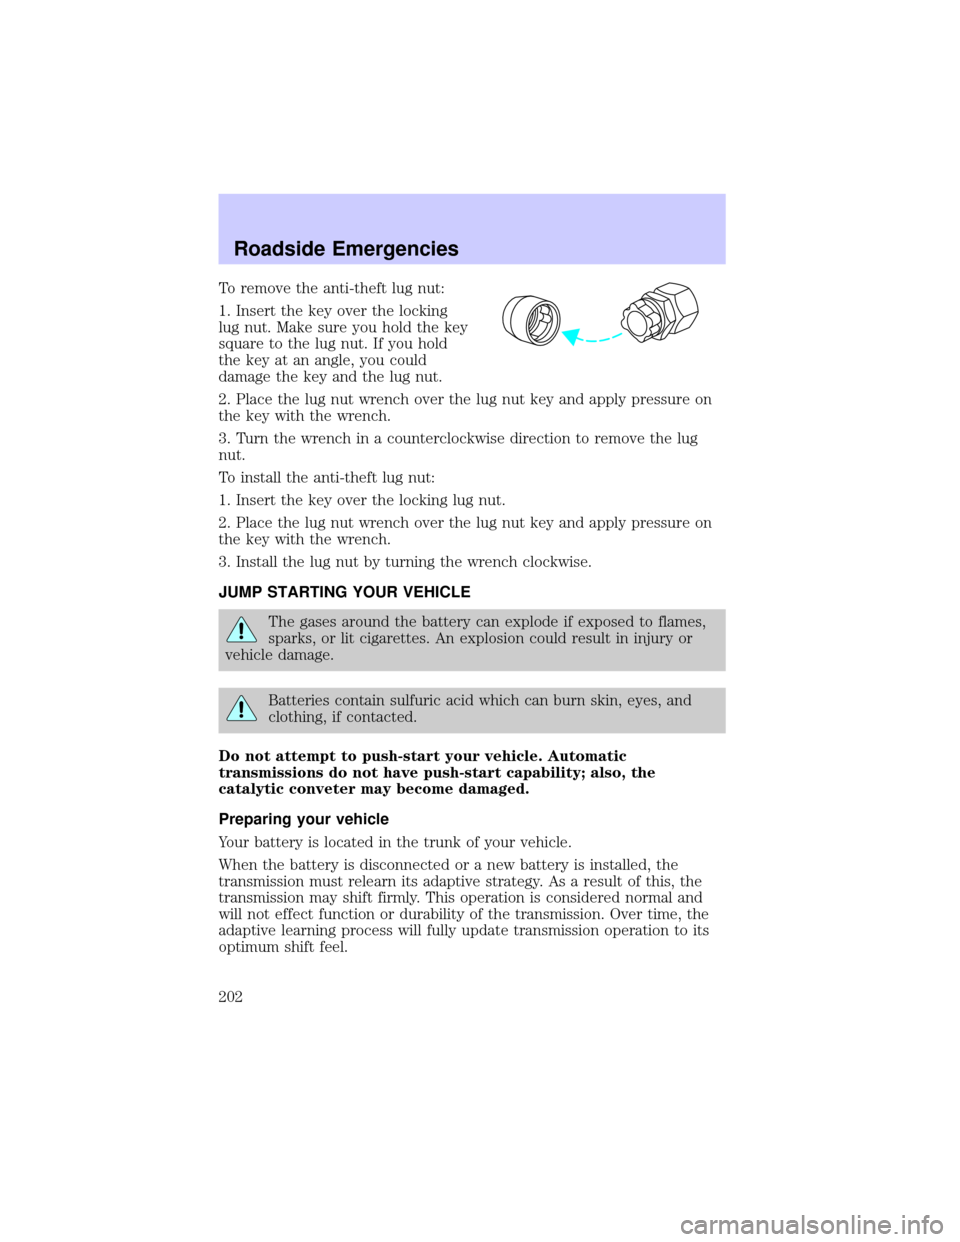
To remove the anti-theft lug nut:
1. Insert the key over the locking
lug nut. Make sure you hold the key
square to the lug nut. If you hold
the key at an angle, you could
damage the key and the lug nut.
2. Place the lug nut wrench over the lug nut key and apply pressure on
the key with the wrench.
3. Turn the wrench in a counterclockwise direction to remove the lug
nut.
To install the anti-theft lug nut:
1. Insert the key over the locking lug nut.
2. Place the lug nut wrench over the lug nut key and apply pressure on
the key with the wrench.
3. Install the lug nut by turning the wrench clockwise.
JUMP STARTING YOUR VEHICLE
The gases around the battery can explode if exposed to flames,
sparks, or lit cigarettes. An explosion could result in injury or
vehicle damage.
Batteries contain sulfuric acid which can burn skin, eyes, and
clothing, if contacted.
Do not attempt to push-start your vehicle. Automatic
transmissions do not have push-start capability; also, the
catalytic conveter may become damaged.
Preparing your vehicle
Your battery is located in the trunk of your vehicle.
When the battery is disconnected or a new battery is installed, the
transmission must relearn its adaptive strategy. As a result of this, the
transmission may shift firmly. This operation is considered normal and
will not effect function or durability of the transmission. Over time, the
adaptive learning process will fully update transmission operation to its
optimum shift feel.
Roadside Emergencies
202
Page 228 of 288

SERVICE RECOMMENDATIONS
To help you service your vehicle:
²We highlight do-it-yourself items in the engine compartment for easy
location.
²We provide a scheduled maintenance guide which makes tracking
routine service easy.
If your vehicle requires professional service, your dealership can provide
the necessary parts and service. Check yourWarranty Guideto find out
which parts and services are covered.
Use only recommended fuels, lubricants, fluids and service parts
conforming to specifications. Motorcraft parts are designed and built to
provide the best performance in your vehicle.
PRECAUTIONS WHEN SERVICING YOUR VEHICLE
Be especially careful when inspecting or servicing your vehicle.
²Do not work on a hot engine.
²When the engine is running, keep loose clothing, jewelry or long hair
away from moving parts.
²Do not work on a vehicle with the engine running in an enclosed
space, unless you are sure you have enough ventilation.
²Keep all lit cigarettes, open flames and other lit material away from
the battery and all fuel related parts.
If you disconnect the battery, the engine must ªrelearnº its idle
conditions and the transmission must ªrelearnº its shift schedules before
your vehicle will drive properly, as explained in theBatterysection in
this chapter.
Working with the engine off
²Automatic transmission:
1. Set the parking brake and ensure the gearshift is securely latched in P
(Park).
2. Turn off the engine and remove the key.
3. Block the wheels to prevent the vehicle from moving unexpectedly.
²Manual transmission:
1. Set the parking brake.
Maintenance and Specifications
228
Page 229 of 288
2. Depress the clutch and place the gearshift in 1 (First).
3. Turn off the engine and remove the key.
4. Block the wheels to prevent the vehicle from moving unexpectedly.
Working with the engine on
²Automatic transmission:
1. Set the parking brake and ensure the gearshift is securely latched in P
(Park).
2. Block the wheels to prevent the vehicle from moving unexpectedly.
Note:Do not start your engine with the air cleaner removed and do not
remove it while the engine is running.
²Manual transmission:
1. Set the parking brake, depress the clutch and place the gearshift in
neutral.
2. Block the wheels to prevent the vehicle from moving unexpectedly.
Note:Do not start your engine with the air cleaner removed and do not
remove it while the engine is running.
The cooling fan is automatic and may come on at any time.
Always disconnect the negative terminal of the battery before
working near the fan.
OPENING THE HOOD
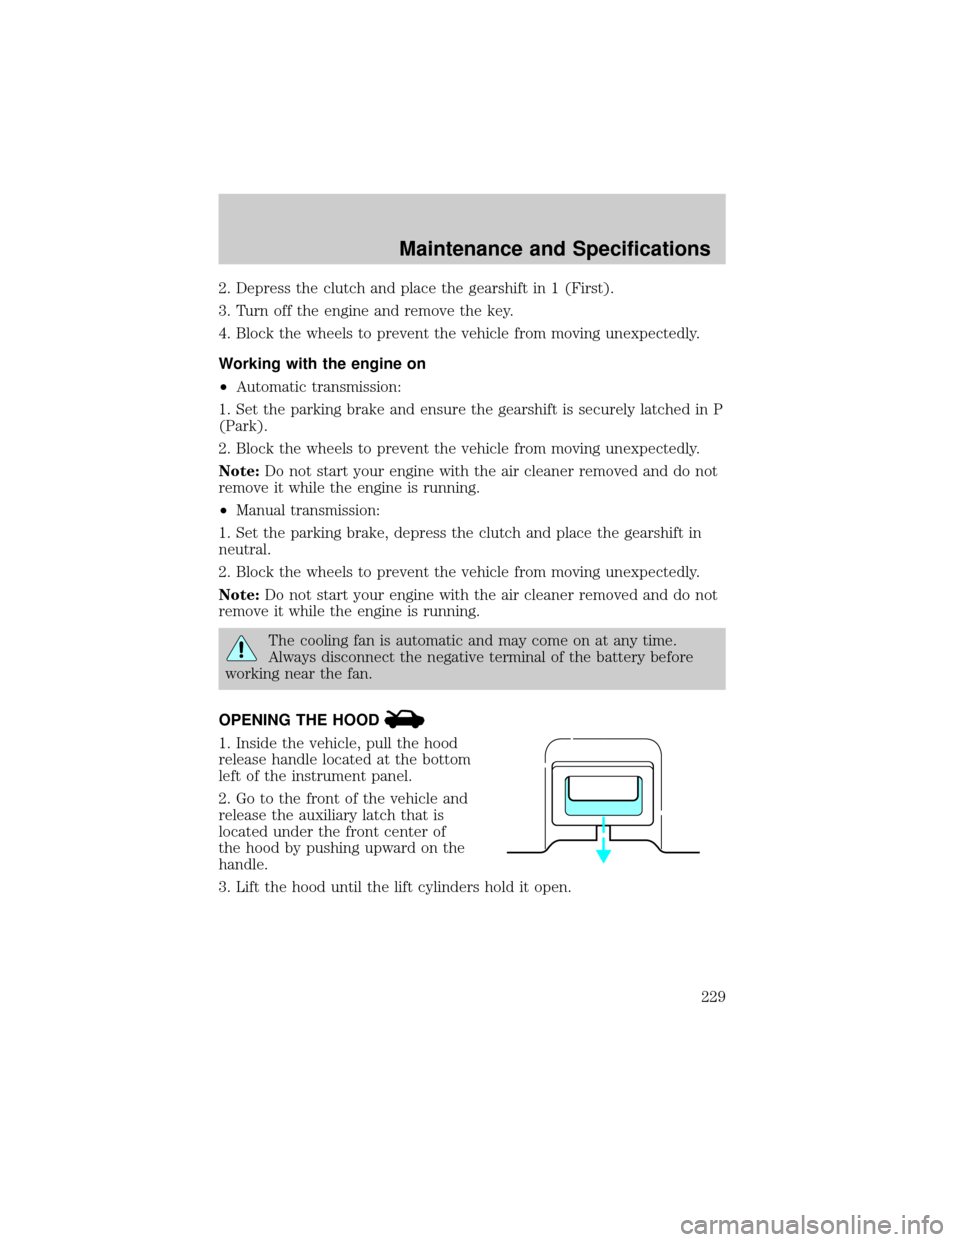
1. Inside the vehicle, pull the hood
release handle located at the bottom
left of the instrument panel.
2. Go to the front of the vehicle and
release the auxiliary latch that is
located under the front center of
the hood by pushing upward on the
handle.
3. Lift the hood until the lift cylinders hold it open.
Maintenance and Specifications
229
Page 279 of 288

H
Hazard flashers .........................188
Head restraints .........................121
Headlamps ...................................60
aiming ..................................63±64
autolamp system .......................60
bulb specifications ....................66
daytime running lights .............61
flash to pass ..............................62
high beam .................................15
replacing bulbs .........................67
turning on and off ....................60
warning chime ..........................15
Heating ........................................48
HomeLink universal
transceiver (see Garage
door opener) .........................86±89
Hood ..........................................229
I
Ignition .......................156, 264±265
removing the key ....................180
Infant seats
(see Safety seats) .....................148
Inspection/maintenance
(I/M) testing ..............................266
Instrument panel
cleaning ...................................224
cluster ................................10, 225
lighting up panel
and interior ...............................62
J
Jack ............................................198
positioning ...............................198
storage .....................................198
Jump-starting your vehicle ......202K
Keyless entry system
autolock ...................................115
Keys ...........................108, 117, 119
key in ignition chime ...............15
positions of the ignition .........156
removing from the ignition ....180
valet key ..................................108
L
Lamps
autolamp system .......................60
bulb replacement
specifications chart ..................66
cargo lamps ...............................62
daytime running light ...............61
fog lamps ...................................61
headlamps .................................60
headlamps, flash to pass ..........62
instrument panel,
dimming .....................................62
interior lamps .....................65, 67
replacing bulbs .............65, 67±68
Lane change indicator
(see Turn signal) ........................64
Lights, warning and indicator ....10
AdvanceTrac .............................13
air bag ........................................12
anti-lock brakes (ABS) ....12, 162
brake ..........................................11
bulb warning .............................14
charging system ........................12
check engine .............................10
cruise indicator .........................14
door ajar ....................................15
fuel cap light .............................11
high beam ...........................14±15
low coolant ................................13
Index
279