Power windows LINCOLN LS 2003 Owners Manual
[x] Cancel search | Manufacturer: LINCOLN, Model Year: 2003, Model line: LS, Model: LINCOLN LS 2003Pages: 288, PDF Size: 3.19 MB
Page 1 of 288
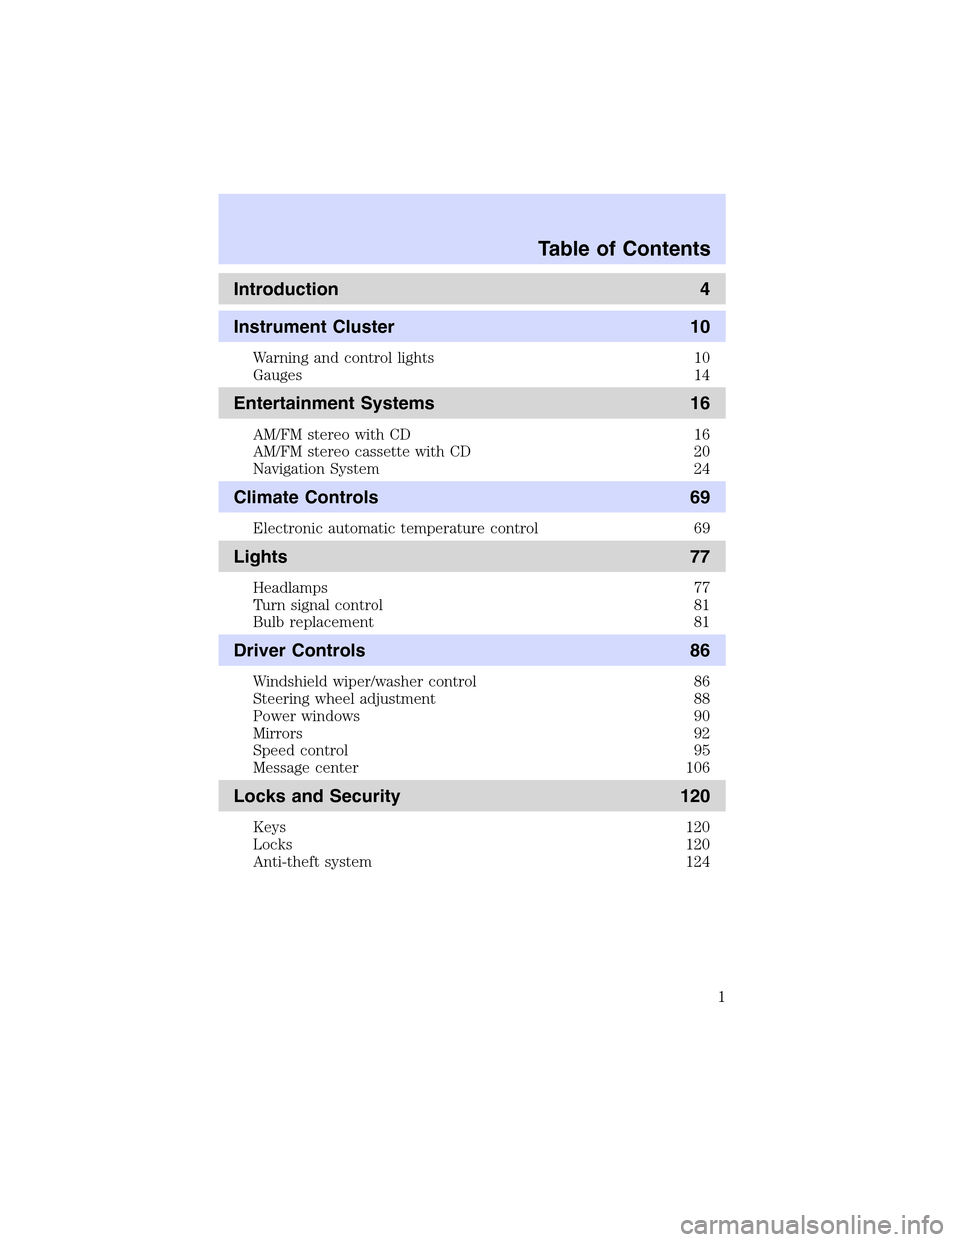
Introduction 4
Instrument Cluster 10
Warning and control lights 10
Gauges 14
Entertainment Systems 16
AM/FM stereo with CD 16
AM/FM stereo cassette with CD 20
Navigation System 24
Climate Controls 69
Electronic automatic temperature control 69
Lights 77
Headlamps 77
Turn signal control 81
Bulb replacement 81
Driver Controls 86
Windshield wiper/washer control 86
Steering wheel adjustment 88
Power windows 90
Mirrors 92
Speed control 95
Message center 106
Locks and Security 120
Keys 120
Locks 120
Anti-theft system 124
Table of Contents
1
Page 9 of 288
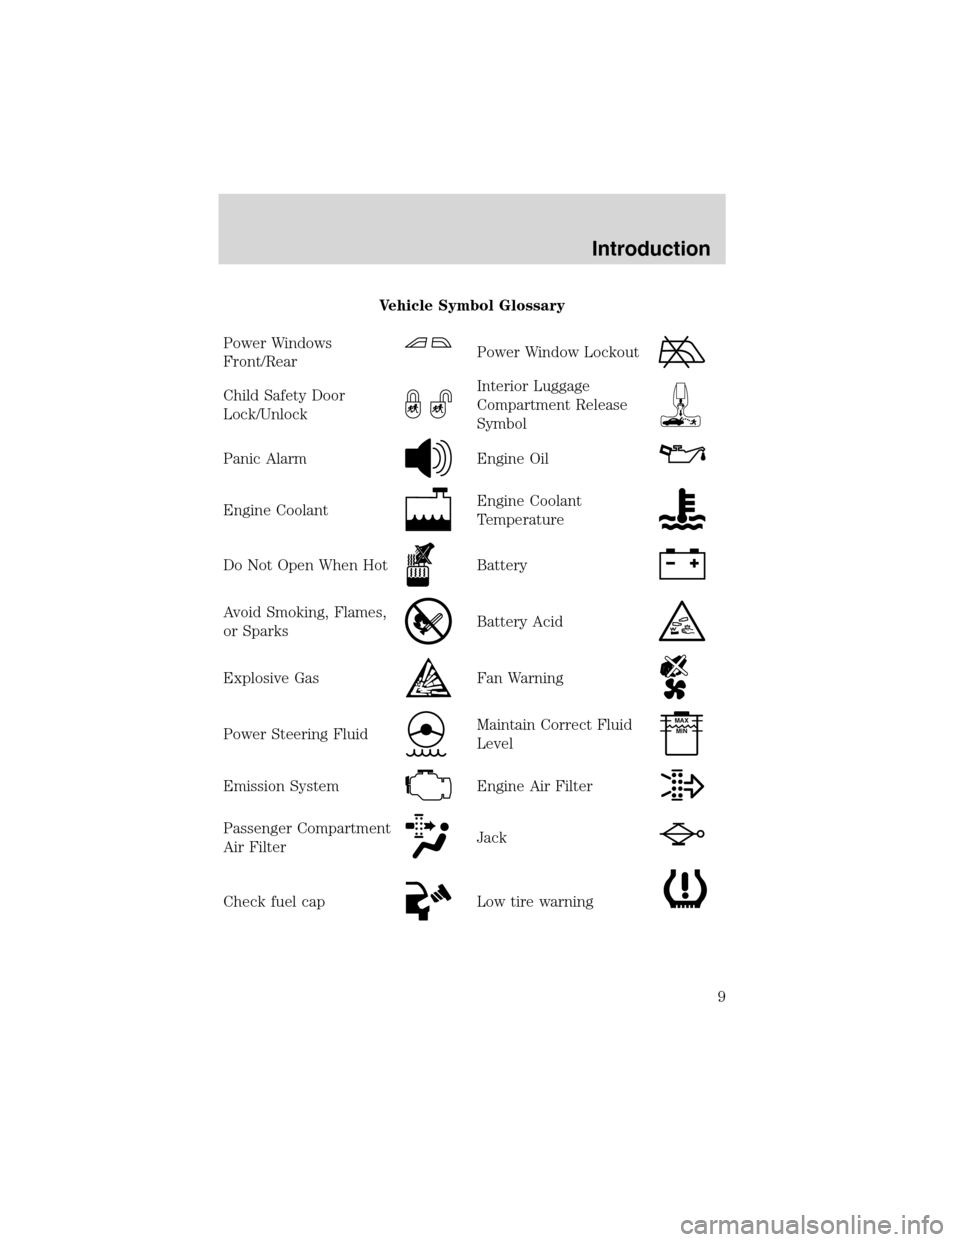
Vehicle Symbol Glossary
Power Windows
Front/Rear
Power Window Lockout
Child Safety Door
Lock/UnlockInterior Luggage
Compartment Release
Symbol
Panic AlarmEngine Oil
Engine CoolantEngine Coolant
Temperature
Do Not Open When HotBattery
Avoid Smoking, Flames,
or SparksBattery Acid
Explosive GasFan Warning
Power Steering FluidMaintain Correct Fluid
LevelMAX
MIN
Emission SystemEngine Air Filter
Passenger Compartment
Air FilterJack
Check fuel capLow tire warning
Introduction
9
Page 90 of 288
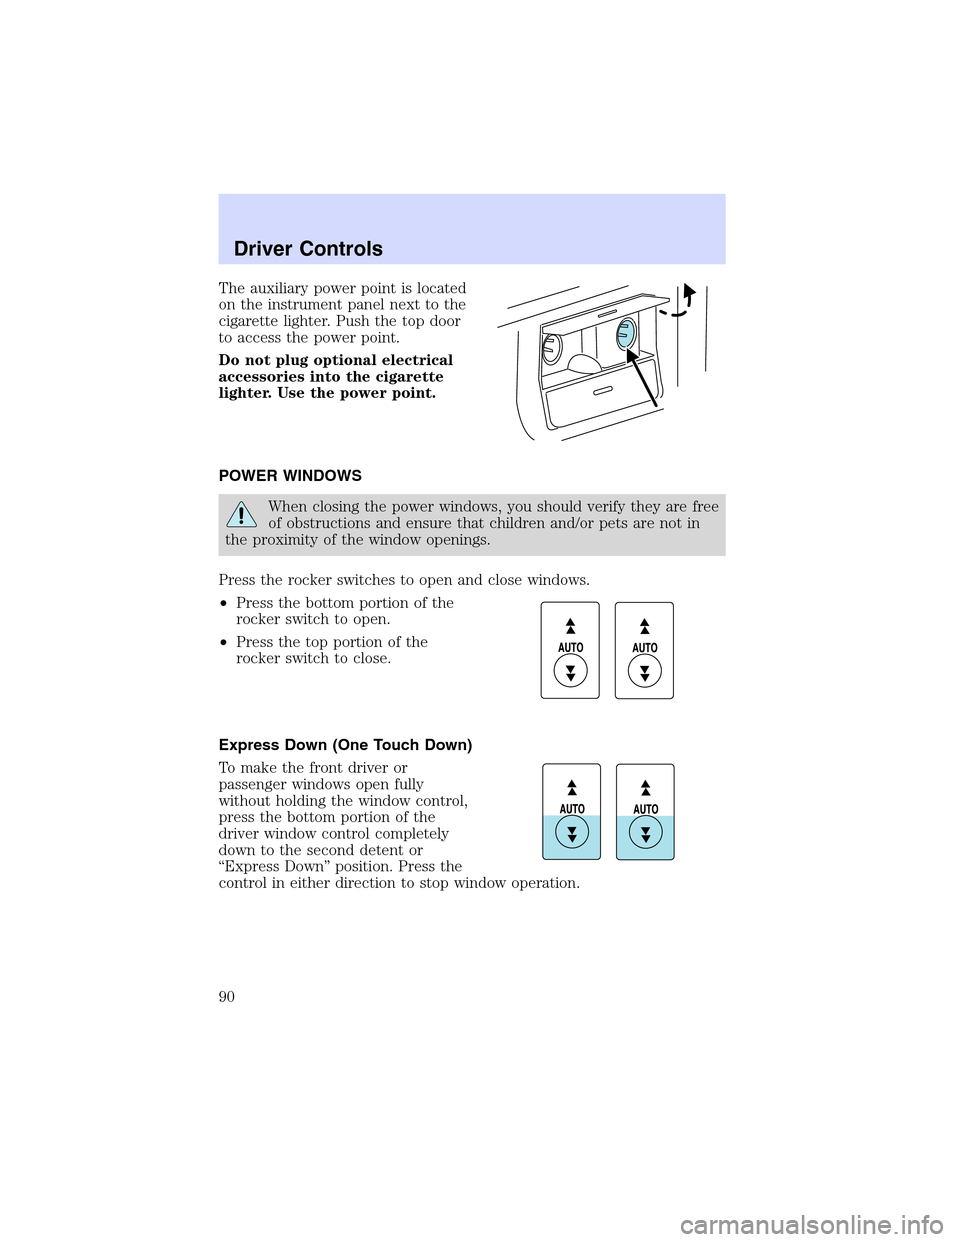
Theauxiliary power point is located
on the instrument panel next to the
cigarette lighter. Push the top door
to access the power point.
Do not plug optional electrical
accessories into the cigarette
lighter. Use the power point.
POWER WINDOWS
When closing the power windows, you should verify they are free
of obstructions and ensure that children and/or pets are not in
the proximity of the window openings.
Press the rocker switches to open and close windows.
•Press the bottom portion of the
rocker switch to open.
•Press the top portion of the
rocker switch to close.
Express Down (One Touch Down)
To make the front driver or
passenger windows open fully
without holding the window control,
press the bottom portion of the
driver window control completely
down to the second detent or
“Express Down”position. Press the
control in either direction to stop window operation.
Driver Controls
90
Page 91 of 288
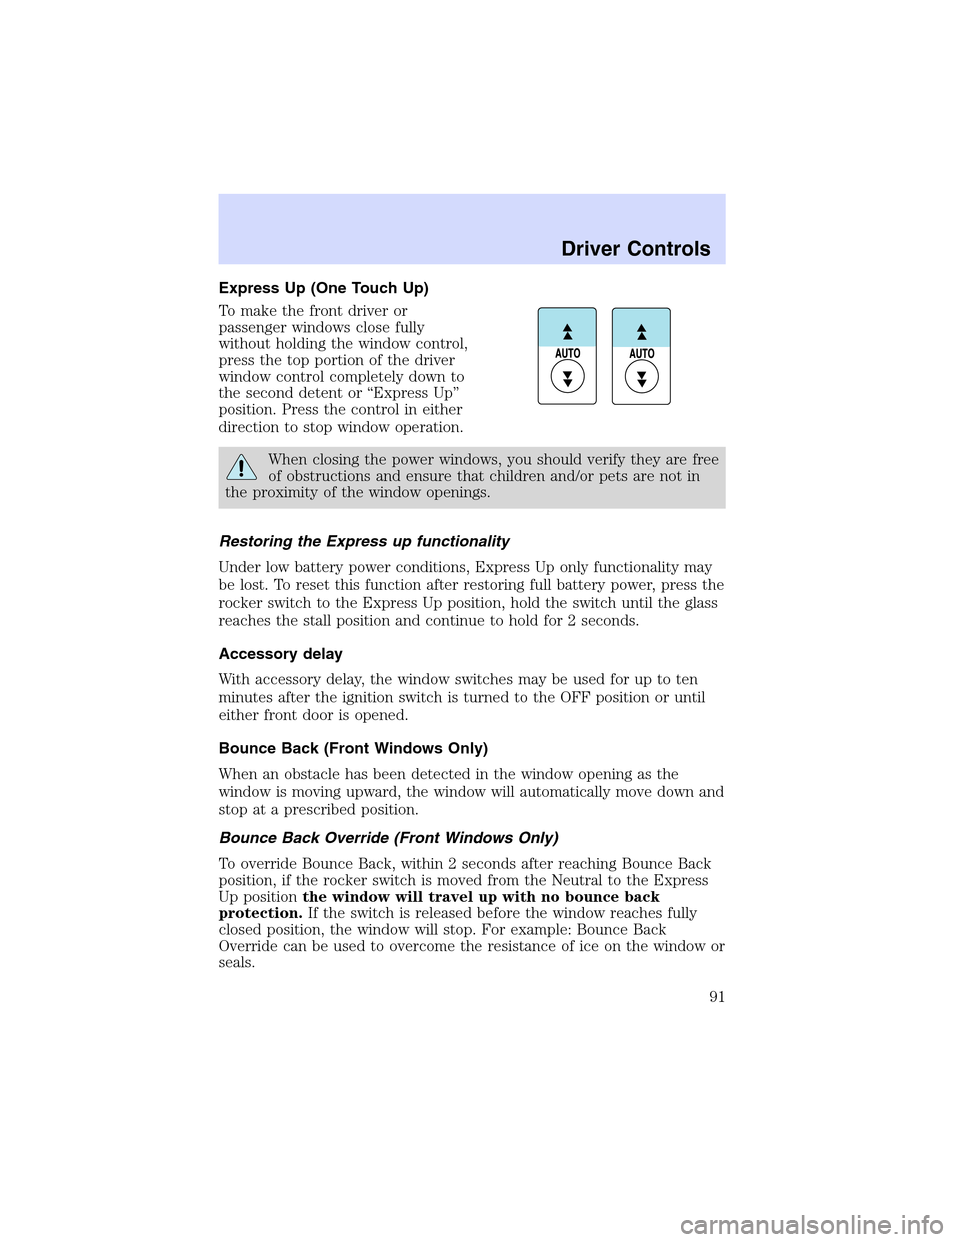
Express Up (One Touch Up)
To make the front driver or
passenger windows close fully
without holding the window control,
press the top portion of the driver
window control completely down to
the second detent or“Express Up”
position. Press the control in either
direction to stop window operation.
When closing the power windows, you should verify they are free
of obstructions and ensure that children and/or pets are not in
the proximity of the window openings.
Restoring the Express up functionality
Under low battery power conditions, Express Up only functionality may
be lost. To reset this function after restoring full battery power, press the
rocker switch to the Express Up position, hold the switch until the glass
reaches the stall position and continue to hold for 2 seconds.
Accessory delay
With accessory delay, the window switches may be used for up to ten
minutes after the ignition switch is turned to the OFF position or until
either front door is opened.
Bounce Back (Front Windows Only)
When an obstacle has been detected in the window opening as the
window is moving upward, the window will automatically move down and
stop at a prescribed position.
Bounce Back Override (Front Windows Only)
To override Bounce Back, within 2 seconds after reaching Bounce Back
position, if the rocker switch is moved from the Neutral to the Express
Up positionthe window will travel up with no bounce back
protection.If the switch is released before the window reaches fully
closed position, the window will stop. For example: Bounce Back
Override can be used to overcome the resistance of ice on the window or
seals.
Driver Controls
91
Page 92 of 288
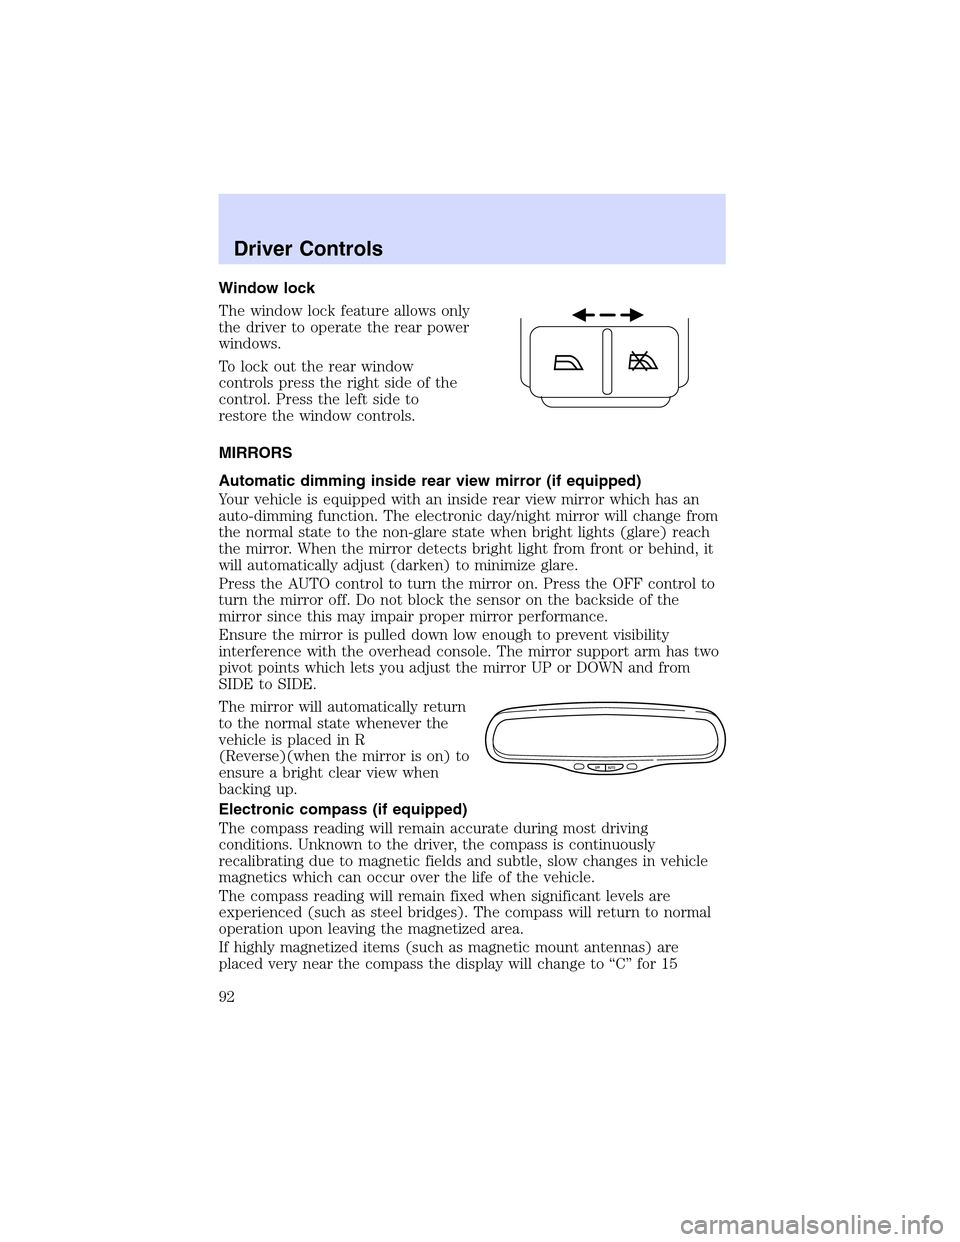
Window lock
The window lock feature allows only
the driver to operate the rear power
windows.
To lock out the rear window
controls press the right side of the
control. Press the left side to
restore the window controls.
MIRRORS
Automatic dimming inside rear view mirror (if equipped)
Your vehicle is equipped with an inside rear view mirror which has an
auto-dimming function. The electronic day/night mirror will change from
the normal state to the non-glare state when bright lights (glare) reach
the mirror. When the mirror detects bright light from front or behind, it
will automatically adjust (darken) to minimize glare.
Press the AUTO control to turn the mirror on. Press the OFF control to
turn the mirror off. Do not block the sensor on the backside of the
mirror since this may impair proper mirror performance.
Ensure the mirror is pulled down low enough to prevent visibility
interference with the overhead console. The mirror support arm has two
pivot points which lets you adjust the mirror UP or DOWN and from
SIDE to SIDE.
The mirror will automatically return
to the normal state whenever the
vehicle is placed in R
(Reverse)(when the mirror is on) to
ensure a bright clear view when
backing up.
Electronic compass (if equipped)
The compass reading will remain accurate during most driving
conditions. Unknown to the driver, the compass is continuously
recalibrating due to magnetic fields and subtle, slow changes in vehicle
magnetics which can occur over the life of the vehicle.
The compass reading will remain fixed when significant levels are
experienced (such as steel bridges). The compass will return to normal
operation upon leaving the magnetized area.
If highly magnetized items (such as magnetic mount antennas) are
placed very near the compass the display will change to“C”for 15
OFF AUTO
Driver Controls
92
Page 120 of 288
KEYS
Your vehicle is equipped with two master keys and a valet key lock
system. The master key will access the driver’s door, trunk, glove box,
remote trunk release control and ignition. The valet key will access door
and ignition only.
Refer to theSecurilock Passive Anti-Theft Systemsection for
information on Securilock keys.
POWER DOOR LOCKS
Press the top of the control to
unlock all doors and the bottom to
lock all doors.
When the vehicle’s security system
is armed, the power door locks and
remote trunk release control are
disabled; these features will not
work until the security system is
disarmed.
Smart locks
With the key in any ignition position:
•The driver’s door will automatically unlock if it is locked by the
driver’s power lock control while the driver’s door is open.
•All doors will automatically unlock if the passenger’s door is locked by
the passenger’s power lock control while the passenger’s door is open.
The vehicle may still be locked with the key in the ignition, and
performing one of the following actions:
•Pressing the manual lock button on the door.
•Operating the remote entry transmitter.
•Operating the keyless entry keypad.
•Operating the driver’s door with a key.
Opening all windows and moonroof (if equipped)
You can open the vehicle’s windows and moonroof (if equipped) by using
the door key or the
control on the remote entry transmitter.
Turn the key toward the front of the vehicle and hold it for more than
two seconds to begin to open all the windows and moonroof. Releasing
the key to the center position will stop all motion.
Locks and Security
120
Page 121 of 288
Note:The ignition must be in the OFF position and the accessory delay
feature must not be activated in order for this feature to operate.
Closing all windows and moonroof (if equipped)
Note:This operation is only available using the door key.
You can close the vehicle’s windows and moonroof (if equipped) by using
the door key.
Turn the key toward the back of the vehicle and hold it for more than
two seconds to begin to close all the windows and moonroof. Releasing
the key to the center position will stop all motion.
Note:The ignition must be in the OFF position and the accessory delay
feature must not be activated in order for this feature to operate.
The rear windows do not have bounce-back protection. If an
obstruction occurs, turn the key toward the front of the vehicle
and hold for more than two seconds in order to reopen all the windows
and moonroof.
Before operating power windows and moonroofs, you should
verify that they are free of obstructions and ensure that children
and/or pets are not in the proximity of window openings.
Central locking/Two stage unlocking
When unlocking the driver door with the key, turn it once toward the
front of the vehicle to unlock that door only, if the two-stage unlocking is
enabled. Turn the key a second time to unlock all doors. When locking,
turn the key toward the back of the vehicle to lock all doors.
Two stage unlocking may be disabled (and the vehicle may be
programmed for all vehicle doors to unlock by pressing the
control or
by turning the key inside the driver’s door key cylinder once toward the
front of the vehicle) by simultaneously pressing the
andcontrols
on the remote entry transmitter for four seconds.
Note:The turn lamps will flash twice to confirm that a change to the
feature has occurred.
Locks and Security
121
Page 124 of 288
•operate the memory seat/mirror/steering column/adjustable pedals
feature (if equipped).
•enable/disable the two-stage unlocking feature.
When the vehicle is armed, the interior power door lock controls and
remote interior trunk release control are disabled. These features will not
work until the vehicle is disarmed. Refer toCentral locking/Two-stage
unlockinginformation in this chapter.
If there is any potential remote keyless entry problem with your vehicle,
ensureALL remote entry transmittersare taken to the dealership to
aid in troubleshooting.
Unlocking the doors
1. Pressand release to:
•unlock the driver’s door only, if the two-stage unlocking feature is
enabled.
•unlock all doors, if the two-stage unlocking feature is disabled.
•deactivate the perimeter alarm (if activated).Note:The interior lamps
will illuminate and the turn signal lamps will display two short flashes
to indicate the deactivation of the perimeter alarm. Additionally, if the
memory seat/mirror/steering column/adjustable pedals feature (if
equipped) is activated, the corresponding seat/mirror/steering
column/adjustable pedals positions will be recalled.
2. Press
and release again within five seconds to unlock all the doors.
The remote entry system comes with an illuminated entry feature. This
feature turns on the puddle lamps and the interior lamps for 20 seconds
or until the ignition is turned to the START position.
The inside lights will not turn off if:
•they have been turned on using the dimmer control or
•any door is open.
The battery saver feature will turn off the interior lamps 40 minutes after
the ignition is turned to the OFF position.
Opening all windows and moonroof (if equipped)
Pressand hold for more than two seconds in order to begin opening
the windows and moonroof (if equipped).
•The
control can then be released and the windows and moonroof
will complete the opening operation.Note:If the moonroof is in the
vent range, the moonroof will move to full vent.
Locks and Security
124
Page 285 of 288
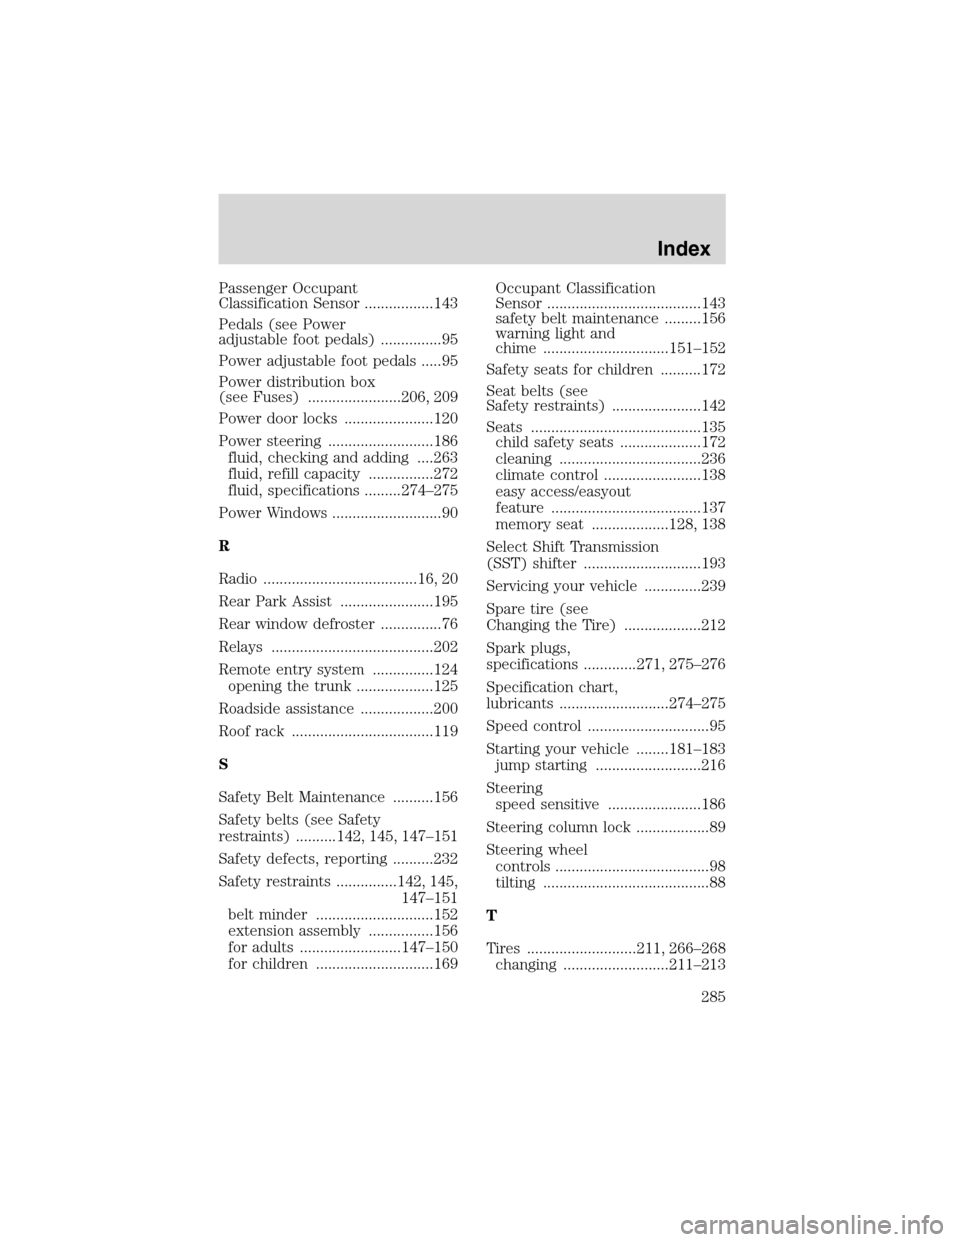
Passenger Occupant
Classification Sensor .................143
Pedals (see Power
adjustable foot pedals) ...............95
Power adjustable foot pedals .....95
Power distribution box
(see Fuses) .......................206, 209
Power door locks ......................120
Power steering ..........................186
fluid, checking and adding ....263
fluid, refill capacity ................272
fluid, specifications .........274–275
Power Windows ...........................90
R
Radio ......................................16, 20
Rear Park Assist .......................195
Rear window defroster ...............76
Relays ........................................202
Remote entry system ...............124
opening the trunk ...................125
Roadside assistance ..................200
Roof rack ...................................119
S
Safety Belt Maintenance ..........156
Safety belts (see Safety
restraints) ..........142, 145, 147–151
Safety defects, reporting ..........232
Safety restraints ...............142, 145,
147–151
belt minder .............................152
extension assembly ................156
for adults .........................147–150
for children .............................169Occupant Classification
Sensor ......................................143
safety belt maintenance .........156
warning light and
chime ...............................151–152
Safety seats for children ..........172
Seat belts (see
Safety restraints) ......................142
Seats ..........................................135
child safety seats ....................172
cleaning ...................................236
climate control ........................138
easy access/easyout
feature .....................................137
memory seat ...................128, 138
Select Shift Transmission
(SST) shifter .............................193
Servicing your vehicle ..............239
Spare tire (see
Changing the Tire) ...................212
Spark plugs,
specifications .............271, 275–276
Specification chart,
lubricants ...........................274–275
Speed control ..............................95
Starting your vehicle ........181–183
jump starting ..........................216
Steering
speed sensitive .......................186
Steering column lock ..................89
Steering wheel
controls ......................................98
tilting .........................................88
T
Tires ...........................211, 266–268
changing ..........................211–213
Index
285
Page 286 of 288
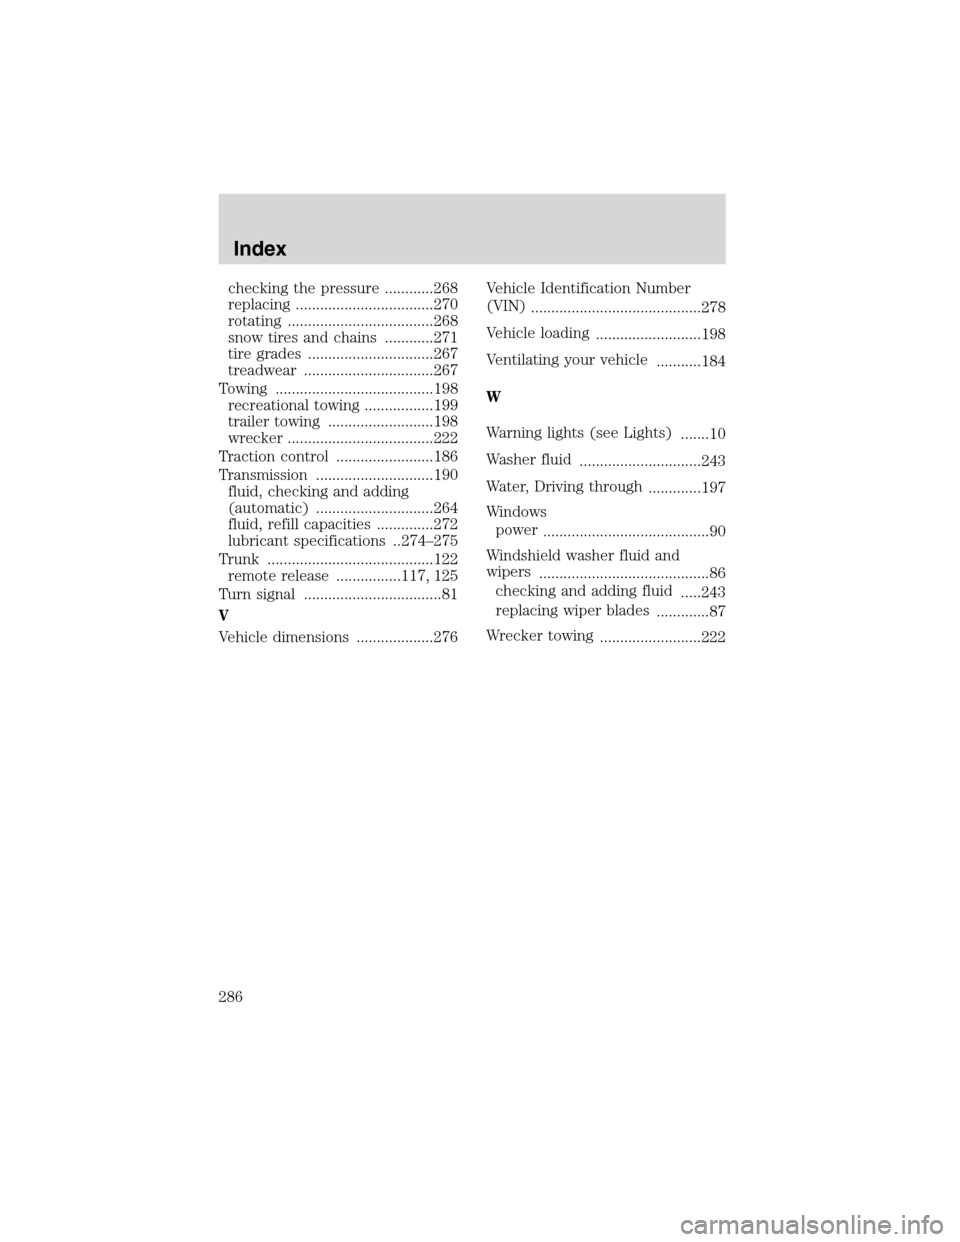
checking the pressure ............268
replacing ..................................270
rotating ....................................268
snow tires and chains ............271
tire grades ...............................267
treadwear ................................267
Towing .......................................198
recreational towing .................199
trailer towing ..........................198
wrecker ....................................222
Traction control ........................186
Transmission .............................190
fluid, checking and adding
(automatic) .............................264
fluid, refill capacities ..............272
lubricant specifications ..274–275
Trunk .........................................122
remote release ................117, 125
Turn signal ..................................81
V
Vehicle dimensions ...................276Vehicle Identification Number
(VIN)
..........................................278
Vehicle loading
..........................198
Ventilating your vehicle
...........184
W
Warning lights (see Lights)
.......10
Washer fluid
..............................243
Water, Driving through
.............197
Windows
power
.........................................90
Windshield washer fluid and
wipers
..........................................86
checking and adding fluid
.....243
replacing wiper blades
.............87
Wrecker towing
.........................222
Index
286