Controls and Features LINCOLN MARK VIII 1998 User Guide
[x] Cancel search | Manufacturer: LINCOLN, Model Year: 1998, Model line: MARK VIII, Model: LINCOLN MARK VIII 1998Pages: 170, PDF Size: 1.37 MB
Page 37 of 170
²FLOOR-Allows for maximum heating by distributing outside air
through the floor ducts. However, the air cannot be cooled below the
outside temperature because the air conditioning does not operate in
this mode.
²FLR²DEF-Distributes outside air through the windshield defroster
ducts and the floor ducts. Heating and air conditioning capabilities are
provided in this mode. The air will be heated or cooled based on the
temperature selection. For added customer comfort, the air
distributed through the floor ducts will be slightly warmer than the air
sent to the windshield defroster ducts. If the temperature is about
10ÉC (50ÉF) or higher, the air conditioner will automatically
dehumidify the air to prevent fogging.
²DEF
-Distributes outside air through the windshield defroster
ducts. It can be used to clear ice or fog from the windshield. If the
outside air temperature is about 10ÉC (50ÉF) or higher, the air
conditioner will automatically dehumidify the air to prevent fogging.
²OFF-Outside air is shut out and the fan will not operate. For short
periods of time only, use this mode to prevent undesirable odors from
entering the vehicle.
Displaying outside temperature
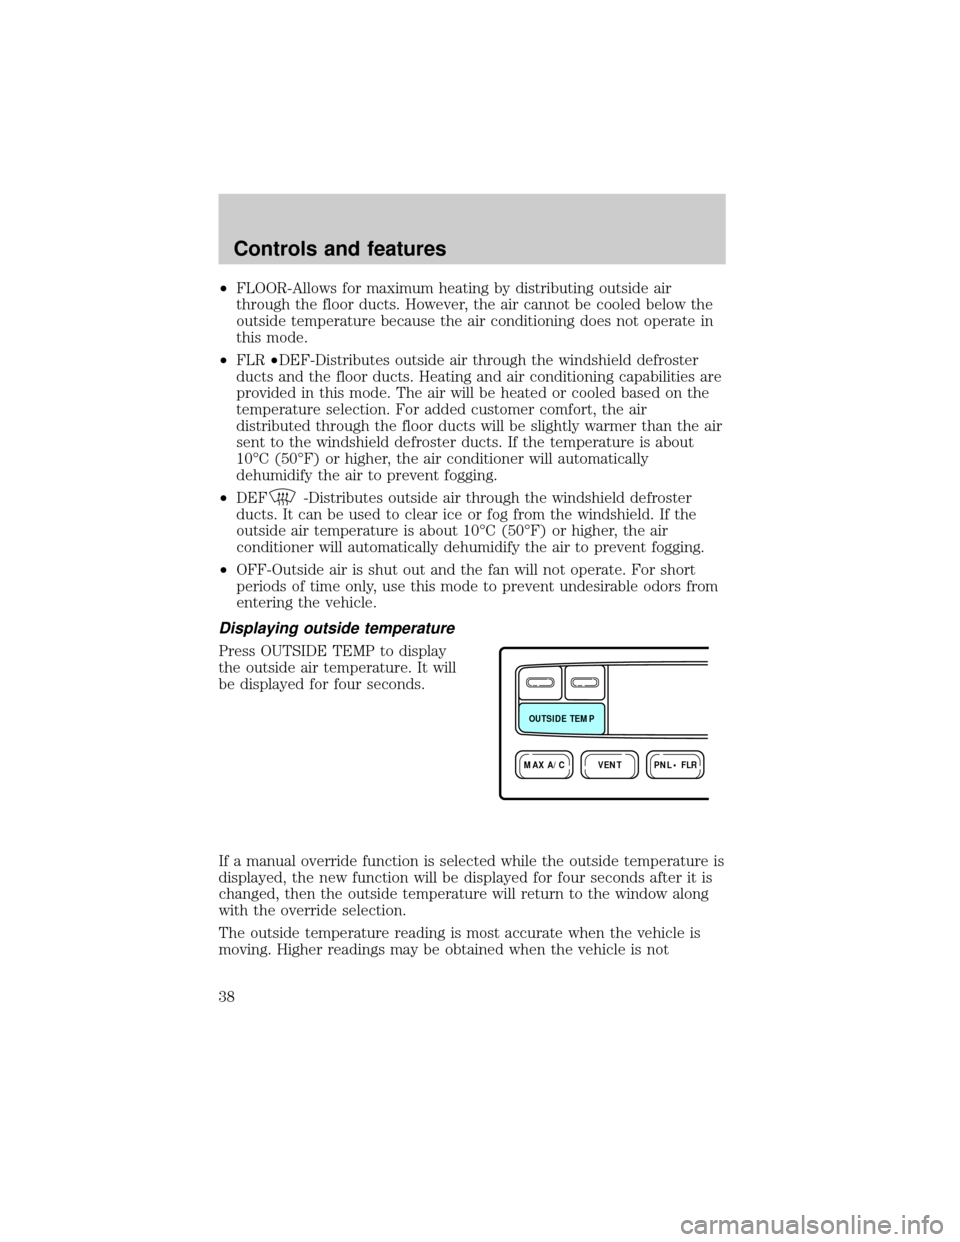
Press OUTSIDE TEMP to display
the outside air temperature. It will
be displayed for four seconds.
If a manual override function is selected while the outside temperature is
displayed, the new function will be displayed for four seconds after it is
changed, then the outside temperature will return to the window along
with the override selection.
The outside temperature reading is most accurate when the vehicle is
moving. Higher readings may be obtained when the vehicle is not
VENTPNL • FLRMAX A/C
OUTSIDE TEMP
Controls and features
38
Page 38 of 170
moving. The readings that you get may not agree with temperatures
given on the radio due to differences in vehicle and station locations.
Operating tips
²In humid weather, select DEFbefore driving. This will prevent
your windshield from fogging. After a few minutes, select any desired
position.
²To prevent humidity buildup inside the vehicle, don't drive with the
climate control system in the OFF position.
²Don't put objects under the front seat that will interfere with the
airflow to the back seats.
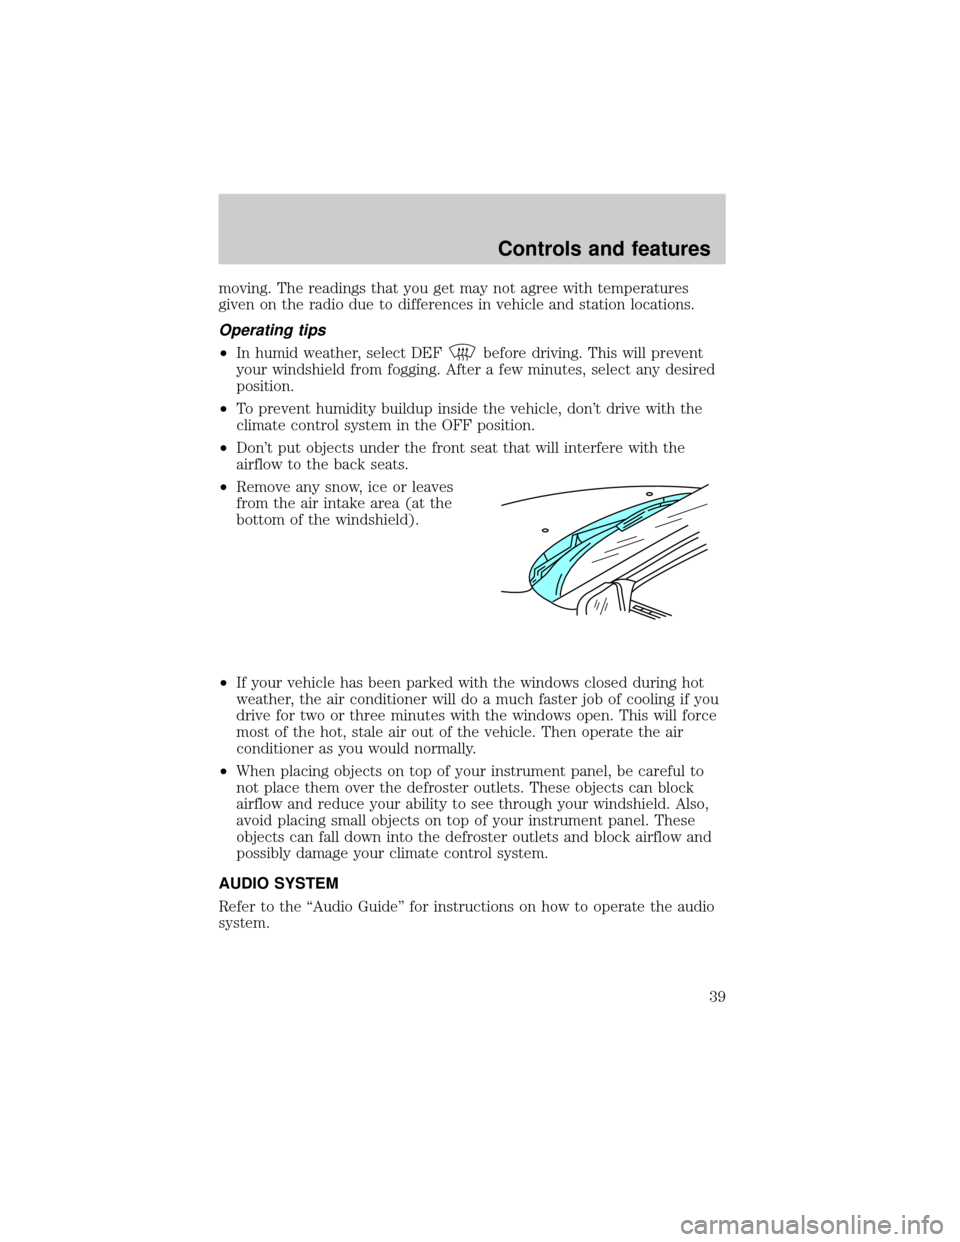
²Remove any snow, ice or leaves
from the air intake area (at the
bottom of the windshield).
²If your vehicle has been parked with the windows closed during hot
weather, the air conditioner will do a much faster job of cooling if you
drive for two or three minutes with the windows open. This will force
most of the hot, stale air out of the vehicle. Then operate the air
conditioner as you would normally.
²When placing objects on top of your instrument panel, be careful to
not place them over the defroster outlets. These objects can block
airflow and reduce your ability to see through your windshield. Also,
avoid placing small objects on top of your instrument panel. These
objects can fall down into the defroster outlets and block airflow and
possibly damage your climate control system.
AUDIO SYSTEM
Refer to the ªAudio Guideº for instructions on how to operate the audio
system.
Controls and features
39
Page 39 of 170
REAR WINDOW DEFROSTER
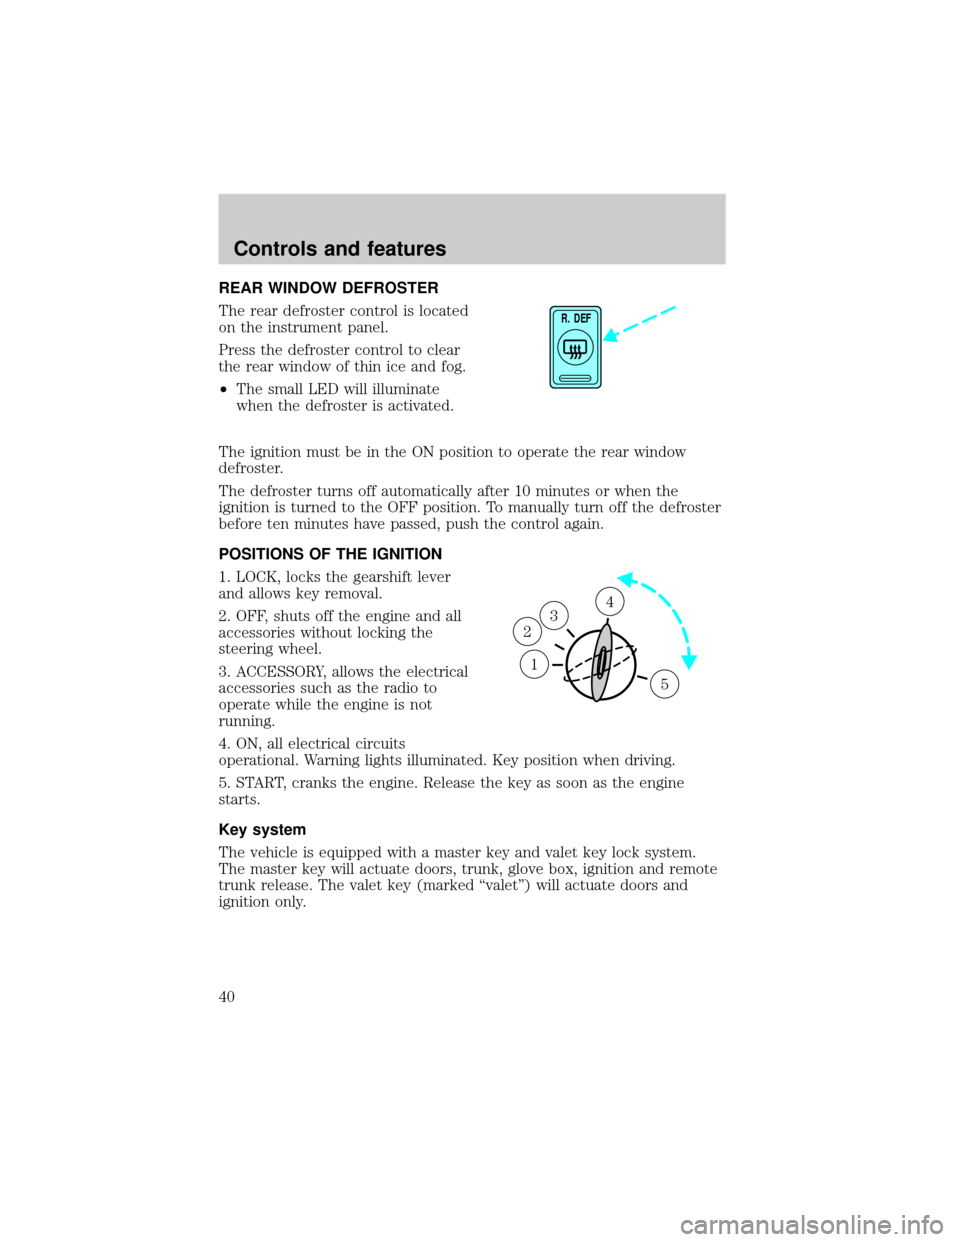
The rear defroster control is located
on the instrument panel.
Press the defroster control to clear
the rear window of thin ice and fog.
²The small LED will illuminate
when the defroster is activated.
The ignition must be in the ON position to operate the rear window
defroster.
The defroster turns off automatically after 10 minutes or when the
ignition is turned to the OFF position. To manually turn off the defroster
before ten minutes have passed, push the control again.
POSITIONS OF THE IGNITION
1. LOCK, locks the gearshift lever
and allows key removal.
2. OFF, shuts off the engine and all
accessories without locking the
steering wheel.
3. ACCESSORY, allows the electrical
accessories such as the radio to
operate while the engine is not
running.
4. ON, all electrical circuits
operational. Warning lights illuminated. Key position when driving.
5. START, cranks the engine. Release the key as soon as the engine
starts.
Key system
The vehicle is equipped with a master key and valet key lock system.
The master key will actuate doors, trunk, glove box, ignition and remote
trunk release. The valet key (marked ªvaletº) will actuate doors and
ignition only.
R. DEF
1
3
2
4
5
Controls and features
40
Page 40 of 170
WINDSHIELD WIPER/WASHER CONTROLS
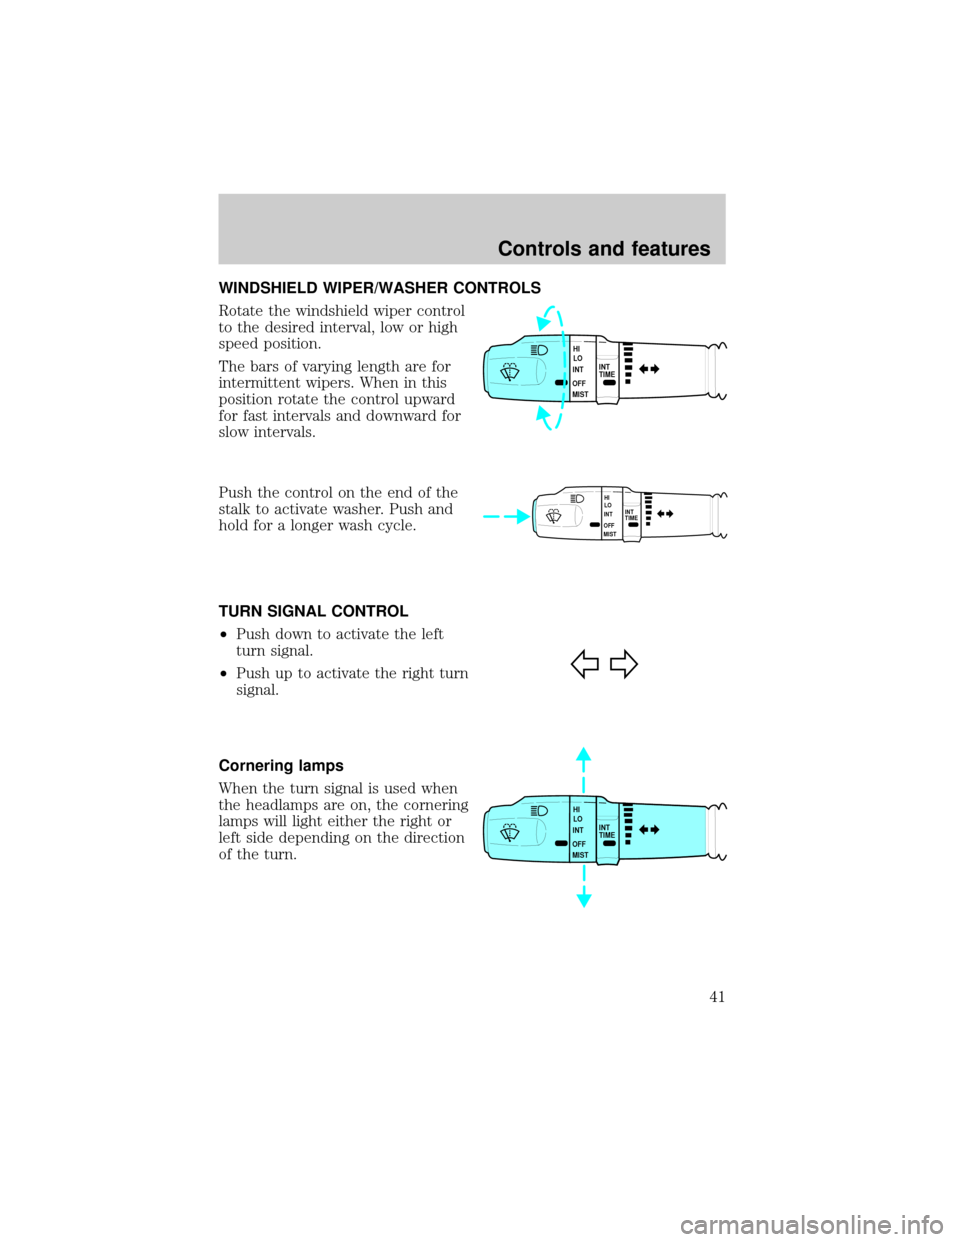
Rotate the windshield wiper control
to the desired interval, low or high
speed position.
The bars of varying length are for
intermittent wipers. When in this
position rotate the control upward
for fast intervals and downward for
slow intervals.
Push the control on the end of the
stalk to activate washer. Push and
hold for a longer wash cycle.
TURN SIGNAL CONTROL
²Push down to activate the left
turn signal.
²Push up to activate the right turn
signal.
Cornering lamps
When the turn signal is used when
the headlamps are on, the cornering
lamps will light either the right or
left side depending on the direction
of the turn.
INT
TIME HI
LO
INT
OFF
MIST
INT
TIME HI
LO
INT
OFF
MIST
INT
TIME HI
LO
INT
OFF
MIST
Controls and features
41
Page 41 of 170
POWER TILT/TELESCOPE STEERING COLUMN
Never adjust the steering wheel when the vehicle is moving.
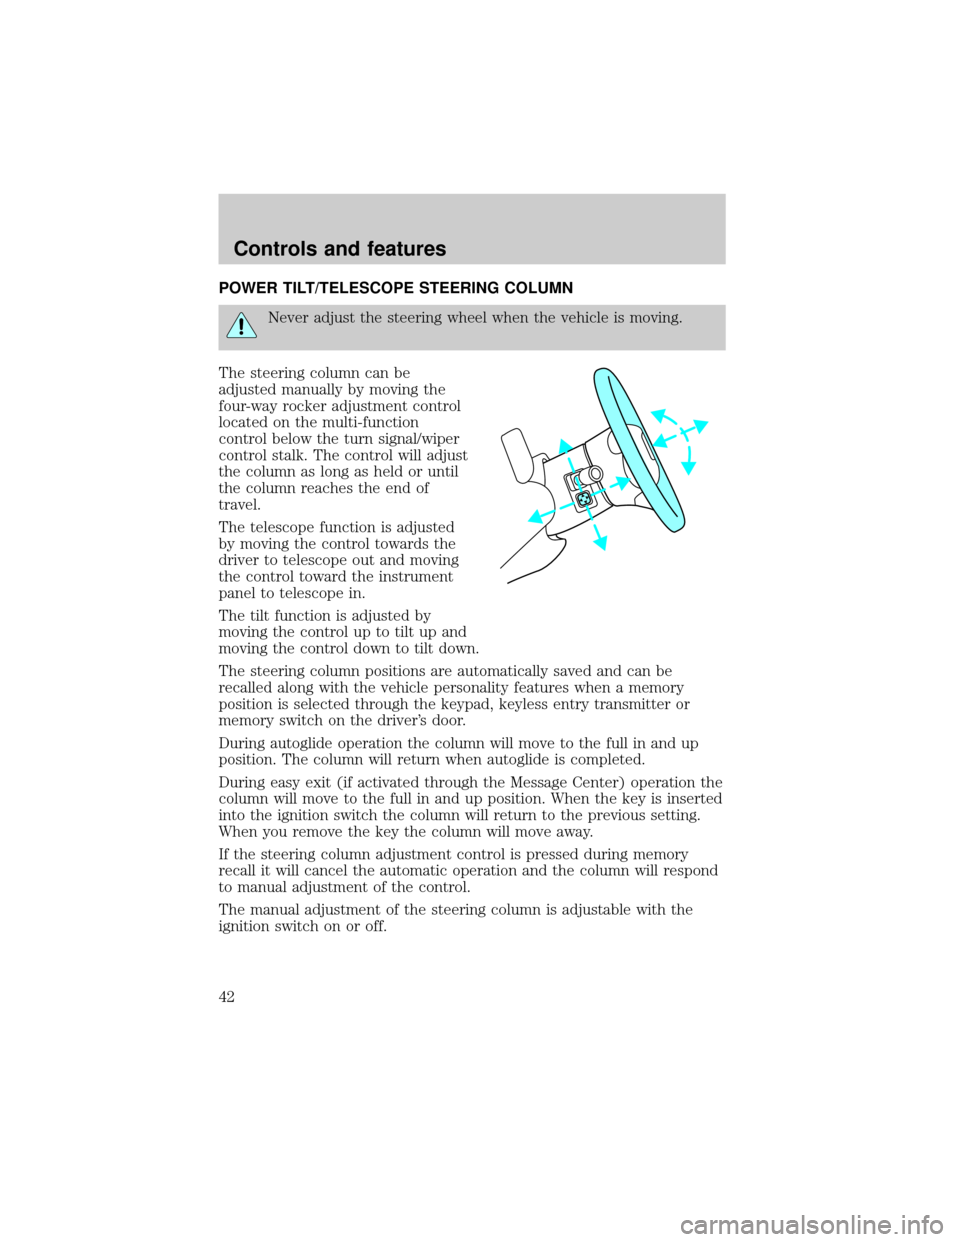
The steering column can be
adjusted manually by moving the
four-way rocker adjustment control
located on the multi-function
control below the turn signal/wiper
control stalk. The control will adjust
the column as long as held or until
the column reaches the end of
travel.
The telescope function is adjusted
by moving the control towards the
driver to telescope out and moving
the control toward the instrument
panel to telescope in.
The tilt function is adjusted by
moving the control up to tilt up and
moving the control down to tilt down.
The steering column positions are automatically saved and can be
recalled along with the vehicle personality features when a memory
position is selected through the keypad, keyless entry transmitter or
memory switch on the driver's door.
During autoglide operation the column will move to the full in and up
position. The column will return when autoglide is completed.
During easy exit (if activated through the Message Center) operation the
column will move to the full in and up position. When the key is inserted
into the ignition switch the column will return to the previous setting.
When you remove the key the column will move away.
If the steering column adjustment control is pressed during memory
recall it will cancel the automatic operation and the column will respond
to manual adjustment of the control.
The manual adjustment of the steering column is adjustable with the
ignition switch on or off.
Controls and features
42
Page 42 of 170
If attempting to manually adjust the steering column and it does not
respond see your local dealer for service.
SPEED CONTROL
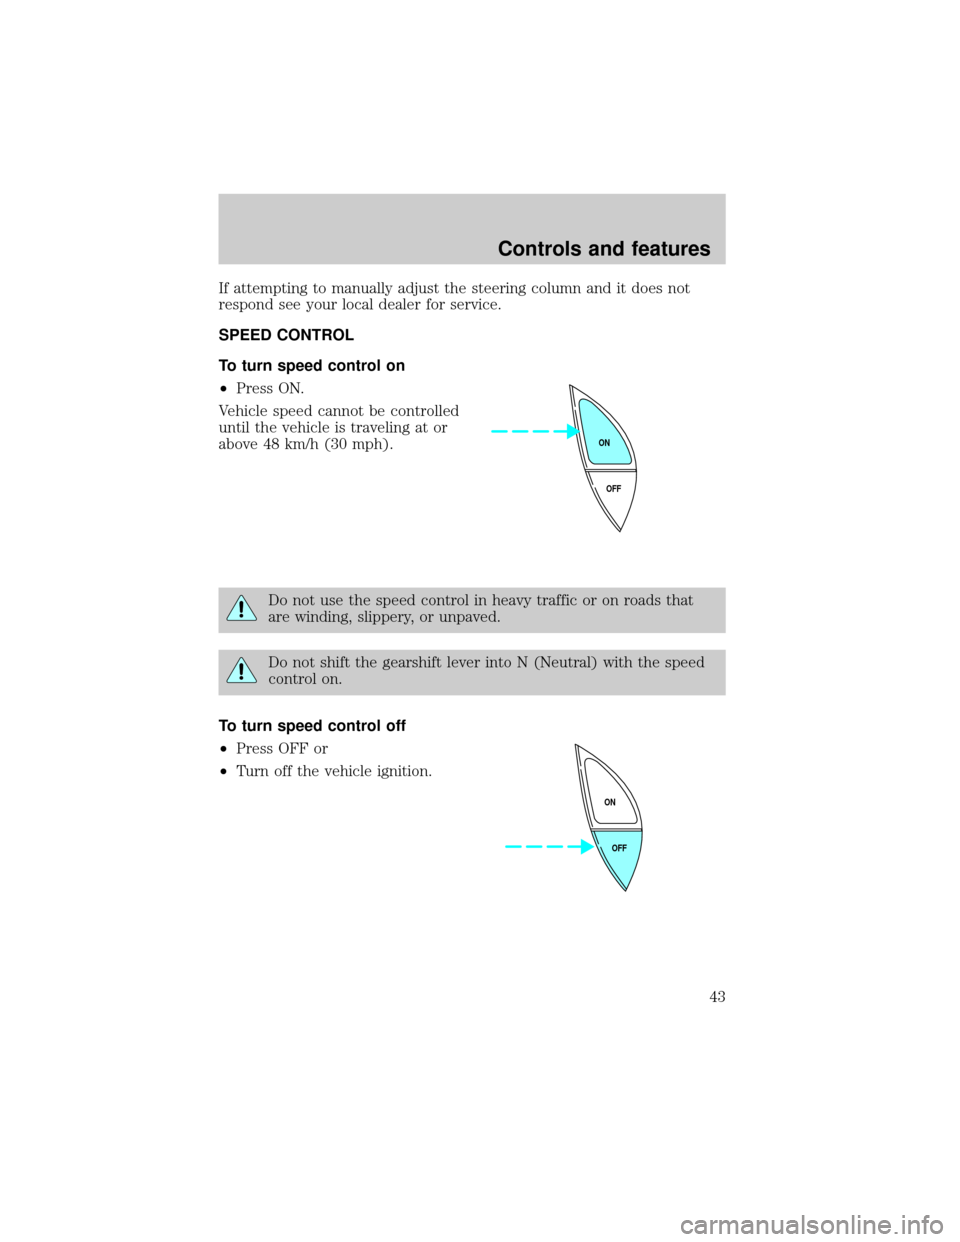
To turn speed control on
²Press ON.
Vehicle speed cannot be controlled
until the vehicle is traveling at or
above 48 km/h (30 mph).
Do not use the speed control in heavy traffic or on roads that
are winding, slippery, or unpaved.
Do not shift the gearshift lever into N (Neutral) with the speed
control on.
To turn speed control off
²Press OFF or
²Turn off the vehicle ignition.
OFF ON
OFF ON
Controls and features
43
Page 43 of 170
Once speed control is switched off, the previously programmed set speed
will be erased.
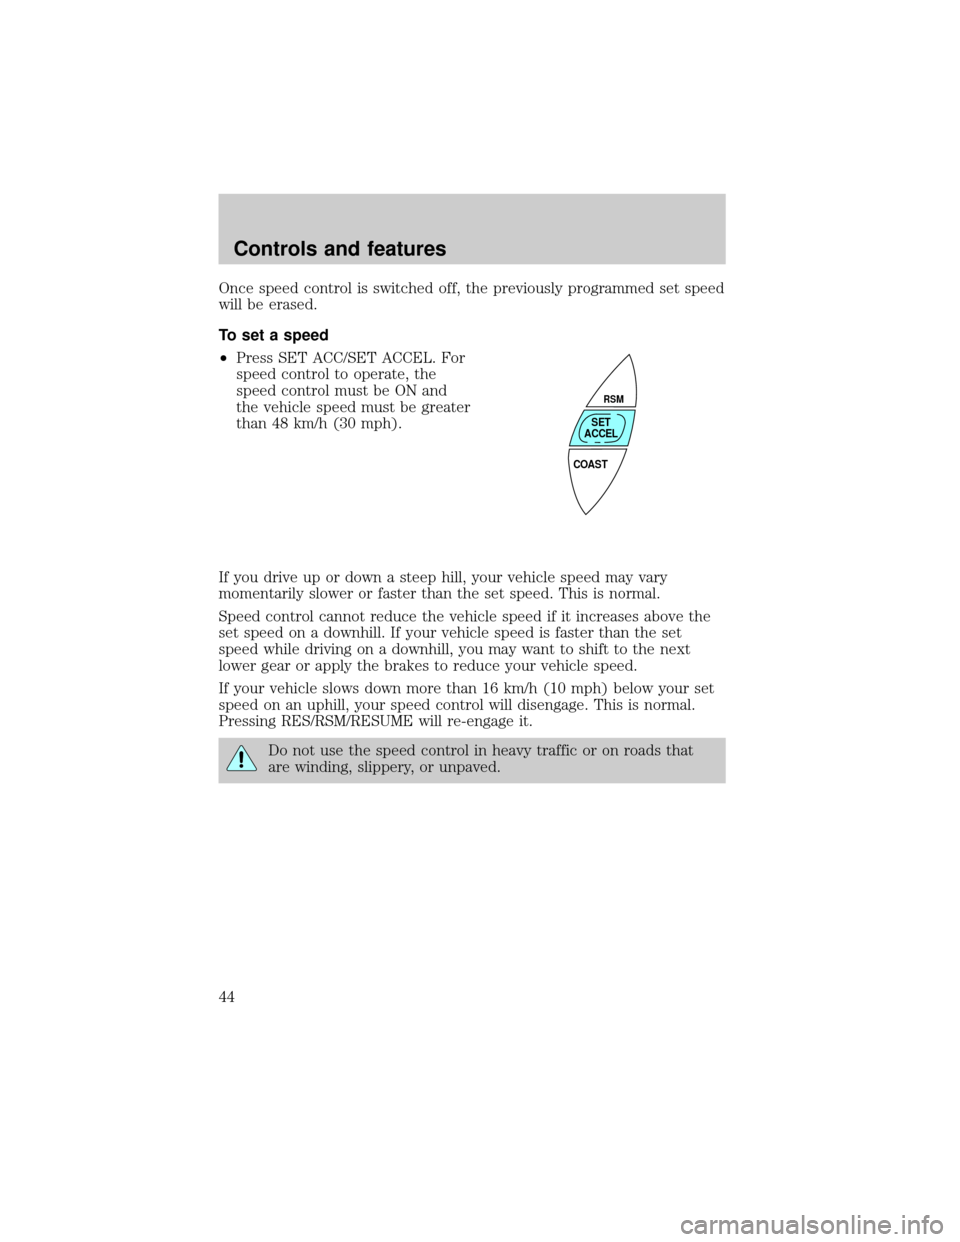
To set a speed
²Press SET ACC/SET ACCEL. For
speed control to operate, the
speed control must be ON and
the vehicle speed must be greater
than 48 km/h (30 mph).
If you drive up or down a steep hill, your vehicle speed may vary
momentarily slower or faster than the set speed. This is normal.
Speed control cannot reduce the vehicle speed if it increases above the
set speed on a downhill. If your vehicle speed is faster than the set
speed while driving on a downhill, you may want to shift to the next
lower gear or apply the brakes to reduce your vehicle speed.
If your vehicle slows down more than 16 km/h (10 mph) below your set
speed on an uphill, your speed control will disengage. This is normal.
Pressing RES/RSM/RESUME will re-engage it.
Do not use the speed control in heavy traffic or on roads that
are winding, slippery, or unpaved.
COAST
RSM
SET
ACCEL
Controls and features
44
Page 44 of 170
To set a higher set speed
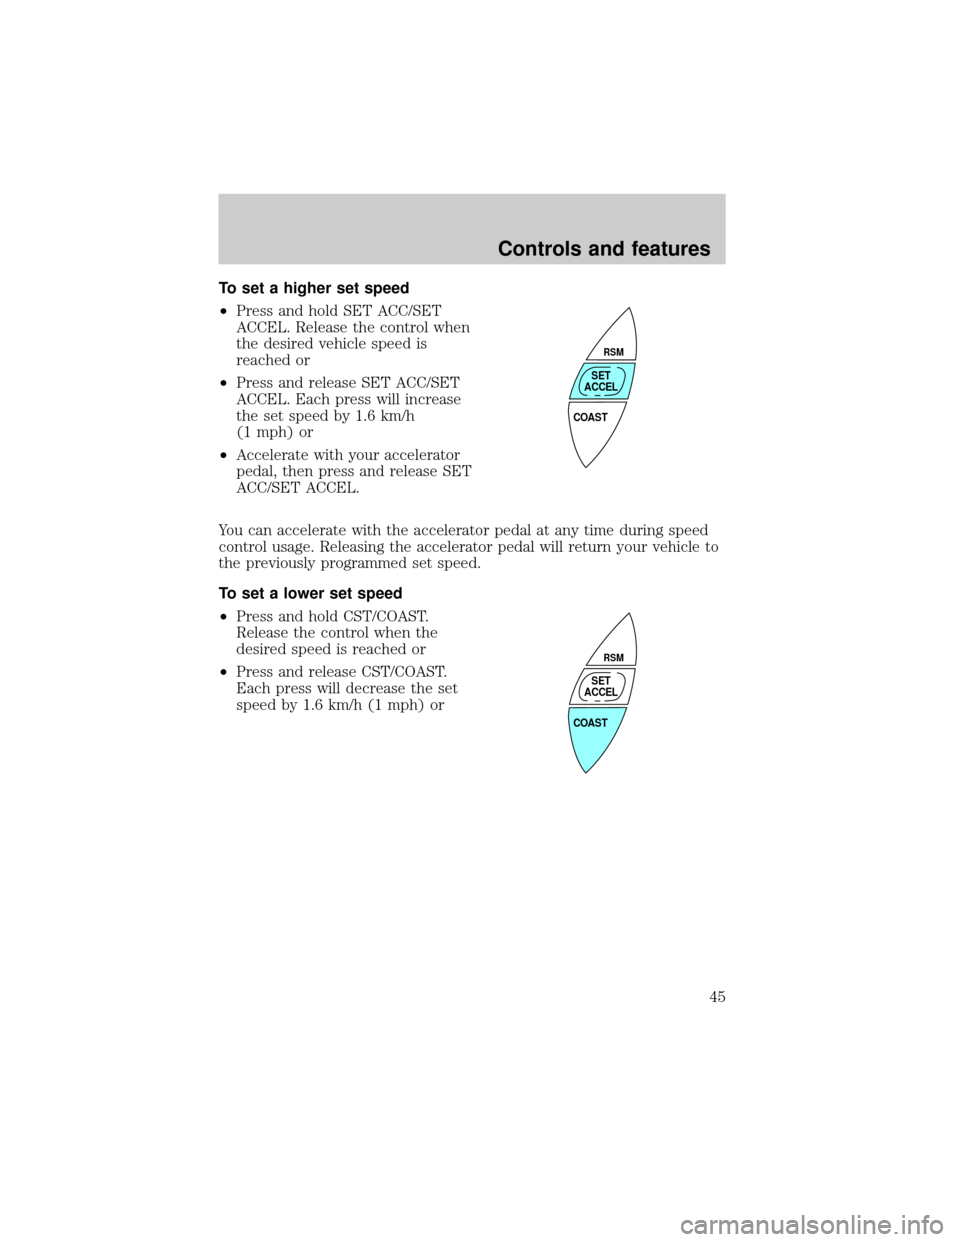
²Press and hold SET ACC/SET
ACCEL. Release the control when
the desired vehicle speed is
reached or
²Press and release SET ACC/SET
ACCEL. Each press will increase
the set speed by 1.6 km/h
(1 mph) or
²Accelerate with your accelerator
pedal, then press and release SET
ACC/SET ACCEL.
You can accelerate with the accelerator pedal at any time during speed
control usage. Releasing the accelerator pedal will return your vehicle to
the previously programmed set speed.
To set a lower set speed
²Press and hold CST/COAST.
Release the control when the
desired speed is reached or
²Press and release CST/COAST.
Each press will decrease the set
speed by 1.6 km/h (1 mph) or
COAST
RSM
SET
ACCEL
COAST
RSM
SET
ACCEL
Controls and features
45
Page 45 of 170
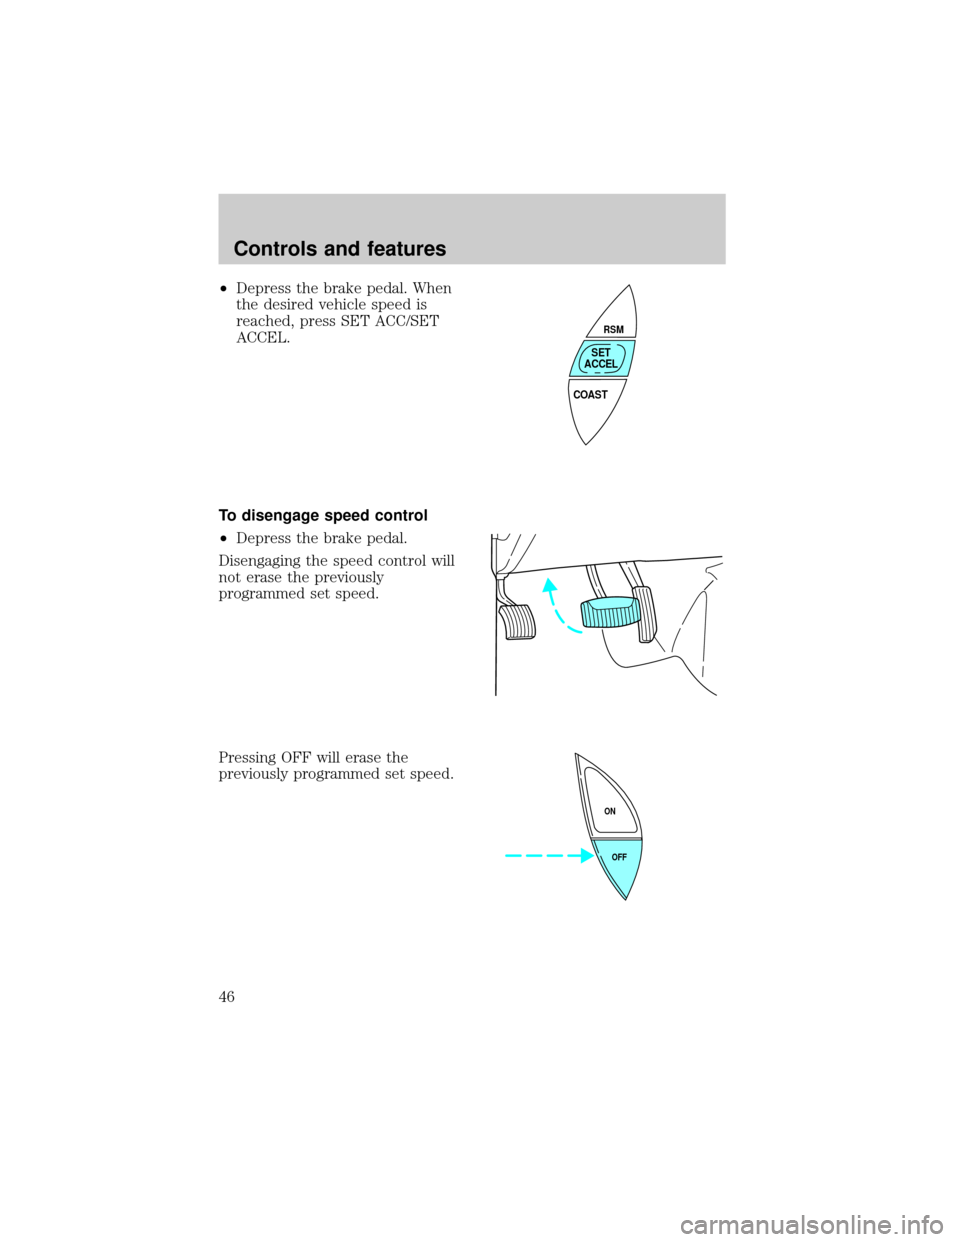
²Depress the brake pedal. When
the desired vehicle speed is
reached, press SET ACC/SET
ACCEL.
To disengage speed control
²Depress the brake pedal.
Disengaging the speed control will
not erase the previously
programmed set speed.
Pressing OFF will erase the
previously programmed set speed.
COAST
RSM
SET
ACCEL
OFF ON
Controls and features
46
Page 46 of 170
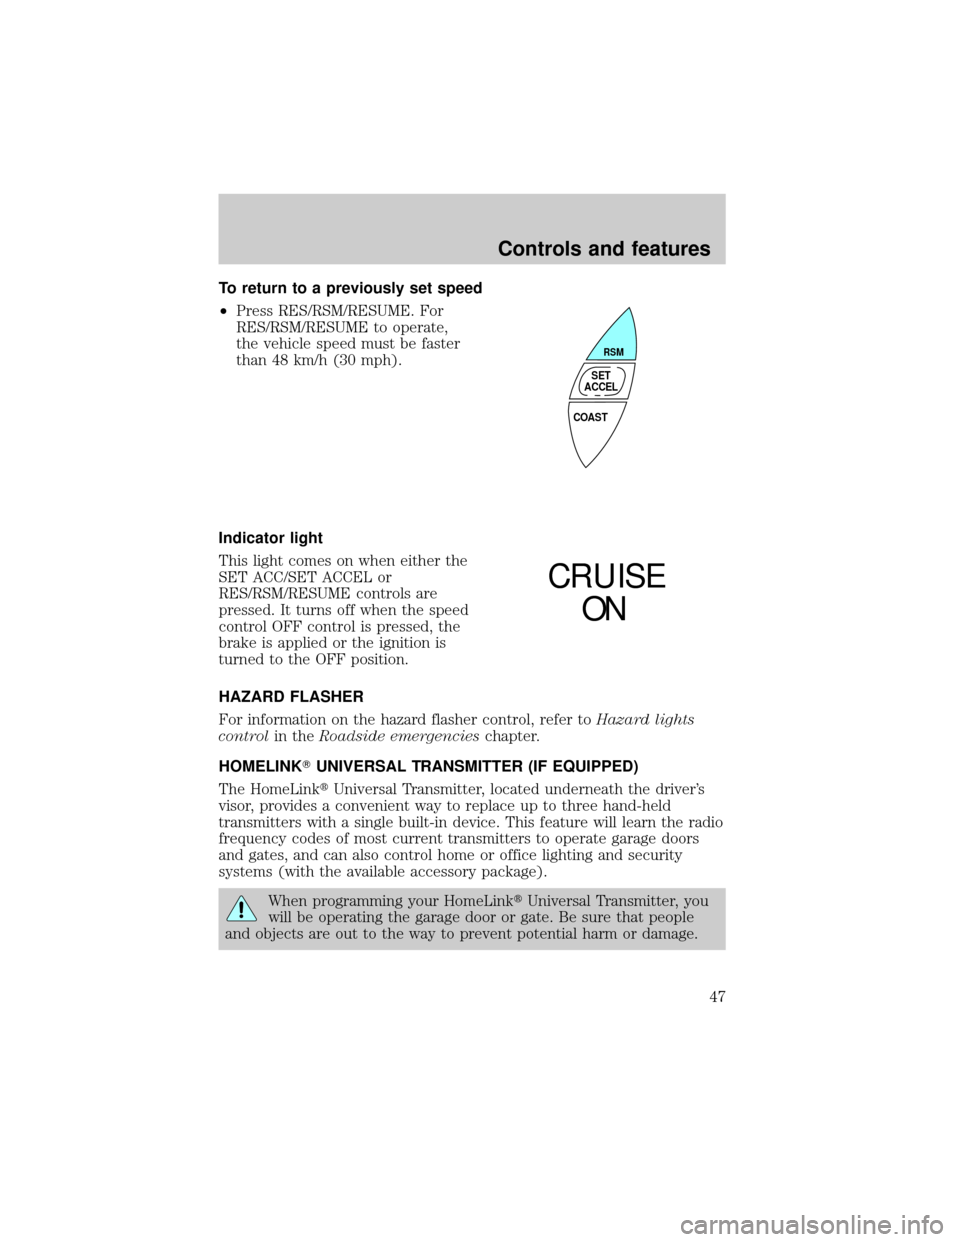
To return to a previously set speed
²Press RES/RSM/RESUME. For
RES/RSM/RESUME to operate,
the vehicle speed must be faster
than 48 km/h (30 mph).
Indicator light
This light comes on when either the
SET ACC/SET ACCEL or
RES/RSM/RESUME controls are
pressed. It turns off when the speed
control OFF control is pressed, the
brake is applied or the ignition is
turned to the OFF position.
HAZARD FLASHER
For information on the hazard flasher control, refer toHazard lights
controlin theRoadside emergencieschapter.
HOMELINKTUNIVERSAL TRANSMITTER (IF EQUIPPED)
The HomeLinktUniversal Transmitter, located underneath the driver's
visor, provides a convenient way to replace up to three hand-held
transmitters with a single built-in device. This feature will learn the radio
frequency codes of most current transmitters to operate garage doors
and gates, and can also control home or office lighting and security
systems (with the available accessory package).
When programming your HomeLinktUniversal Transmitter, you
will be operating the garage door or gate. Be sure that people
and objects are out to the way to prevent potential harm or damage.
COAST
RSM
SET
ACCEL
CRUISE
ON
Controls and features
47