Controls and Features LINCOLN MARK VIII 1998 Owner's Manual
[x] Cancel search | Manufacturer: LINCOLN, Model Year: 1998, Model line: MARK VIII, Model: LINCOLN MARK VIII 1998Pages: 170, PDF Size: 1.37 MB
Page 47 of 170
Do not use the HomeLinktUniversal Transmitter with any garage door
opener that lacks safety stop and reverse features as required by U.S.
federal safety standards (this includes any garage door opener model
manufactured before April 1, 1982). A garage door which cannot detect
an object, signaling the door to stop and reverse, does not meet current
U.S. federal safety standards. For more information on this matter, call
toll-free: 1±800±355±3515.
Programming
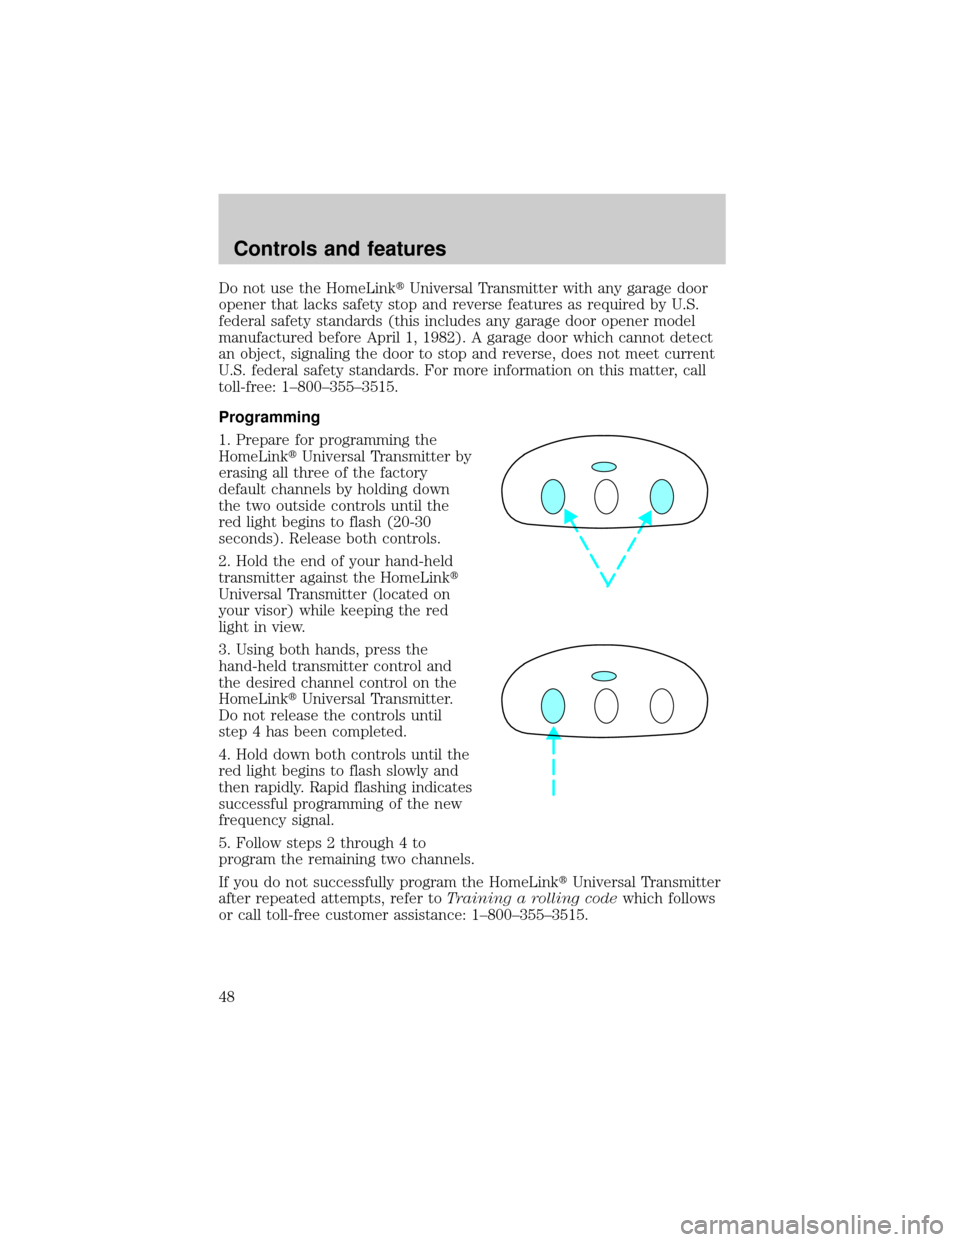
1. Prepare for programming the
HomeLinktUniversal Transmitter by
erasing all three of the factory
default channels by holding down
the two outside controls until the
red light begins to flash (20-30
seconds). Release both controls.
2. Hold the end of your hand-held
transmitter against the HomeLinkt
Universal Transmitter (located on
your visor) while keeping the red
light in view.
3. Using both hands, press the
hand-held transmitter control and
the desired channel control on the
HomeLinktUniversal Transmitter.
Do not release the controls until
step 4 has been completed.
4. Hold down both controls until the
red light begins to flash slowly and
then rapidly. Rapid flashing indicates
successful programming of the new
frequency signal.
5. Follow steps 2 through 4 to
program the remaining two channels.
If you do not successfully program the HomeLinktUniversal Transmitter
after repeated attempts, refer toTraining a rolling codewhich follows
or call toll-free customer assistance: 1±800±355±3515.
Controls and features
48
Page 48 of 170
Note to Canadian residents
During programming, your hand-held transmitter may automatically stop
transmitting after two seconds which may not be long enough to
program the HomeLinktUniversal Transmitter.
If you are programming from one of
these hand-held transmitters:
²continue to hold the control on
the HomeLinktUniversal
Transmitter
²re-press the hand-held
transmitter every two seconds
You may have to repeat this function
several times while programming.
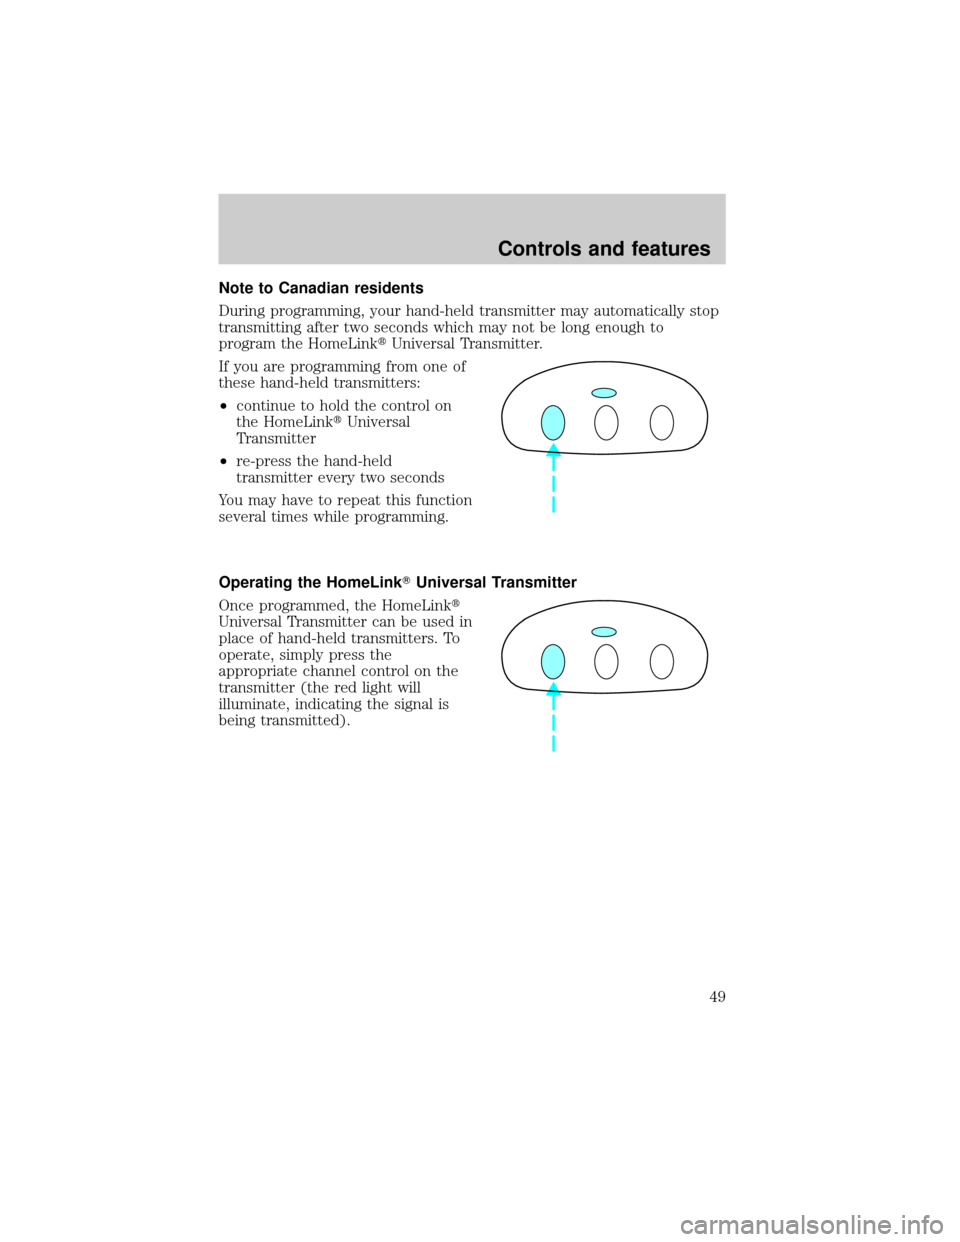
Operating the HomeLinkTUniversal Transmitter
Once programmed, the HomeLinkt
Universal Transmitter can be used in
place of hand-held transmitters. To
operate, simply press the
appropriate channel control on the
transmitter (the red light will
illuminate, indicating the signal is
being transmitted).
Controls and features
49
Page 49 of 170
Training a rolling code system
Rolling code systems (garage door openers which are ªcode protectedº)
may be determined by the following:
²The hand-held transmitter appears to program the HomeLinkt
Universal Transmitter but does not activate the garage door.
²The garage door opener was manufactured after 1995.
Follow these steps to train a garage door with the rolling code feature:
1. Locate the training control on the garage door opener receiver. Refer
to the garage door opener manual or call 1±800±355±3515 if there is
difficulty locating the training control.
2. Press the training control on the garage door opener receiver until the
training light (next to the control) begins to flash (1-2 seconds).
3. Press the programmed
HomeLinktcontrol in the vehicle
until the training light on the garage
door receiver turns solid (1-2
seconds). Release the HomeLinkt
control and repress to turn off the
training light.
4. Press the HomeLinktcontrol
again. If the garage door activates,
the HomeLinktUniversal
Transmitter has been trained to the
receiver.
Erasing channels
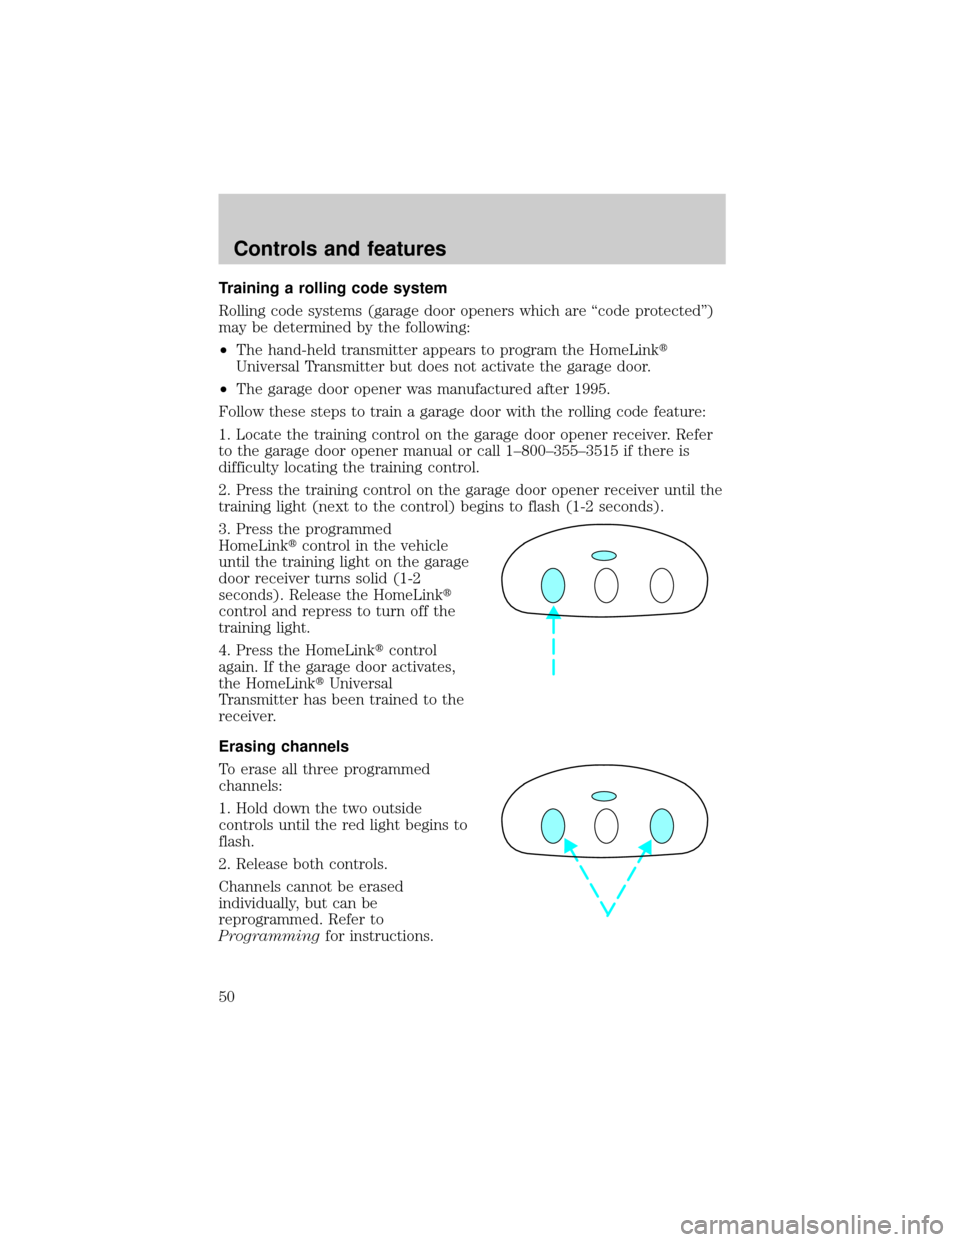
To erase all three programmed
channels:
1. Hold down the two outside
controls until the red light begins to
flash.
2. Release both controls.
Channels cannot be erased
individually, but can be
reprogrammed. Refer to
Programmingfor instructions.
Controls and features
50
Page 50 of 170
ILLUMINATED VISOR MIRROR (IF EQUIPPED)
To turn on the visor mirror lamps,
lift the mirror cover.
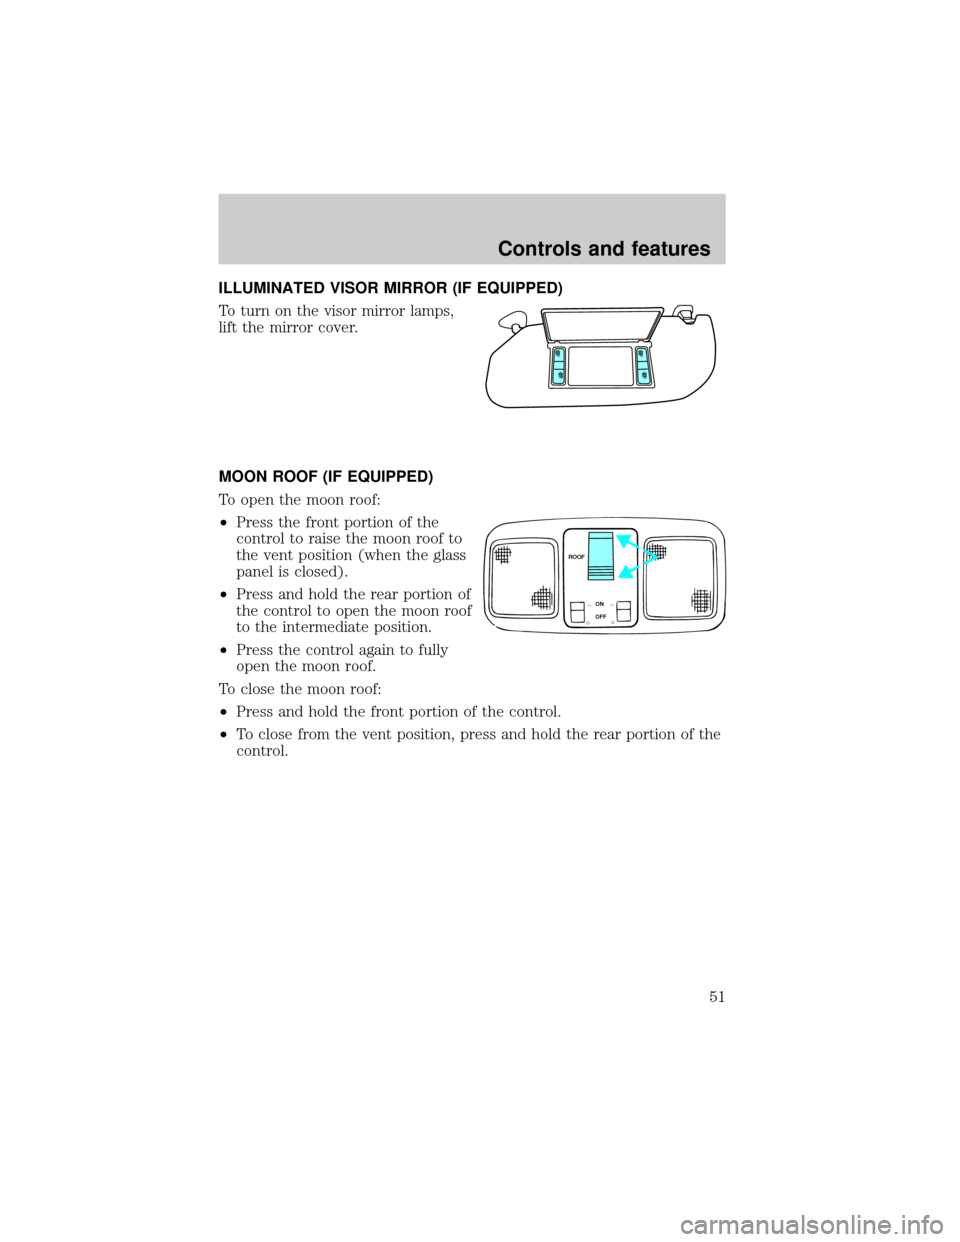
MOON ROOF (IF EQUIPPED)
To open the moon roof:
²Press the front portion of the
control to raise the moon roof to
the vent position (when the glass
panel is closed).
²Press and hold the rear portion of
the control to open the moon roof
to the intermediate position.
²Press the control again to fully
open the moon roof.
To close the moon roof:
²Press and hold the front portion of the control.
²To close from the vent position, press and hold the rear portion of the
control.
ROOF
ON
OFF
__
Controls and features
51
Page 51 of 170
INTERIOR LAMPS
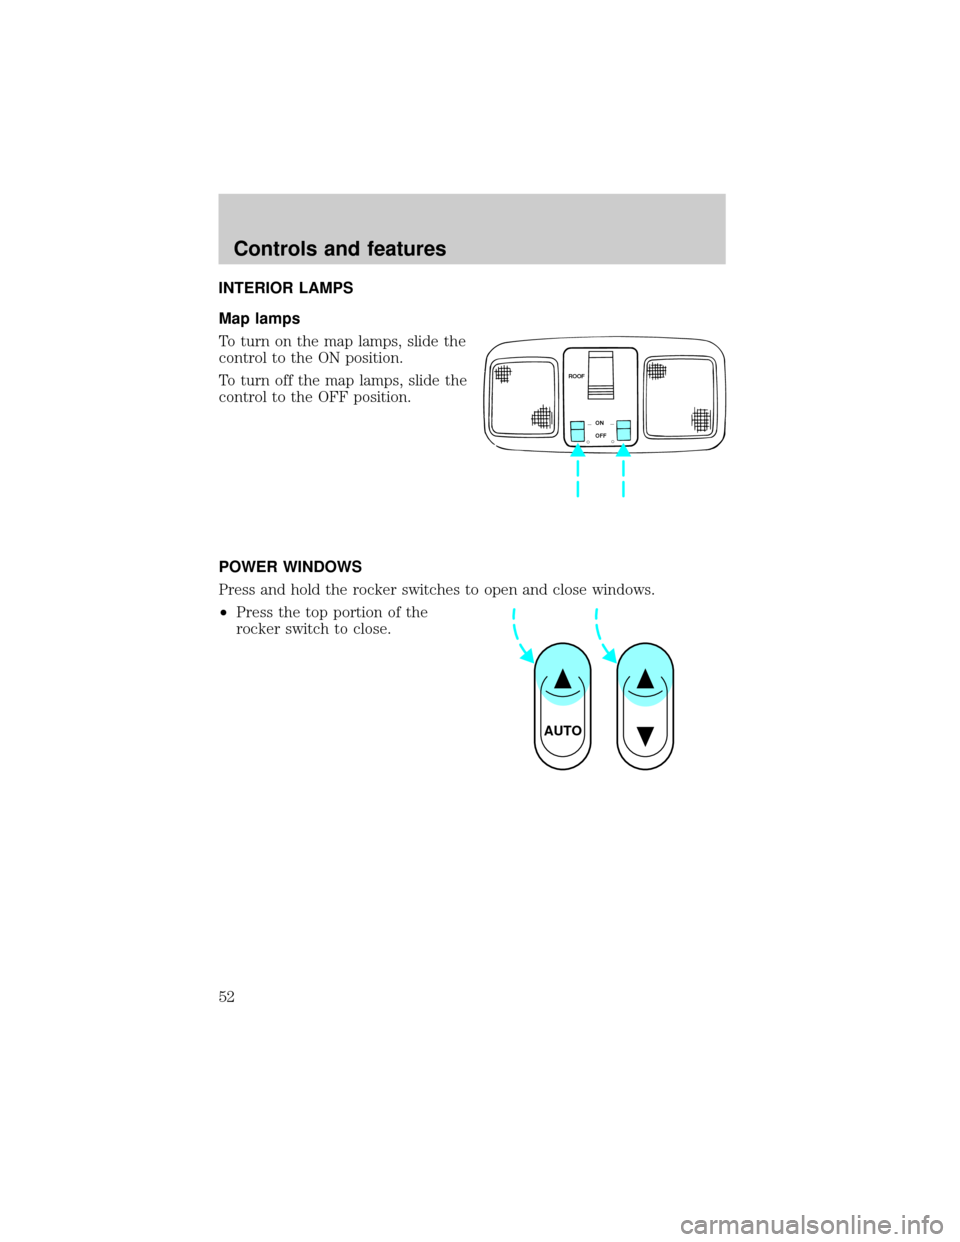
Map lamps
To turn on the map lamps, slide the
control to the ON position.
To turn off the map lamps, slide the
control to the OFF position.
POWER WINDOWS
Press and hold the rocker switches to open and close windows.
²Press the top portion of the
rocker switch to close.
ROOF
ON
OFF
__
AUTO
Controls and features
52
Page 52 of 170
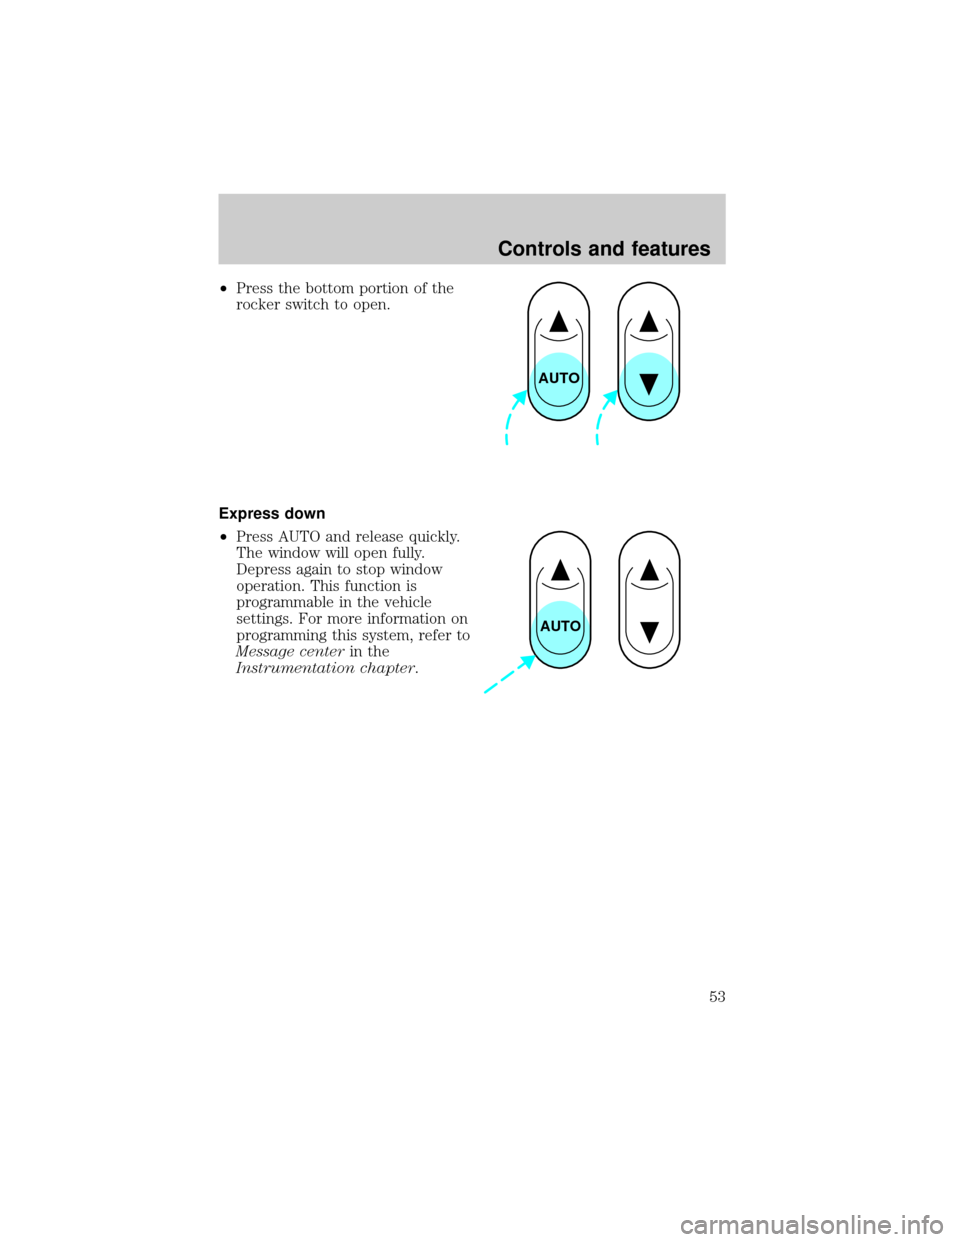
²Press the bottom portion of the
rocker switch to open.
Express down
²Press AUTO and release quickly.
The window will open fully.
Depress again to stop window
operation. This function is
programmable in the vehicle
settings. For more information on
programming this system, refer to
Message centerin the
Instrumentation chapter.
AUTO
AUTO
Controls and features
53
Page 53 of 170
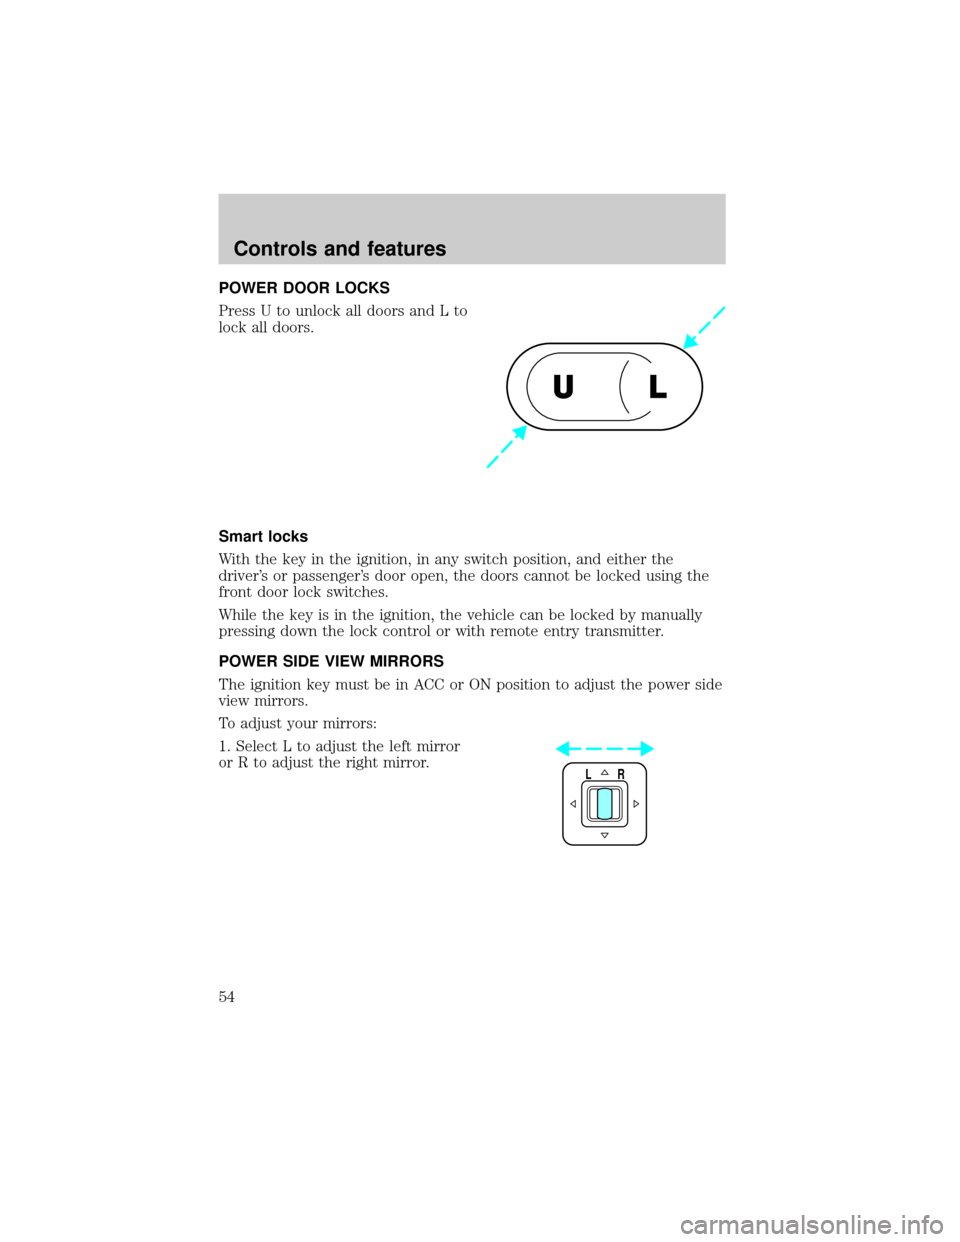
POWER DOOR LOCKS
Press U to unlock all doors and L to
lock all doors.
Smart locks
With the key in the ignition, in any switch position, and either the
driver's or passenger's door open, the doors cannot be locked using the
front door lock switches.
While the key is in the ignition, the vehicle can be locked by manually
pressing down the lock control or with remote entry transmitter.
POWER SIDE VIEW MIRRORS
The ignition key must be in ACC or ON position to adjust the power side
view mirrors.
To adjust your mirrors:
1. Select L to adjust the left mirror
or R to adjust the right mirror.
UL
LR
Controls and features
54
Page 54 of 170
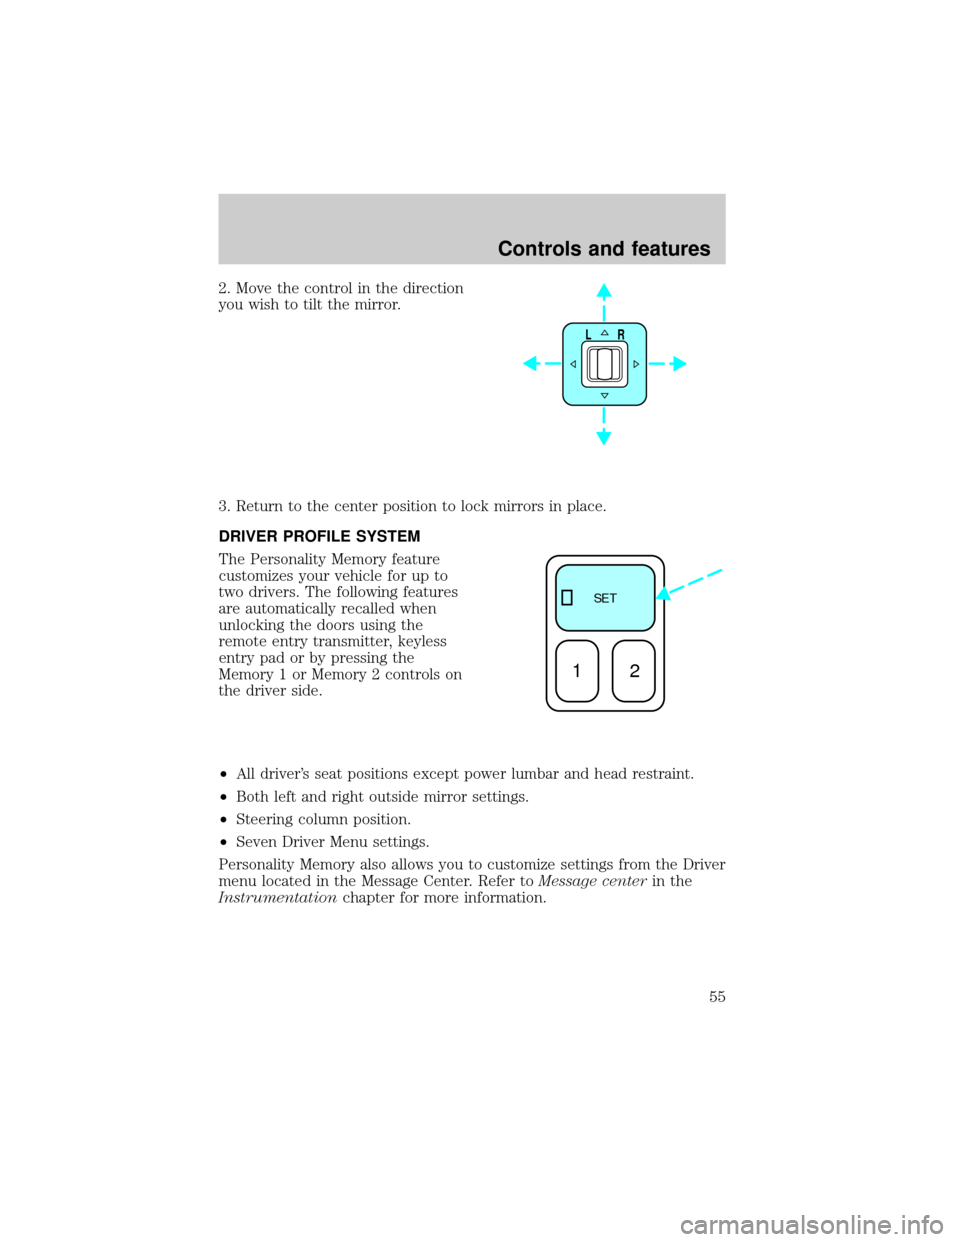
2. Move the control in the direction
you wish to tilt the mirror.
3. Return to the center position to lock mirrors in place.
DRIVER PROFILE SYSTEM
The Personality Memory feature
customizes your vehicle for up to
two drivers. The following features
are automatically recalled when
unlocking the doors using the
remote entry transmitter, keyless
entry pad or by pressing the
Memory 1 or Memory 2 controls on
the driver side.
²All driver's seat positions except power lumbar and head restraint.
²Both left and right outside mirror settings.
²Steering column position.
²Seven Driver Menu settings.
Personality Memory also allows you to customize settings from the Driver
menu located in the Message Center. Refer toMessage centerin the
Instrumentationchapter for more information.
LR
SE T
12
Controls and features
55
Page 55 of 170

Recalling Personality Memory
All of these settings are automatically recalled when the driver unlocks
the door using the remote entry transmitter, keyless entry keypad or
selects either Memory 1 or Memory 2. The vehicle must be in P (Park )
or N (Neutral) to recall Personality Memory settings.
Remote entry
Pressing UNLOCK on the remote entry transmitter unlocks the driver's
door and recalls all of the Personality Memory settings. Two transmitters
are delivered with the vehicle; one is programmed to always recall Driver
1 and the other will always recall Driver 2. Personality Memory 1 or 2 is
indicated on the back of the transmitter.
Personality Memory recall from the remote transmitter can be disabled
by sliding the control on the back of the transmitter to OFF. Personality
Memory can still be recalled by using the keyless entry code.
Keyless entry
Up to three unique keyless entry codes can be programmed by the
customer. Two of the codes can be assigned to recall Personality Memory
1 or Memory 2. Each time the five-digit code is entered on the keypad,
the driver's door will unlock and Personality Memory 1 or Memory 2 will
be recalled.
Please note that even though the driver's Personality Memory may be
recalled using the remote or keyless entry, the seats and mirrors will not
move to the driver's set positions until the driver's door is opened. The
steering column will move when the key is inserted in the ignition.
Memory controls
Selecting either Memory 1 or Memory 2 will also recall the Personality
Memory settings as selected, providing your vehicle is in P (Park ) or N
(Neutral).
Controls and features
56
Page 56 of 170
Auto save
Any change made by the driver to one or more of the above Personality
Memory settings will be updated and saved automatically. The display,
DRIVER 1 (or DRIVER 2) SETTING SAVED, will appear on the Message
Center for five seconds as a confirmation of the update to Personality
Memory.
If the driver does not use the remote entry transmitter or keyless entry
keypad to unlock the doors when entering the vehicle, or does not select
the Memory 1 or Memory 2, then any change to the Personality Memory
settings will not be automatically saved. Instead, the driver will be
prompted by the Message Center: ªIDENTIFY DRIVER TO SAVE.º Press
SELECT (located on the right side of the instrument cluster) to identify
yourself; otherwise, the new setting (and any subsequent changes) will
not be saved.
Turning Personality off
The Personality Memory feature can be turned off using the Memory
OFF control on the driver's door. The amber indicator will be lit when
the feature is turned off. Selecting either Memory 1 or Memory 2 will
turn on the Personality Memory feature and recall the saved settings.
When Personality is off, the vehicle will function normally. When
Personality is off and the driver tries to make a setting change, there will
be no prompts on the Message Center asking which driver to save the
setting to.
CENTER CONSOLE
Your vehicle is equipped with a variety of console features. These
include:
²utility compartment
²cupholders
²ashtray and lighter
²rear ashtray
Use only soft cups in the cupholder. Hard objects can injure you
in a collision.
Controls and features
57