tow LINCOLN MKC 2015 User Guide
[x] Cancel search | Manufacturer: LINCOLN, Model Year: 2015, Model line: MKC, Model: LINCOLN MKC 2015Pages: 490, PDF Size: 4.74 MB
Page 78 of 490
If the liftgate falls after the liftgate has
stopped in the open position, you may hear
four short warning tones. This indicates
excessive weight on the gate or a possible
gas strut failure. Have an authorized dealer
check the system if you still have the issue
after you remove the load.
Opening and Closing the Liftgate
WARNING
Make sure all persons are clear of the
power liftgate area before using the
power liftgate control. Note:
Be careful when opening or closing
the liftgate in a garage or other enclosed
area to avoid damaging the liftgate.
Note: Do not leave the liftgate open while
driving. This could damage the liftgate and
its components. Note:
You can stop the liftgate movement
direction with a second press of the
instrument panel button or the button on the
liftgate trim, a second double press of the
transmitter button, or by using a kicking
motion with your foot for a hands-free liftgate
(if equipped).
From the Instrument Panel Press the instrument panel button.
With the Remote Control Press the remote control button
twice within three seconds.
Hands-Free Feature (If Equipped)
Make sure you have an intelligent access
transmitter within 3 feet (1 meter) of the
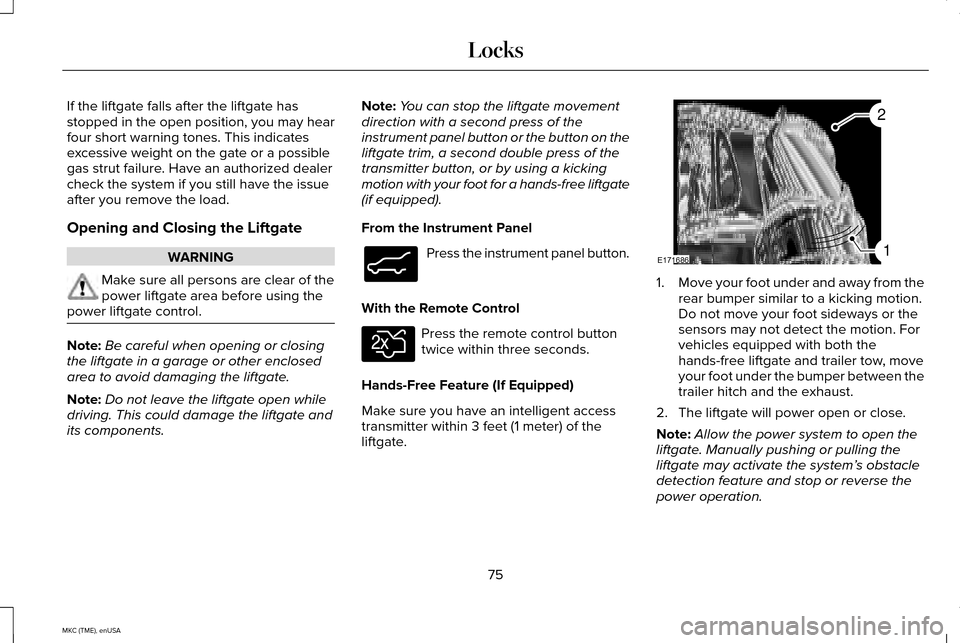
liftgate. 1.
Move your foot under and away from the
rear bumper similar to a kicking motion.
Do not move your foot sideways or the
sensors may not detect the motion. For
vehicles equipped with both the
hands-free liftgate and trailer tow, move
your foot under the bumper between the
trailer hitch and the exhaust.
2. The liftgate will power open or close.
Note: Allow the power system to open the
liftgate. Manually pushing or pulling the
liftgate may activate the system’ s obstacle
detection feature and stop or reverse the
power operation.
75
MKC (TME), enUSA LocksE138633 E138630 E171686
2
1
Page 83 of 490
PASSIVE ANTI-THEFT SYSTEM
Note:
The system is not compatible with
non-Ford aftermarket remote start systems.
Use of these systems may result in vehicle
starting problems and a loss of security
protection.
Note: Metallic objects, electronic devices or
a second coded key on the same key chain
may cause vehicle starting problems if they
are too close to the key when starting the
engine. Prevent these objects from touching
the coded key while starting the engine.
Switch the ignition off, move all objects on
the key chain away from the coded key and
restart the engine if a problem occurs.
Note: Do not leave a duplicate coded key
in the vehicle. Always take your keys and
lock all doors when leaving the vehicle. SecuriLock™
The system is an engine immobilization
system. The intended design is to help
prevent the engine from starting unless a
coded key programmed to your vehicle is
used. Using the wrong key may prevent the
engine from starting. A message may appear
in the information display.
If you are unable to start the engine with a
correctly coded key, a malfunction has
happened and a message may appear in the
information display.
Automatic Arming
The vehicle arms immediately after you
switch the ignition off.
Automatic Disarming
If you switch the ignition on with a coded key
you disarm the vehicle. If you unlock the
doors with the touch handle you disarm the
alarm.Replacement Keys
Note:
Your vehicle comes equipped with two
intelligent access keys.
The intelligent access key functions as a
programmed key that operates the driver
door lock and activates the intelligent access
with push button start system, as well as a
remote control.
If your programmed transmitters are lost or
stolen and you do not have an extra coded
key, you will need to have your vehicle
towed to an authorized dealer. You need to
erase the key codes from your vehicle and
program new coded keys.
Store an extra programmed key away from
the vehicle in a safe place to help prevent
any inconveniences. See your authorized
dealer to purchase additional spare or
replacement keys.
Programming a Spare Intelligent Access
Key
See your authorized dealer to have
additional keys programmed to your vehicle.
80
MKC (TME), enUSA Security
Page 90 of 490
AUTOWIPERS (If Equipped)
Note: Fully defrost the windshield before
switching on the windshield wipers.
Note: Make sure you switch off the
windshield wipers before entering a car
wash.
Note: Clean the windshield and wiper blades
if they begin to leave streaks or smears. If
that does not resolve the issue, install new
wiper blades.
Note: If you switch autolamps on in
conjunction with autowipers, your low beam
headlamps will illuminate automatically when
the rain sensor activates the windshield
wipers continuously.
Note: Wet or winter driving conditions with
ice, snow or salty road mist can cause
inconsistent and unexpected wiping or
smearing. In these conditions, you can do the following
to help keep your windshield clear:
•
Lower the sensitivity of the autowipers
to reduce the amount of smearing.
• Switch to normal or high-speed wipe.
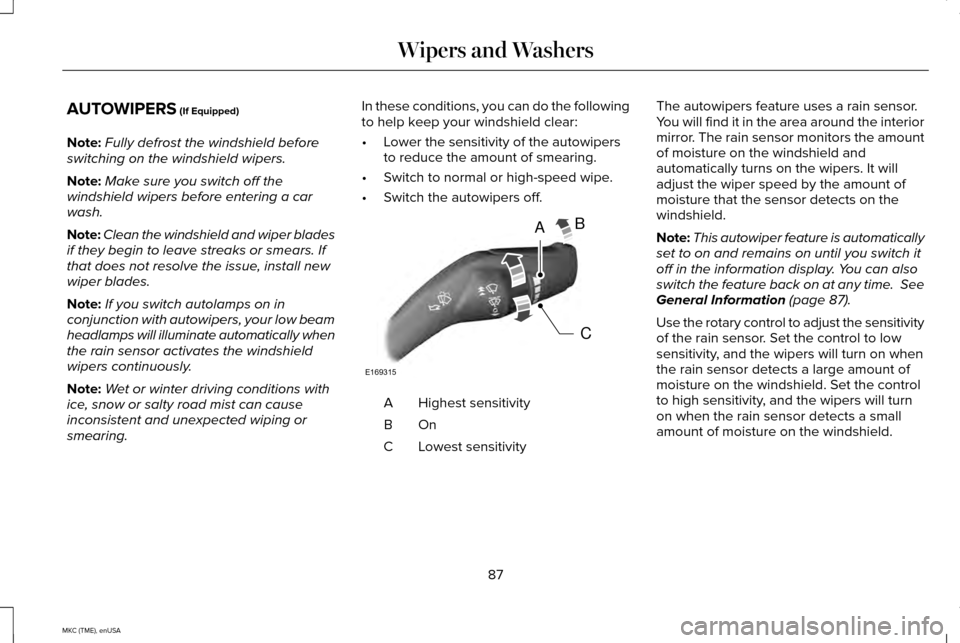
• Switch the autowipers off. Highest sensitivity
A
OnB
Lowest sensitivity
C The autowipers feature uses a rain sensor.
You will find it in the area around the interior
mirror. The rain sensor monitors the amount
of moisture on the windshield and
automatically turns on the wipers. It will
adjust the wiper speed by the amount of
moisture that the sensor detects on the
windshield.
Note:
This autowiper feature is automatically
set to on and remains on until you switch it
off in the information display. You can also
switch the feature back on at any time.
See
General Information (page 87).
Use the rotary control to adjust the sensitivity
of the rain sensor. Set the control to low
sensitivity, and the wipers will turn on when
the rain sensor detects a large amount of
moisture on the windshield. Set the control
to high sensitivity, and the wipers will turn
on when the rain sensor detects a small
amount of moisture on the windshield.
87
MKC (TME), enUSA Wipers and WashersA
C
B
E169315
Page 91 of 490
Note:
When you set the wiper system to
intermittent wipe and the autowiper system
is on, the autowiper sensitivity setting adjusts
the wiper speed according to the moisture
on the windshield only. Use the wiper lever
to wipe the windshield on-demand.
Keep the outside of the windshield clean.
The rain sensor is very sensitive. If the area
around the mirror is dirty, then the wipers
may operate if dirt, mist or insects hit the
windshield.
WINDSHIELD WASHERS
Note: Do not operate the washers when the
washer reservoir is empty. This may cause
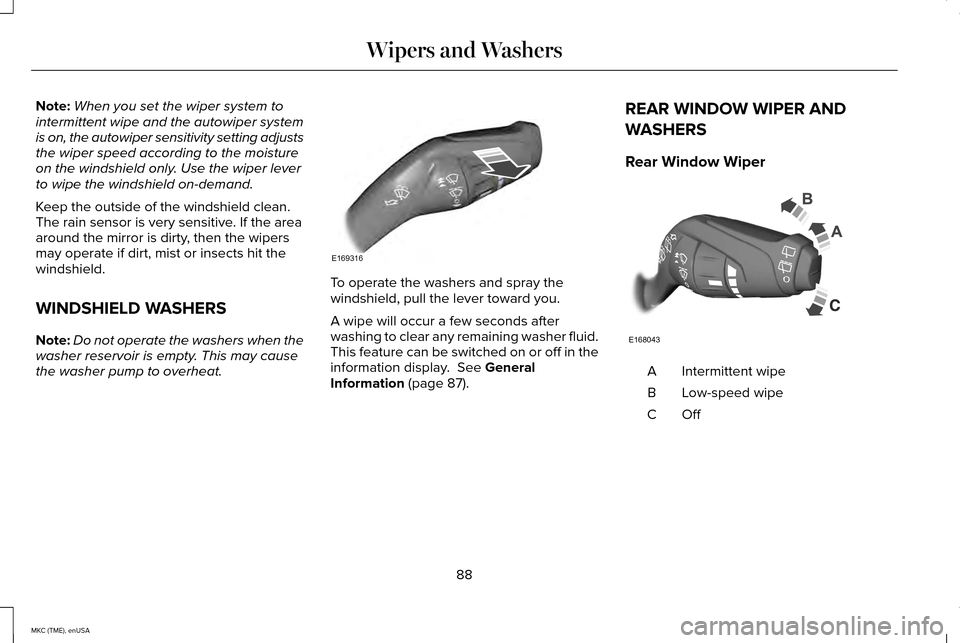
the washer pump to overheat. To operate the washers and spray the
windshield, pull the lever toward you.
A wipe will occur a few seconds after
washing to clear any remaining washer fluid.
This feature can be switched on or off in the
information display. See General
Information (page 87). REAR WINDOW WIPER AND
WASHERS
Rear Window Wiper
Intermittent wipe
A
Low-speed wipe
B
OffC
88
MKC (TME), enUSA Wipers and WashersE169316 E168043
Page 93 of 490
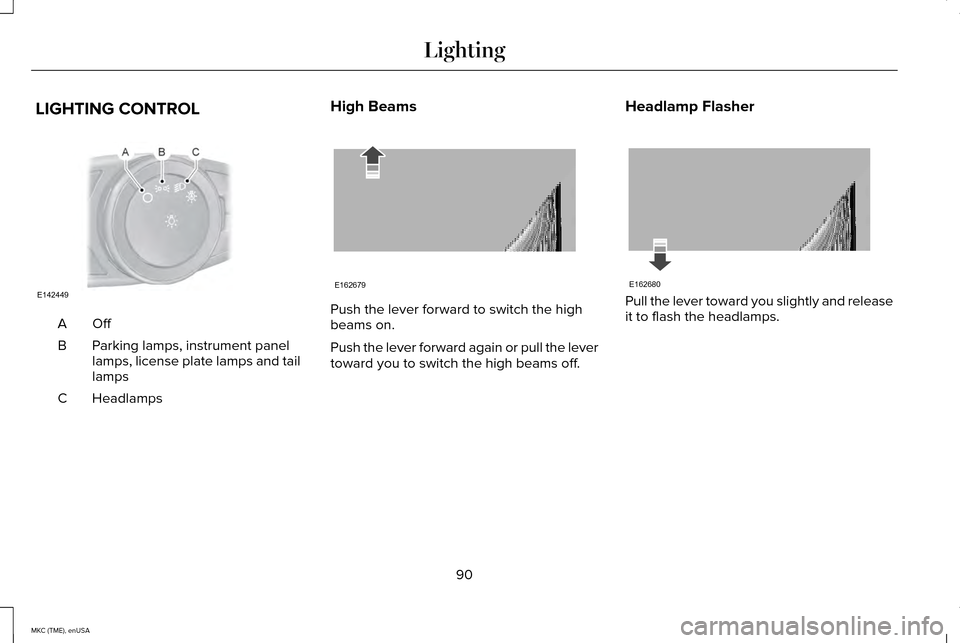
LIGHTING CONTROL
OffA
Parking lamps, instrument panel
lamps, license plate lamps and tail
lamps
B
Headlamps
C High Beams Push the lever forward to switch the high
beams on.
Push the lever forward again or pull the lever
toward you to switch the high beams off.
Headlamp Flasher Pull the lever toward you slightly and release
it to flash the headlamps.
90
MKC (TME), enUSA LightingE142449 E162679 E162680
Page 94 of 490
AUTOLAMPS (If Equipped)
WARNING
The daytime running lamps system
does not activate the tail lamps and
may not provide adequate lighting during
low visibility driving conditions. Also, the
autolamps switch position may not activate
the headlamps in all low visibility conditions,
such as daytime fog. Always ensure that your
headlamps are switched to auto or on, as
appropriate, during all low visibility
conditions. Failure to do so may result in a
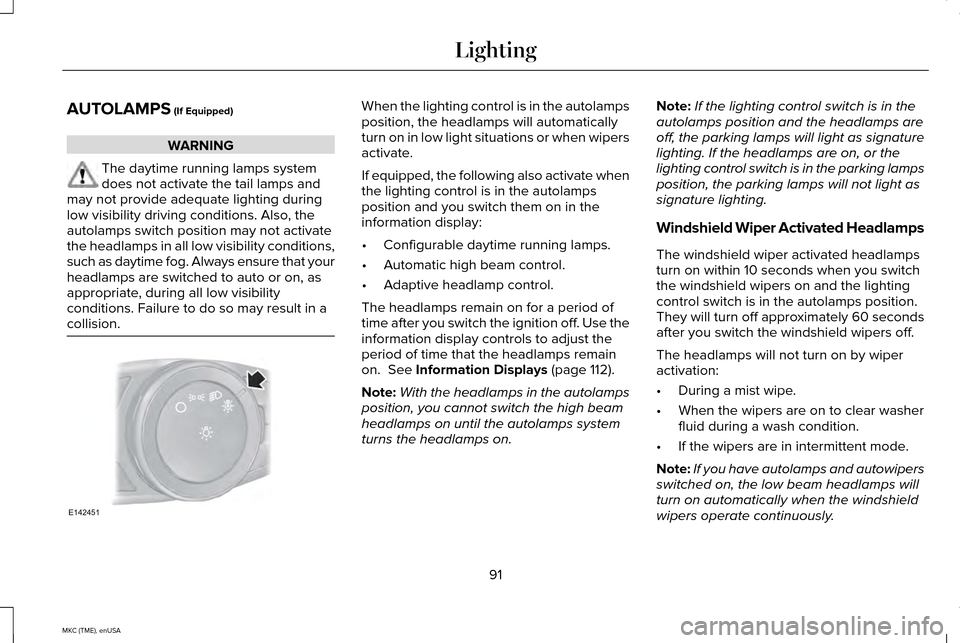
collision. When the lighting control is in the autolamps
position, the headlamps will automatically
turn on in low light situations or when wipers
activate.
If equipped, the following also activate when
the lighting control is in the autolamps
position and you switch them on in the
information display:
•
Configurable daytime running lamps.
• Automatic high beam control.
• Adaptive headlamp control.
The headlamps remain on for a period of
time after you switch the ignition off. Use the
information display controls to adjust the
period of time that the headlamps remain
on.
See Information Displays (page 112).
Note: With the headlamps in the autolamps
position, you cannot switch the high beam
headlamps on until the autolamps system
turns the headlamps on. Note:
If the lighting control switch is in the
autolamps position and the headlamps are
off, the parking lamps will light as signature
lighting. If the headlamps are on, or the
lighting control switch is in the parking lamps
position, the parking lamps will not light as
signature lighting.
Windshield Wiper Activated Headlamps
The windshield wiper activated headlamps
turn on within 10 seconds when you switch
the windshield wipers on and the lighting
control switch is in the autolamps position.
They will turn off approximately 60 seconds
after you switch the windshield wipers off.
The headlamps will not turn on by wiper
activation:
• During a mist wipe.
• When the wipers are on to clear washer
fluid during a wash condition.
• If the wipers are in intermittent mode.
Note: If you have autolamps and autowipers
switched on, the low beam headlamps will
turn on automatically when the windshield
wipers operate continuously.
91
MKC (TME), enUSA LightingE142451
Page 95 of 490
INSTRUMENT LIGHTING DIMMER
Note:
If you disconnect the battery or it
becomes discharged, the illuminated
components will switch to the maximum
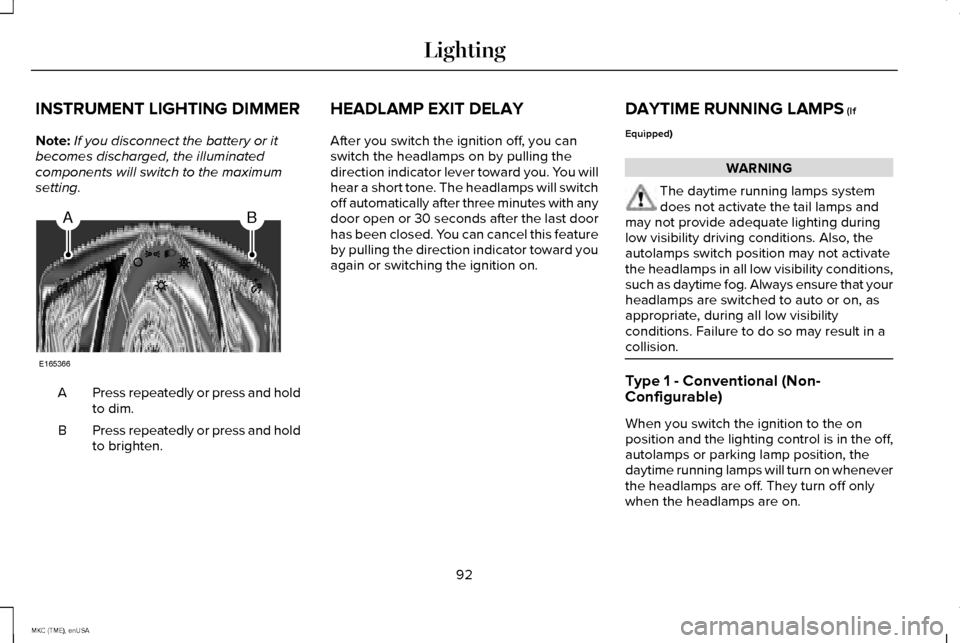
setting. Press repeatedly or press and hold
to dim.
A
Press repeatedly or press and hold
to brighten.
B HEADLAMP EXIT DELAY
After you switch the ignition off, you can
switch the headlamps on by pulling the
direction indicator lever toward you. You will
hear a short tone. The headlamps will switch
off automatically after three minutes with any
door open or 30 seconds after the last door
has been closed. You can cancel this feature
by pulling the direction indicator toward you
again or switching the ignition on.
DAYTIME RUNNING LAMPS (If
Equipped) WARNING
The daytime running lamps system
does not activate the tail lamps and
may not provide adequate lighting during
low visibility driving conditions. Also, the
autolamps switch position may not activate
the headlamps in all low visibility conditions,
such as daytime fog. Always ensure that your
headlamps are switched to auto or on, as
appropriate, during all low visibility
conditions. Failure to do so may result in a
collision. Type 1 - Conventional (Non-
Configurable)
When you switch the ignition to the on
position and the lighting control is in the off,
autolamps or parking lamp position, the
daytime running lamps will turn on whenever
the headlamps are off. They turn off only
when the headlamps are on.
92
MKC (TME), enUSA LightingAB
E165366
Page 102 of 490
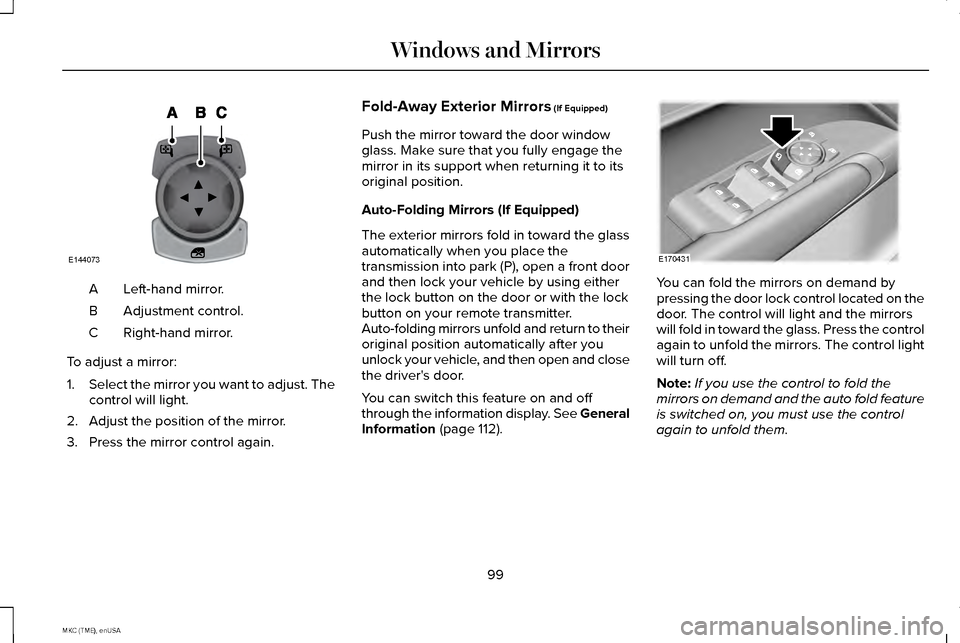
Left-hand mirror.
A
Adjustment control.
B
Right-hand mirror.
C
To adjust a mirror:
1. Select the mirror you want to adjust. The
control will light.
2. Adjust the position of the mirror.
3. Press the mirror control again. Fold-Away Exterior Mirrors (If Equipped)
Push the mirror toward the door window
glass. Make sure that you fully engage the
mirror in its support when returning it to its
original position.
Auto-Folding Mirrors (If Equipped)
The exterior mirrors fold in toward the glass
automatically when you place the
transmission into park (P), open a front door
and then lock your vehicle by using either
the lock button on the door or with the lock
button on your remote transmitter.
Auto-folding mirrors unfold and return to their
original position automatically after you
unlock your vehicle, and then open and close
the driver's door.
You can switch this feature on and off
through the information display. See General
Information
(page 112). You can fold the mirrors on demand by
pressing the door lock control located on the
door. The control will light and the mirrors
will fold in toward the glass. Press the control
again to unfold the mirrors. The control light
will turn off.
Note:
If you use the control to fold the
mirrors on demand and the auto fold feature
is switched on, you must use the control
again to unfold them.
99
MKC (TME), enUSA Windows and MirrorsE144073 E170431
Page 103 of 490
Loose Mirror
You can manually fold an auto-folding mirror
by pulling it toward the door window glass.
This may cause the mirror to appear loose
and it will need to be re-synchronized. Press
the control to fold the mirrors in until the
movement stops. You will hear a click that
indicates re-synchronization. If you do not
hear a click, use the control again to fold the
mirrors all the way out, and then in again.
Once you hear the click, the mirrors will
operate normally until you fold them
manually again.
Heated Exterior Mirrors
See Heated Windows and Mirrors (page
139).
Memory Mirrors
You can save and recall the mirror positions
through the memory function. See Memory
Function
(page 145). Auto-Dimming Feature
The driver’
s exterior mirror automatically
dims when the interior auto-dimming mirror
turns on.
Lincoln Welcome Mat
Projection lights, on the bottom of the mirror
housings, project an image onto the ground
a short distance from the vehicle.
See
Lighting (page 90).
Integrated Blind Spot Mirrors
(If Equipped) WARNING
Objects in the blind spot mirror are
closer than they appear.
The blind spot mirror has a wide-angle mirror
inside the exterior mirror that can increase
visibility along the side of your vehicle.Check the main mirror first before a lane
change, then check the blind spot mirror. If
no vehicles are present in the blind spot
mirror and the traffic in the adjacent lane is
at a safe distance, signal that you intend to
change lanes. Glance over your shoulder to
verify traffic is clear and carefully change
lanes.
100
MKC (TME), enUSA Windows and Mirrors
Page 105 of 490
SUN VISORS
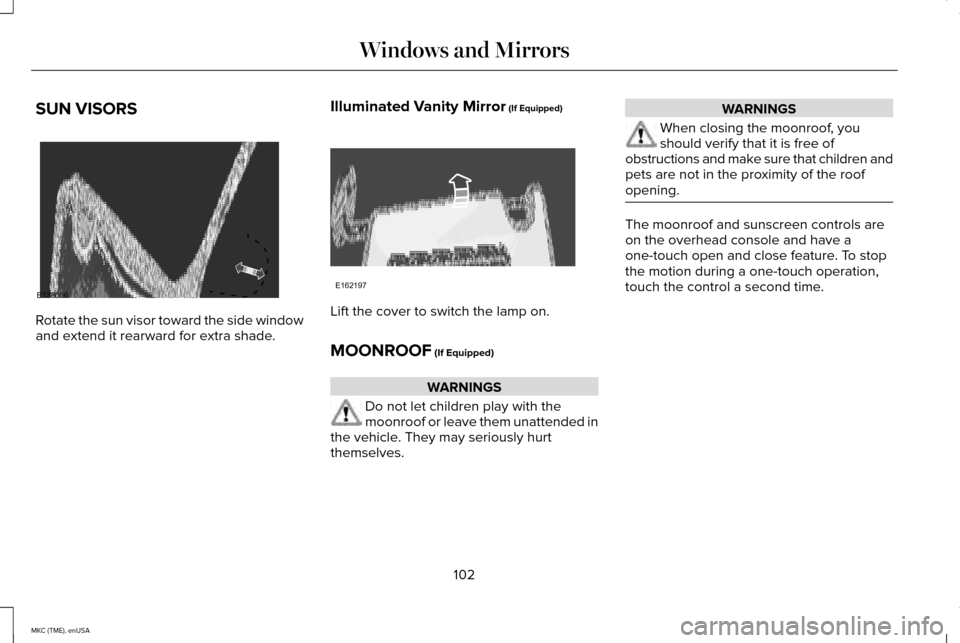
Rotate the sun visor toward the side window
and extend it rearward for extra shade.
Illuminated Vanity Mirror (If Equipped) Lift the cover to switch the lamp on.
MOONROOF
(If Equipped)
WARNINGS
Do not let children play with the
moonroof or leave them unattended in
the vehicle. They may seriously hurt
themselves. WARNINGS
When closing the moonroof, you
should verify that it is free of
obstructions and make sure that children and
pets are not in the proximity of the roof
opening. The moonroof and sunscreen controls are
on the overhead console and have a
one-touch open and close feature. To stop
the motion during a one-touch operation,
touch the control a second time.
102
MKC (TME), enUSA Windows and MirrorsE138666 E162197