warning lights LINCOLN MKS 2014 Owners Manual
[x] Cancel search | Manufacturer: LINCOLN, Model Year: 2014, Model line: MKS, Model: LINCOLN MKS 2014Pages: 461, PDF Size: 5.98 MB
Page 44 of 461
PERSONAL SAFETY SYSTEM™
The Personal Safety System provides an improved overall level of frontal
crash protection to front seat occupants and is designed to help further
reduce the risk of airbag-related injuries. The system is able to analyze
different occupant conditions and crash severity before activating the
appropriate safety devices to help better protect a range of occupants in
a variety of frontal crash situations.
Your vehicle’s Personal Safety System consists of:
•Driver and passenger dual-stage airbag supplemental restraints.
•Front outboard safety belts with pretensioners, energy management
retractors (first row only), and safety belt usage sensors.
•Driver’s seat position sensor.
•Front passenger sensing system.
•Passenger airbag off and on indicator lamp.
•Front crash severity sensors.
•Restraints control module with impact and safing sensors.
•Restraint system warning light and backup tone.
•The electrical wiring for the airbags, crash sensor(s), safety belt
pretensioners, front safety belt usage sensors, driver seat position
sensor, front passenger sensing system, and indicator lights.
How Does the Personal Safety System Work?
The Personal Safety System can adapt the deployment strategy of your
vehicle’s safety devices according to crash severity and occupant
conditions. A collection of crash and occupant sensors provides
information to the restraints control module. During a crash, the
restraints control module may activate the safety belt pretensioners
and/or either one or both stages of the dual-stage airbag supplemental
restraints based on crash severity and occupant conditions.
Personal Safety System43
2014 MKS(mks)
Owners Guide gf, 1st Printing, April 2013
USA(fus)
Page 89 of 461
AUTOLAMPS
WARNING:In severe weather conditions, it may be necessary to
switch your headlamps on manually.
Note:If the vehicle is equipped with autolamps, it will have the
windshield wiper rainlamp feature.When the windshield wipers are
turned to low- or high-speed wiping during daylight, and the headlamp
control is in the autolamp position, the exterior lamps will turn on after a
brief delay and will remain on until the wipers are turned off.
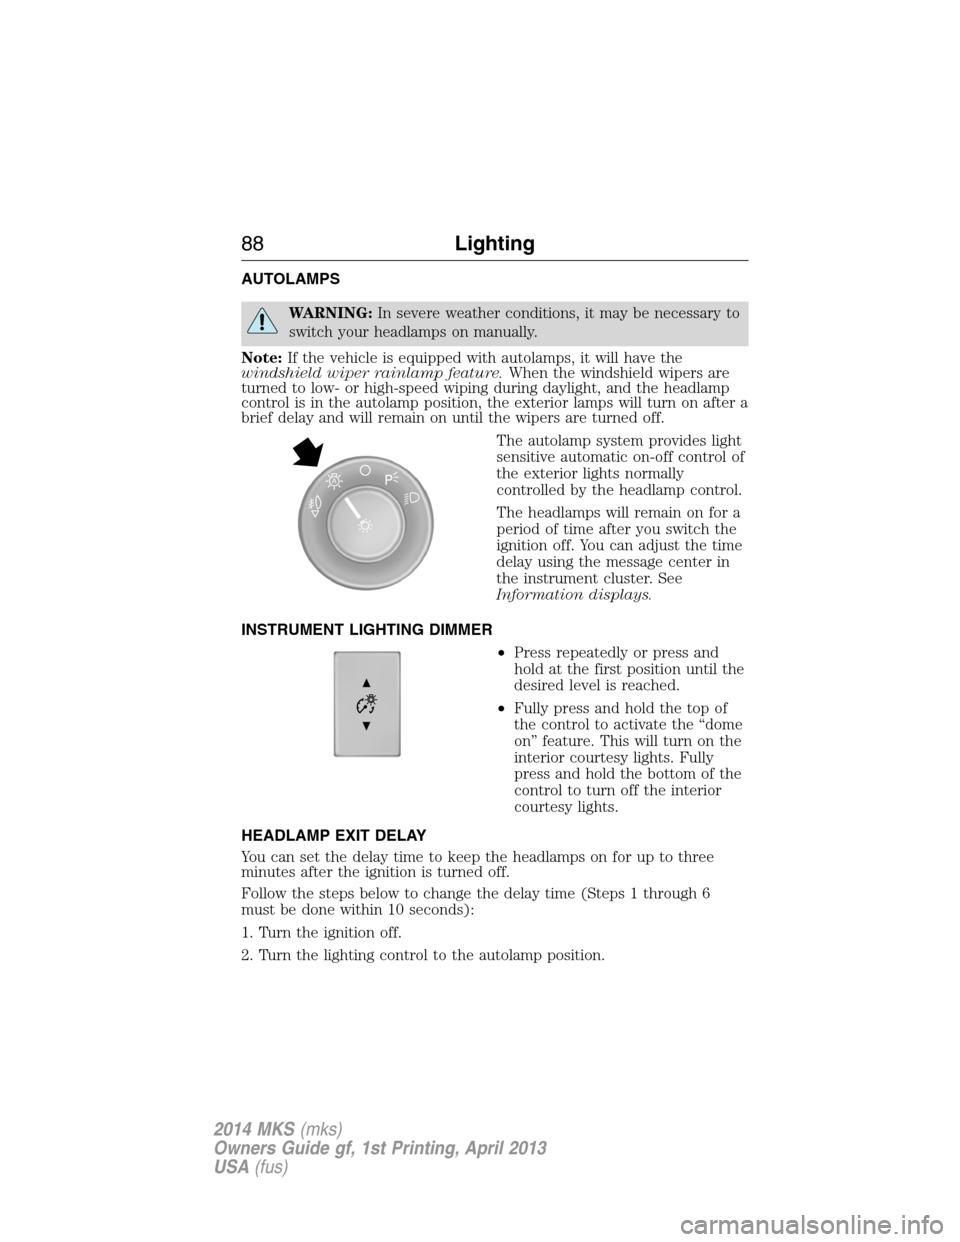
The autolamp system provides light
sensitive automatic on-off control of
the exterior lights normally
controlled by the headlamp control.
The headlamps will remain on for a
period of time after you switch the
ignition off. You can adjust the time
delay using the message center in
the instrument cluster. See
Information displays.
INSTRUMENT LIGHTING DIMMER
•Press repeatedly or press and
hold at the first position until the
desired level is reached.
•Fully press and hold the top of
the control to activate the “dome
on” feature. This will turn on the
interior courtesy lights. Fully
press and hold the bottom of the
control to turn off the interior
courtesy lights.
HEADLAMP EXIT DELAY
You can set the delay time to keep the headlamps on for up to three
minutes after the ignition is turned off.
Follow the steps below to change the delay time (Steps 1 through 6
must be done within 10 seconds):
1. Turn the ignition off.
2. Turn the lighting control to the autolamp position.
A
88Lighting
2014 MKS(mks)
Owners Guide gf, 1st Printing, April 2013
USA(fus)
Page 90 of 461
3. Turn the lighting control to the off position.
4. Turn the ignition on.
5. Turn the ignition off.
6. Turn the lighting control to the autolamp position. The headlamps and
parking lamps will turn on.
7. Turn the lighting control to the off position when the desired delay
time has been reached. The headlamps and parking lamps will turn off.
You can set the headlamp exit delay to one of the following settings:
•Off
•10 seconds
•20 seconds
•120 seconds
Note:You can also adjust the time delay using the display controls in
the instrument cluster. See theInformation Displayschapter.
DAYTIME RUNNING LAMPS (IF EQUIPPED)
WARNING:Always remember to turn on your headlamps at
dusk or during inclement weather. The Daytime Running Lamp
(DRL) system does not activate the tail lamps and generally may not
provide adequate lighting during these conditions. Failure to activate
your headlamps under these conditions may result in a collision.
The system will turn the front fog lamps on in low light situations.
The following conditions must be met to activate this feature:
•Switch the ignition on.
•Switch the lighting control to the off, autolamp or parking lamp
position.
•The transmission must be in a gear other than P (Park).
AUTOMATIC HIGH BEAM CONTROL (IF EQUIPPED)
The system will automatically turn on your high beams if it is dark
enough and no other traffic is present. When it detects an approaching
vehicle’s headlights, a preceding vehicle’s tail lamps or street lighting, the
system will turn off the high beams (low beams remain on) before they
distract other drivers.
Lighting89
2014 MKS(mks)
Owners Guide gf, 1st Printing, April 2013
USA(fus)
Page 99 of 461
INTERIOR MIRROR
WARNING:Do not adjust the mirror when your vehicle is
moving.
Note:Do not clean the housing or glass of any mirror with harsh
abrasives, fuel or other petroleum or ammonia based cleaning products.
You can adjust the interior mirror to your preference. Some mirrors also
have a second pivot point. This lets you move the mirror head up or
down and from side to side.
Auto-Dimming Mirror
Note:Do not block the sensors on the front and back of the mirror.
Mirror performance may be affected. A rear center passenger or raised
rear center head restraint may also block light from reaching the sensor.
The mirror will dim automatically to reduce glare when bright lights are
detected from behind your vehicle. It will automatically return to normal
reflection when you select reverse gear to make sure you have a clear
view when backing up.
SUN VISORS
Slide-On-Rod
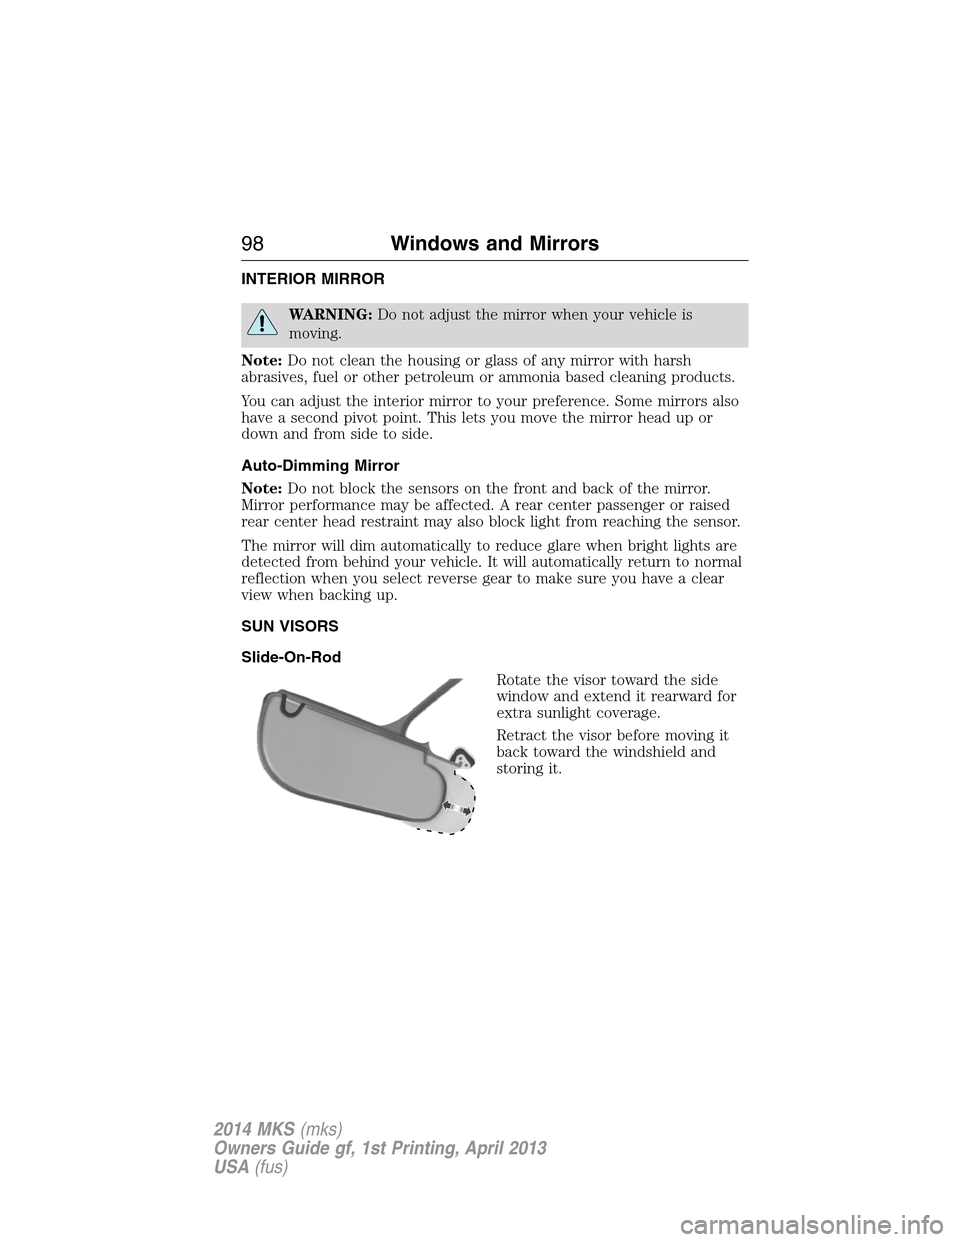
Rotate the visor toward the side
window and extend it rearward for
extra sunlight coverage.
Retract the visor before moving it
back toward the windshield and
storing it.
98Windows and Mirrors
2014 MKS(mks)
Owners Guide gf, 1st Printing, April 2013
USA(fus)
Page 103 of 461
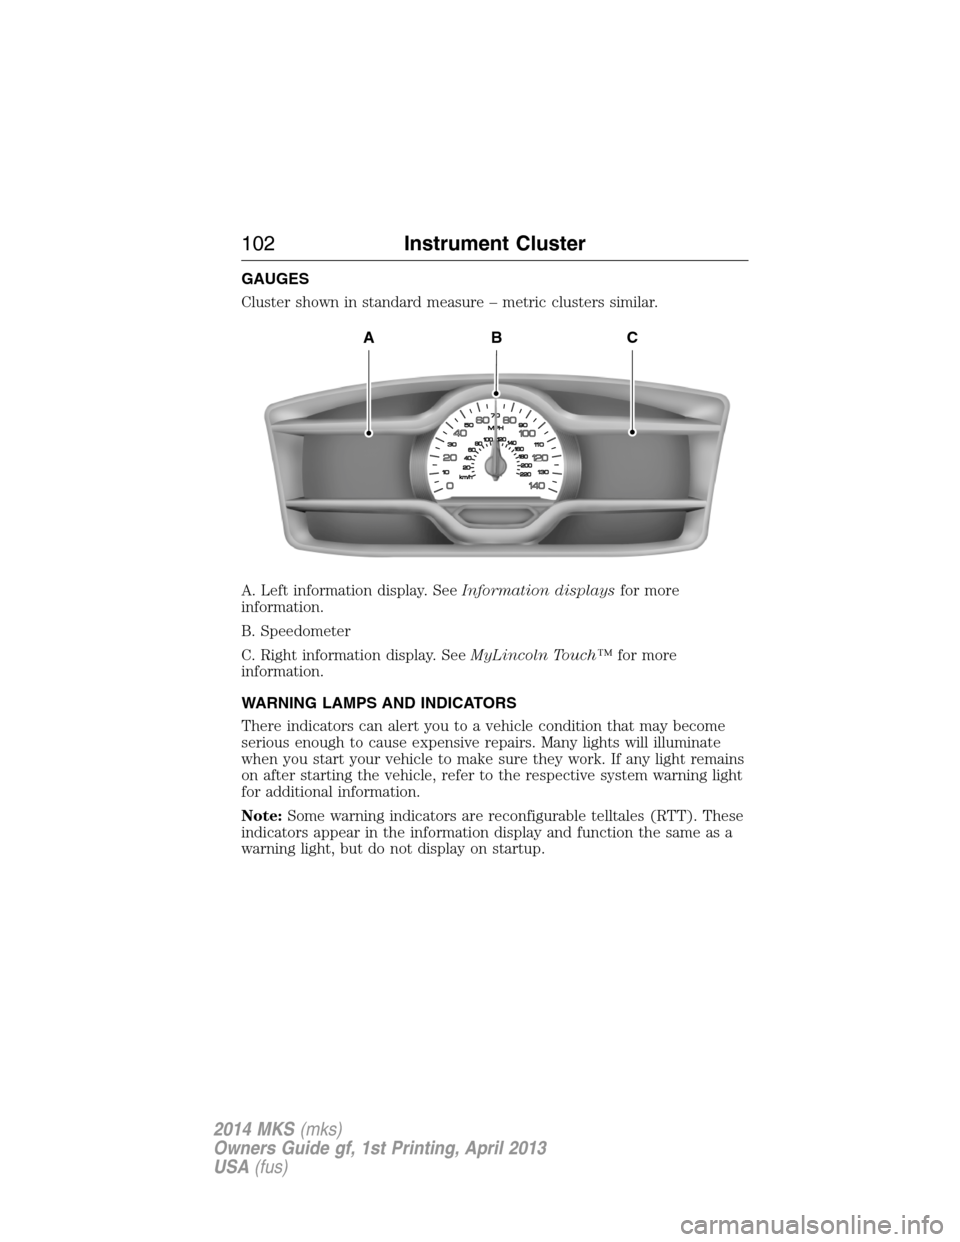
GAUGES
Cluster shown in standard measure – metric clusters similar.
A. Left information display. SeeInformation displaysfor more
information.
B. Speedometer
C. Right information display. SeeMyLincoln Touch™for more
information.
WARNING LAMPS AND INDICATORS
There indicators can alert you to a vehicle condition that may become
serious enough to cause expensive repairs. Many lights will illuminate
when you start your vehicle to make sure they work. If any light remains
on after starting the vehicle, refer to the respective system warning light
for additional information.
Note:Some warning indicators are reconfigurable telltales (RTT). These
indicators appear in the information display and function the same as a
warning light, but do not display on startup.
ABC
102Instrument Cluster
2014 MKS(mks)
Owners Guide gf, 1st Printing, April 2013
USA(fus)
Page 106 of 461
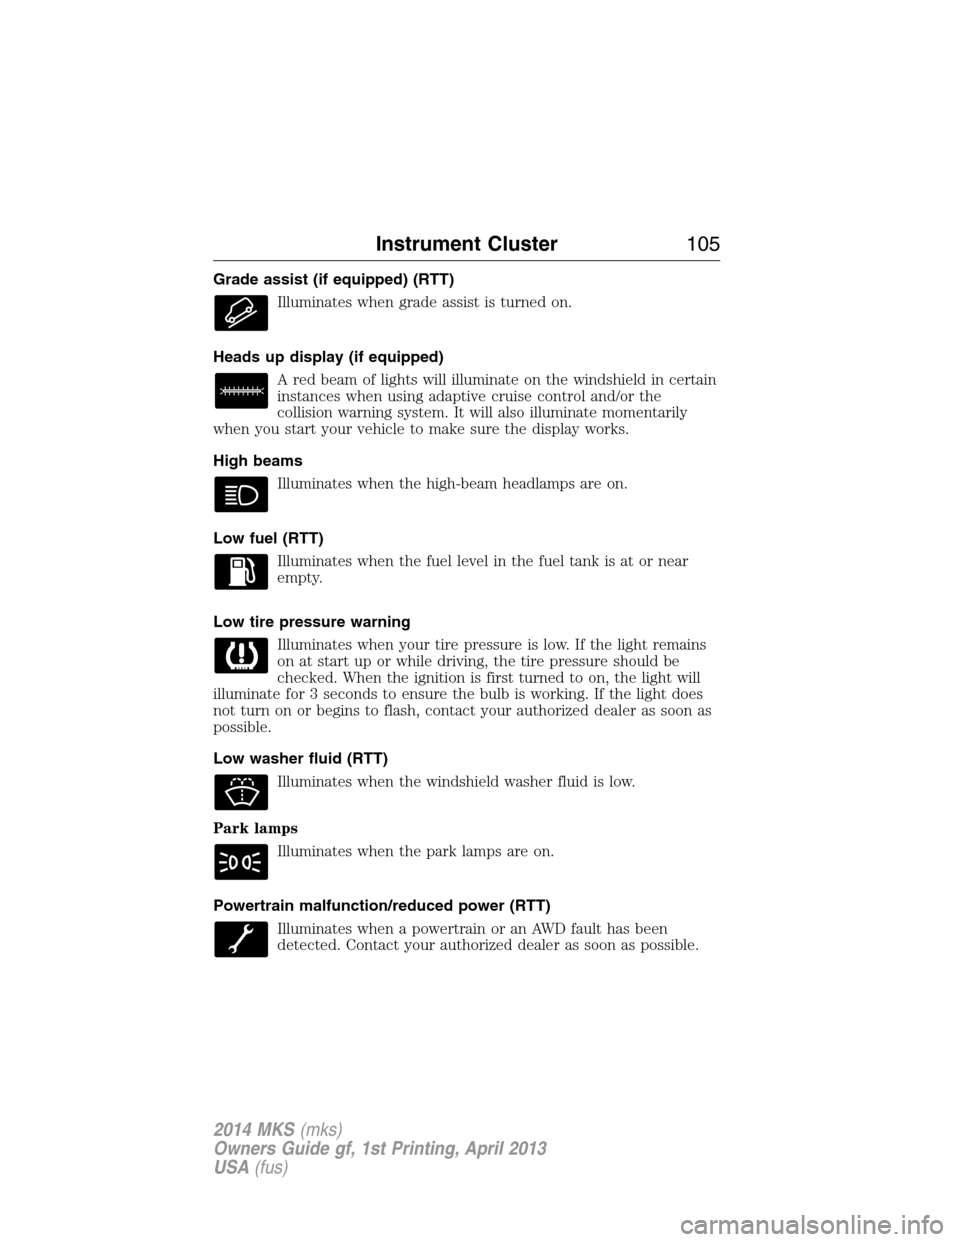
Grade assist (if equipped) (RTT)
Illuminates when grade assist is turned on.
Heads up display (if equipped)
A red beam of lights will illuminate on the windshield in certain
instances when using adaptive cruise control and/or the
collision warning system. It will also illuminate momentarily
when you start your vehicle to make sure the display works.
High beams
Illuminates when the high-beam headlamps are on.
Low fuel (RTT)
Illuminates when the fuel level in the fuel tank is at or near
empty.
Low tire pressure warning
Illuminates when your tire pressure is low. If the light remains
on at start up or while driving, the tire pressure should be
checked. When the ignition is first turned to on, the light will
illuminate for 3 seconds to ensure the bulb is working. If the light does
not turn on or begins to flash, contact your authorized dealer as soon as
possible.
Low washer fluid (RTT)
Illuminates when the windshield washer fluid is low.
Park lamps
Illuminates when the park lamps are on.
Powertrain malfunction/reduced power (RTT)
Illuminates when a powertrain or an AWD fault has been
detected. Contact your authorized dealer as soon as possible.
Instrument Cluster105
2014 MKS(mks)
Owners Guide gf, 1st Printing, April 2013
USA(fus)
Page 180 of 461
PRINCIPLES OF OPERATION
The traction control system helps avoid drive wheel spin and loss of
traction.
If your vehicle begins to slide, the system applies the brakes to individual
wheels and, when needed, reduces engine power at the same time. If the
wheels spin when accelerating on slippery or loose surfaces, the system
reduces engine power in order to increase traction.
USING TRACTION CONTROL
Note:If your vehicle is equipped with MyKey®, it is possible to prevent
turning the traction control system off. See theMyKeychapter.
In certain situations (for example, stuck in snow or mud), turning the
traction control off may be beneficial as this allows the wheels to spin
with full engine power. Turn the traction control system off through the
information display. See theInformation Displayschapter.
System Indicator Lights and Messages
WARNING:If a failure has been detected within the Traction
Control System, the stability control light will illuminate steadily.
Verify that the Traction Control System was not manually disabled
through the information display. If the stability control light still
illuminates steadily, have the system serviced by an authorized dealer
immediately. Operating your vehicle with Traction Control disabled
could lead to an increased risk of loss of vehicle control, vehicle
rollover, personal injury and death.
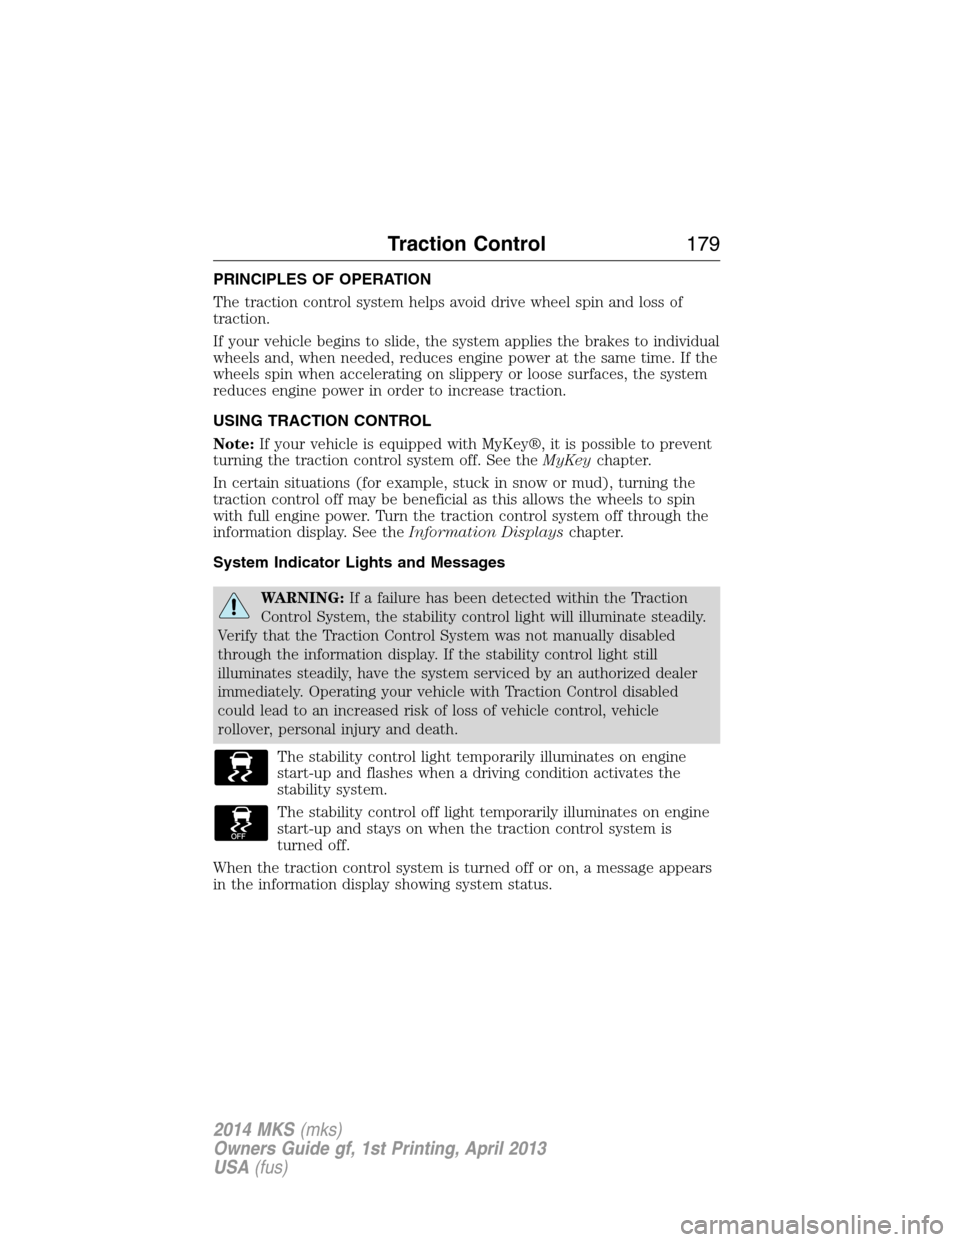
The stability control light temporarily illuminates on engine
start-up and flashes when a driving condition activates the
stability system.
The stability control off light temporarily illuminates on engine
start-up and stays on when the traction control system is
turned off.
When the traction control system is turned off or on, a message appears
in the information display showing system status.
Traction Control179
2014 MKS(mks)
Owners Guide gf, 1st Printing, April 2013
USA(fus)
Page 193 of 461
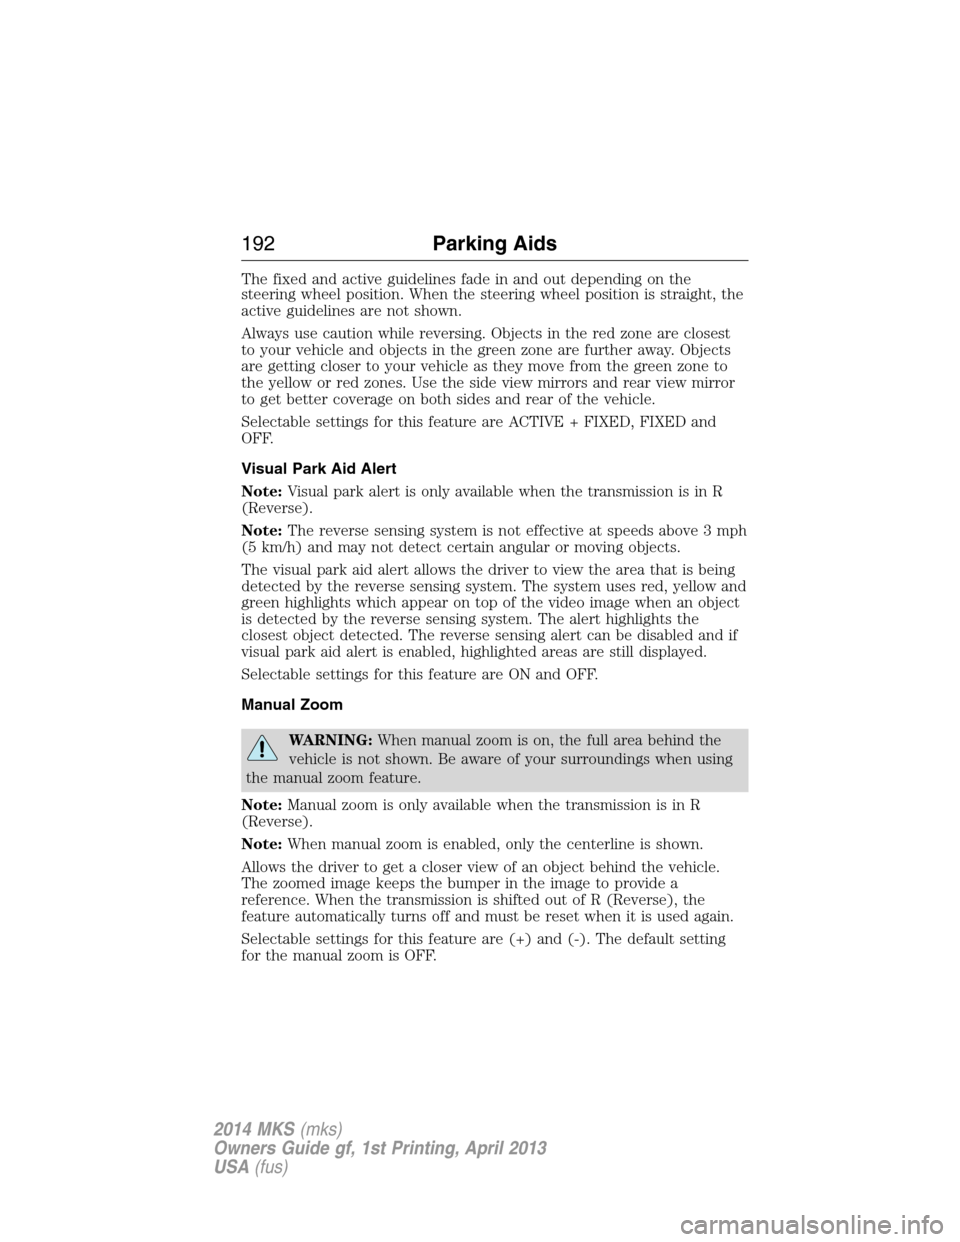
The fixed and active guidelines fade in and out depending on the
steering wheel position. When the steering wheel position is straight, the
active guidelines are not shown.
Always use caution while reversing. Objects in the red zone are closest
to your vehicle and objects in the green zone are further away. Objects
are getting closer to your vehicle as they move from the green zone to
the yellow or red zones. Use the side view mirrors and rear view mirror
to get better coverage on both sides and rear of the vehicle.
Selectable settings for this feature are ACTIVE + FIXED, FIXED and
OFF.
Visual Park Aid Alert
Note:Visual park alert is only available when the transmission is in R
(Reverse).
Note:The reverse sensing system is not effective at speeds above 3 mph
(5 km/h) and may not detect certain angular or moving objects.
The visual park aid alert allows the driver to view the area that is being
detected by the reverse sensing system. The system uses red, yellow and
green highlights which appear on top of the video image when an object
is detected by the reverse sensing system. The alert highlights the
closest object detected. The reverse sensing alert can be disabled and if
visual park aid alert is enabled, highlighted areas are still displayed.
Selectable settings for this feature are ON and OFF.
Manual Zoom
WARNING:When manual zoom is on, the full area behind the
vehicle is not shown. Be aware of your surroundings when using
the manual zoom feature.
Note:Manual zoom is only available when the transmission is in R
(Reverse).
Note:When manual zoom is enabled, only the centerline is shown.
Allows the driver to get a closer view of an object behind the vehicle.
The zoomed image keeps the bumper in the image to provide a
reference. When the transmission is shifted out of R (Reverse), the
feature automatically turns off and must be reset when it is used again.
Selectable settings for this feature are (+) and (-). The default setting
for the manual zoom is OFF.
192Parking Aids
2014 MKS(mks)
Owners Guide gf, 1st Printing, April 2013
USA(fus)
Page 232 of 461
Hitches
Do not use a hitch that either clamps onto the bumper or attaches to the
axle.
Distribute the trailer load so 10-15% of the total trailer weight is on the
tongue.
Safety Chains
Note:Never attach safety chains to the bumper.
Always connect the safety chains to the hook retainers of your vehicle
hitch.
To connect the safety chains, cross them under the trailer tongue and
allow enough slack for turning tight corners. Do not allow the chains to
drag on the ground.
Trailer Brakes
WARNING:Do not connect a trailer’s hydraulic brake system
directly to your vehicle’s brake system. Your vehicle may not have
enough braking power and your chances of having a collision greatly
increase.
Electric brakes and manual, automatic or surge-type trailer brakes are
safe if you install them properly and adjust them to the manufacturer’s
specifications. The trailer brakes must meet local and federal regulations.
The rating for the tow vehicle’s braking system operation is at the
gross vehicle weight rating, not the gross combined weight rating.
Trailer Lamps
WARNING:Never connect any trailer lamp wiring to the
vehicle’s tail lamp wiring; this may damage the electrical system
resulting in a fire. Contact an authorized dealer as soon as possible for
assistance in proper trailer tow wiring installation. Additional electrical
equipment may be required.
Trailer lamps are required on most towed vehicles. Make sure all running
lights, brake lights, turn signals and hazard lights are working.
Before Towing a Trailer
Practice turning, stopping and backing up to get the feel of your
vehicle-trailer combination before starting on a trip. When turning, make
wider turns so the trailer wheels clear curbs and other obstacles.
Towing231
2014 MKS(mks)
Owners Guide gf, 1st Printing, April 2013
USA(fus)
Page 316 of 461
Low tire
pressure
warning lightPossible cause Customer action required
Flashing
warning lightSpare tire in use Repair the damaged road wheel
and tire assembly and reinstall it on
the vehicle to restore system
function. For a description on how
the system functions, seeWhen
Your Temporary Spare Tire is
Installedin this section.
TPMS
malfunctionIf the tires are properly inflated
and the spare tire is not in use but
the light remains on, contact your
authorized dealer as soon as
possible.
When Inflating Your Tires
When putting air into your tires (such as at a gas station or in your
garage), the tire pressure monitoring system may not respond
immediately to the air added to your tires.
It may take up to two minutes of driving over 20 mph (32 km/h) for the
light to turn off after you have filled your tires to the recommended
inflation pressure.
How Temperature Affects Your Tire Pressure
The tire pressure monitoring system monitors tire pressure in each
pneumatic tire. While driving in a normal manner, a typical passenger
tire inflation pressure may increase about 2 to 4 psi (14 to 28 kPa) from
a cold start situation. If the vehicle is stationary overnight with the
outside temperature significantly lower than the daytime temperature,
the tire pressure may decrease approximately 3 psi (21 kPa) for a drop
of 30°F (17°C) in ambient temperature. This lower pressure value may
be detected by the tire pressure monitoring system as being significantly
lower than the recommended inflation pressure and activate the system
warning light for low tire pressure. If the low tire pressure warning light
is on, visually check each tire to verify that no tire is flat. If one or more
tires are flat, repair as necessary. Check the air pressure in the road
tires. If any tire is under-inflated, carefully drive the vehicle to the
nearest location where air can be added to the tires. Inflate all the tires
to the recommended inflation pressure.
Wheels and Tires315
2014 MKS(mks)
Owners Guide gf, 1st Printing, April 2013
USA(fus)