LINCOLN MKT 2014 Owners Manual
Manufacturer: LINCOLN, Model Year: 2014, Model line: MKT, Model: LINCOLN MKT 2014Pages: 498, PDF Size: 7.3 MB
Page 101 of 498
The high beams will switch off if:
•An approaching vehicle’s headlights or a preceding vehicle’s tail lamps
are detected.
•The vehicle speed falls below 19 mph (30 km/h).
•The ambient light level is high enough that high beams are not
needed.
•Severe rain, snow or fog is detected.
•The camera is blocked.
Activating the system
Switch the system on within the information display. SeeInformation
displays.
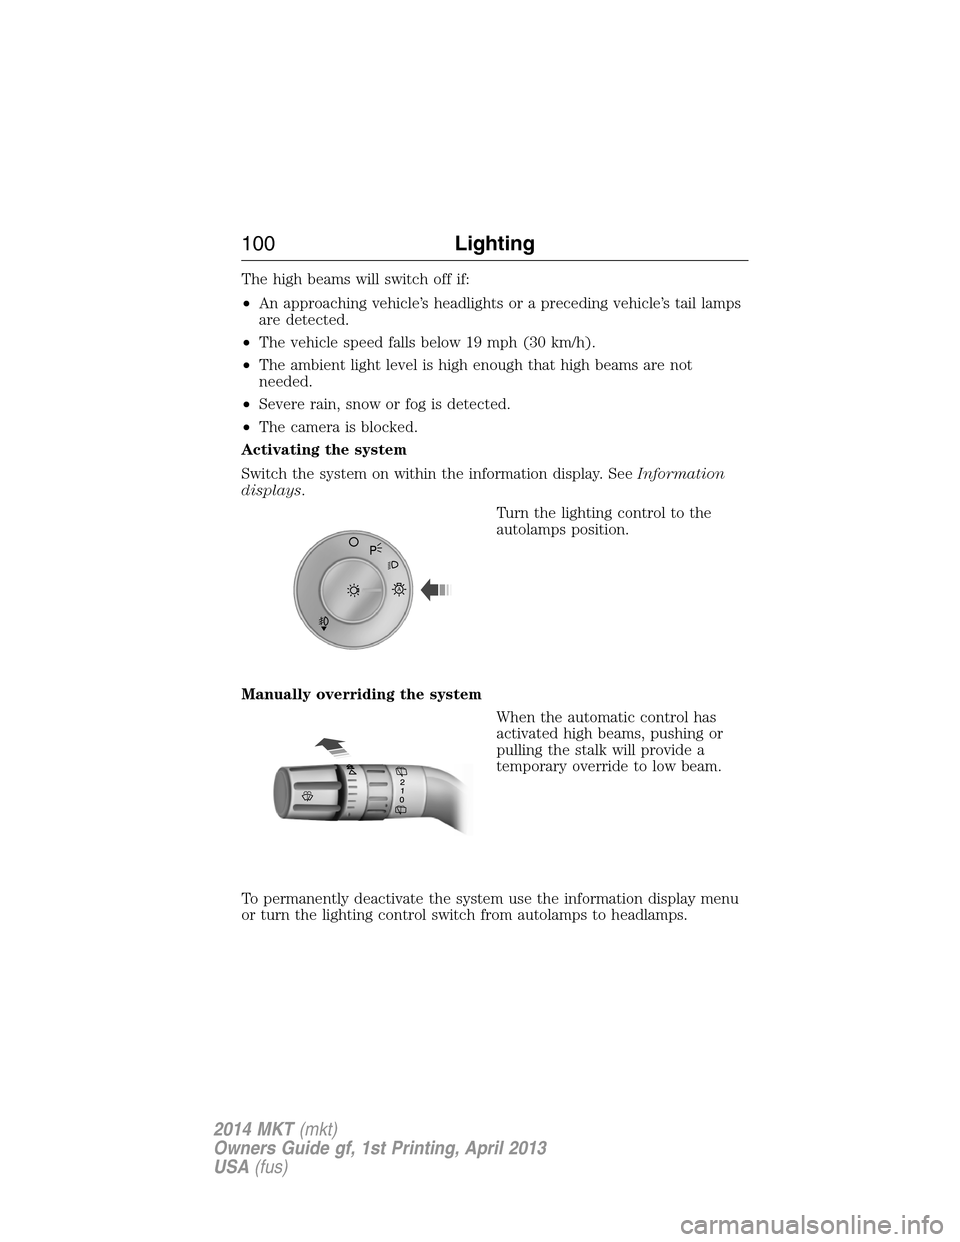
Turn the lighting control to the
autolamps position.
Manually overriding the system
When the automatic control has
activated high beams, pushing or
pulling the stalk will provide a
temporary override to low beam.
To permanently deactivate the system use the information display menu
or turn the lighting control switch from autolamps to headlamps.
A
100Lighting
2014 MKT(mkt)
Owners Guide gf, 1st Printing, April 2013
USA(fus)
Page 102 of 498
FRONT FOG LAMPS
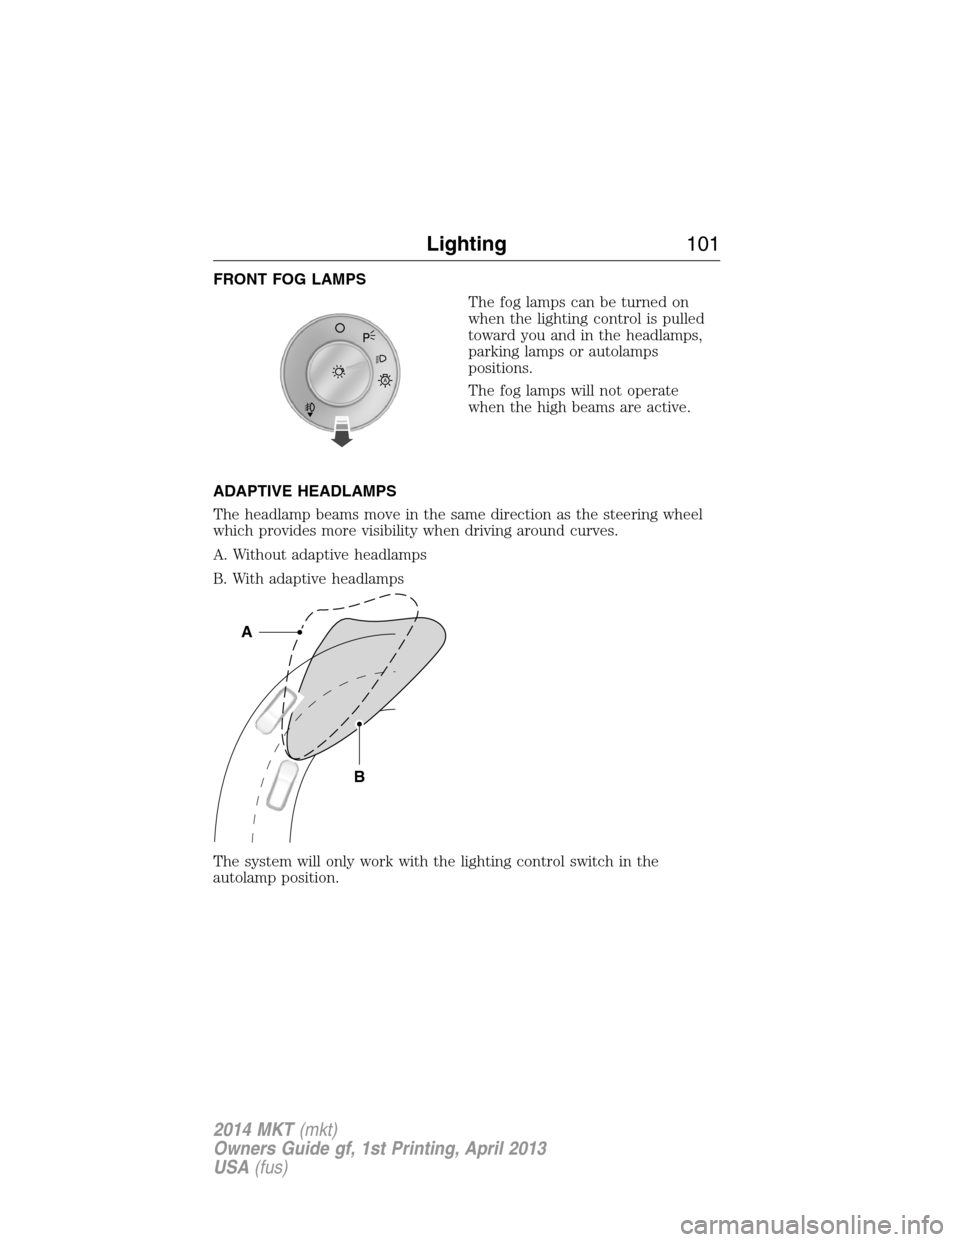
The fog lamps can be turned on
when the lighting control is pulled
toward you and in the headlamps,
parking lamps or autolamps
positions.
The fog lamps will not operate
when the high beams are active.
ADAPTIVE HEADLAMPS
The headlamp beams move in the same direction as the steering wheel
which provides more visibility when driving around curves.
A. Without adaptive headlamps
B. With adaptive headlamps
The system will only work with the lighting control switch in the
autolamp position.
A
B
A
Lighting101
2014 MKT(mkt)
Owners Guide gf, 1st Printing, April 2013
USA(fus)
Page 103 of 498
Note:There is a delay of two to
five seconds before the adaptive
headlamp system will operate when
the vehicle is driven.
Note:The system is only active at
speeds above 3 mph (5 km/h).
Note:The system has a power-up
movement check feature. When the
vehicle is started, the lamps track
left to right, then back to center to
alert the driver that the system is
working properly.
DIRECTION INDICATORS
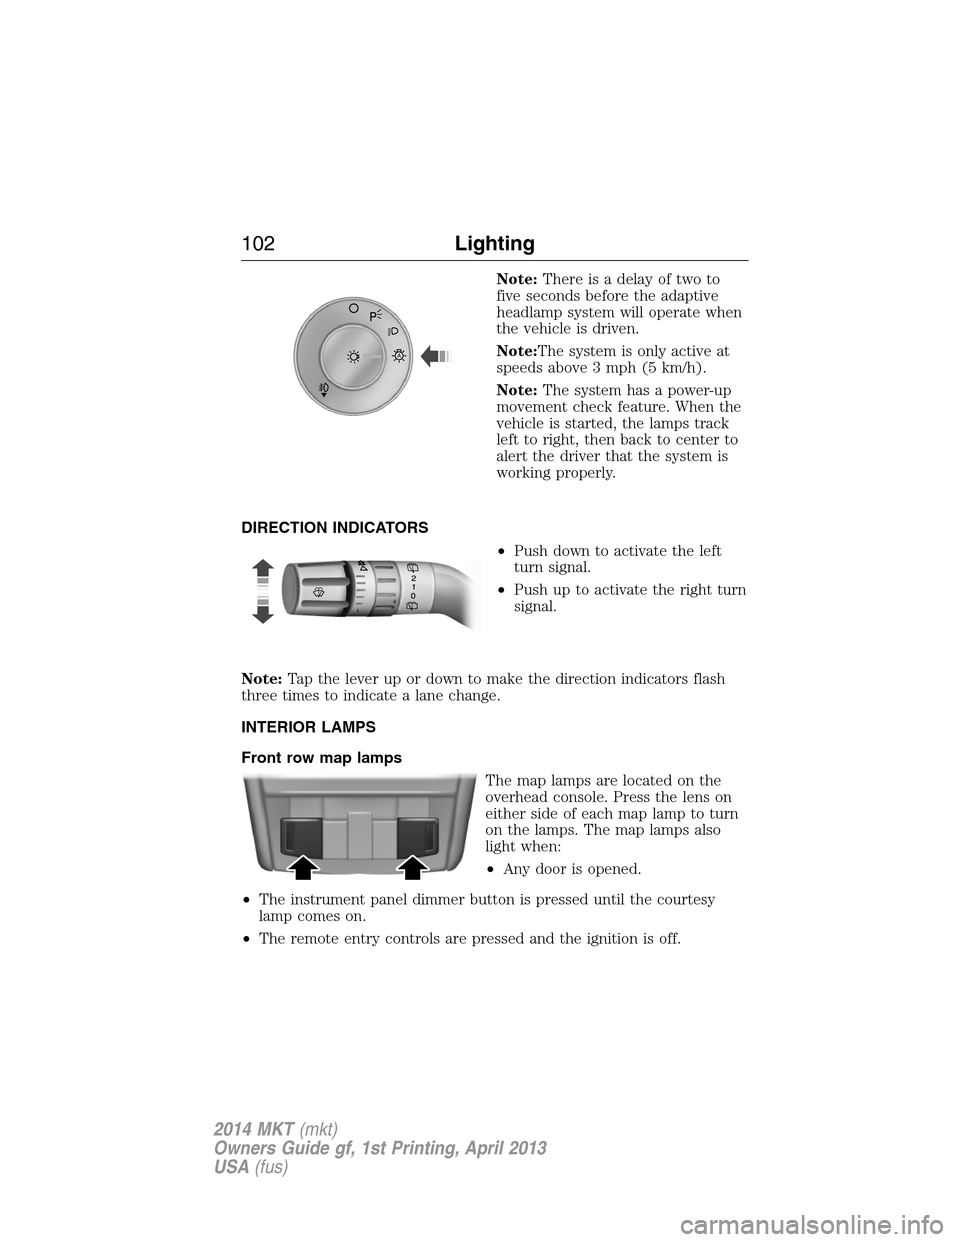
•Push down to activate the left
turn signal.
•Push up to activate the right turn
signal.
Note:Tap the lever up or down to make the direction indicators flash
three times to indicate a lane change.
INTERIOR LAMPS
Front row map lamps
The map lamps are located on the
overhead console. Press the lens on
either side of each map lamp to turn
on the lamps. The map lamps also
light when:
•Any door is opened.
•The instrument panel dimmer button is pressed until the courtesy
lamp comes on.
•The remote entry controls are pressed and the ignition is off.
A
102Lighting
2014 MKT(mkt)
Owners Guide gf, 1st Printing, April 2013
USA(fus)
Page 104 of 498
Second row map lamps
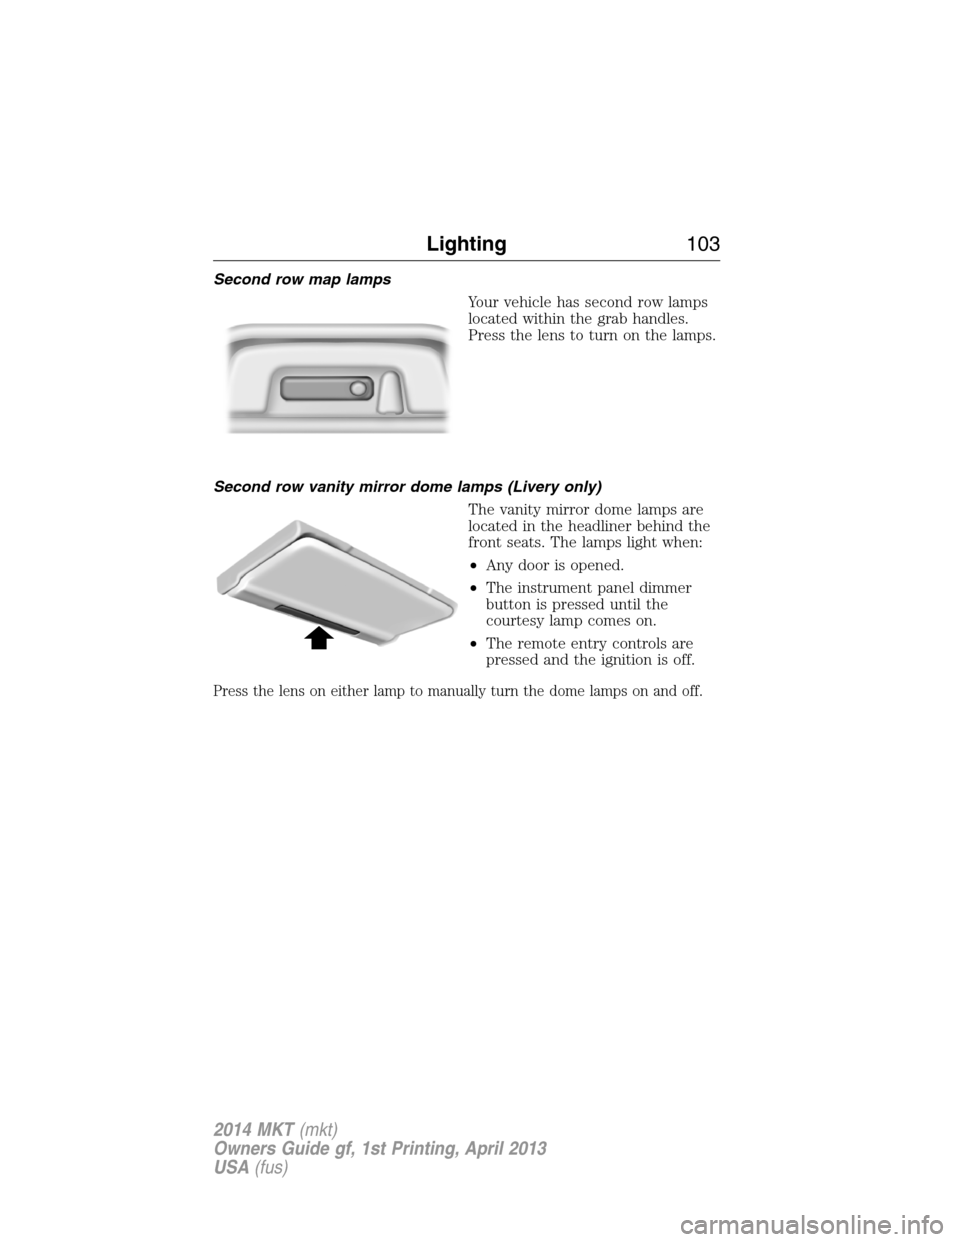
Your vehicle has second row lamps
located within the grab handles.
Press the lens to turn on the lamps.
Second row vanity mirror dome lamps (Livery only)
The vanity mirror dome lamps are
located in the headliner behind the
front seats. The lamps light when:
•Any door is opened.
•The instrument panel dimmer
button is pressed until the
courtesy lamp comes on.
•The remote entry controls are
pressed and the ignition is off.
Press the lens on either lamp to manually turn the dome lamps on and off.
Lighting103
2014 MKT(mkt)
Owners Guide gf, 1st Printing, April 2013
USA(fus)
Page 105 of 498
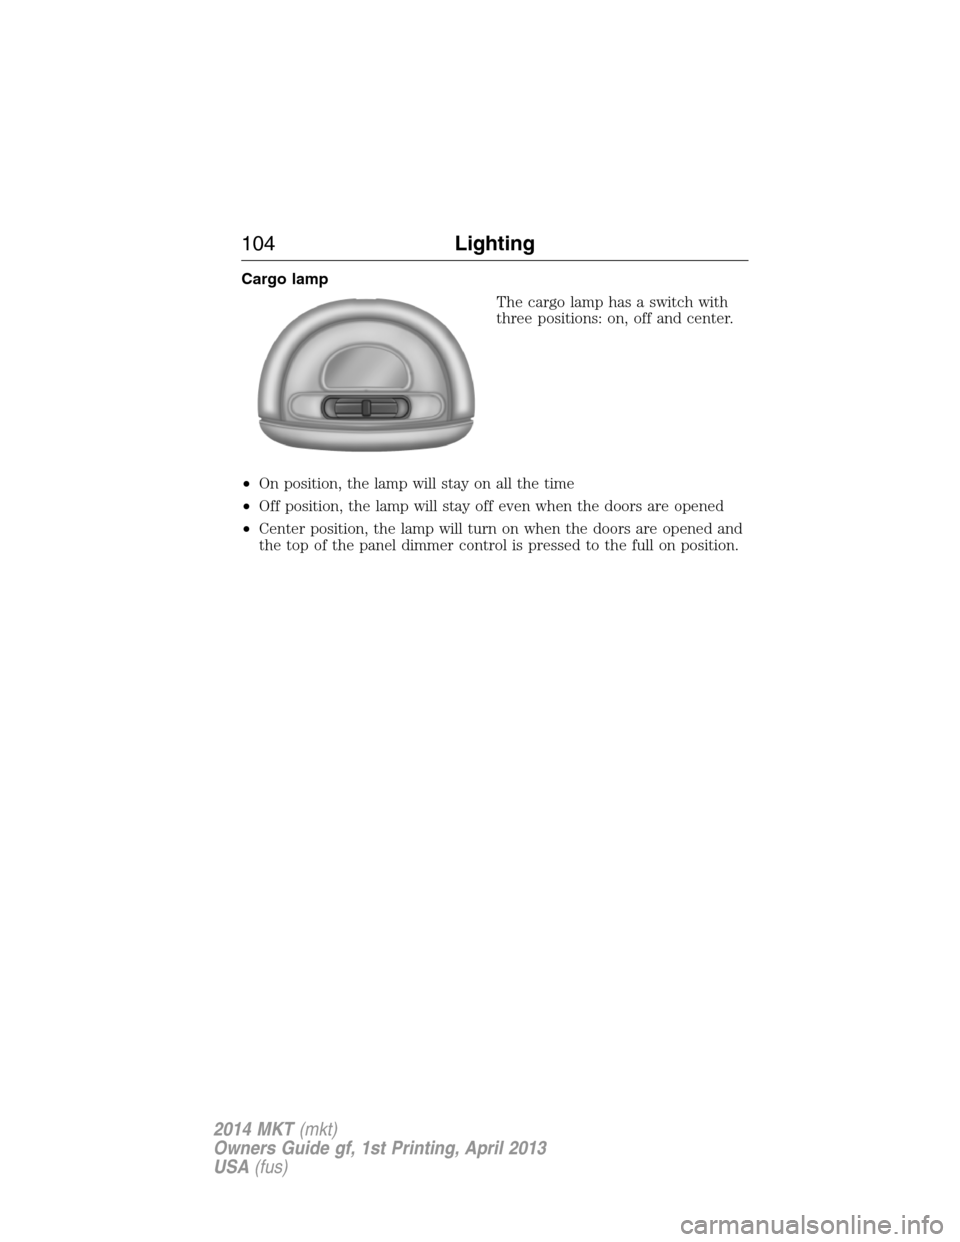
Cargo lamp
The cargo lamp has a switch with
three positions: on, off and center.
•On position, the lamp will stay on all the time
•Off position, the lamp will stay off even when the doors are opened
•Center position, the lamp will turn on when the doors are opened and
the top of the panel dimmer control is pressed to the full on position.
104Lighting
2014 MKT(mkt)
Owners Guide gf, 1st Printing, April 2013
USA(fus)
Page 106 of 498
POWER WINDOWS
WARNING:Do not leave children unattended in your vehicle
and do not let children play with the power windows. They may
seriously injure themselves.
WARNING:When closing the power windows, you should verify
they are free of obstructions and make sure that children and
pets are not in the proximity of the window openings.
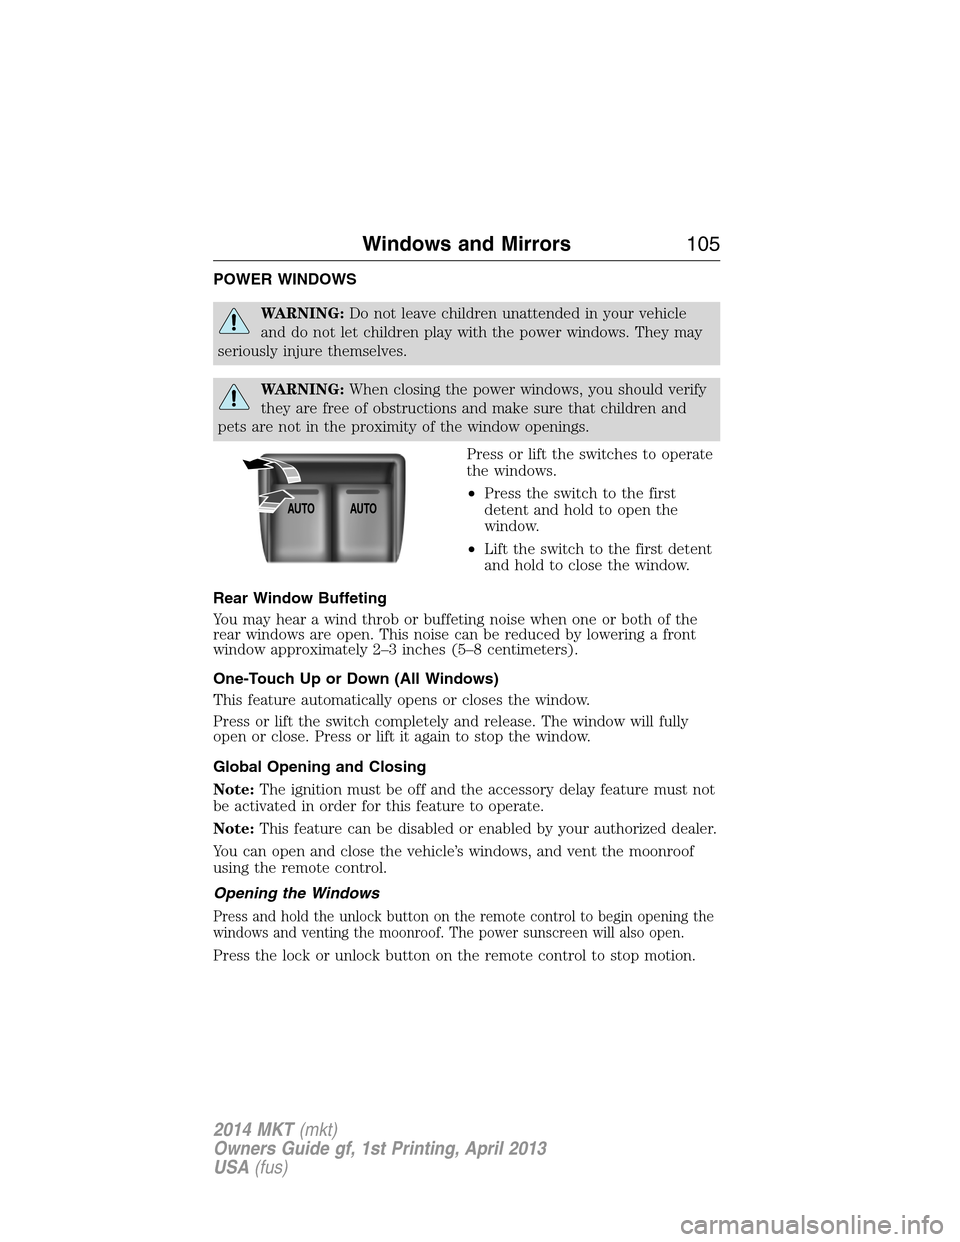
Press or lift the switches to operate
the windows.
•Press the switch to the first
detent and hold to open the
window.
•Lift the switch to the first detent
and hold to close the window.
Rear Window Buffeting
You may hear a wind throb or buffeting noise when one or both of the
rear windows are open. This noise can be reduced by lowering a front
window approximately 2–3 inches (5–8 centimeters).
One-Touch Up or Down (All Windows)
This feature automatically opens or closes the window.
Press or lift the switch completely and release. The window will fully
open or close. Press or lift it again to stop the window.
Global Opening and Closing
Note:The ignition must be off and the accessory delay feature must not
be activated in order for this feature to operate.
Note:This feature can be disabled or enabled by your authorized dealer.
You can open and close the vehicle’s windows, and vent the moonroof
using the remote control.
Opening the Windows
Press and hold the unlock button on the remote control to begin opening the
windows and venting the moonroof. The power sunscreen will also open.
Press the lock or unlock button on the remote control to stop motion.
AUTOAUTO
Windows and Mirrors105
2014 MKT(mkt)
Owners Guide gf, 1st Printing, April 2013
USA(fus)
Page 107 of 498
Closing the Windows
WARNING:Before operating power windows, you should verify
that they are free of obstructions and ensure that children and
pets are not in the proximity of window openings.
Press and hold the lock button on the remote control to begin closing
the windows.
Press the lock or unlock button the remote control to stop motion.
Bounce-Back
The window will stop automatically while closing and reverse some
distance if there is an obstacle in the way.
Overriding the Bounce-Back Feature
WARNING:When you override the bounce-back feature the
window will not reverse if it detects an obstacle. Take care when
closing the windows to avoid personal injury or damage to your vehicle.
Pull up the window switch and hold within two seconds of the window
reaching the bounce-back position. The window will travel up with no
bounce-back protection. The window will stop if you release the switch
before the window is fully closed.
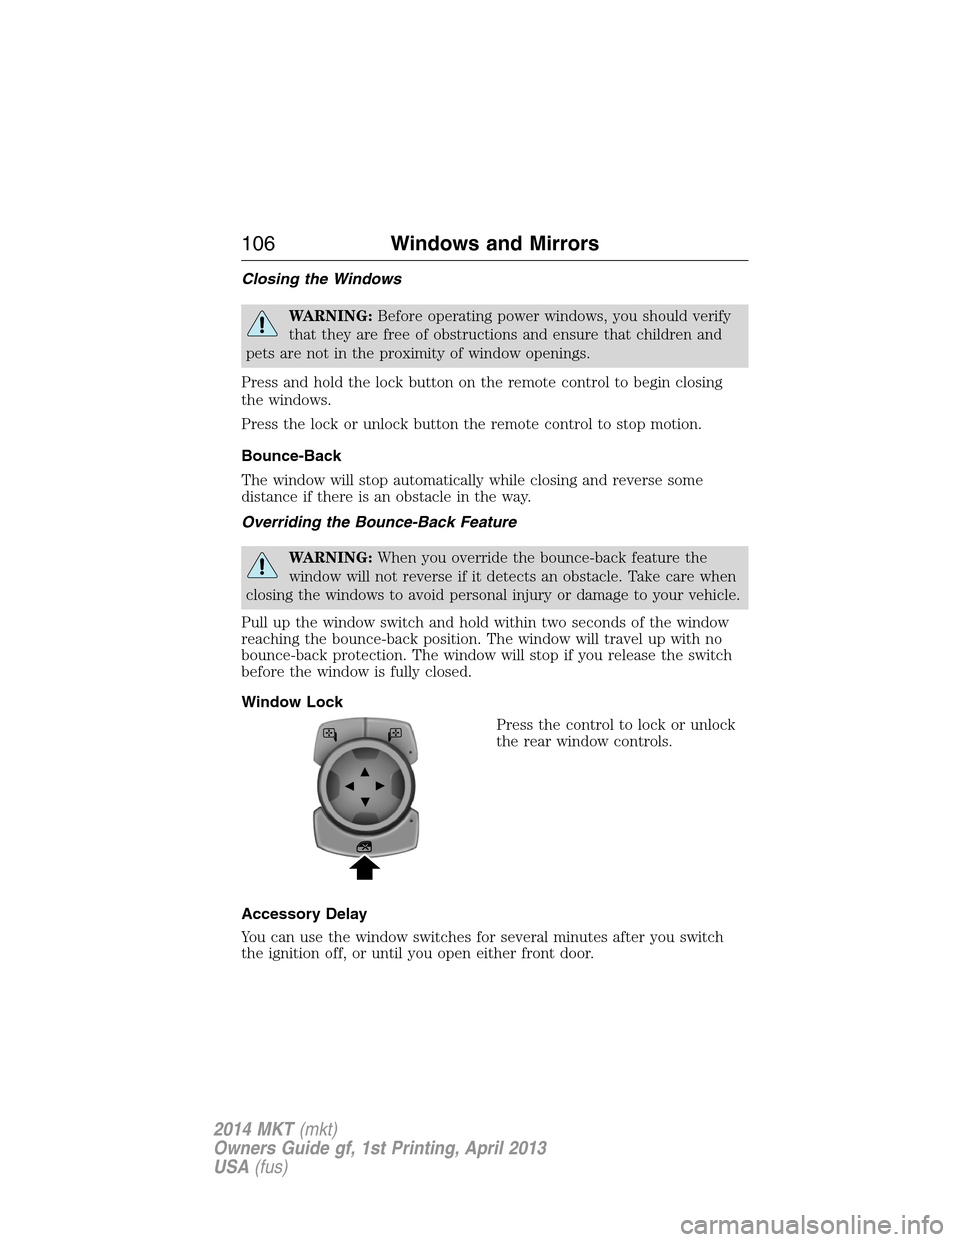
Window Lock
Press the control to lock or unlock
the rear window controls.
Accessory Delay
You can use the window switches for several minutes after you switch
the ignition off, or until you open either front door.
106Windows and Mirrors
2014 MKT(mkt)
Owners Guide gf, 1st Printing, April 2013
USA(fus)
Page 108 of 498
EXTERIOR MIRRORS
Power Exterior Mirrors
WARNING:Do not adjust the mirror while your vehicle is in
motion.
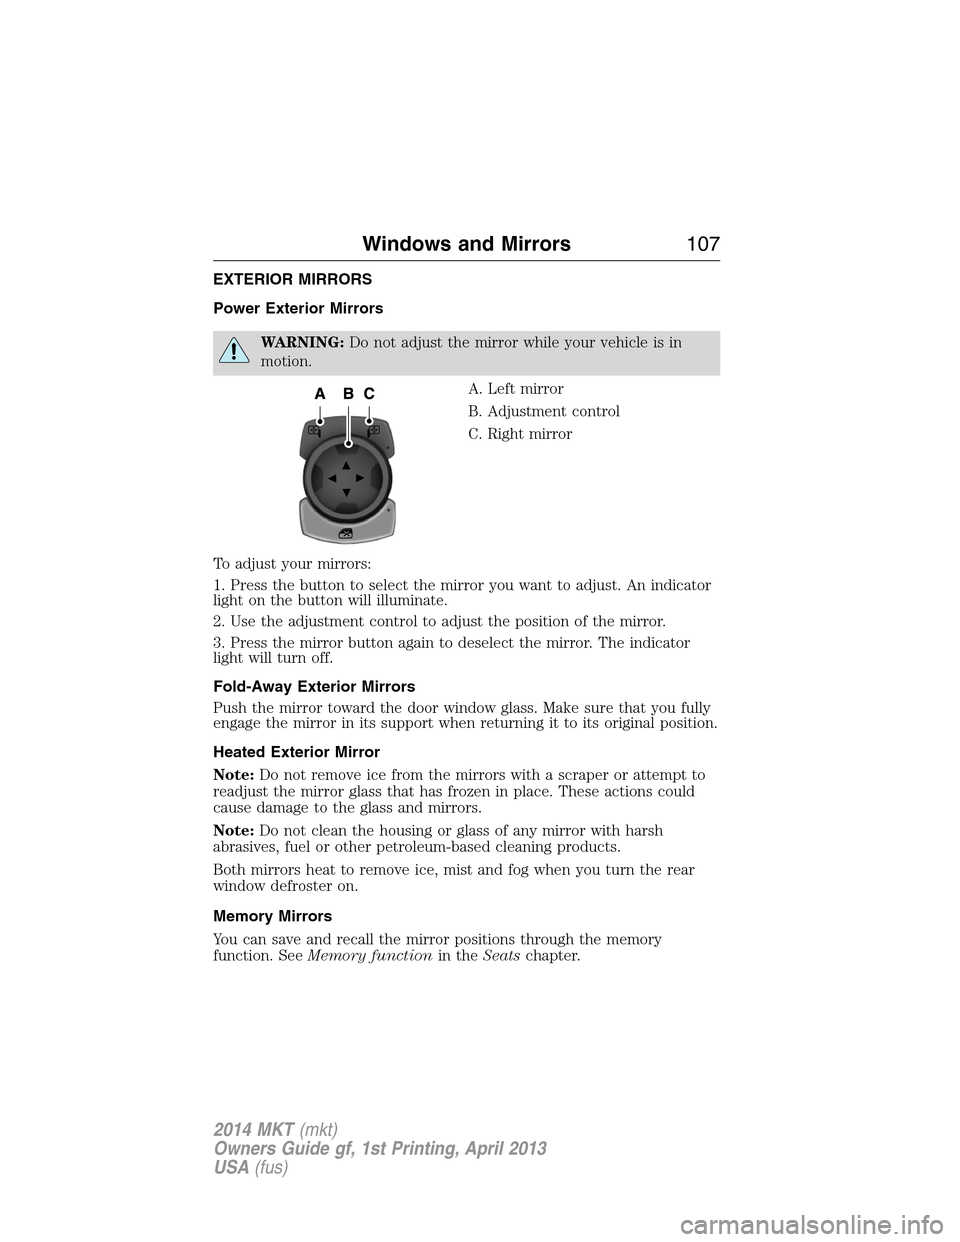
A. Left mirror
B. Adjustment control
C. Right mirror
To adjust your mirrors:
1. Press the button to select the mirror you want to adjust. An indicator
light on the button will illuminate.
2. Use the adjustment control to adjust the position of the mirror.
3. Press the mirror button again to deselect the mirror. The indicator
light will turn off.
Fold-Away Exterior Mirrors
Push the mirror toward the door window glass. Make sure that you fully
engage the mirror in its support when returning it to its original position.
Heated Exterior Mirror
Note:Do not remove ice from the mirrors with a scraper or attempt to
readjust the mirror glass that has frozen in place. These actions could
cause damage to the glass and mirrors.
Note:Do not clean the housing or glass of any mirror with harsh
abrasives, fuel or other petroleum-based cleaning products.
Both mirrors heat to remove ice, mist and fog when you turn the rear
window defroster on.
Memory Mirrors
You can save and recall the mirror positions through the memory
function. SeeMemory functionin theSeatschapter.
Windows and Mirrors107
2014 MKT(mkt)
Owners Guide gf, 1st Printing, April 2013
USA(fus)
Page 109 of 498
Auto-Dimming Feature
The driver’s side exterior mirror will automatically dim when the interior
auto-dimming mirror is activated.
Integrated Blind Spot Mirrors (If Equipped)
WARNING:Objects in the blind spot mirror are closer than they
appear.
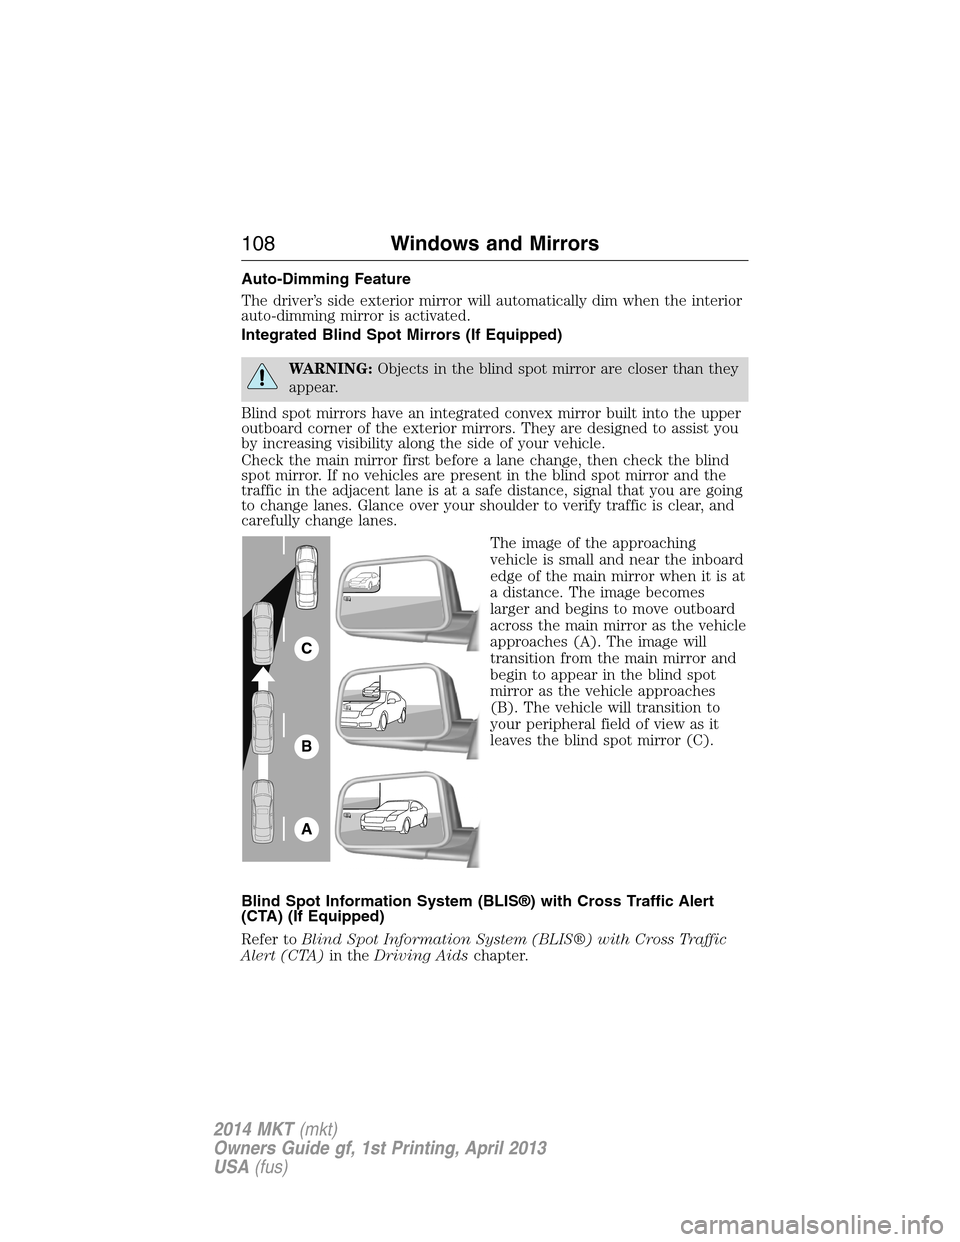
Blind spot mirrors have an integrated convex mirror built into the upper
outboard corner of the exterior mirrors. They are designed to assist you
by increasing visibility along the side of your vehicle.
Check the main mirror first before a lane change, then check the blind
spot mirror. If no vehicles are present in the blind spot mirror and the
traffic in the adjacent lane is at a safe distance, signal that you are going
to change lanes. Glance over your shoulder to verify traffic is clear, and
carefully change lanes.
The image of the approaching
vehicle is small and near the inboard
edge of the main mirror when it is at
a distance. The image becomes
larger and begins to move outboard
across the main mirror as the vehicle
approaches (A). The image will
transition from the main mirror and
begin to appear in the blind spot
mirror as the vehicle approaches
(B). The vehicle will transition to
your peripheral field of view as it
leaves the blind spot mirror (C).
Blind Spot Information System (BLIS®) with Cross Traffic Alert
(CTA) (If Equipped)
Refer toBlind Spot Information System (BLIS®) with Cross Traffic
Alert (CTA)in theDriving Aidschapter.
A
B
C
108Windows and Mirrors
2014 MKT(mkt)
Owners Guide gf, 1st Printing, April 2013
USA(fus)
Page 110 of 498
INTERIOR MIRROR
WARNING:Do not adjust the mirror when your vehicle is
moving.
Note:Do not clean the housing or glass of any mirror with harsh
abrasives, fuel or other petroleum or ammonia based cleaning products.
You can adjust the interior mirror to your preference. Some mirrors also
have a second pivot point. This lets you move the mirror head up or
down and from side to side.
Auto-Dimming Mirror
Note:Do not block the sensors on the front and back of the mirror.
Mirror performance may be affected. A rear center passenger or raised
rear center head restraint may also block light from reaching the sensor.
The mirror will dim automatically to reduce glare when bright lights are
detected from behind your vehicle. It will automatically return to normal
reflection when you select reverse gear to make sure you have a clear
view when backing up.
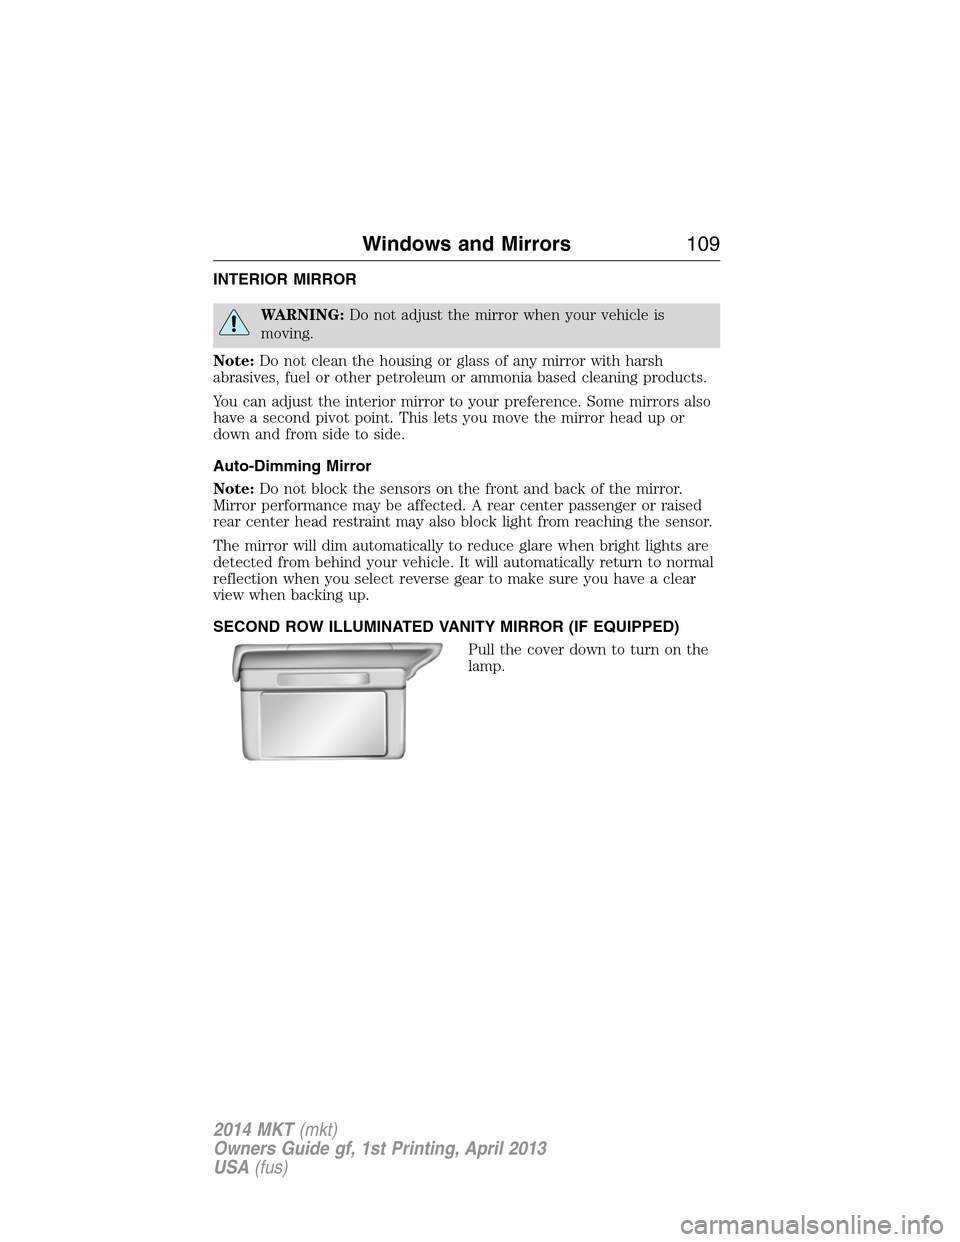
SECOND ROW ILLUMINATED VANITY MIRROR (IF EQUIPPED)
Pull the cover down to turn on the
lamp.
Windows and Mirrors109
2014 MKT(mkt)
Owners Guide gf, 1st Printing, April 2013
USA(fus)