lights LINCOLN MKT 2015 Owners Manual
[x] Cancel search | Manufacturer: LINCOLN, Model Year: 2015, Model line: MKT, Model: LINCOLN MKT 2015Pages: 500, PDF Size: 4.94 MB
Page 50 of 500
PERSONAL SAFETY SYSTEM™
The Personal Safety System provides an improved overall level of frontal
crash protection to front seat occupants and is designed to help further
reduce the risk of airbag-related injuries. The system is able to analyze
different occupant conditions and crash severity before activating the
appropriate safety devices to help better protect a range of occupants in
a variety of frontal crash situations.
Your vehicle’s Personal Safety System consists of:
•Driver and passenger dual-stage airbag supplemental restraints.
•Front outboard safety belts with pretensioners, energy management
retractors (first row only), and safety belt usage sensors.
•Driver seat position sensor.
•Front passenger sensing system.
•Passenger airbag off and on indicator lamp.
•Front crash severity sensors.
•Restraints control module with impact and safing sensors.
•Restraint system warning light and backup tone.
•The electrical wiring for the airbags, crash sensor(s), safety belt
pretensioners, front safety belt usage sensors, driver seat position
sensor, front passenger sensing system, and indicator lights.
How Does the Personal Safety System Work?
The Personal Safety System can adapt the deployment strategy of your
vehicle’s safety devices according to crash severity and occupant
conditions. A collection of crash and occupant sensors provides
information to the restraints control module. During a crash, the
restraints control module may activate the safety belt pretensioners
and/or either one or both stages of the dual-stage airbag supplemental
restraints based on crash severity and occupant conditions.
Personal Safety System49
2015 MKT(mkt)
Owners Guide gf, 1st Printing, October 2014
USA(fus)
Page 77 of 500
Enabling or Disabling
Note:You can enable or disable the autolock and autounlock features
independently of each other.
You can enable or disable these features:
•through an authorized dealer
•using the information display.
Illuminated Entry
The interior lamps and select exterior lamps illuminate when you use the
intelligent access key or the keyless entry keypad to unlock your vehicle.
The system will turn off the lights if:
•you switch the ignition on
•you press the lock button on the remote control
•you lock your vehicle using the keyless entry keypad
•they have been on for 25 seconds.
The lights will not turn off if:
•you have turned them on with the dimmer control
•any door is open.
Illuminated Exit
The interior lamps and select exterior lamps illuminate when all doors
are closed and the ignition is turned off.
The lights turn off if all the doors remain closed and:
•25 seconds elapse
•you press theSTART/STOPbutton.
Battery Saver
If you leave the courtesy lamps, dome lamps or headlamps on, the
battery saver shuts them off 10 minutes after you switch the ignition off.
Accessory Mode Battery Saver for Intelligent Access Keys
If you leave your vehicle in the run ignition state, it will shut off once it
detects a certain amount of battery drain or after 45 minutes.
76Locks
2015 MKT(mkt)
Owners Guide gf, 1st Printing, October 2014
USA(fus)
Page 81 of 500
Note:Do not leave the liftgate open while driving. This could damage
the liftgate and its components.
The liftgate area is only intended for cargo, not passengers.
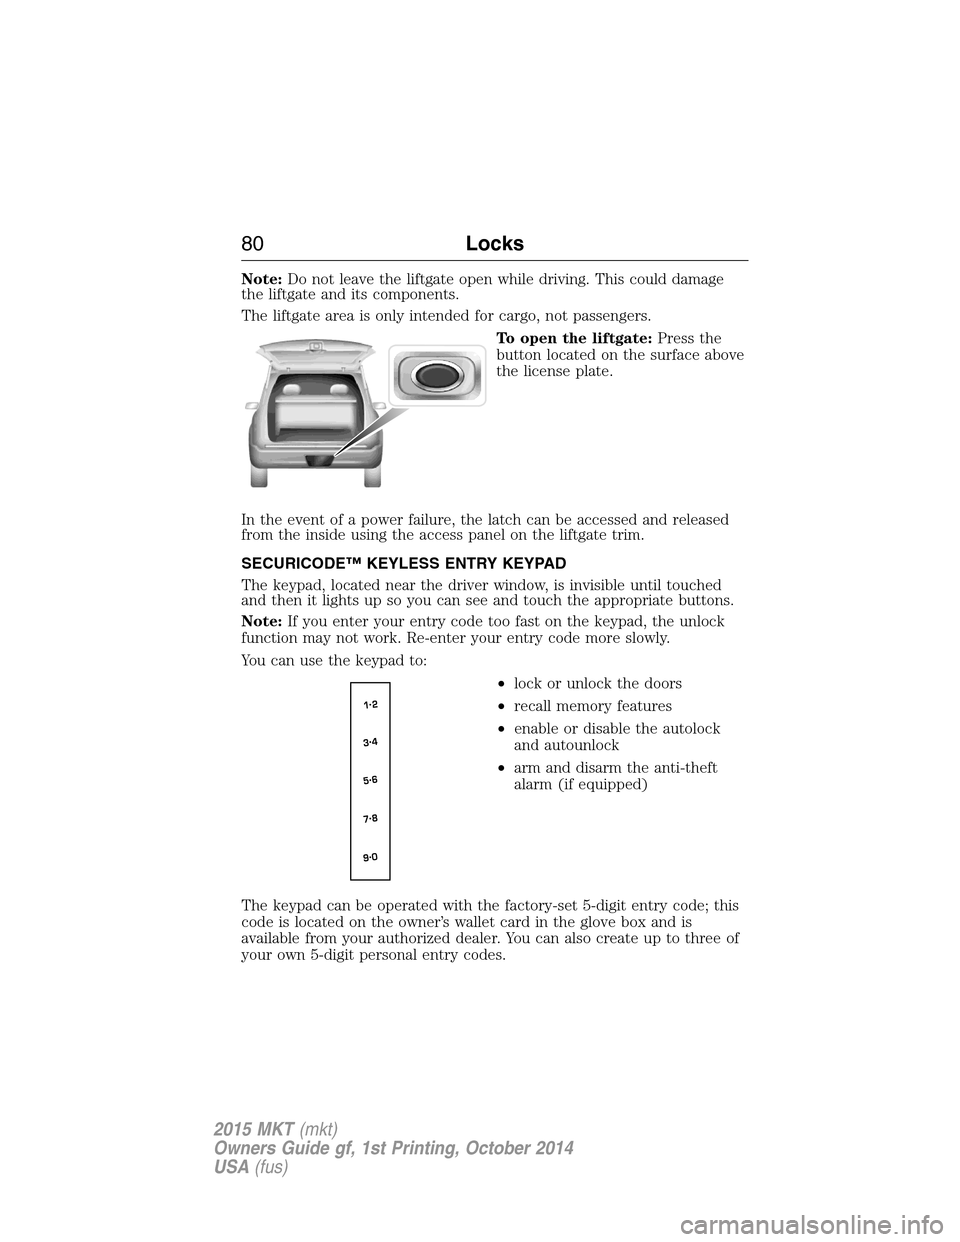
To open the liftgate:Press the
button located on the surface above
the license plate.
In the event of a power failure, the latch can be accessed and released
from the inside using the access panel on the liftgate trim.
SECURICODE™ KEYLESS ENTRY KEYPAD
The keypad, located near the driver window, is invisible until touched
and then it lights up so you can see and touch the appropriate buttons.
Note:If you enter your entry code too fast on the keypad, the unlock
function may not work. Re-enter your entry code more slowly.
You can use the keypad to:
•lock or unlock the doors
•recall memory features
•enable or disable the autolock
and autounlock
•arm and disarm the anti-theft
alarm (if equipped)
The keypad can be operated with the factory-set 5-digit entry code; this
code is located on the owner’s wallet card in the glove box and is
available from your authorized dealer. You can also create up to three of
your own 5-digit personal entry codes.
80Locks
2015 MKT(mkt)
Owners Guide gf, 1st Printing, October 2014
USA(fus)
Page 96 of 500
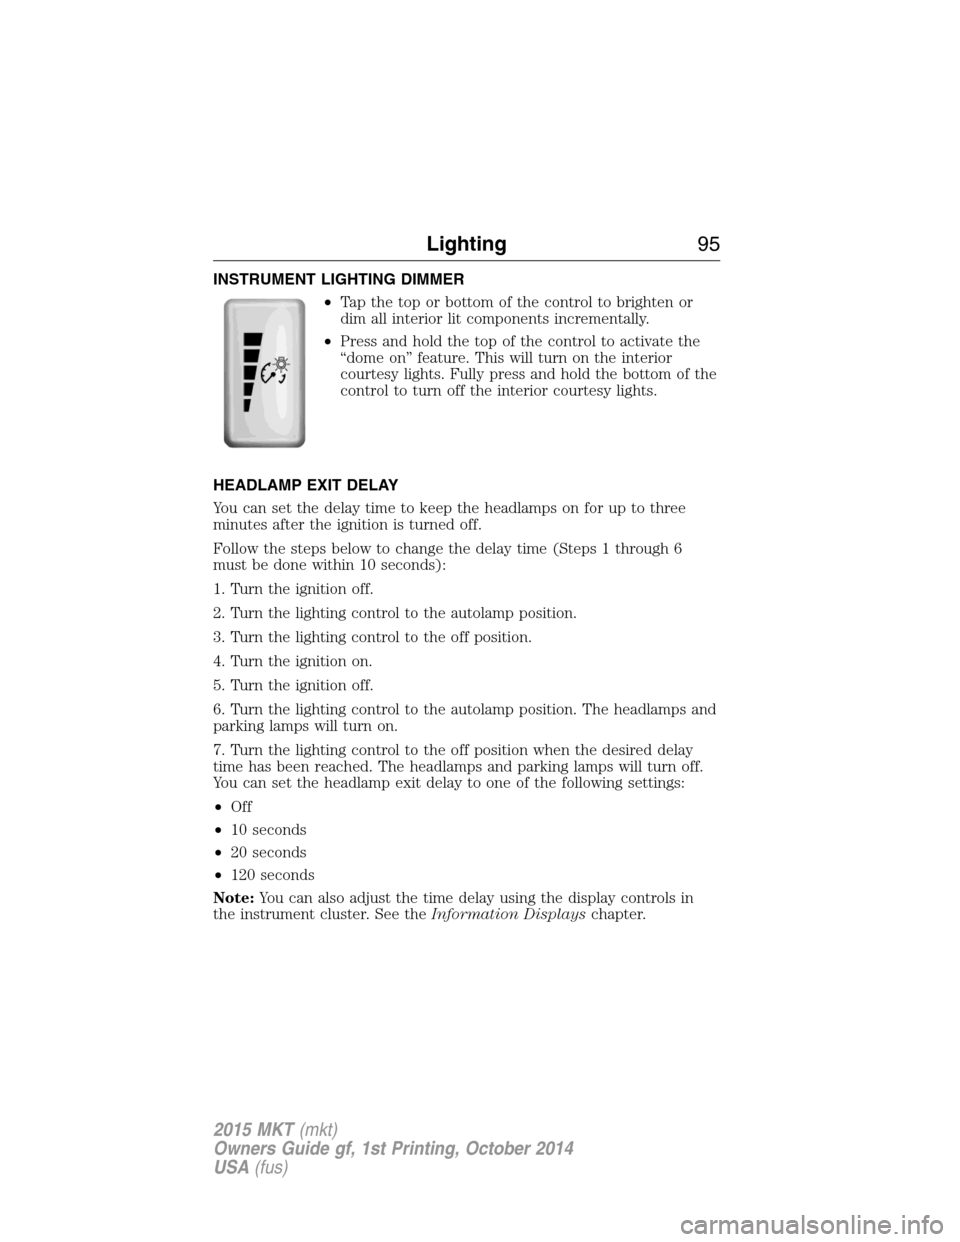
INSTRUMENT LIGHTING DIMMER
•Tap the top or bottom of the control to brighten or
dim all interior lit components incrementally.
•Press and hold the top of the control to activate the
“dome on” feature. This will turn on the interior
courtesy lights. Fully press and hold the bottom of the
control to turn off the interior courtesy lights.
HEADLAMP EXIT DELAY
You can set the delay time to keep the headlamps on for up to three
minutes after the ignition is turned off.
Follow the steps below to change the delay time (Steps 1 through 6
must be done within 10 seconds):
1. Turn the ignition off.
2. Turn the lighting control to the autolamp position.
3. Turn the lighting control to the off position.
4. Turn the ignition on.
5. Turn the ignition off.
6. Turn the lighting control to the autolamp position. The headlamps and
parking lamps will turn on.
7. Turn the lighting control to the off position when the desired delay
time has been reached. The headlamps and parking lamps will turn off.
You can set the headlamp exit delay to one of the following settings:
•Off
•10 seconds
•20 seconds
•120 seconds
Note:You can also adjust the time delay using the display controls in
the instrument cluster. See theInformation Displayschapter.
Lighting95
2015 MKT(mkt)
Owners Guide gf, 1st Printing, October 2014
USA(fus)
Page 97 of 500
DAYTIME RUNNING LAMPS (IF EQUIPPED)
WARNING:Always remember to turn on your headlamps at
dusk or during inclement weather. The Daytime Running Lamp
(DRL) system does not activate the tail lamps and generally may not
provide adequate lighting during these conditions. Failure to activate
your headlamps under these conditions may result in a collision.
The system will turn the front fog lamps on in low light situations.
The following conditions must be met to activate this feature:
•Switch the ignition on.
•Switch the lighting control to the off, autolamp or parking lamp
position.
•The transmission must be in a gear other than P (Park).
AUTOMATIC HIGH BEAM CONTROL (IF EQUIPPED)
The system will automatically turn on your high beams if it is dark
enough and no other traffic is present. When it detects an approaching
vehicle’s headlights, a preceding vehicle’s tail lamps or street lighting, the
system will turn off the high beams (low beams remain on) before they
distract other drivers.
Note:If it appears that automatic control of the high beams is not
functioning properly, check the windshield in front of the camera for
blockage. A clear view of the road is required for proper system
operation. Any windshield damage in the area of the camera field-of-view
should be repaired.
Note:If a blockage is detected (e.g. bird dropping, bug splatter, snow, or
ice) and no changes are observed, the system will go into low beam
mode until the blockage is cleared. A message may also appear in the
instrument cluster display noting the front camera is blocked.
Note:Typical road dust, dirt and water spots will not affect the
automatic high beam system’s performance. However, in cold or
inclement weather conditions, the automatic high beam system’s
availability may be decreased. If the driver wants to change the beam
state independently of the system, the driver may turn the high beams
on or off using the multifunction switch stalk. Automatic control will
resume when conditions are correct.
96Lighting
2015 MKT(mkt)
Owners Guide gf, 1st Printing, October 2014
USA(fus)
Page 98 of 500
Note:Modification of the vehicle ride height (e.g. using much larger
tires) may degrade feature performance.
A camera sensor is centrally mounted behind the windshield of the
vehicle, and monitors the conditions to decide when to switch the high
beams off and on.
Once the system is active the high beams will switch on if:
•The ambient light level is low enough that high beams are needed.
•There is no traffic in front of the vehicle.
•Vehicle speed is greater than 32 mph (52 km/h).
•Severe weather is not detected.
The high beams will switch off if:
•An approaching vehicle’s headlights or a preceding vehicle’s tail lamps
are detected.
•The vehicle speed falls below 27 mph (44 km/h).
•The ambient light level is high enough that high beams are not
needed.
•Severe rain, snow or fog is detected.
•The camera is blocked.
Activating the system
Switch the system on within the information display. SeeInformation
displays.
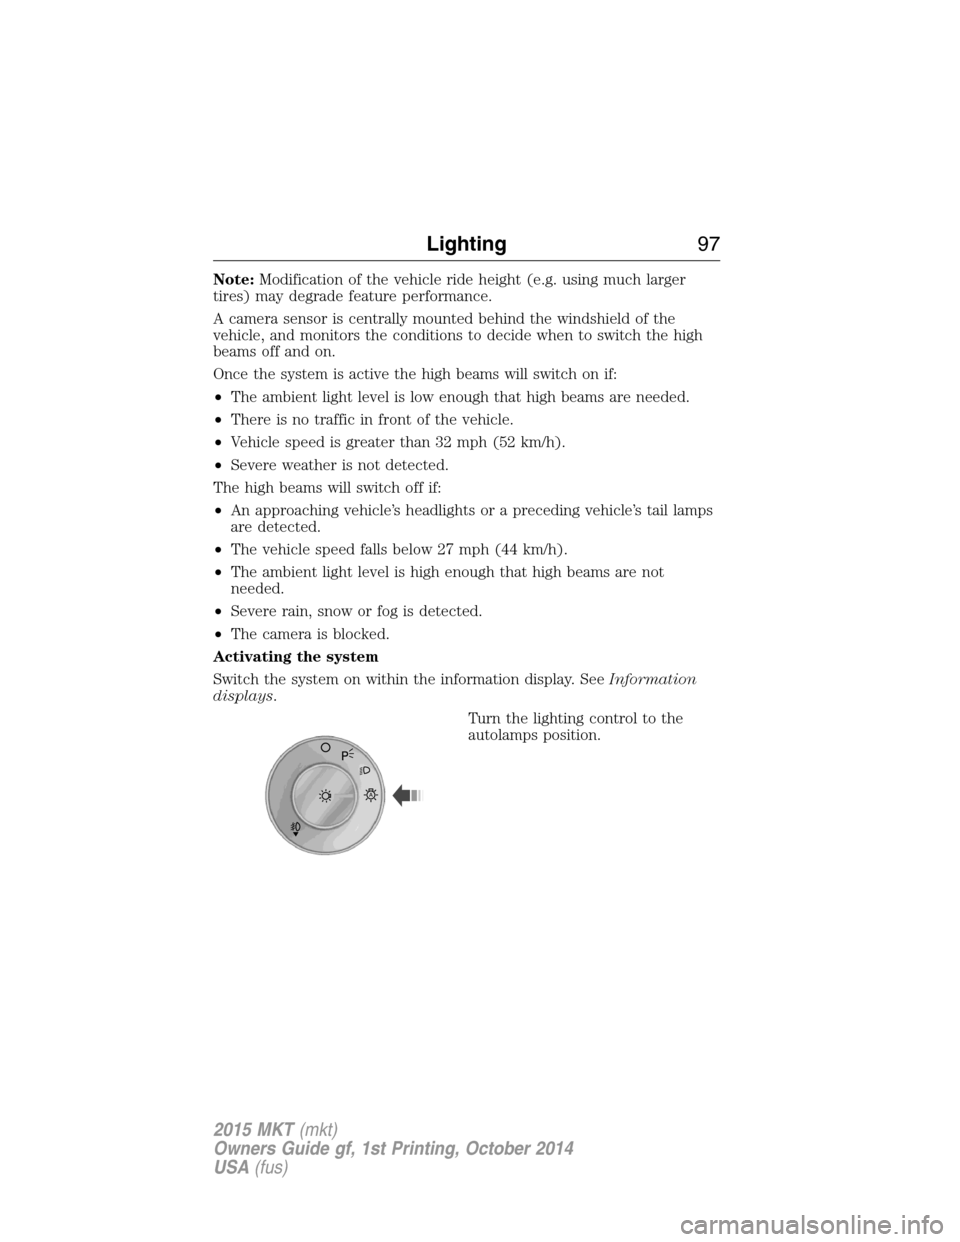
Turn the lighting control to the
autolamps position.
A
Lighting97
2015 MKT(mkt)
Owners Guide gf, 1st Printing, October 2014
USA(fus)
Page 107 of 500
INTERIOR MIRROR
WARNING:Do not adjust the mirror when your vehicle is
moving.
Note:Do not clean the housing or glass of any mirror with harsh
abrasives, fuel or other petroleum or ammonia based cleaning products.
You can adjust the interior mirror to your preference. Some mirrors also
have a second pivot point. This lets you move the mirror head up or
down and from side to side.
Auto-Dimming Mirror
Note:Do not block the sensors on the front and back of the mirror.
Mirror performance may be affected. A rear center passenger or raised
rear center head restraint may also block light from reaching the sensor.
The mirror will dim automatically to reduce glare when bright lights are
detected from behind your vehicle. It will automatically return to normal
reflection when you select reverse gear to make sure you have a clear
view when backing up.
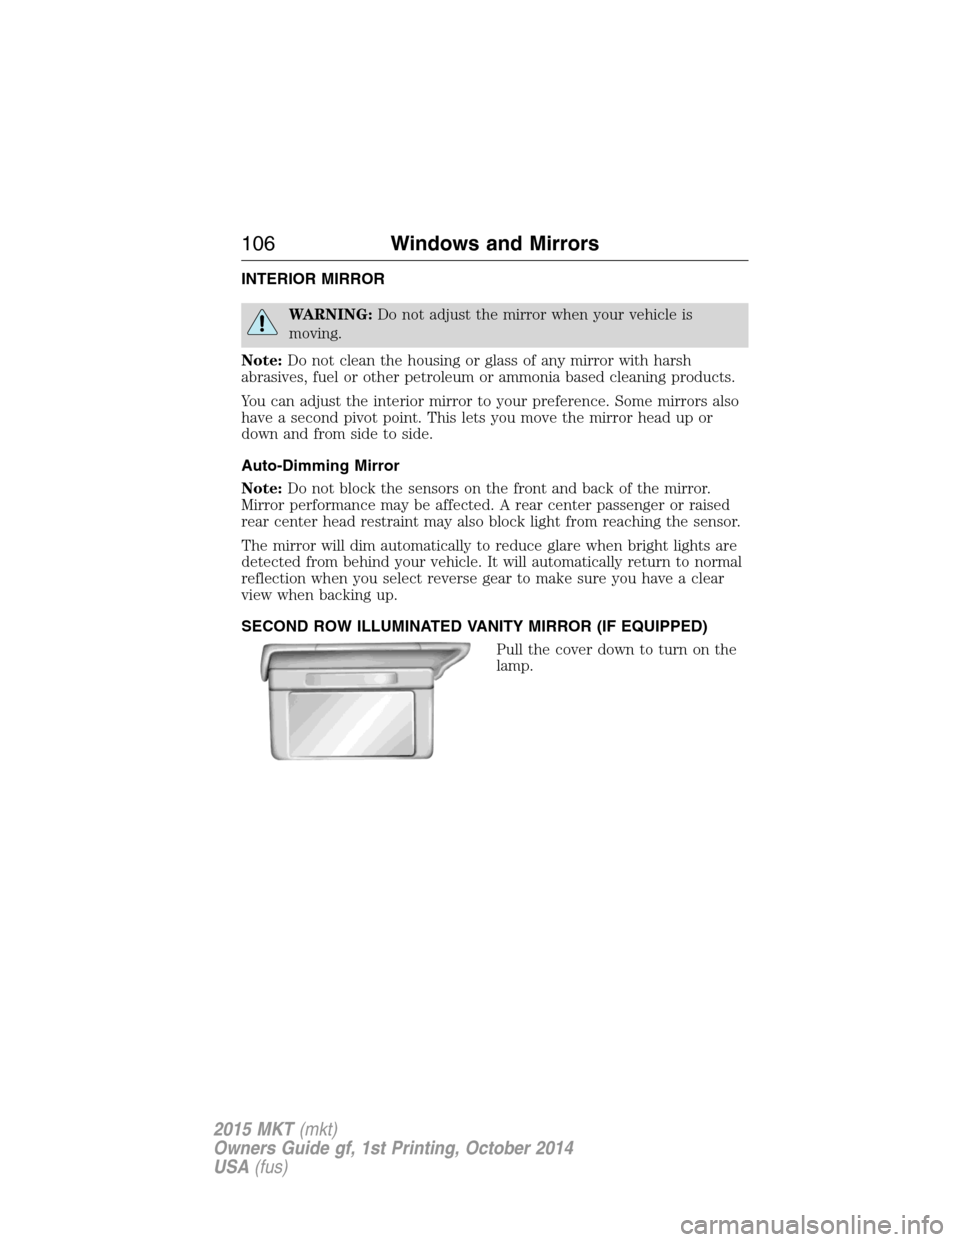
SECOND ROW ILLUMINATED VANITY MIRROR (IF EQUIPPED)
Pull the cover down to turn on the
lamp.
106Windows and Mirrors
2015 MKT(mkt)
Owners Guide gf, 1st Printing, October 2014
USA(fus)
Page 111 of 500
GAUGES
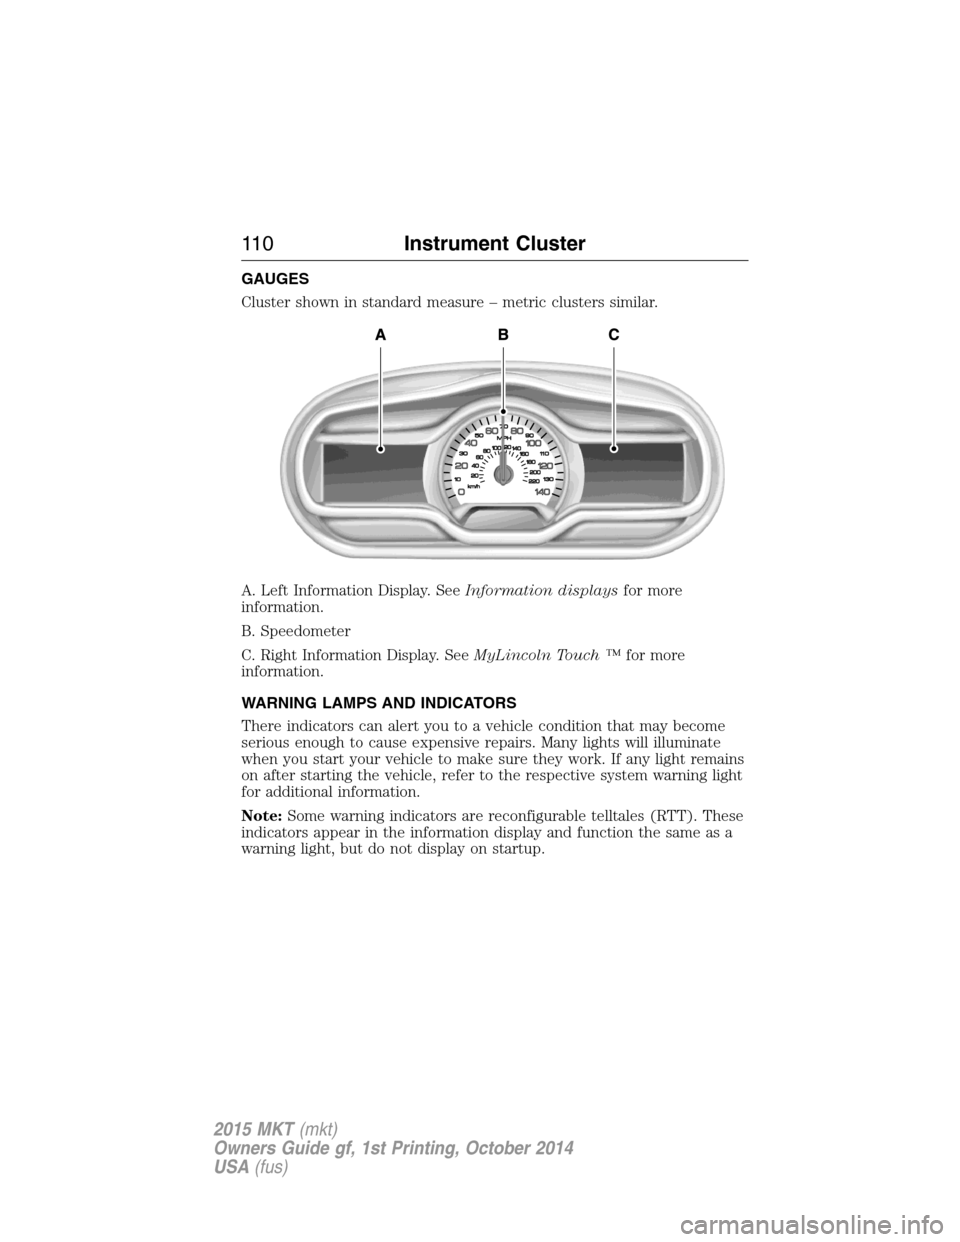
Cluster shown in standard measure – metric clusters similar.
A. Left Information Display. SeeInformation displaysfor more
information.
B. Speedometer
C. Right Information Display. SeeMyLincoln Touch ™for more
information.
WARNING LAMPS AND INDICATORS
There indicators can alert you to a vehicle condition that may become
serious enough to cause expensive repairs. Many lights will illuminate
when you start your vehicle to make sure they work. If any light remains
on after starting the vehicle, refer to the respective system warning light
for additional information.
Note:Some warning indicators are reconfigurable telltales (RTT). These
indicators appear in the information display and function the same as a
warning light, but do not display on startup.
11 0Instrument Cluster
2015 MKT(mkt)
Owners Guide gf, 1st Printing, October 2014
USA(fus)
Page 114 of 500
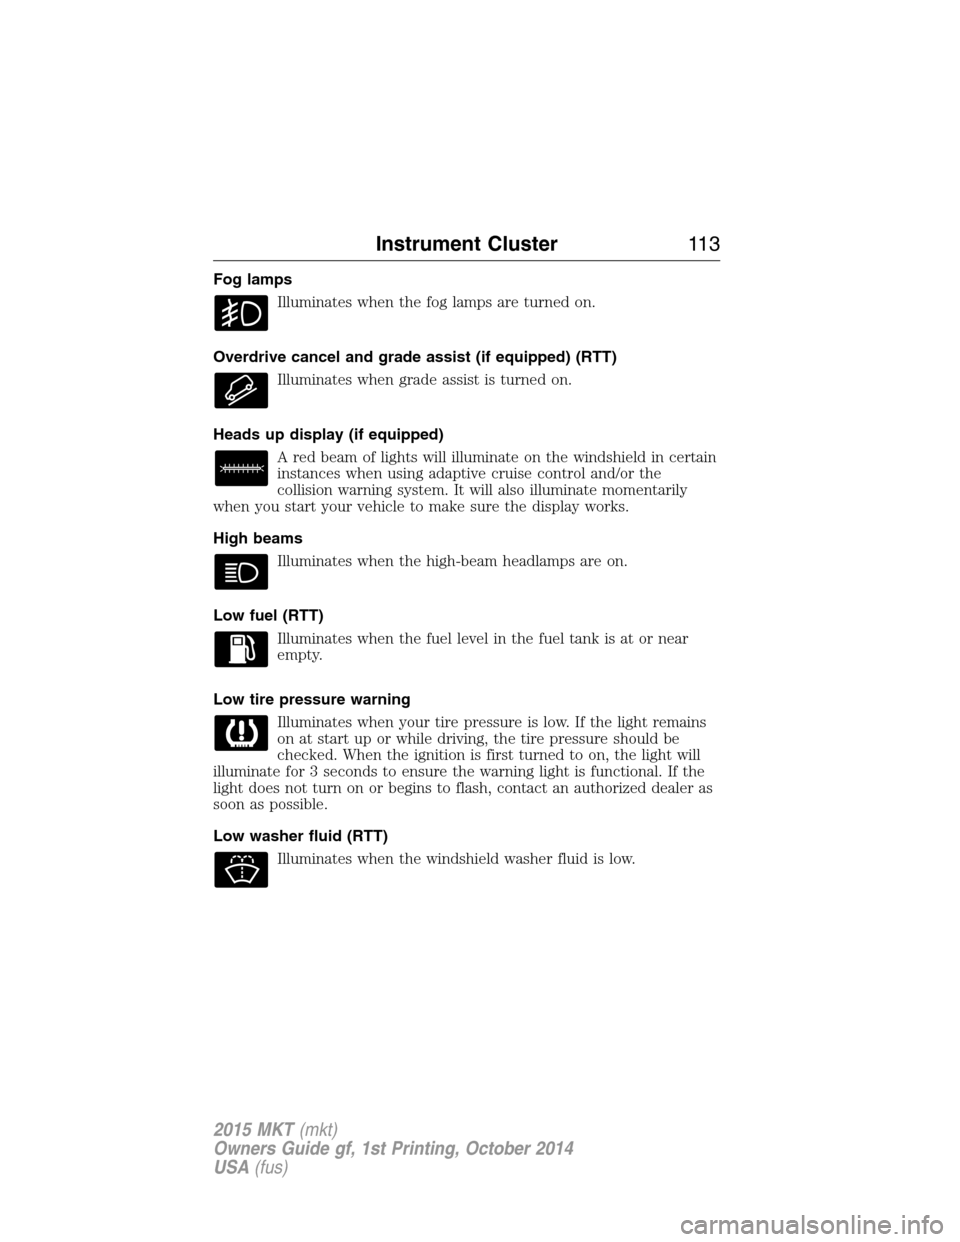
Fog lamps
Illuminates when the fog lamps are turned on.
Overdrive cancel and grade assist (if equipped) (RTT)
Illuminates when grade assist is turned on.
Heads up display (if equipped)
A red beam of lights will illuminate on the windshield in certain
instances when using adaptive cruise control and/or the
collision warning system. It will also illuminate momentarily
when you start your vehicle to make sure the display works.
High beams
Illuminates when the high-beam headlamps are on.
Low fuel (RTT)
Illuminates when the fuel level in the fuel tank is at or near
empty.
Low tire pressure warning
Illuminates when your tire pressure is low. If the light remains
on at start up or while driving, the tire pressure should be
checked. When the ignition is first turned to on, the light will
illuminate for 3 seconds to ensure the warning light is functional. If the
light does not turn on or begins to flash, contact an authorized dealer as
soon as possible.
Low washer fluid (RTT)
Illuminates when the windshield washer fluid is low.
Instrument Cluster11 3
2015 MKT(mkt)
Owners Guide gf, 1st Printing, October 2014
USA(fus)
Page 133 of 500
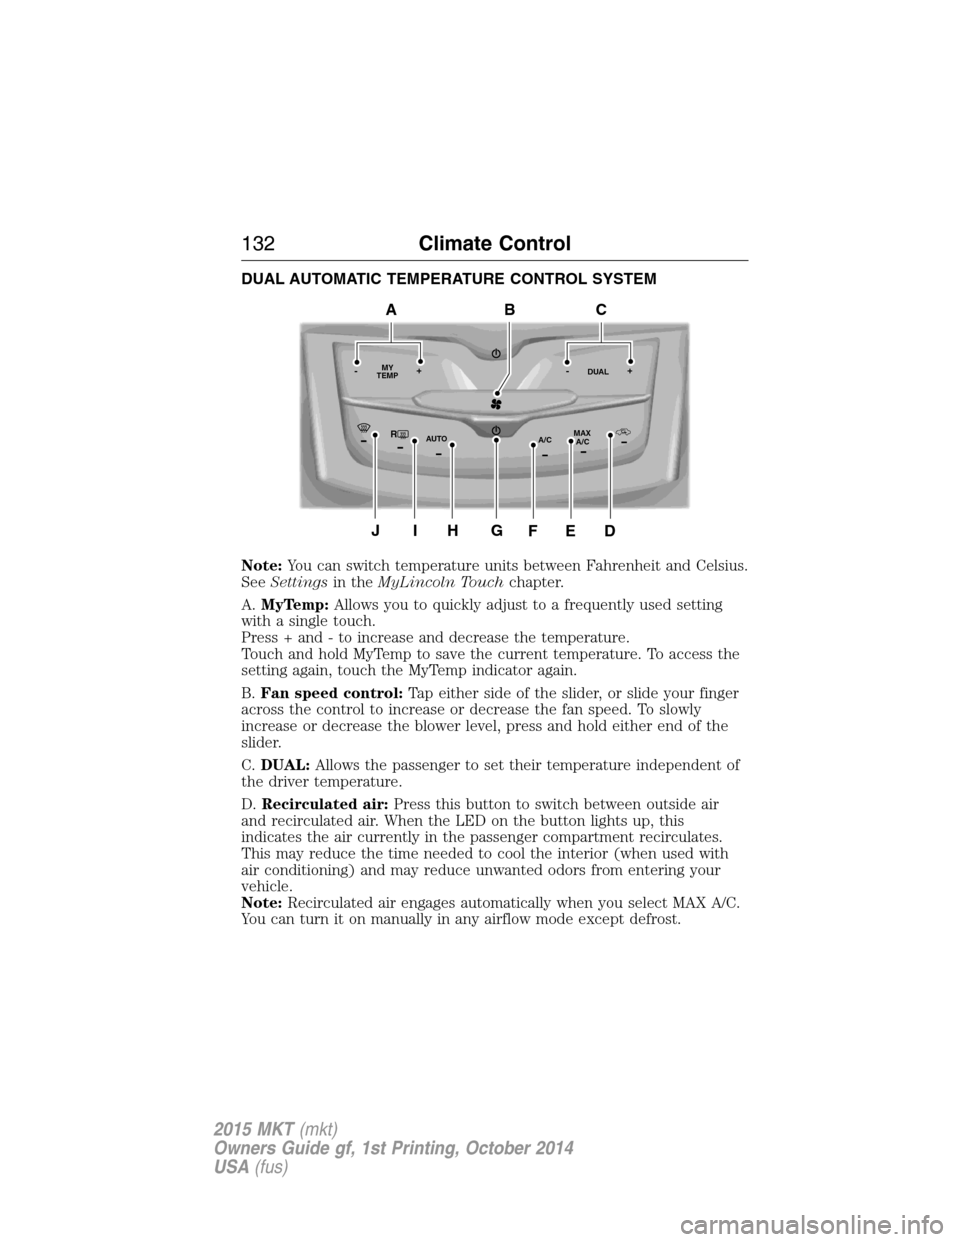
DUAL AUTOMATIC TEMPERATURE CONTROL SYSTEM
Note:You can switch temperature units between Fahrenheit and Celsius.
SeeSettingsin theMyLincoln Touchchapter.
A.MyTemp:Allows you to quickly adjust to a frequently used setting
with a single touch.
Press + and - to increase and decrease the temperature.
Touch and hold MyTemp to save the current temperature. To access the
setting again, touch the MyTemp indicator again.
B.Fan speed control:Tap either side of the slider, or slide your finger
across the control to increase or decrease the fan speed. To slowly
increase or decrease the blower level, press and hold either end of the
slider.
C.DUAL:Allows the passenger to set their temperature independent of
the driver temperature.
D.Recirculated air:Press this button to switch between outside air
and recirculated air. When the LED on the button lights up, this
indicates the air currently in the passenger compartment recirculates.
This may reduce the time needed to cool the interior (when used with
air conditioning) and may reduce unwanted odors from entering your
vehicle.
Note:Recirculated air engages automatically when you select MAX A/C.
You can turn it on manually in any airflow mode except defrost.
RMAX
A/C A/C
TEMP
AUTO MY-+DUAL-+
GJIH
BAC
DEF
132Climate Control
2015 MKT(mkt)
Owners Guide gf, 1st Printing, October 2014
USA(fus)